
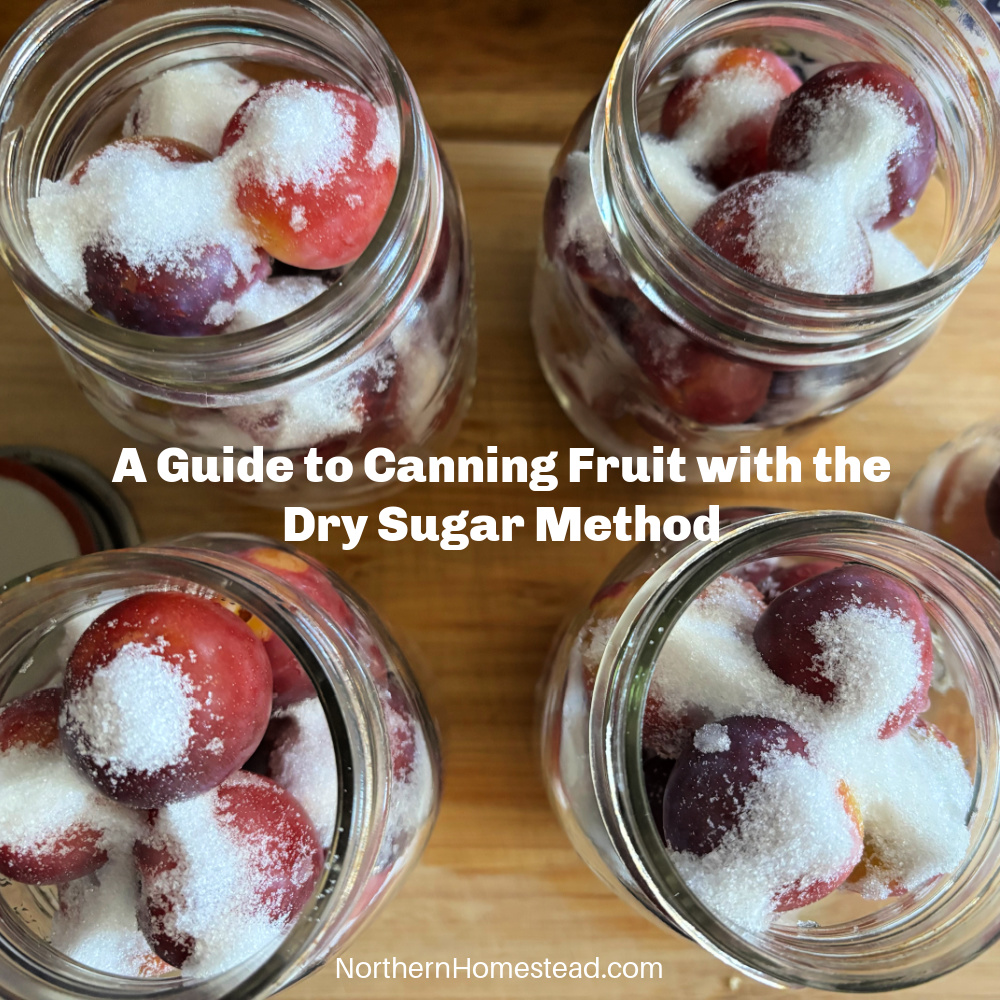
Canning fruit in a sweet syrup for winter is a great way to preserve it. The syrup keeps the fruit from losing its sweetness, and the sealed jar prevents spoilage. This way, the fruit is ready to use for a long time.
Making syrup to can fruit isn’t difficult; however, leftover syrup can be inconvenient if you only want to can a few jars while the fruit is at its peak ripeness. That’s where dry sugar fruit comes to the rescue, as it can be very convenient.
I tried my first jars using this method last summer. Since I wasn’t sure about it at the time, I didn’t share my experience. However, it turned out beautifully, so here we go: a very simple way to can fruit in sugar syrup.
Is the dry sugar method safe for canning?
Acidic fruit can be safely canned using just water, but to achieve the best results, it is generally better to use the hot pack method. The dry sugar method, on the other hand, uses a cold-pack process. So we only use fruit suited for that. The main concern is whether the sugar will actually dissolve and turn into syrup instead of leaving undissolved sugar in the water.
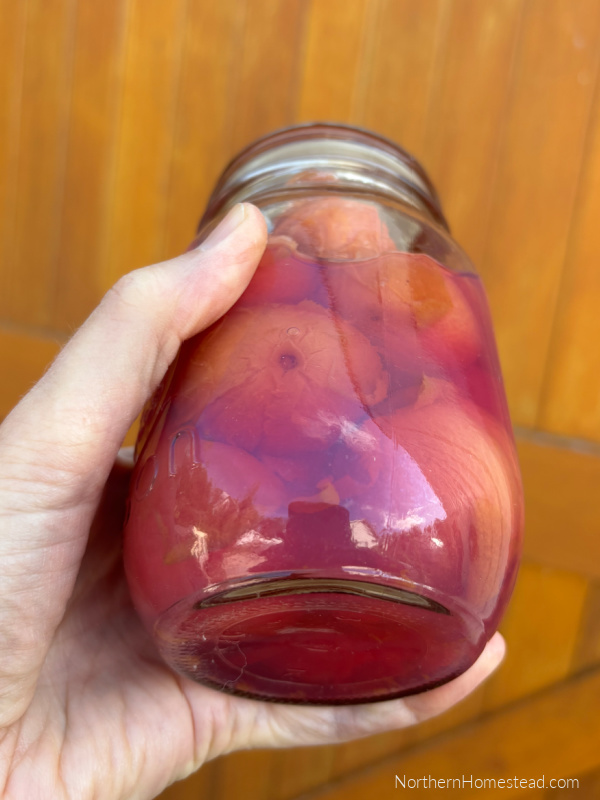
In my experience, the sugar does dissolve and creates a syrup. I was also pleased to find that the book “Preserves: Revised Edition (Original Series)” includes the dry sugar method as an easy, no-fuss way to can fruit. Based on my own experience and this highly regarded canning book, I feel confident in sharing this method. If you have any doubts, you can always use the boiled sugar syrup as outlined in the cherry recipe or opt for the hot pack method described for preserving apples.
What fruits can be used with the dry sugar method?
Since we are using a cold pack / raw pack with the dry sugar method here, not all fruit, to my knowledge, can be used. You can use berries, cherries, plums, peaches, apricots, grapes, and nectarines. These fruits have thin skins and a high water content, which allows them to interact with dry sugar, draw out their own juices, and create a natural canning syrup inside the jar.
However, apples and pears (including Asian pears) should never be raw packed, and they are not suitable for this method.
Prepare the fruit for canning
You can process fruit whole, halved, peeled, or unpeeled, depending on the variety. As a general rule, if a fruit is small enough to fit easily into a standard mouth jar, it can be canned whole. Examples include small plums, grapes, and cherries.
For larger fruits, it is best to can them in halves or bite-sized pieces. Examples include peaches and nectarines.
If the skin is thick and tends to be bitter, it’s advisable to peel it. Examples include peaches and some varieties of apricots and plums. To peel the fruit, you can blanch it; it works great for peaches. Cherries can be pitted or not, as you prefer.
Fruit that you don’t peel, wash thoroughly and drain well.
How much sugar to use
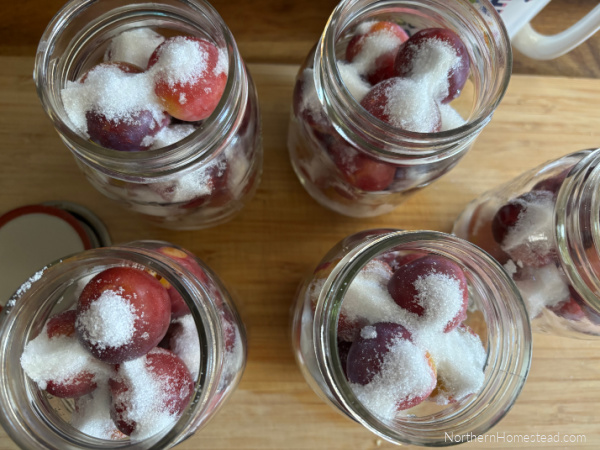
You can can fruit in light, medium, or heavy sugar syrup. The amount you use depends on what you are canning and, most of all, your preference.
Light Sugar:
Quart: 3/8 cup (6 tablespoons)
Pint: 3 tablespoons
Medium Sugar:
Quart: 1/2 cup
Pint: 1/4 cup
Heavy Sugar:
Quart: 3/4 cup
Pint: 3/8 cup (6 tablespoons)
Filling the Jars
In my attempt, I filled the jars with fruit, leaving about an inch of headspace. Then I added sugar and topped it off with boiling water, leaving 1/2 inch (1 cm) of headspace. However, the book “Preserves: Revised Edition” suggests a different method: pack the jar halfway with fruit, add sugar, and then top with more fruit. I can see how this approach would be more effective if the fruit pieces are small or if you are using a large amount of sugar. To prevent overfilling, I agree that this method is better. In my case, I only used 3 tablespoons of sugar, so it wasn’t a problem.
To ensure the best results, fill the jar about halfway with fruit, add sugar, and then top with more fruit until there is about 1 inch of headspace. Finally, pour boiling water over the fruit and sugar mixture, leaving 1/2 inch (1 cm) of headspace. Exception: grapes; leave 1 inch headspace for them to expand.
Processing the jars
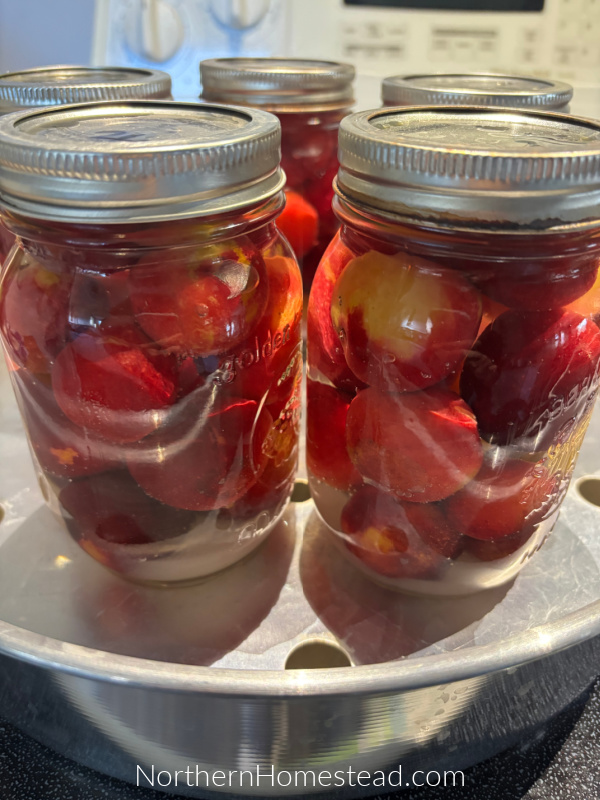
Once all the jars are filled, wipe the jar rims clean to ensure a proper seal. Center the lids and screw the bands on until fingertip-tight.
Process the jars in a water bath or steam canner. Processing time depends on the fruit you are processing, the jar size, and your altitude.
The processing times:
Apricots: 25 minutes for pint jars, 30 minutes for quart jars
Berries: 15 minutes for pint jars, 20 minutes for quart jars
Cherries: 25 minutes for pint jars and quart jars
Grapes: 15 minutes for pint jars, 20 minutes for quart jars
Nectarines: 20 minutes for pint jars, 25 minutes for quart jars
Peaches: 25 minutes for pint jars, 30 minutes for quart jars
Plums: 20 minutes for pint jars, 25 minutes for quart jars
Adjusting processing time for Elevation (Feet):
0 – 1,000 ft: use the processing time
1,001 – 3,000 ft: add 5 minutes
3,001 – 6,000 ft: add 10 minutes
Above 6,000 ft: add 15 minutes

In conclusion, canning fruit using the dry sugar method is a simple and effective way to preserve the season’s bounty. This technique lets you capture the natural sweetness of fruit while avoiding the hassle of boiling syrup. With a variety of fruits suitable for this method and straightforward steps to follow, you can enjoy delicious home-canned fruit all winter long. Whether you’re new to canning or looking for a convenient alternative, this approach makes preserving fruit both easy and rewarding. Happy canning!
We invite you to subscribe to Northern Homestead and follow us on Instagram, Facebook, or Pinterest for the latest updates.
More food preserving articles you might enjoy:
NEWSLETTER SIGNUP

Thank you for this idea. I’m a veteran canner and never canned grapes before…just juiced them or made wine. I’m excited to can up the bounty from our two vines this year…very excited, so thank you again for the idea!
Being in Northwest Wisconsin and the micro climate of growing zone 3a, your ideas are very valuable to me.
Sherri Becker
Woodland Hills Homestead
You are so welcome. I was thinking the same while learning about the easy way to can grapes. My vines are loaded, so I am looking forward to it. Hoping yours turns out delicious.
When I have made wine, I use the wild yeast right from the grape and the wine turns out very nice. I suspect the grapes as a whole fruit will do fine especially just adding a light sugar amount. Any time I have used my steam juicer, like the one you have, I pull them all off the stems to keep the bitterness out and the juice is put in jars without any added sweetener or water. Its really nice having the plants. I wish I could come visit you guys up there in Canada. I would love to see your set up and learn more about year around gardening!
Sherri
Thank you for sharing. Growing year round is not as easy in our cold climate, but it sure is fun exploring the possibilities.