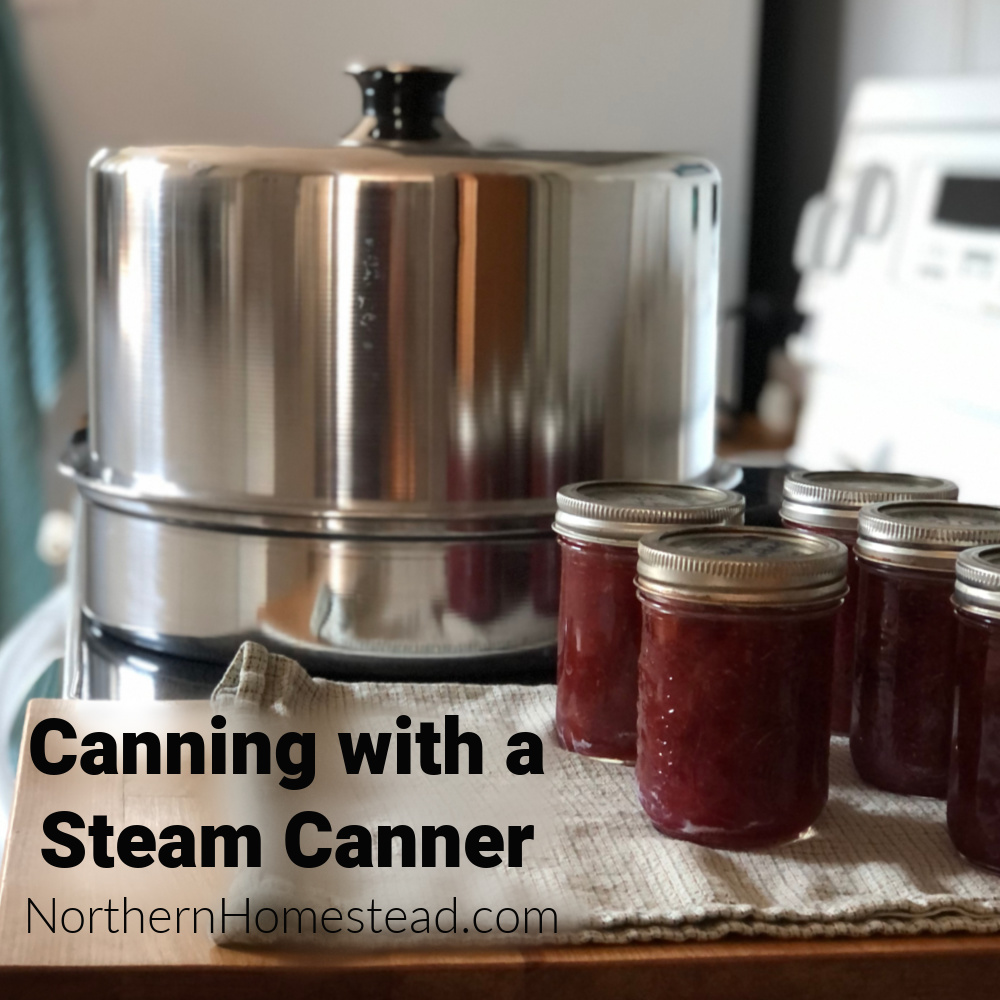
Have you heard of steam canning? It’s an ideal approach for processing fruits and acidic foods. It is an alternative to water bath canning, but cannot replace a high-pressure canner. We invite you to transform your canning experience with a steam canner.
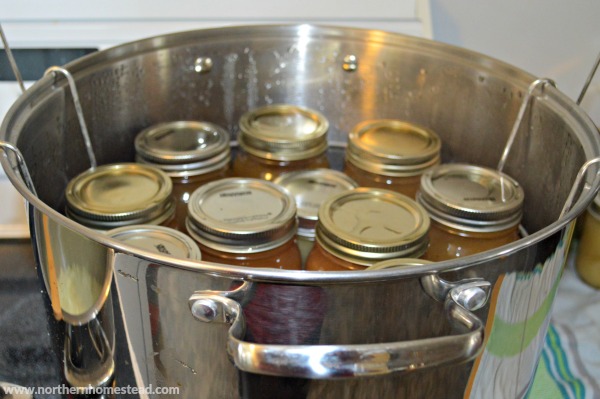
I have to admit that I never really enjoyed water bath canning. The heavy pot filled with boiling water, holding all my precious jars in a canning rack, was a daunting sight, especially on a hot summer day. Learning that there is another way to achieve the same safe canning we wanted, without the hassle, really caught my attention.
We have been using steam canning ever since learning about it. It is safe to say that it has transformed our canning experience. I even sold the water bath canner as soon as we were sure the steam canning worked. If you want to simplify water bath canning, this article is for you. Don’t sell the water bath canner just yet, though; more about it is below.
The Science Behind the Steam Canning Process
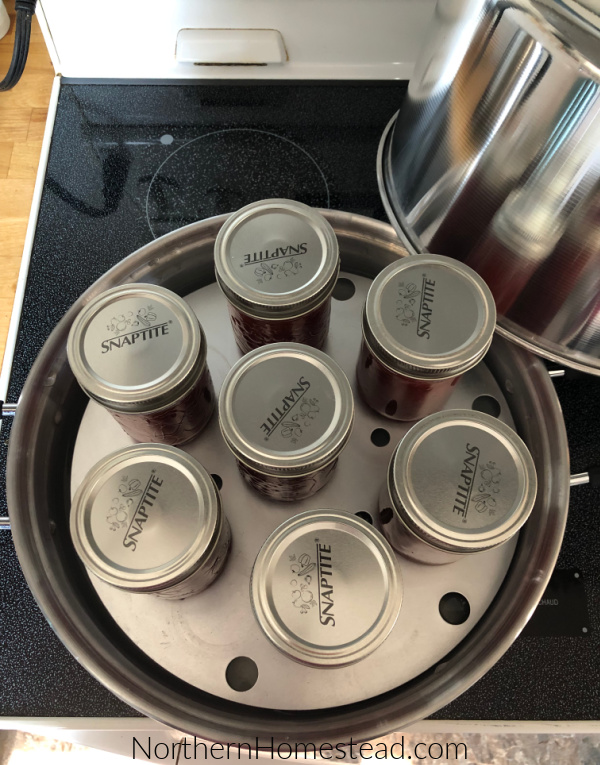
Steam canning heats and sterilizes the canning jars using steam instead of water. We submerge the canning jars in a water bath canner to ensure that all is heated. That requires a lot of water, and you want the water to be about an inch above the jars. The task is heavy and hot. On the other hand, a steam canner uses water only in the bottom of the canner, enough to produce steam to heat the jars. Once the steam has built up in the canner, processing the canning jars is just as hot and safe.
For official safety research, you can read these links from the Utah State University and the University of Wisconsin, which have also published material with safety recommendations. To our knowledge, steam canning has no specific safety benefits compared to water bath canning. They are the same; it’s only a matter of personal preference which one you want to use. The processing time is the same as with a water bath canner and needs to be adjusted to your altitude, just as it is with water bath canning. Follow the recipe you have for any water bath canning. The processing time starts when the steam has built up in the steam canner. When that is, it will very much depend on the canner you have; follow the instructions.
Types of steam canners
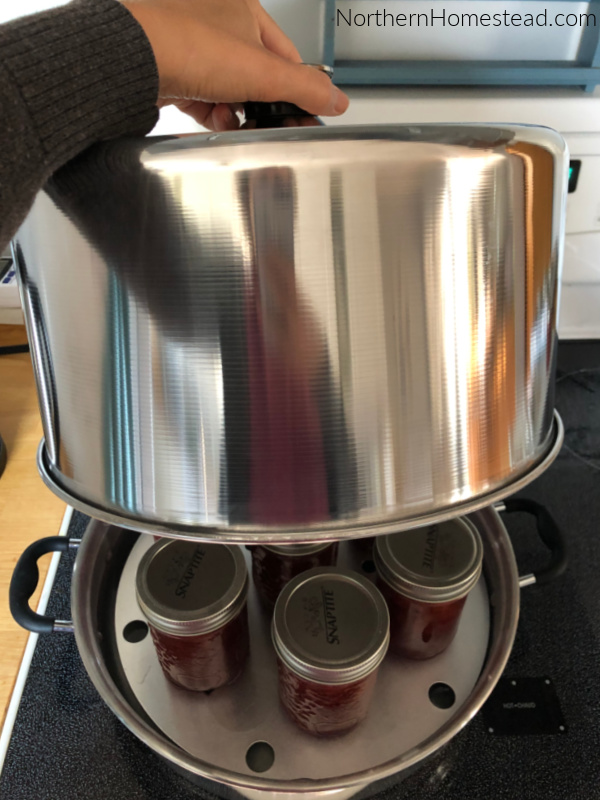
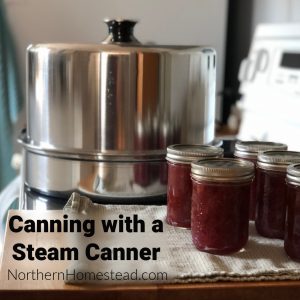
There are two steam canners: the typical dome-lid steam canner and the multi-use steam canner. The typical steam canner looks like an inverted pot with a shallow bottom part and a tall dome lid. These, too, come in two versions. The Steam Canner with a temperature gauge is the most common on the market and the one we have. The gauge makes it easy to use with no guessing.
You might also be able to find one (in a garage sale) without a temperature sensor. In that case, you heat the pot up to 210°F or until a column of steam (6-8 inches) can be observed venting from the hole(s) in the side of the canner and keep the steam venting during the whole timed process. To prevent boiling the canner dry, avoid boiling it too vigorously.
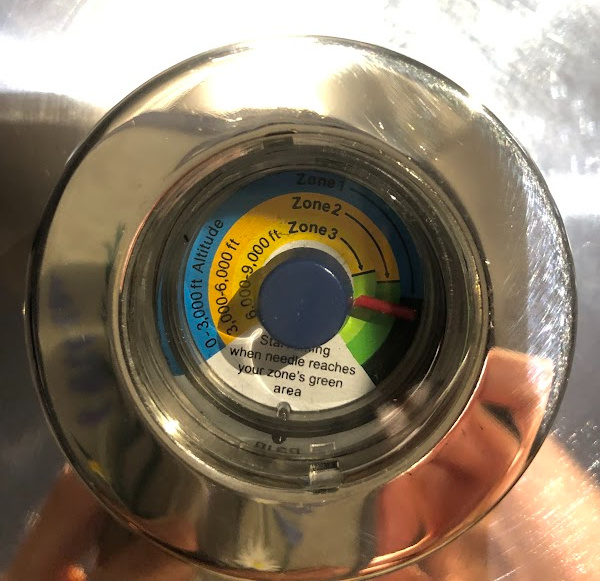
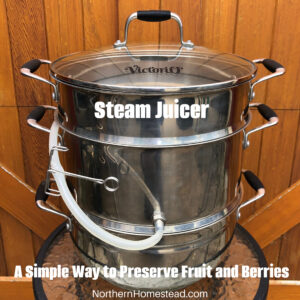
The multi-use canner can do steam and water bath canning. Plus, it’s a good stockpot. For steam canning, the lid also has a temperature gauge knob. The rack can be used in two ways: water bath canning to hold the jars inside and steam canning to place the jars on top. This multi-use pot might be a great option if you do not have a canner yet.
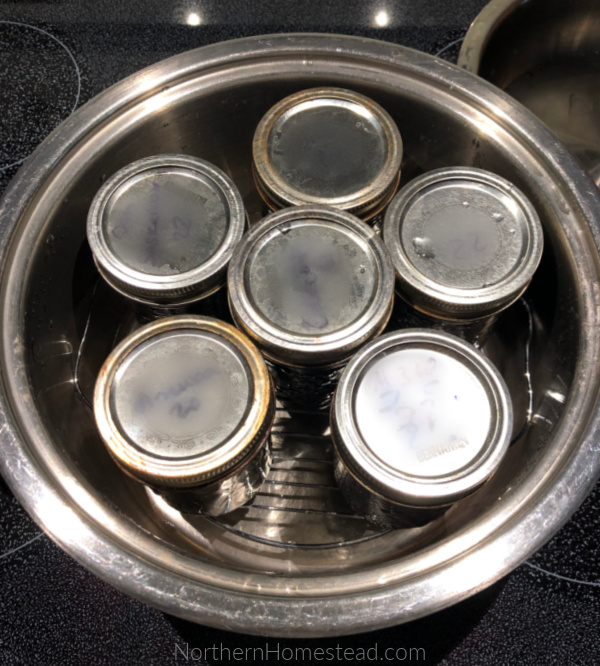
Understanding steam canning, you can make your own steam canner out of any water bath canner (hence, do not sell the canner) or stock pot. All you need is a high enough rack to hold enough water to steam the jars for the required time. Ideally, you want the water to be below the jars; that is important when processing pickles to ensure that the jars are heated evenly.
The Pros and Cons of Using a Steam Canner for Canning
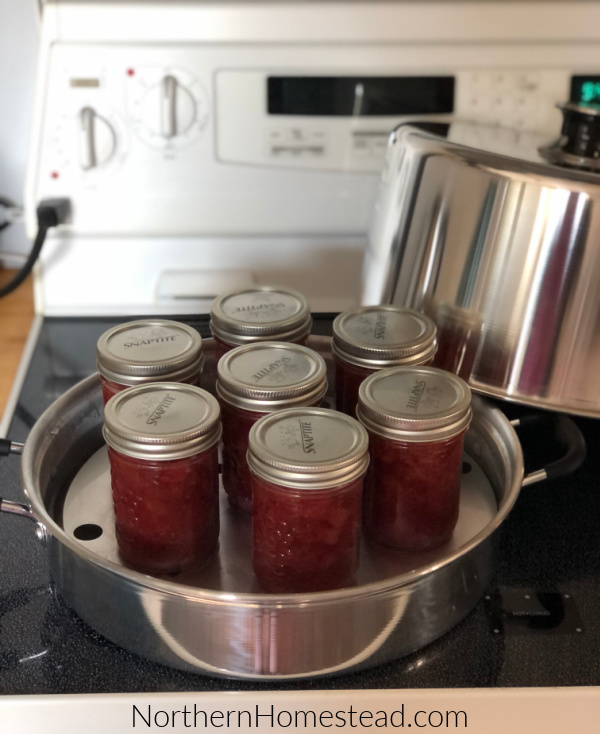
Pros: A lighter pot to handle is always a big plus in my book. It is a great choice if you have a glass-top range. The pot is much lighter, avoiding the risk of the glass splitting. Being smaller, the steam canner is quicker to come to a boil and even to full steam compared to a big canner filled with water. This saves time and energy.
There aren’t many cons to a steam canner. However, it can only be used for a processing time below 40 minutes. This has to do with the water capacity of a steam canner before it is used up. If you like to process tomatoes, use a water bath or high-pressure canner. By the way, some high-pressure canners can be used as water bath canners; follow the instructions.
As mentioned, a steam canner can only process fruit and acidic foods. It is excellent for jam, pickling, and salsa recipes. You can find our favorite canning recipes here. The Ball Complete Book of Home Preserving is a great recipe book for canning. This book has so many great recipes that I would say it’s a must-have for everyone who likes canning and preserving. The instructions for water bath canning can also be used for steam canning.
Consider transforming your canning experience from a heavy water bath canner to a lighter steam canner. You might never go back.
We invite you to subscribe to Northern Homestead and follow us on Instagram, Facebook, or Pinterest for the latest updates.









Leave a Reply