The kitchen is the heart of a homestead. Here is where all the home grown produce becomes homegrown food. Here we make, preserve, and enjoy our meals. Planning a homestead kitchen is an exciting and important undertaking.
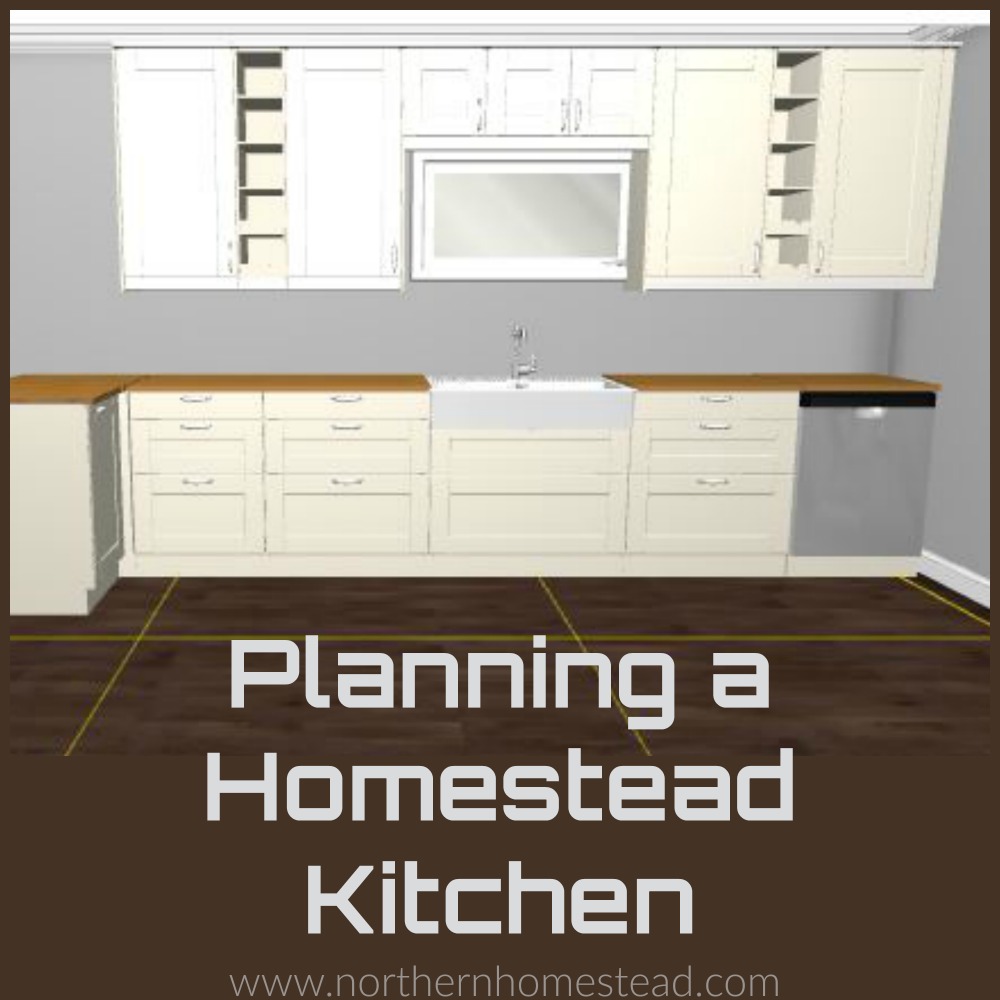
Our older house had an older kitchen in it. In fact, it is most likely older than we are. I like older houses with charming kitchens in them.
It adds so much character.
But there is a point when things get too old. Even though our kitchen still looked good (at least I thought so), it was slowly rotting away. Some cabinets smelled accordingly. It really was time for a new homestead kitchen.
What layout to use
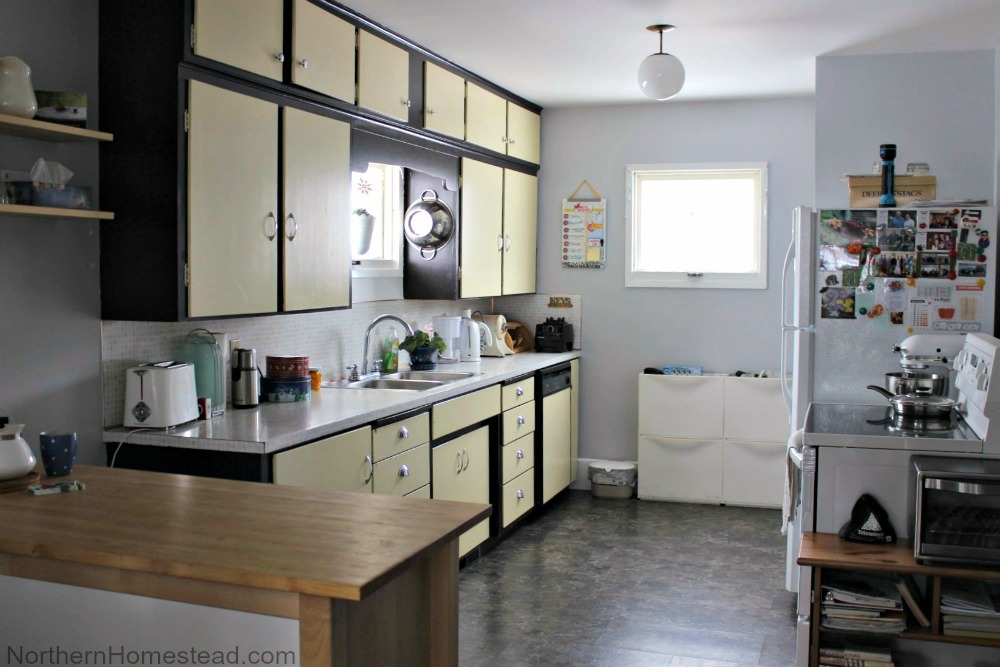
Since we have lived in many places, I also have used many kitchens. This one is one of the smaller ones I have had. At first I was a bit concerned about the size and the work space, especially because we just moved from a bigger kitchen with lots of counter space and an island. To my surprise I never had any issues with the work space we got. In fact I really liked this kitchen, not just the old charming look, but even more so the layout. It seems like people back in the day knew how to best design a homestead kitchen.
When planning a new kitchen you have to work with the room, and use the space you have. Since we liked the kitchen layout we kept it basically the same. If you want to change things around there are many things to consider.
Light. Consider where the windows are and how the light falls. I like to have the kitchen sink under a window, so there is lots of natural light. Also it is good not to block natural light with high cabinets or a fridge. Those are better placed opposite a window, not right next to it and creating dark corners.
When adding electric light, consider using a grow light in the kitchen window, it gives the most natural light for your sink and also allows you to grow edible plants right in your kitchen window.
Workflow. Consider the workflow of your kitchen. Generally it is good to have a triangle between the fridge, sink, and range. In a homestead kitchen you also want to add the vegetable harvest into that list. Where is the door to the garden, how far will you have to carry the fresh harvested goodies, etc.
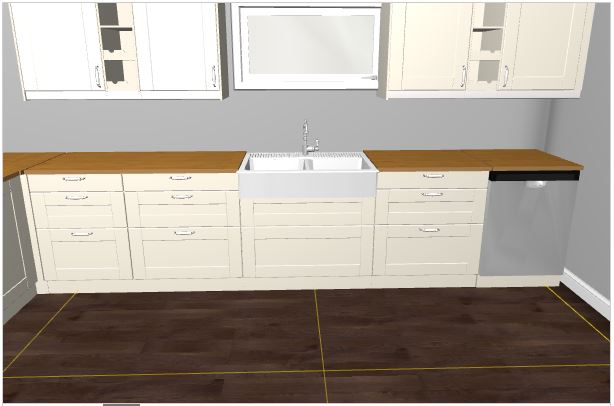
Landing area. Plan a landing area next to the fridge, stove, and sink. Again, in a homestead kitchen you also want to have a landing area for the harvest. In our kitchen everything on the right side of the sink is for dirty things like dishes, veggies, and more. It also is the area closest to the door, and the dishwasher is underneath. Everything to the left of the kitchen sink is a clean area for canning, baking, and more. To have clean and dirty work spaces has helped very much with the workflow in our kitchen.
Doors or drawers. We went with all drawers in our kitchen, because it just makes everything so easily accessible. Deep drawers are great to have for taller pots and bowls. Medium drawers are great for storage containers and pans. And the small drawers are perfect for cutlery and plastic wraps.
The under-the-sink drawer makes a great space for garbage and co, avoiding dark under-the-sink corners. We think drawers are well worth the extra cost.
Food storage – pantry. A walk in pantry is the best for a homestead kitchen. However, not every house has it. Ours does not. After struggling for a while, we moved an old wardrobe into the kitchen. Jakob built big shelves for it and it became a big, beautiful pantry. One day we might exchange it for a fancy drawer high cabinet pantry. But for now it is the perfect solution.
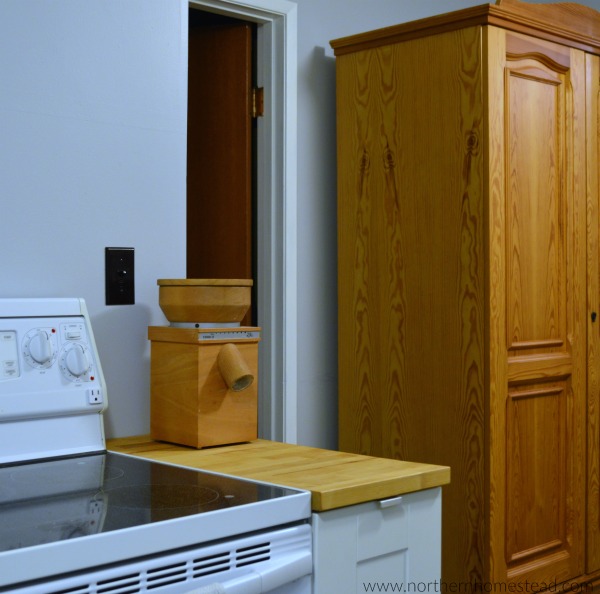
Gas Range or Electric Range. We asked our Facebook followers what they would choose. The answers were overwhelmingly towards a gas range. Reasons like power outages, canning, and durability were mentioned. You can read the whole thread here: Facebook.
Personally we have used an electric range for many years, we have never had any problems neither with durability nor canning. However, if choosing a new one, we would love a dual cooking top with gas and induction. Plus an electric wall oven. It seems that these solutions are not available as easily just yet (however, you can find them in Europe already). Well, we can wait.
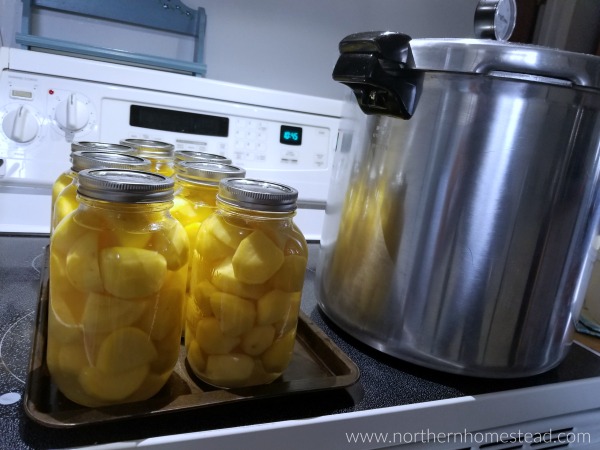
Food preserving. A homestead kitchen is not just a place to do regular cooking. We preserve food by canning, fermenting, dehydrating, and freezing. Not all of this has to happen in the kitchen, but it is good to give it some thought as to where and how it can happen.
Kitchen sink. The sink is a central place in a homestead kitchen. We were sure we wanted a farm sink with a big basin for all kind of washing and cleaning. We also wanted that farm sink to be all the way to the back wall, leaving no space for water to accumulate behind the sink. Tearing the old kitchen apart, we could see how much damage that water can make.
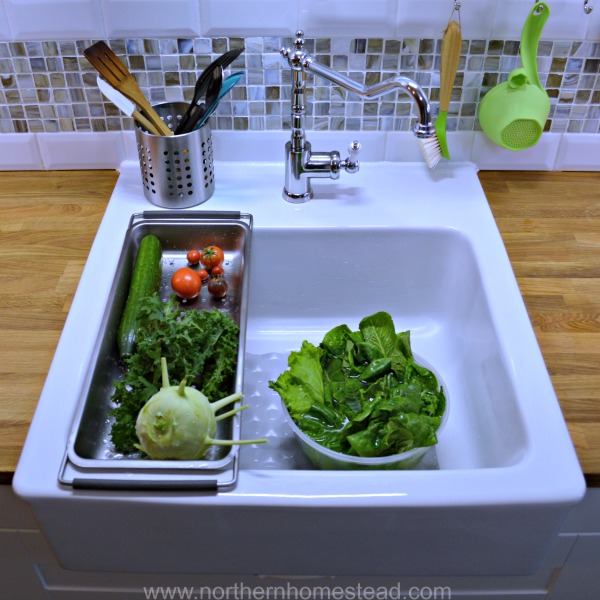
Double basins or single seems to be a thing of preference. Since I was used to two, we planned a double basin sink at first. However, Ikea is sold out on their beautiful DOMSJÖ double bowl apron front sink. We went with the single bowl apron front sink instead and are loving it. I don’t think I will want to go back to a double basin sink ever again. The extra space in the big basin and just one sink strainer to clean, is great.
Eating area. Last but not least, a homestead kitchen is all about food, and to plan an eating area to enjoy the kitchen is essential in my book. I love sitting in the kitchen, not just for eating. In fact, I am typing this at the kitchen counter table, while Jakob cares for the kombucha. We just had supper right here, and I love this warm place with all the smells and sounds surrounding me.
What planning tools to use
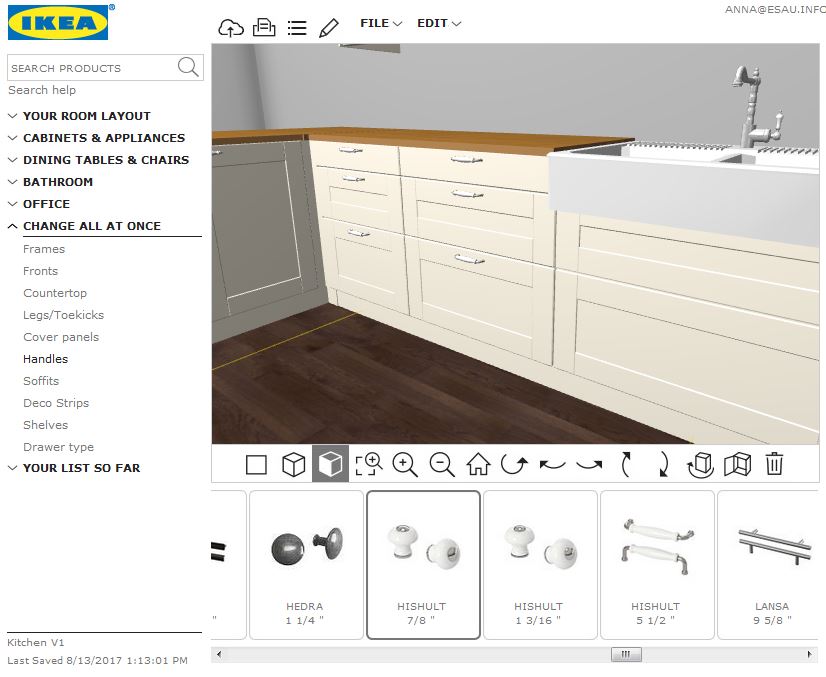
Since we are DIY people, planning the homestead kitchen and building it in is something we wanted to do ourselves, too. After contemplating the options we decided to go for an IKEA kitchen, in this post we share why. Ikea offers a great online planning tool that is easy to use and free. Here is a link to it: IKEA Kitchen planner. You can plan any kitchen with it. If you decide to build the cabinets yourself too, Ana White has great info on that.
Planning the remodeling timing
Our kitchen is a busy place. For us, only winter would be a good time to do a kitchen remodeling. However, Ikea had a big kitchen sale in the summer. Since we did it all our self, we could easily work in stages.
At no time was the entire kitchen emptied out. We planned, and picked up the kitchen in the summer, long before we built it in. Then we did the upper cabinets while still having a work area and sink. Replacing the main cabinets, sink, and counter top was a bigger undertaking. We still have not touched the range and fridge side. That might be a project for another winter.
Planning the timing and spreading out the work has been very helpful. It has saved us a lot of remodeling chaos, and made the project a fun experience.
Now you probably want to see what our kitchen looks like, eh? Stay tuned, we will share it step by step.
What would you consider most important for a homestead kitchen?
Don’t forget to subscribe to Northern Homestead and follow us on Facebook or Pinterest for the latest updates.


i know it’s subjective, but personally, i don’t like the IKEA look at all. i’ve built million $$$ homes and remodeled kitchens to the point of taking out bearing walls, changing wiring, plumbing, windows – you name it. The particle board cabinets don’t work for me. The laminate doesn’t work for me. i love wood.
In process of making our old (1943) redwood house’s kitchen more functional. Built a beam in the attic and braced it on the bearing points i built up on the point load going to ground. Then took out the wall. Built the cabinet boxes – wife wanted the metal grid shelves and so we got those, and hardware to put the Kitchenaid Mixer under the cabinet.
Going to change the fridge location, and while we want to put in a garden window over the sink – it’ll be a reach. Worth it or not? We prefer double sinks because we generally don’t use any dishwasher, and are going to go with a tile floor to keep it easier to clean than linoleum or hardwood. (Dog might slip)
We’re going to have storage for our canning supplies – Roma for processing foods to can, freeze, etc. Big pressure canner, water bath canner, large NSF stock pots so that the thick bottoms prevent scalding when making applesauce or cooking down tomatoes into a thicker sauce… The counters where the wall was are lighted by a punched tin pair of drop lights. In our situation, when we took the wall out it was in large part so that airflow in cold weather could improve. We need that woodstove heat in that room, and trust convective loops more than tech.
Oh – if you are doing a greenhouse window – incandescent bulbs are much closer to the natural spectrum of the sun than grow lights or “full spectrum” lights are. Those have way more missing ranges and a lot of peak spots which are totally unlike sunlight – the incandescents come MUCH closer… (Look up Dinshah and you may be able to get a good comparison, but mine is from the book on healing with light)
Oh – and i am not fond of the (extremely expensive) granite counters. In this remod it would run several grand. i don’t like Corian or the knockoffs – when i mount my dishwasher bracing tabs – you may need to do that to the counter in normal height installs – and that invalidates any warranty. i’m going with wood – red oak with stain, filler, and multiple coats of floor quality oil-based varnish. i also intend to have a recessed area with a large cutting board set into it for when i am breaking down some of the smaller butchering jobs.
i think i’ve finally figured out my compost bucket system – only after about 30 yrs of thinking on it, lol. By the cutting board on top of the garbage and recycling bins, the compost bin (probably build with wood and fiberglass or epoxy paint coating all around) my compost bin will tilt so the back drops about 5 degrees. When i close the drawer, the bin will sit against a rubber gasket mounted at that same angle so that the bucket seals against that top. Small hole for air on the side or back – screened to prevent fruit fly ingress, and wood shavings or sawdust, grain chaff or other carbon in a bin next to the compost bin. Also stops smells AND balances the compost to a degree. When you close the bottom rack with all the recycle and garbage under the compost bin – the bin seals up. When you open it up, it is sitting where you can just scrape the cutting board or countertop into the compost. …
Hope i explained that half-___ well….
Lots of great ideas here, Brad. Thank you for sharing! You have put a lot of thoughts into that compost system, and other things in your kitchen. Thank you also on the info for the incandescents lights. I must admit that I have never heard this. We use a lot of grow lights and have never had a problem.
A place for everything and everything in its place: lots of storage, but placed where it’s actually needed (e.g., storage for pots and pans by the stove; storage for dishes to heat leftovers by the fridge, etc.).
I just used the book, “Build Your Harvest Kitchen,” to design my Farmhouse kitchen. I can’t tell you how many times I paused during the design process and went, “But if I do this, then I can’t store [something] there!” and then had to remind myself that what I had to “make do with” at my old house does not apply to this kitchen! (Like, I used to store my dehydrators under the kitchen sink, and when I put the sink in and determined the measurements for the doors for the under-sink cabinet, I was thinking, “Wait, 15 inches? I think my dehydrators are 16″ wide!” Then I remembered, “Right. Dehydrators are going in their own cabinet over THERE.”)
I ended up putting in two ranges because I’ve found that it is difficult to can with only one range, particularly with hot-pack: you’ve got your pan with your jars heating and waiting to be filled, and the pot with whatever you’re canning, plus your big pot for doing the actual canning… Plus, there have been plenty of times I’ve wished for two ovens!
I also put in two sinks: one near the trash/compost for rinsing produce as it comes into the house (whether from the garden or the store), which will be connected to a grey water system, and one on the “triangle” between the fridge and the ovens for washing everything else (dishes, meat, etc.), which will connect to the septic system.
Finally, I have an island. On one side of the island is where all the “storage prep” happens (that isn’t canning) – dehydrators, freezer trays/containers, etc. This side is near the fridge and the “produce sink” so that it’s quick to just get something out, rinse it, turn around and slice/dice and preserve it. The other side is opposite the ovens, and is where all my baking supplies (ingredients and tools) go – my KitchenAid, baking pans, cooling racks, etc.
Thank you for sharing, this are great tips for someone who has a big homestead kitchen.