
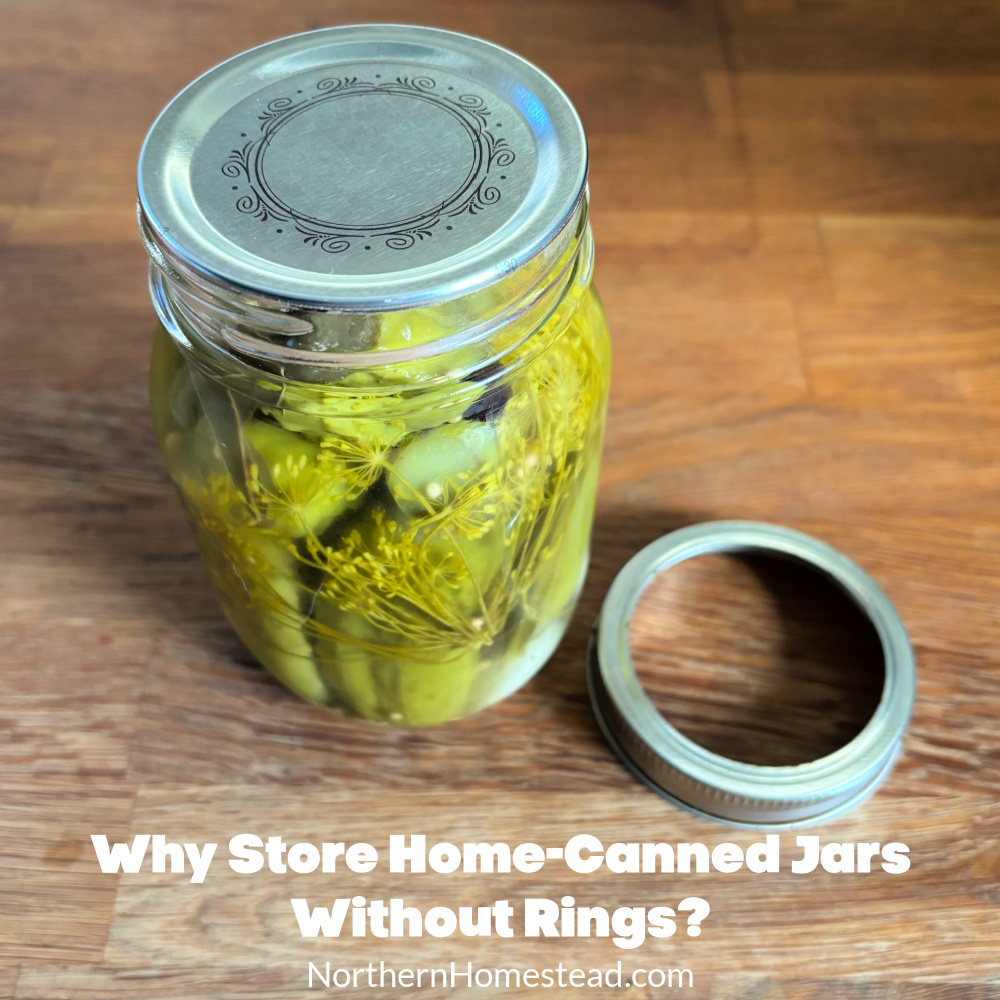
As I was sharing one of my yummy conserve jars with a friend, she looked at it and asked, puzzled, why the jar had no ring. I looked at her, just as puzzled, not realizing what she was asking. After a few more sentences, I understood that my friend, though not new to canning, had never heard of storing canning jars without the screwed-on band. So if that’s you too, this post is for you. This post explains why to store home-canned jars without rings.
The function of the ring while canning
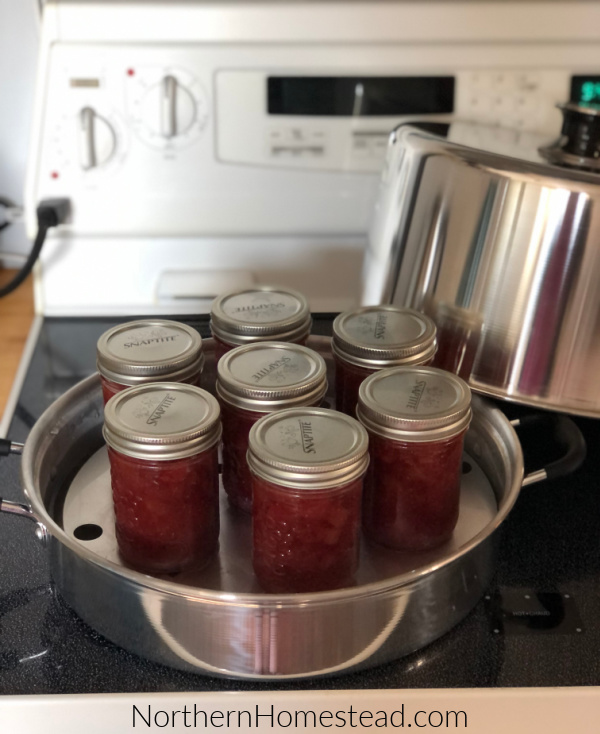
The idea of a lid and a separate metal band is genius. You buy and throw away only the small lid after use (in my case, after several uses). The band, or ring, is reusable, saving money and materials. When we can, we center the lid and screw on the band finger-tight. That lets air escape during processing while still holding the lid in place and preventing water from entering the canning jar. Once processing is done and the jar has sealed and cooled, the band has done its job.
Why would you take off the ring after the jar has sealed?

Even though the band has done its job after the jar is sealed, that’s not why we take it off. Taking the metal band or ring off is an important safety step in home canning. The ring doesn’t hold the lid in place; the vacuum seal does. If a seal fails, the lid will open.
I come from a time and place where canning jar lids were sealed tightly. So if the vacuum seal failed, or the food inside wasn’t processed right, spoilage had no way to show itself except by blowing the lid off. What a mess! With a lid held in place only by vacuum, the jar won’t explode. It would open and let you know without creating a huge mess.
Bands used only for processing also last a lot longer. They don’t need to be exposed to moist air in storage, which can cause them to rust.
How to detect a failed seal early
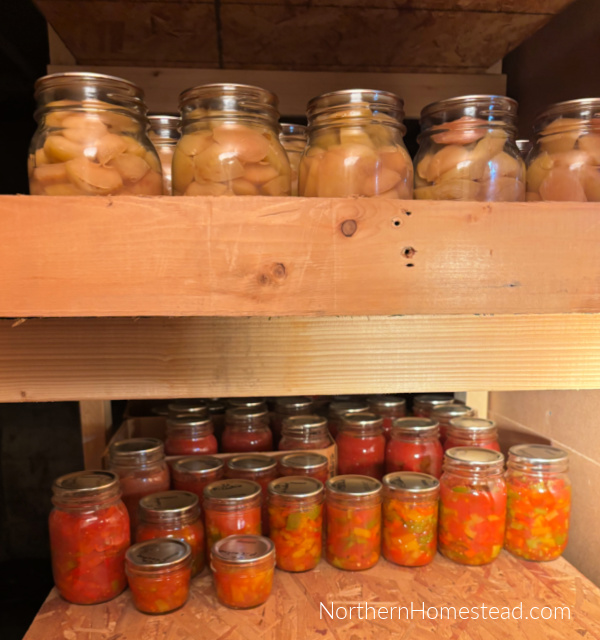
When home canning, always check the seal before storing the jars. There are several ways to check before storage and during storage.
1. The sealed canning lid look
The sealed look is the first indicator that a jar is sealed. The lid will have a dip inwards, not outwards.
2. The sealed canning lid sound
We all love the popping sound a lid makes when it vacuum-seals. It’s like music for home canners. But that’s not the only sound distinction. A sealed canning lid sounds different from an unsealed one. Before storing the jars, I always tap each lid with my fingernail. If one sounds duller, it probably indicates a false seal. It might still look sealed, but the sound tells me it isn’t. It is safe to consume if you detect it right away, but I would not store it. I usually keep it in the fridge and use it quickly.
You can use the same test to check whether the seals are still intact when the jars are in storage. Every so often, I go through my jars, tip the lids, and listen.
3. The smell test
When stored, an unsealed lid lets air out. In my pantry, I am careful about smells. If it suddenly smells like tomato sauce or jam, I know one of the seals is broken. A quick sound test tells me which one. If the jars had rings, the air couldn’t escape as quickly, and by the time we noticed, it would be a disaster. Without the band, we can smell it much faster. Unsealed jars aren’t safe to consume after several weeks, or even months, in storage. Just compost the food and clean and sterilize the jar.
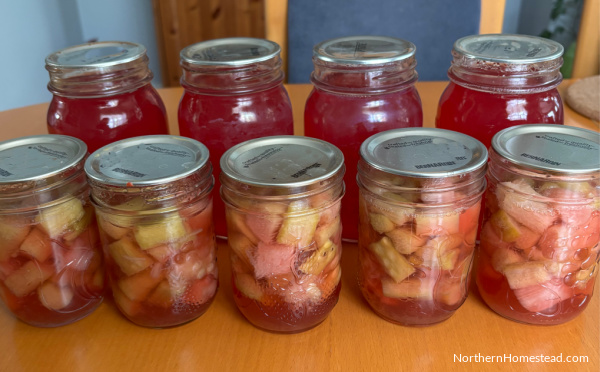
Even though false and failed seals are rare, they still occur. Knowing the signs and safety precautions can make home canning as stress-free as possible. Always take the time to remove the screw bands before storing your jars, and avoid stacking them for the same reasons. These safety precautions are simple, but highly effective at preventing undetected spoilage.
Do you have a story of a failed seal? Please share it in the comments below!
Subscribe to Northern Homestead and follow us on Instagram, Facebook, or Pinterest for the latest updates.
More food-preserving articles you might enjoy






NEWSLETTER SIGNUP

Leave a Reply