
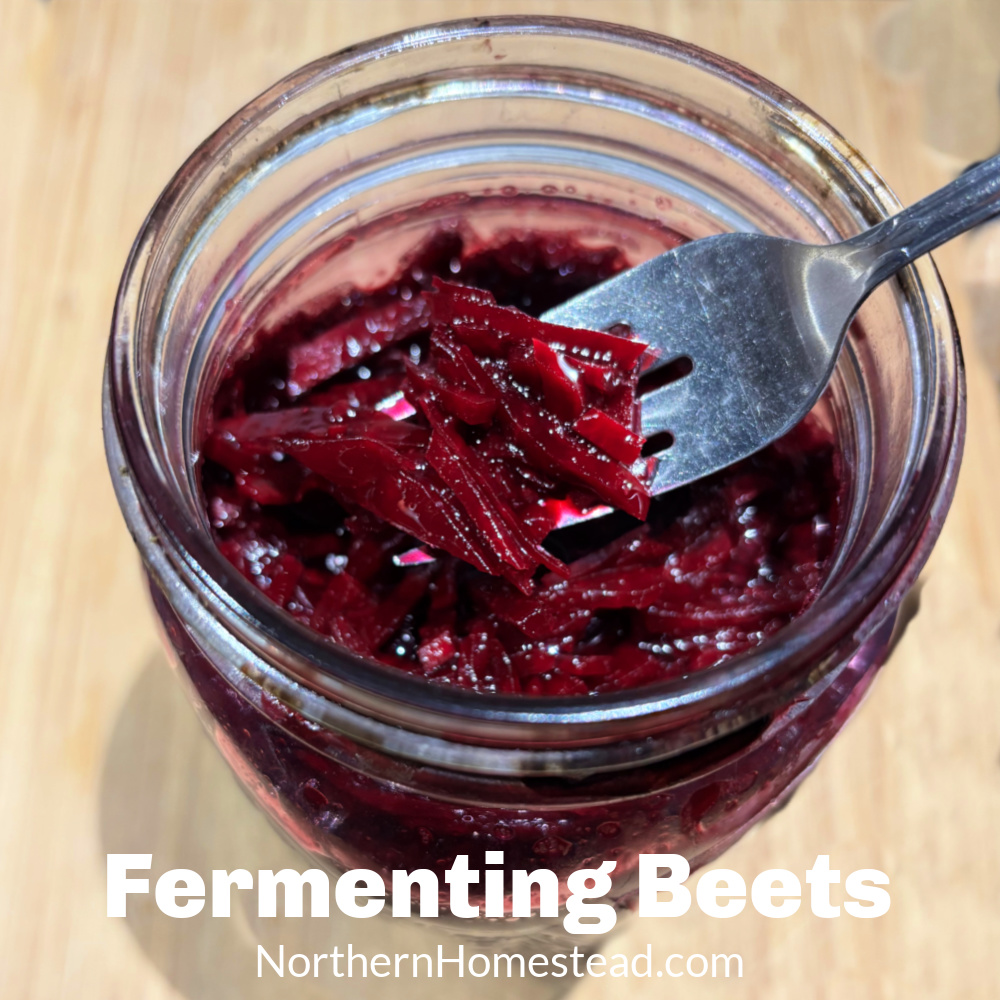
Beets offer concentrated nourishment, but not everyone tolerates them well. Fermenting beets makes them easier to digest and even more healthful. By Fermenting Beets, we are transforming a Nutrient Powerhouse into a Tasty Treat. Fermenting beets is fun, so let’s dive in!
Choosing a Beet Variety
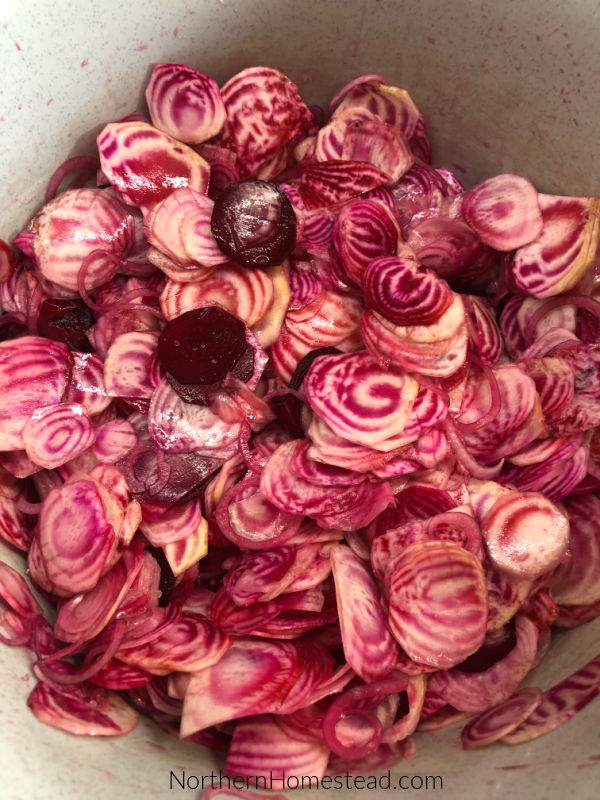
All beet varieties can be fermented. Fermented beets are intensely colored and flavorful. Traditional dark beets are the most vibrant in color and flavor, and they’re also the most active during fermentation. To mellow their reactivity, you can mix beets with cabbage for beet kraut or use milder varieties like Chioggia beets.
Keep in mind that Chioggia beets don’t retain their signature candy-striped rings during fermentation. Golden beets also don’t retain their color. While a pure traditional beet ferment is delicious, it may not be beginner-friendly. For an easier start, mix different beet types with traditional beets to keep the vibrant color while keeping fermentation intensity moderate. Experiment with a variety of beets before committing to fermenting only traditional beets.
Preparing the Beets
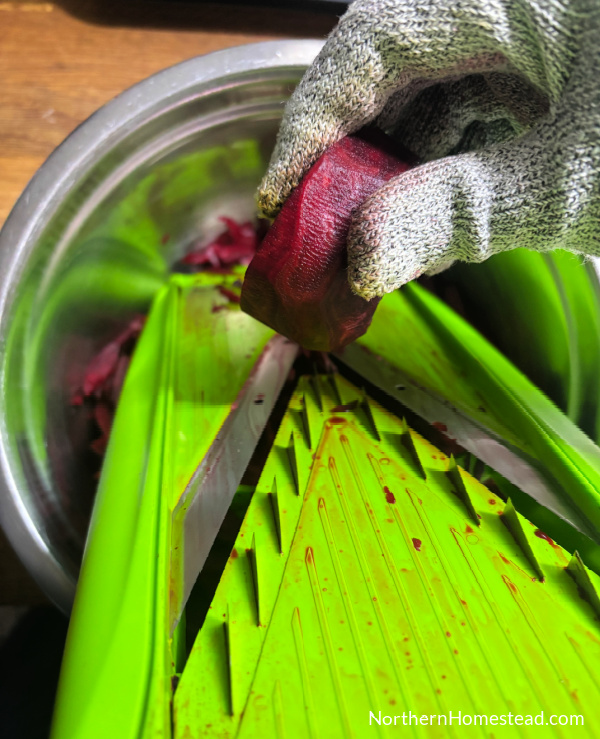
For fermentation, choose fresh, firm, medium-sized beets. Wash and peel them. You can cut beets into different sizes and shapes. Because they are a dense vegetable, it’s best to slice them thinly or grate them into small pieces. Try both methods and see which one you prefer. Note: whenever using a mandoline slicer, wear cut-resistant gloves.
Combining Beets with Other Vegetables
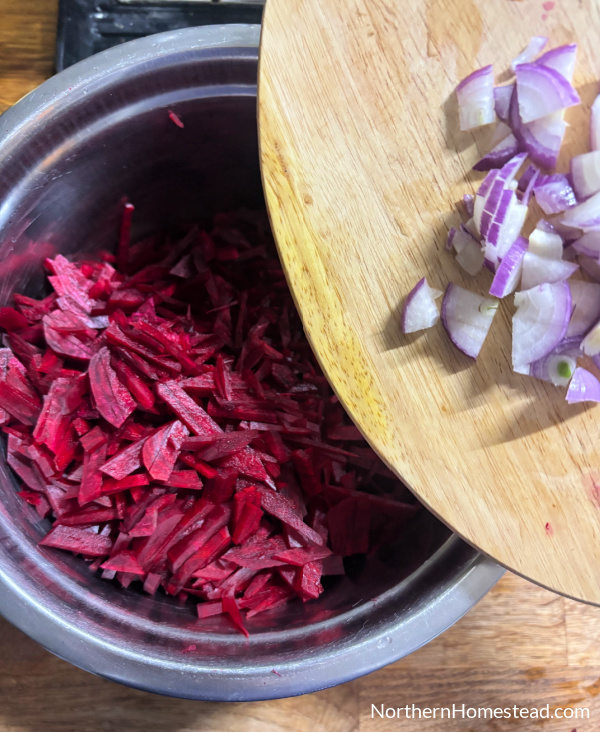
Fermented beets taste amazing when combined with onions and/or garlic. You can also add herbs to suit your taste.
Because beets are so dominant in color and taste, you can mix them with cabbage and include as much as you like. The cabbage will turn red, making it look like beets, even though it isn’t.
The Salt in Fermentation
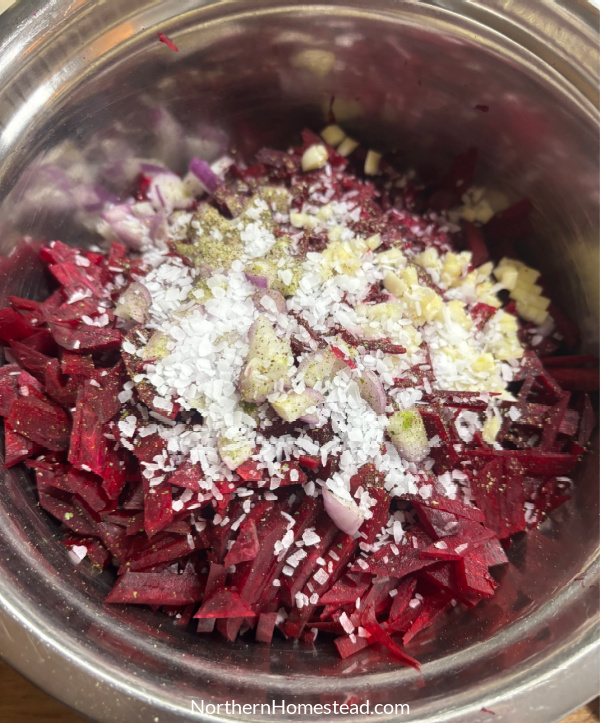
Salt is a key ingredient in fermentation. It helps prevent harmful bacteria from growing and contributes to the finished product’s unique salty-sour taste.
I usually use coarse pickling salt because it’s made specifically for that purpose. However, fine sea salt or rock salt can also work; just be aware that you will need less fine salt by volume. The best approach is to use a kitchen scale, which I rely on for canning, baking, and, of course, fermenting. Avoid using iodized table salt for fermenting.
For fermented beets, use a 2% salt concentration. Once you cut the beets and any other veggies, combine them in one bowl, then weigh them. The weight will tell you how much salt to use. For example, if you have 1 kg of shredded beets, add 20 g of salt to provide the right proportion. One kilogram of shredded or grated beets yields about 4-5 cups. 20 grams of salt is one tablespoon.
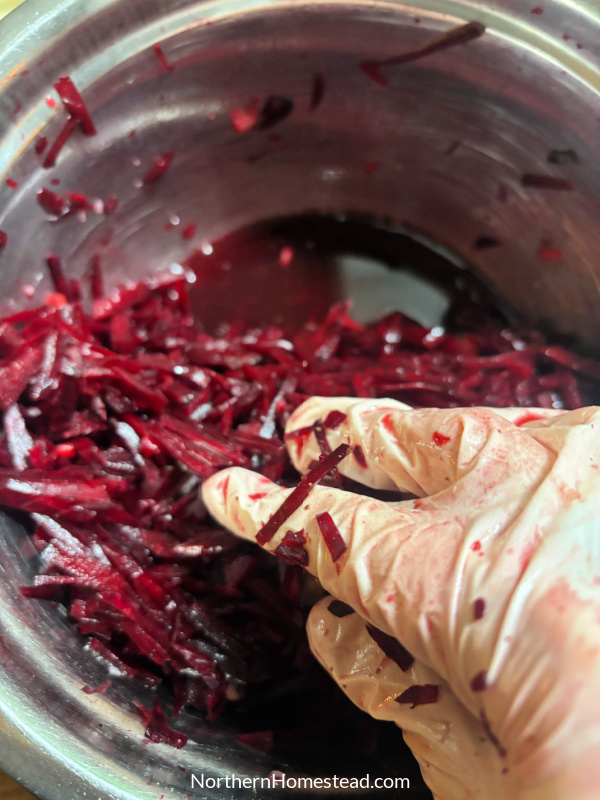
After adding the salt, let the mixture rest for about 30 minutes. The salt will draw moisture out of the beets, which is essential for fermentation.
Filling the Jar
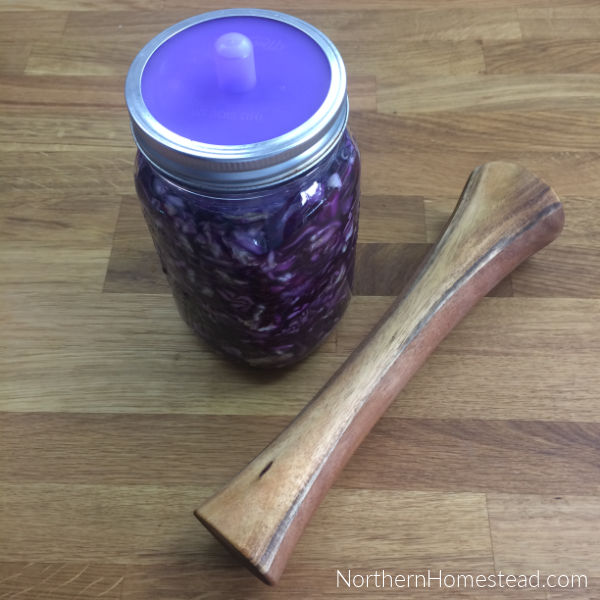
A fermentation kit is very useful for fermenting beets. Choose a clean mason jar larger than the amount of beets you have. Fill the jar tightly with the beets, pressing them down with the tamper.
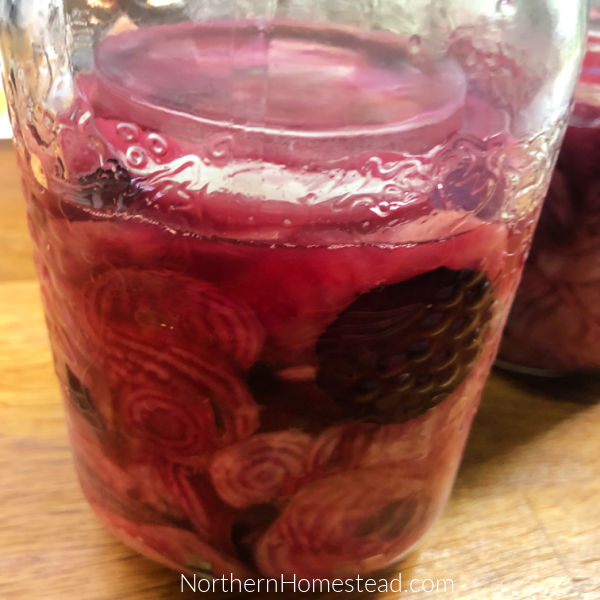
The beets must be submerged in liquid. If the beets don’t produce enough liquid, you can mix some 2% brine and add it to the jar. For a 2% salt brine, use 20 grams of salt per 1000 grams of water — that’s 2g salt per 100g water. Remember, the brine helps ensure proper fermentation. Finally, add a weight stone to keep the beets submerged, and securely close the airlock lid. If you don’t have a fermentation kit, find ideas for what to use instead in the blog post Fermenting Is Simple.
The Fermentation Process
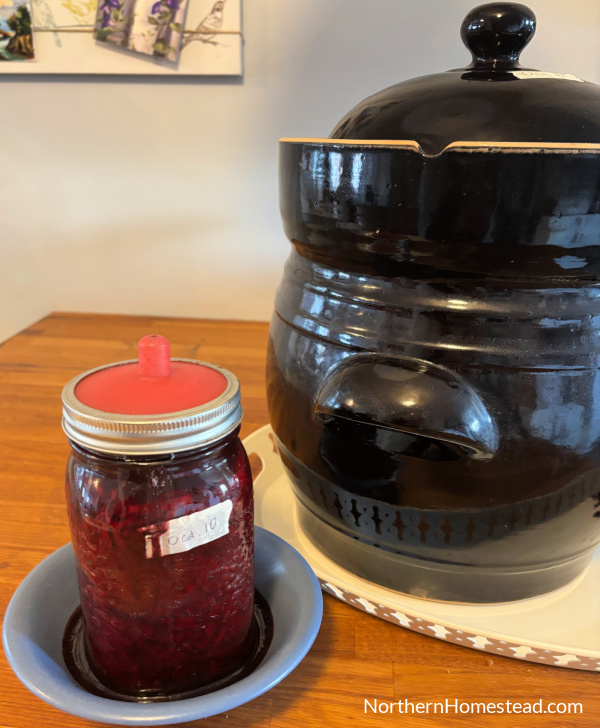
When fermenting beets, they create lots of bubbles that can cause spills, especially the traditional dark varieties. The mess can be significant, so be prepared. Place the jar in a bowl to catch overflow, and keep it out of direct sunlight while still within sight.
Ferment the beets for 7 to 10 days, checking regularly to keep them submerged under the brine.
Once the bubbling stops, clean the jar, replace the airlock lid with a regular lid, and store it in the refrigerator. Fermented beets typically taste better after some time in the fridge as they mature. Fermented beets can last up to six months.
Enjoy this delicious and nutrient-rich treat as a side dish, in salads for added color and texture, or as a healthy snack.
Subscribe to Northern Homestead and follow us on Instagram, Facebook, or Pinterest for the latest updates.
More food-preserving posts you might enjoy



NEWSLETTER SIGNUP

I’ve tried this for the first time, but the liquid in the beets is cloudy so I’m worried about it being safe to eat. Is this normal? Or should I try another batch? I did follow a different recipe that had a 2% salt brine added to beets (but not the extra salt you add in your recipe directly to the beets). Any thoughts on this would be appreciated !
My recipe usually does not need extra brine, that’s why I add the salt to the beets. Only if there isn’t enough, we top it with some brine. It is possible that you didn’t use enough brine in your recipe, so the salt prozentig would be very low. Still hard to say if the cloudiness is something to worry about. The nice thing about fermentation is that there is no in between. If it’s bad, it’s really bad. It would smell and taste awful, and the texture would get slimy. So if it smells pleasant give it a taste test. Sometime if in doubt, I add some salt to the top of a fermentation before storing it. Hope this helps.