
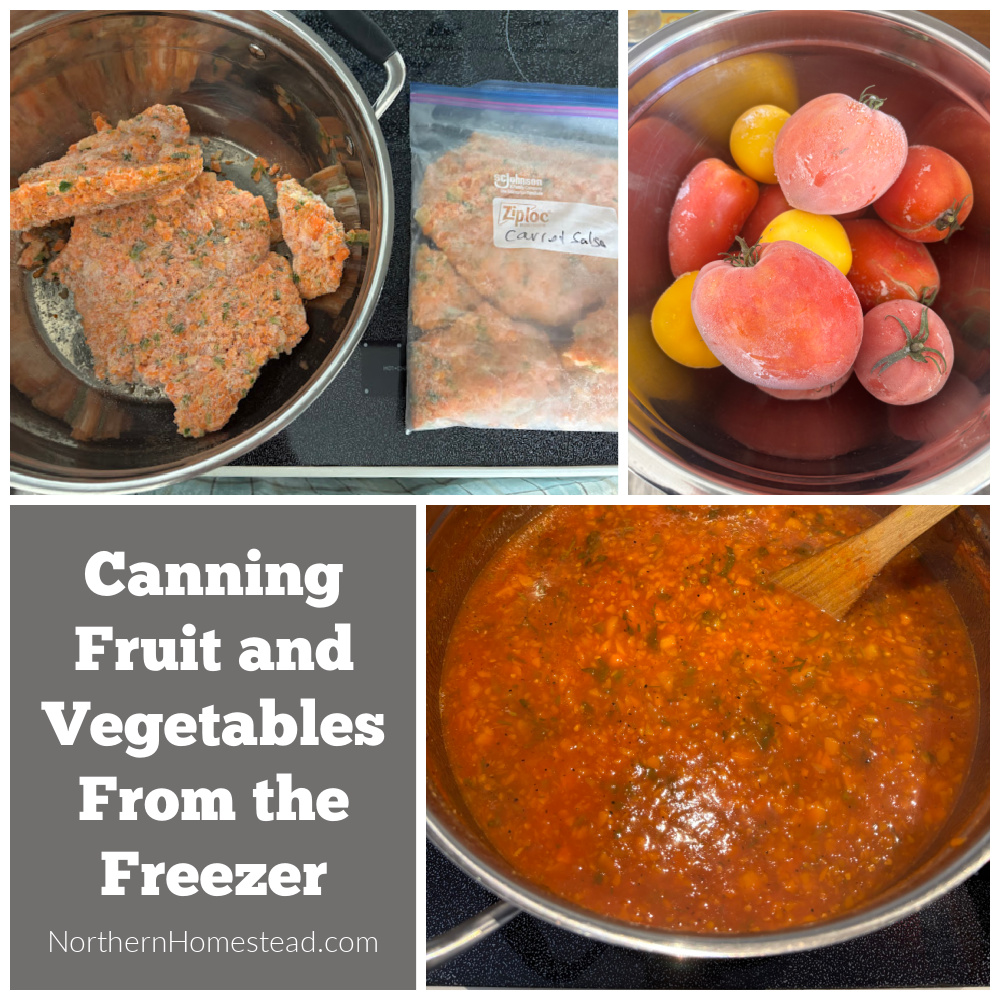
During the warmer growing season, canning and preserving consume a significant portion of our time. Given the volume of food we process, it was essential for us to find a simpler approach to canning. Please understand, that this isn’t a definitive guide on how everyone should simplify their canning or even a basic how-to. Instead, we’re sharing our personal method. It’s a take-it-or-leave-it kind of share, but if you decide to adopt our approach, please know that you’re doing so at your own risk.
Safety and Tradition in Canning
Let’s talk about the inherent risks. Canning has two crucial aspects to consider: the safety of the canned foods and the traditional methods used. We strongly advocate not compromising on safety. It’s paramount. However, while some of our practices aren’t universally approved (to the best of our knowledge), it’s vital to use your discretion and exercise caution.
Traditions, as they say, die hard. Many of our canning methods are rooted in age-old traditions, some of which we believe are no longer essential.
With that said, let’s dive into our methods of simplifying the canning process.
1. No Jar Sterilization Beforehand
It’s essential that the jars are clean and preferably dry. Our routine? We clean them immediately after they’ve been emptied during the season. Once cleaned, we close them with a clean lid, ensuring they’re ready for the next canning cycle. For a more detailed breakdown, check out our piece on Preparing and Storing Canning Jars.
In the past, open kettle canning was a prevalent practice for preparing jams, and sterilizing jars played a crucial role in the procedure. The food was boiled, poured into hot, sanitized jars, and covered with a sterilized lid. The heat emanating from the food would create a seal on the top.
However, we now process our canned goods in a steam canner, water bath, or pressure canner. This method ensures that the food, jars, and lids are sterilized simultaneously, obviating the need to sterilize jars separately.
2. No Boiling of Lids
Much like jar sterilization, boiling lids has historical roots. But if we’re processing the entire jar, there’s no need to boil the lids first. That being said, based on my experience, hot lids tend to seal better than cold ones. For new lids, I usually rinse them quickly and cover them with boiled water for about 5-10 minutes. This ensures they’re warm when I’m ready to seal the jars after filling.
3. Reusing Old Lids
As highlighted in our Canning Dried Beans post, we’re advocates of reusing lids. Fresh summer produce usually gets a new lid, but for beans, jams, and applesauce, I often use old ones. My rule of thumb? Foods that we consume frequently and taste as good on day one post-canning receive a reused lid. Those that need time to mature in flavor get a new lid.
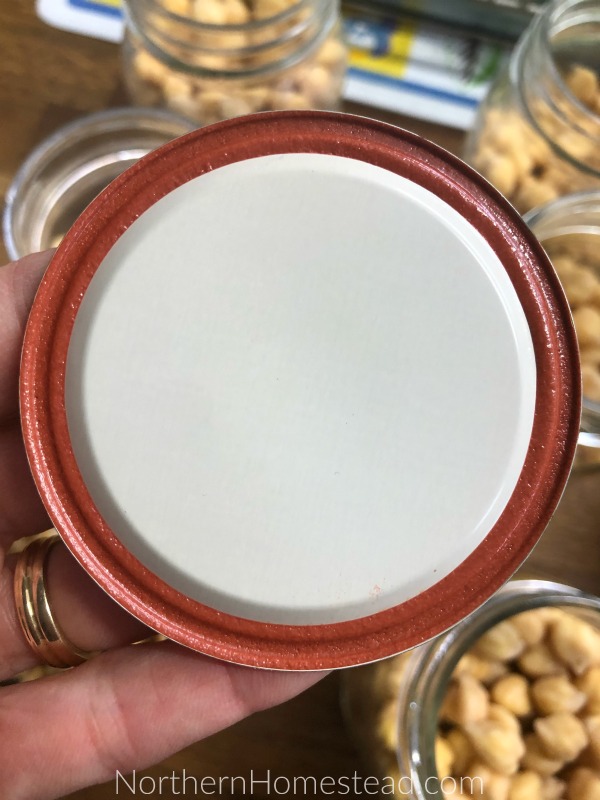
Whenever we reuse lids, it’s vital to inspect them for rust or defects. While reused lids might occasionally not seal perfectly, for items we consume frequently, such as beans or jam, this isn’t a major concern. Typically, in my experience, they seal quite well. After opening a jar, we wash the used lids and inspect them. Any with compromised seals or visible rust are discarded.
Always check the seal of new or used lids and store jars without the ring. This will prevent false seals that can deceive you into thinking the jar is properly sealed, when in fact it is not.
4. No Need to Keep Everything Hot
Eliminating the need to sterilize jars and lids means they don’t have to be hot. This step is a remnant of older canning traditions. Modern jars are much more resilient than their predecessors, greatly reducing the risk of breakage when hot liquid is added. Canning with room-temperature jars is not only less work but also keeps our kitchen cooler during those sweltering summer days.
And since the jars aren’t pre-heated, our canners don’t need to be boiling either. I usually adjust the water temperature in the canner to match the jar’s temperature. Adding hot sauce to a room-temperature jar has never caused us issues.
Again, everything is processed together and sterilized in the canning process.
5. No Removal of Bubbles or Measuring Headspace
Interestingly, there’s a tool dedicated to this step, but its purpose has always eluded me. If you’ve ever seen jars emerging from a canner with bubbles rising, that’s perfectly normal. This is due to the heat causing movement inside the jars.
That said, care should be taken to ensure the liquid reaches the bottom of jars when filling them. To ensure this, when canning small things like beans or peas I usually pour some liquid at the bottom before adding the food, topping up as necessary. This method is quicker and more efficient than trying to eliminate bubbles in each jar.
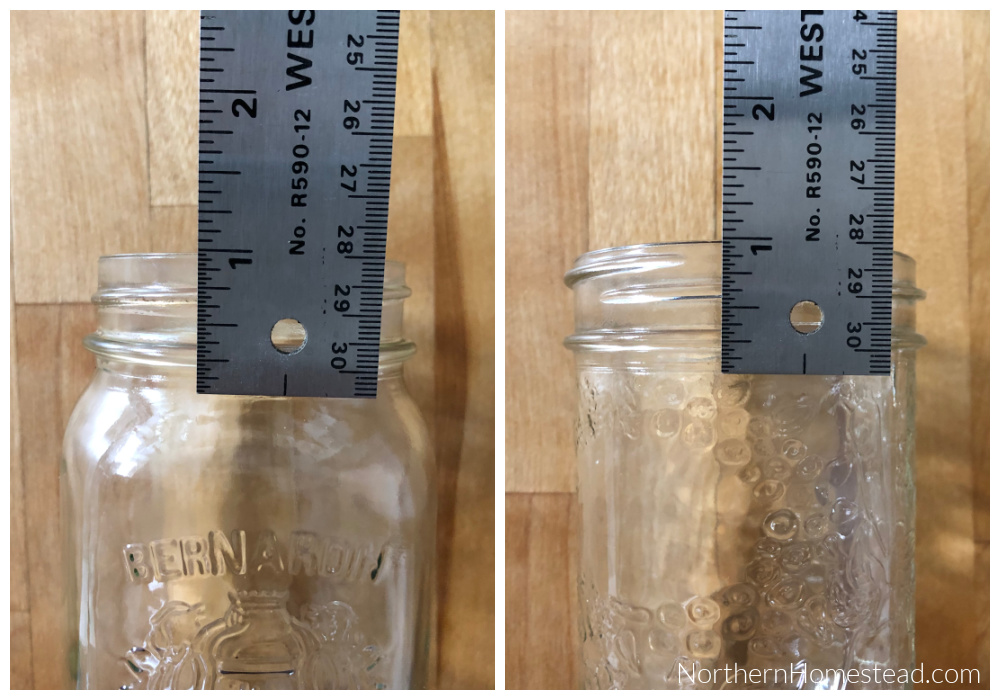
When it comes to headspace (the gap between the top of the food and the jar’s rim), a standard mason jar requires about 1 inch (roughly 2.5 cm) for pressure canning. Water bath canning requires half that amount. Jams and juices can fill up to a 1/4-inch (0.6 cm) gap. These measurements are simple enough to estimate without using a tool. If in doubt, measure your jars so you know where those lines are.
6. Steam Canning Over Water Bath Canning
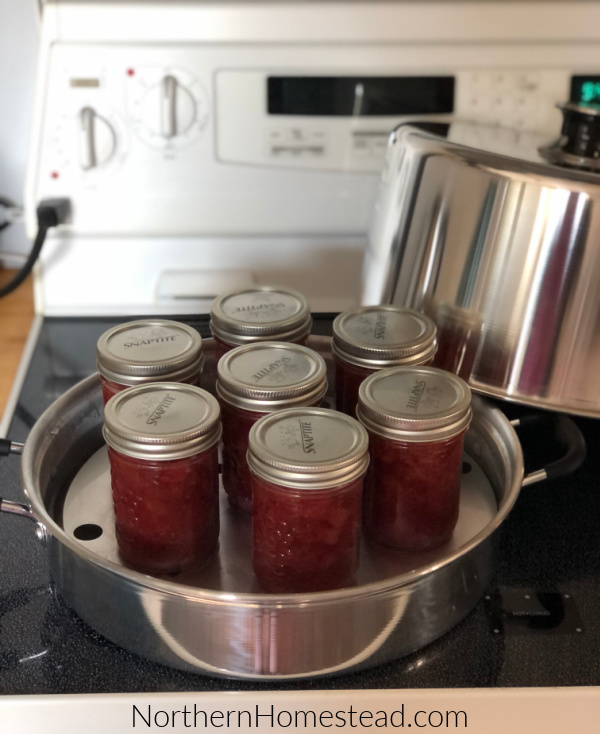
For non-acidic foods, we use a pressure canner, while acidic foods go into a steam canner. Both methods require minimal boiling water, making the process more efficient and cooler. It’s also physically less strenuous, as you’re not hefting heavy pots of boiling water around.
We’ve delved deeper into steam canning in another post. If you’re keen to learn more, you might find our article, “Transform your canning experience with a steam canner,“ beneficial.
Conclusion
There you have it, our methods of making canning simpler. If you have other effective steps or insights that we might’ve missed, please share them in the comments below. We’re always eager to learn and refine our approach!
We invite you to subscribe to Northern Homestead and follow us on Instagram, Facebook, or Pinterest for the latest updates.

Leave a Reply