
The canning season is a busy time of the year. Preparing and storing canning jars so that they are ready to be refilled helps a lot. It eliminates a few steps of work during the cunning season. This can be done all throughout the winter as jars get emptied out, or beforehand in spring.
Just giving the jars a quick rinse and piling them up somewhere out of sight is an option. But, after doing it for several years, we came to the conclusion that it doesn’t work well.
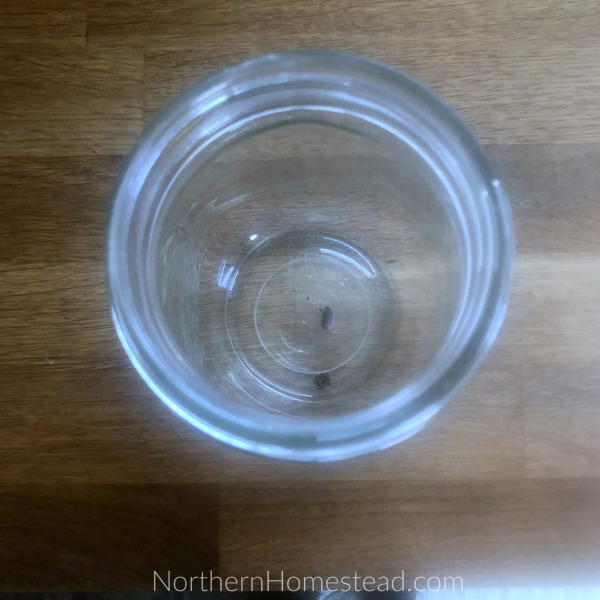
You know how it goes, dust and even bugs get into the jars making it a not-so-appealing thing, yuck. There must be a better way… and there is.
Cleaning jars
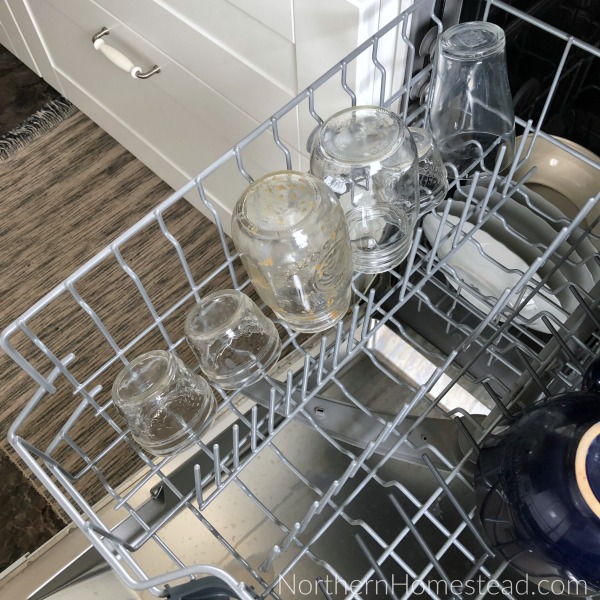
After enjoying the home-canned goodies the jars need to be washed and stored away to be used again. We clean our jars in the dishwasher. Dishwashers usually do a good job to clean a jar ready for canning. After that, we let the jar dry.
Do jars need to be sterilized?
In the past sterilizing jars was a very important step. Cleanliness is still important today, but sterilization might not be needed.
Jars for water bath canning, that are processed for 10 minutes or more, and also for high-pressure canning do not need to be sterilized. The reason is that they will be serialized in the canning process. The jars and the food in them are sterilized. All it needs is that the jars are clean and dry.
Jars that have been cleaned after use and stored with clean lids and rims are ready to be filled again.
Can canning lids be reused?
Manufacturers can not guarantee that a lid will seal well multiple times, so they recommend always using new lids. Plus, it really is not in their interest to sell fewer lids.
Safety regulations also are made with new lids, so there is no testing done on old lids since there are so many variations.
However, if you know what to look for, you can use lids multiple times without any risk.
Reusing lids really starts with opening canning jars. If you open the jars with a can opener, the lids will most likely be damaged and not useful for a second round.
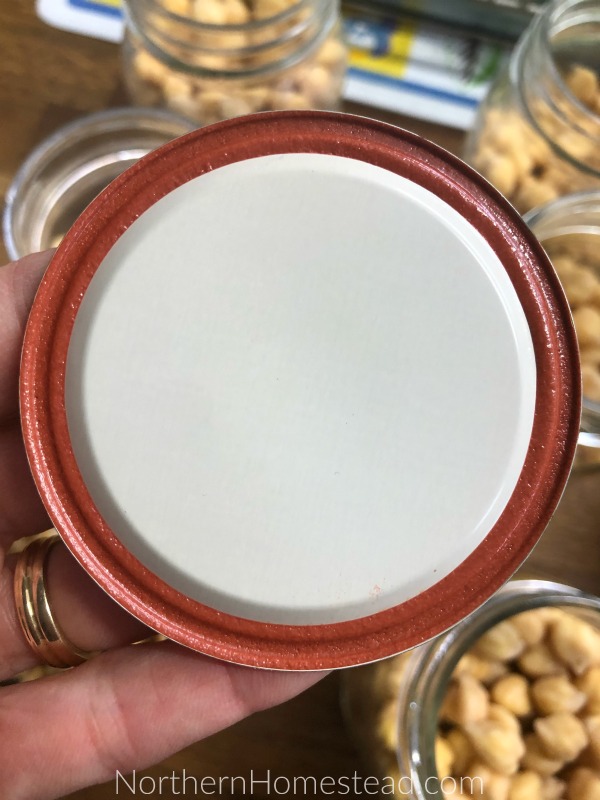
A used lid will show a groove from the last seal. That’s okay since the jar’s rim will sit in the same groove a second time around. It’s the way of least resistance. Important is that there is no scratch/damage. The seal should be intact all around. Look also for damage in the lid itself, it should have no rust.
And lastly, make sure that the used lid is clean. Now it is good to go for another canning round to be used at your own risk.
Since there is a slightly higher chance that a used lid might not seal, I reuse lids for canning goods that can be enjoyed right away. Fruit preserves and high-pressure canning can be done with used lids. However, for pickles that taste better after a few months, I prefer to use a new lid.
Note, lids are often sold out during the canning season. Plan ahead and get enough lids in winter/early spring to get you through the year. Since you buy them ahead of time anyway, look for special sales.
If a jar does not seal, its content is safe to be consumed right away. An unsealed jar is only unsafe if it has been sitting on a shelf unnoticed for a period of time. But since we check seals before storing, that should not happen often.
I say often because it does happen that a seal loosens after a while on its own. I do not know why this happens and I have not noticed any difference between used and new lids, it can happen with both.
Storing jars
We can a lot of food, resulting in a lot of empty jars. First, they go into a kitchen cabinet shelf. This helps us not to deal with a single jar at a time.
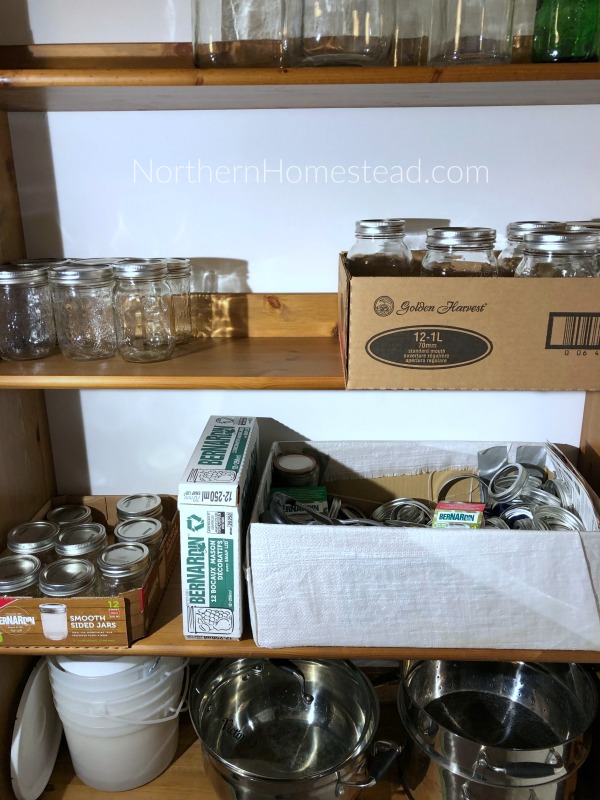
After the kitchen shelf is filled we bring them to the canning shelf. I give them a clean lid and sort them by size in original boxes. Yes, we do have a dedicated space for that.
Saving the original boxes is great for storing jars. However, if the jars came without boxes, you can find a cardboard box that is about the same size and store them in there. Or if you want to go fancy, you can use specially designed jar boxes.

Advantage of preparing and storing canning jars beforehand
As you can easily see there is a huge advantage to preparing and storing canning jars beforehand.
We have no piles of dirty and dusty jars during the year.
Every jar is already clean and dry during the canning season.
Every jar has already a clean lid, no need for a last-minute purchase.
We hope this helps you to be better prepared for the canning season. Maybe you even have time to try one or two of our favorite canning recipes.
We invite you to subscribe to Northern Homestead and follow us on Instagram, Facebook, or Pinterest for more great tips.
More food-preserving articles you might enjoy:


Leave a Reply