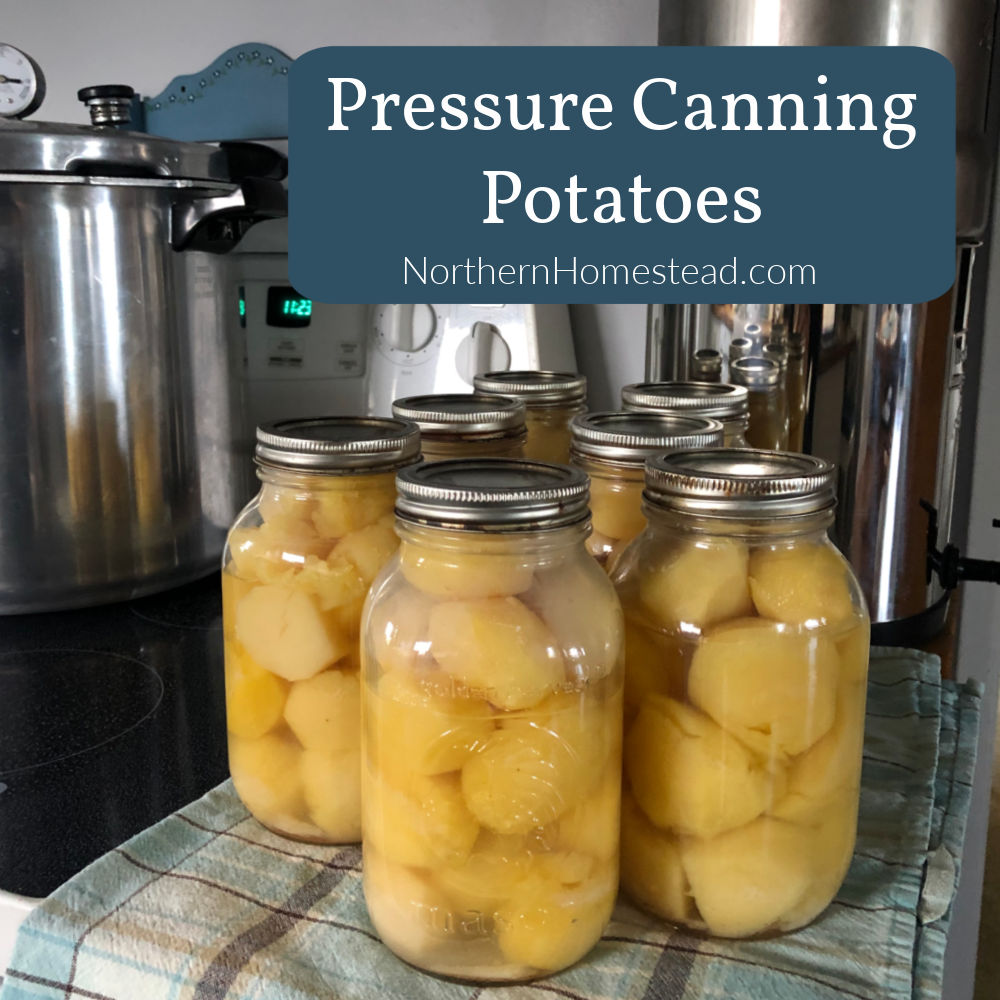
Pressure canning potatoes using the easy Raw Pack method does not come from a book (See update below). It was developed over the years to see what works best. It is the simplest way to pressure-can potatoes there is, and, in my humble opinion, the best. Of course, I would say so, right? 🙂
Update: As an attentive reader pointed out, there are now 3 versions of Raw Pack potatoes on page 278 of The All New Ball Book of Canning: Herbed, Chipotle, and Mediterranean. Meaning you add different herbs and spices to the raw-pack potatoes. Of course, that means just salt is also safe. But if you like your potatoes with rosemary, garlic, or other herbs or spices, it’s safe to add them. You can also top the raw-pack potatoes with your choice of hot broth. The processing time is the same.
I will use the common terms Raw Pack and Hot Pack to differentiate between the methods, since both are now considered safe. This article covers both methods.
Why can potatoes?
1. To have homegrown potatoes year-round.
Potatoes store well in cold storage. Under optimal conditions in a root-clear, they will last at least 8 months. In our DIY root cellar room, which is a former coal room, the potatoes last easily 6 months. As you know, there are 12 months in a year, not 6 or 8.
If we want to eat homegrown potatoes year-round, pressure canning them is a great option. In this case, the potatoes do not have to be canned in the fall. I usually do it during the winter months when there is more time and heating up the kitchen is welcomed.
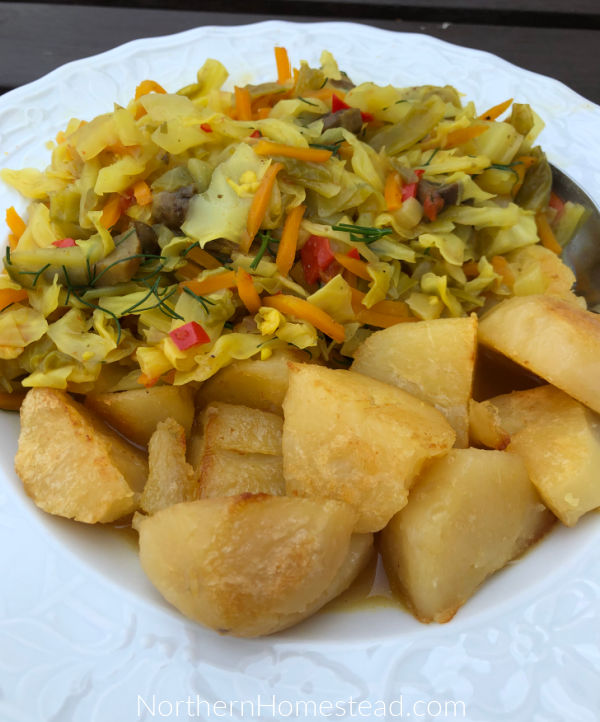
Having canned potatoes during the busy summer months is great. It makes an instant, easy meal. For example, here is freshly harvested cabbage with roasted potatoes that were canned. Yum!
2. If you harvest many small and/or immature potatoes.
For storage, you want mature, well-sized potatoes. Mature potatoes have thick skin firmly attached to the flesh. In a short growing season, we do not always reach that. Often, we end up with many small potatoes at the end of the season.
Choosing an earlier variety can be helpful, but early variety potatoes do not always store well either. If your favorite variety is a late one, what to do? Canning is a great solution.
In this case, it is good not to wait too long after harvesting. For best results, pressure-can those fresh tubers soon after harvesting them.
3. There is no room to store potatoes.
Modern houses often have no cool food storage at all. A dark closet or pantry can be used to store potatoes for a month or two, but they will get old quickly. Canning the potatoes is a better option. Canned potatoes can be stored in a pantry or cabinet. Keep them away from direct sunlight or heating shafts. But that is common sense.
What potato variety to use?
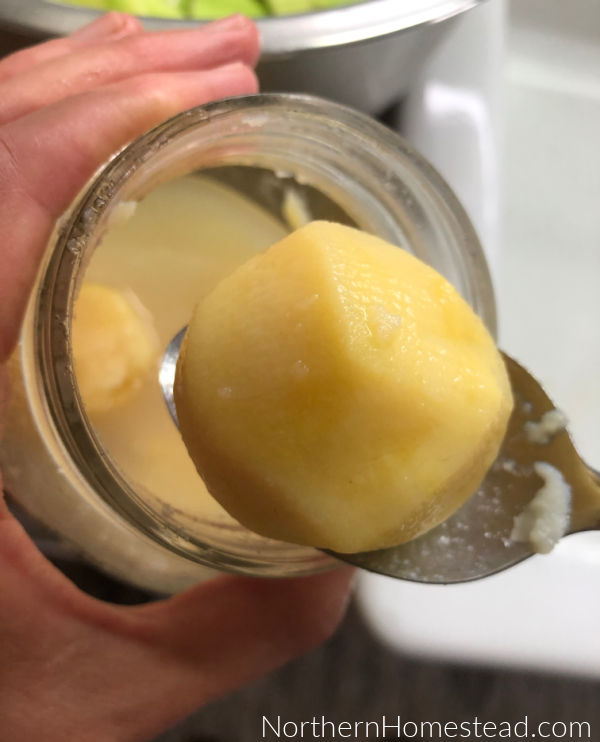
There are many potato varieties, and to my knowledge, all can be canned. However, you will get different results with different varieties.
White, very starchy potatoes may discolor to a greyish color and develop a starchy white film. They are still good and safe to eat, but don’t look as appealing.
Yellow flesh potatoes are our favorite to grow, eat, and can. We love the German Butterball variety. Read more about growing potatoes here.
The safety question
There are now official Raw Pack recipes in the All New Ball Book of Canning. If you prefer the Hot Pack method, look for the notes for it. It is not much different, just a few extra steps.
Sterilizing jars and lids is important if you use the old open-kettle method or when processing time is less than 10 minutes. Anything processed for 10 minutes or more is sterilized in the process. Since we are pressure canning our potatoes, everything will be well sterilized at the end. Just start with clean jars and keep them at room temperature.
Will the end result be less processed if using the Raw Pack method? In my opinion—and now, according to the new book—no. Pressure can only build up if the temperature is right. The difference is that getting to the right temperature will take longer. However, I do not mind, since there is nothing to do during that time, just watching the canner.
Will the glass not break if started cold? Again, in my experience, no. The important factor for glass is a consistent temperature. If you have hot jars, everything else must be hot as well. If you have cooler jars, keep the canner water cooler, too; boiling water for cold jars could crack them.
What you will need to pressure-can potatoes
A high-pressure canner. This one should be a giver. If you want to pressure can, you need a canner. We use the Presto canner, which is designed for use on a glass cooktop. Read more about canning on a glass top stove.
Presto also has a canner for an induction glass cooktop that works on gas, electric, smooth-top, and induction ranges. If you don’t have a canner, that’s the one I would recommend. With this one, you are set for whatever cooktop you will have in the future.
Jars. Most canners hold 7-quart jars or 9 to 18 pint jars. The jars need to be clean, not sterilized. Note: Do not process just one jar. You must process at least 2 quarts or 4 pint jars in the pressure canner at a time.
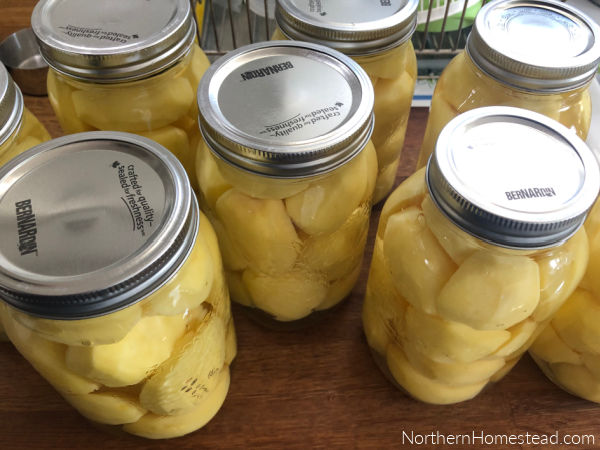
Wide-mouth or regular jars? A wide-mouth jar is easier to use, but overall it is a more expensive option —the jar itself and the lids. I find regular jars work well, too. Just keep the potato pieces smaller to fit into the opening.
Lids and rings. To make sure the lids seal well, I always cover them with boiling water and let them sit for about 10 minutes. Not sure if that is a must. Just a habit, I guess. I also have an extra box with pressure canning rings. They do discolor quickly, so why not use the same rings again and keep the nice rings for water bath canning?
Getting the potatoes ready for canning
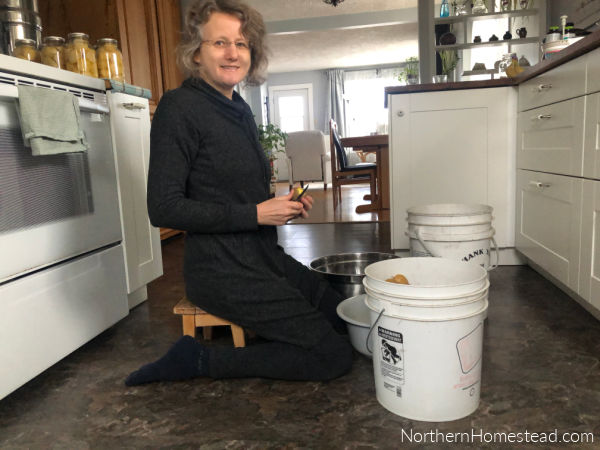
Do you have to peel the potatoes?
Root vegetables need to be free of soil for canning. The spores that can cause botulism are found in soil. It’s safer to peel any root vegetables for canning. Make yourself comfortable and peel away.
Once all the potatoes are peeled, wash them again to ensure no soil remains. Then soak them in cold water to prepare them for canning. The cold water will prevent them from discoloring and remove some starch. You can let them soak for a few hours or overnight.
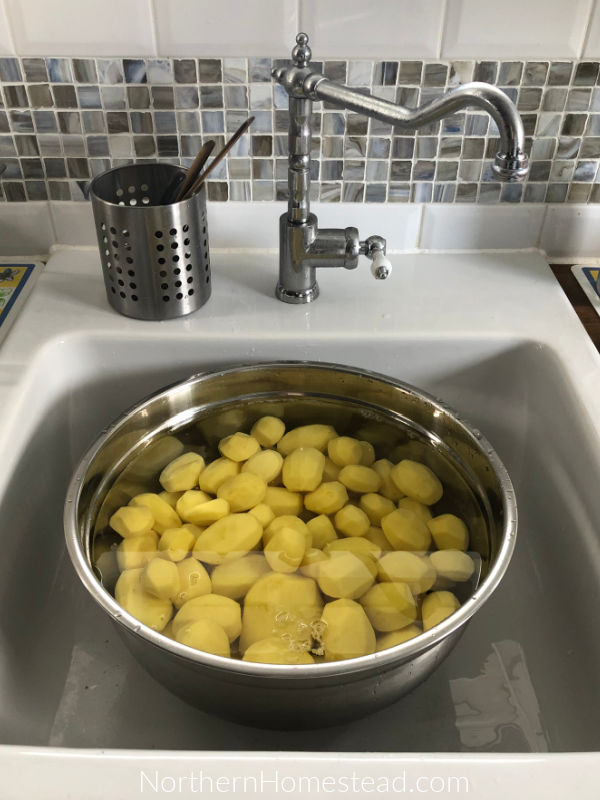
I prefer to leave the potatoes whole if they are no bigger than 5 cm (2 inches) or in half. You can also cut into 1-2 cm (1/2 inch) cubes. You want to keep the potatoes in one jar about the same size for easy use later.
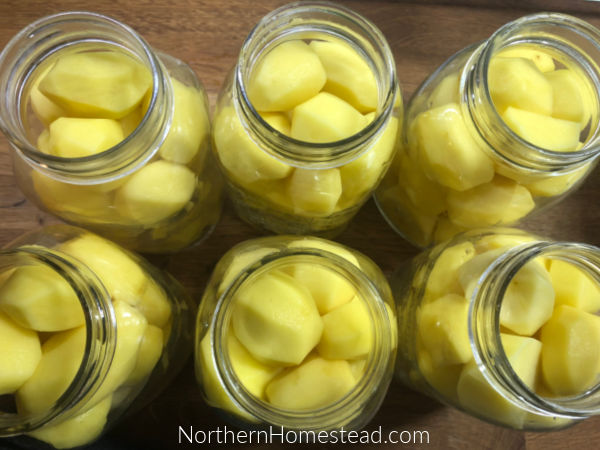
For each quart jar, you will need about 2.5 pounds of potatoes. Peel the potatoes, wash, and submerge them in cold water as we covered above.
The Raw Pack method: Drain the potatoes, then fill the jars. Add salt, if used, and cover with boiling water (I use an electric kettle for this), leaving 1 inch of headspace. You can also use other herbs and spices and cover with broth. Cover the jars’ lids and screw on the bands finger-tight.
The Hot Pack method: Cover the peeled and washed potatoes with hot water and boil whole potatoes for 10 minutes and cubes for 2 minutes. Pack hot potatoes into the jars, add salt if used, and cover with freshly boiled water, leaving 1 inch of headspace. Cover the jars’ lids and screw on the bands finger-tight.
Alternatively, I learned from a German canner to give the potatoes a good rinse to remove dirt and cut out any blemishes. Then boil the potatoes with the skin for 5-10 minutes, peel them, and use them for canning. That’s a great option. Proceed with the peeled potatoes as with Raw Pack.
Spice it up: Salt is optional; however, canned potatoes taste better with it. Use canning or iodine-free salt. 1 teaspoon for a quart, and 1/2 teaspoon for a half-quart jar.
The all-new Ball Book of Canning also suggests ground black pepper, dried herbs such as rosemary, thyme, and oregano, chili powder, minced garlic, and fresh cilantro.
You can enhance the flavor of the potatoes by using broth instead of water. Personally, I prefer to keep them simple with just salt and water, adding spices later when using the canned potatoes. However, there are multiple options available.
Pressure canning potatoes
Place the empty canner on the stove using the right-sized burner (read more about using a glass-top stove here).
Place the canning rack on the bottom of the canner. Fill the canner to the marking with water (about 3 quarts) and a splash of vinegar. The vinegar prevents hard-water mineral deposits from forming on jars.
If you use the Raw Pack method, the jars will not be boiling hot; use warm water about the same temperature as your jars are at this point. If you use the Hot Pack method, your jars will be hot, so use hot water in the canner also.
Place your jars into the canner. If you are using pint jars, place a canning rack between the layers of jars.
Close the lid (checking that everything is in place first), aligning the V mark on the cover with the mark on the body handle. Press down and turn the lid to align the handles. If you are using a different pressure canner, follow your instructions.
Turn on the stove on medium-high to high and heat the canner till steady steam comes out of the vent pipe. If you started cold, this will take a bit longer.
Set the timer for 10 minutes. Turn down the heat a bit, but keep the steam flowing.
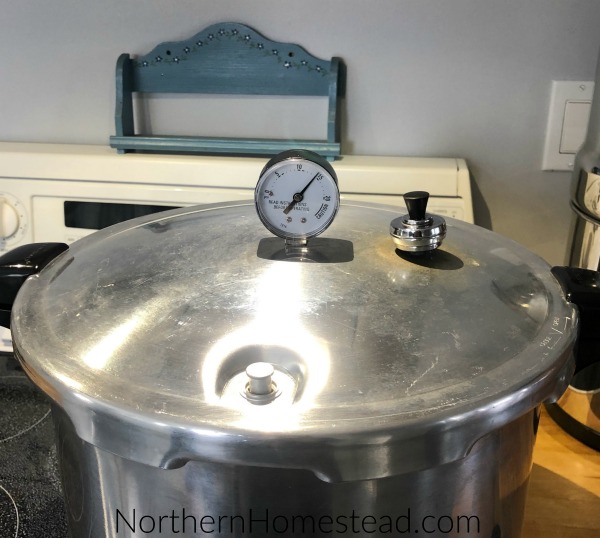
After 10 minutes, place the pressure regulator on the vent. Turn the heat back on high and leave it relatively high until the desired pressure is reached.
The canner will seal first, then the dial gauge needle will start to move till it reaches the pressure you need. This can take 20 minutes. If you have a Presto canner pressure regulator with weights on, the regulator will start to wiggle at the set pressure. If not, just watch the pressure gauge needle.
Potatoes need to be processed at
11 pounds of pressure(psi) at an altitude below 2,000 feet.
12 pounds at 2,001-4,000 feet
13 pounds at 4,001-6,000 feet
14 pounds at 6,001-8,000.
Processing time is the same for all altitudes. 35 minutes for pints and 40 minutes for quarts.
Turn the heat down to medium at the desired pressure, then set the timer. Make sure the pressure remains constant throughout the entire processing time. Again, it is much easier with a Presto canner pressure regulator. The sound will just get stronger if there is too much heat, so turn it down a bit, and slower if there is not enough heat, so you can adjust the heat.
When the time is over, turn off the stove. I do not move the canner because it’s too heavy for me, but you can if needed. Let the pressure come down, don’t touch the regulator or the lid, it will come down on its own.
Once the pressure is down, wait another 10 minutes before opening the lid. Don’t rush anything. After opening, wait another 10 minutes before removing the jars.
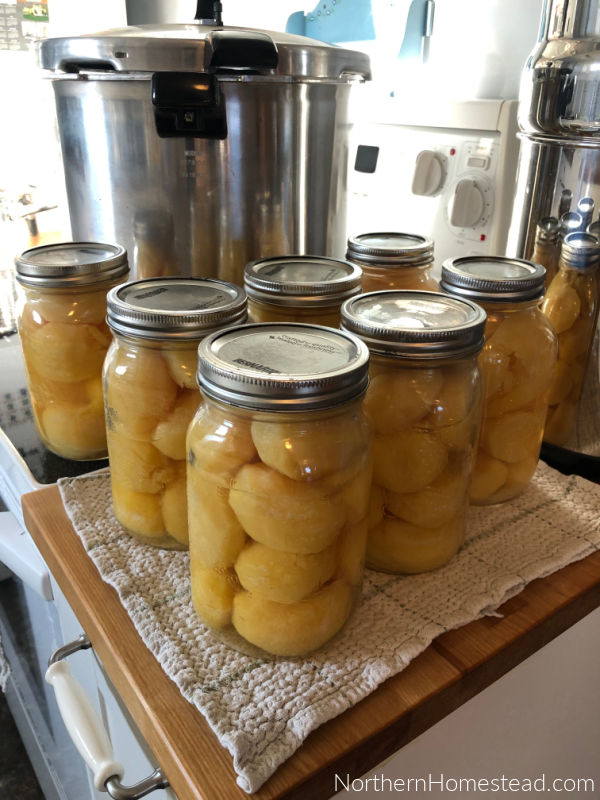
Let the jars cool on a towel, check the seals, and store them for use.
We invite you to subscribe to Northern Homestead and follow us on Instagram, Facebook, or Pinterest for the latest updates.



I have canned my potatoes this . My question is they look yellow is this normal.
The color would depend on the potato variety. Yellow potatoes look yellow.
Followed your method, raw packed, cold jars, cold canner. Brought the temp up slowly and vented for a good 10 minutes with a steady stream of steam before putting on weight. Going to process and extra 5 to 10 min just to make sure everything is well sterilized.
Enjoy your potatoes! Adding extra time should not harm.
I am using the tested method. All is turning out great! Thanks for your instructions, this has been easy!
Happy to hear it worked well. Canning potatoes is such a great way to preserve them.
Thank you for this post. I’m wondering why the jars aren’t compromised by adding the boiling water to unheated jars.
It’s just the same as for example pickling, where you fill the jars with lets say cucumbers and than fill them up with boiling brine. Boiling water is not hotter than brine.
Thank you so much!! When would you ever adjust the weights, is it always all 3 parts together?
The pressure regulator has 3 pieces that hold 5-10-15 pounds of pressure. Adjust the internal cooking pot pressure, no accessories (5 pounds), add one ring (10 pounds), and add two rings (15 pounds). You can add/remove weight as needed for your altitude. For our area, we need 12 pounds. I made my own adjustment by removing one 20-gram ring and adding 10 grams of key rings. Now, it holds 12.5 pounds. Use a precise scale if you want to adjust your rings.
In The All New Ball Book of Canning they actually have 3 tested versions of raw pack potatoes, page 278. Herded, Chipotle and Mediterranean versions. They’re delicious! Of course just salt is great too (or processing with broth). So now there IS a tested raw pack method!
Oh thats great to know, thank you. Is that the book you are referring to? https://amzn.to/4oP5Aon