
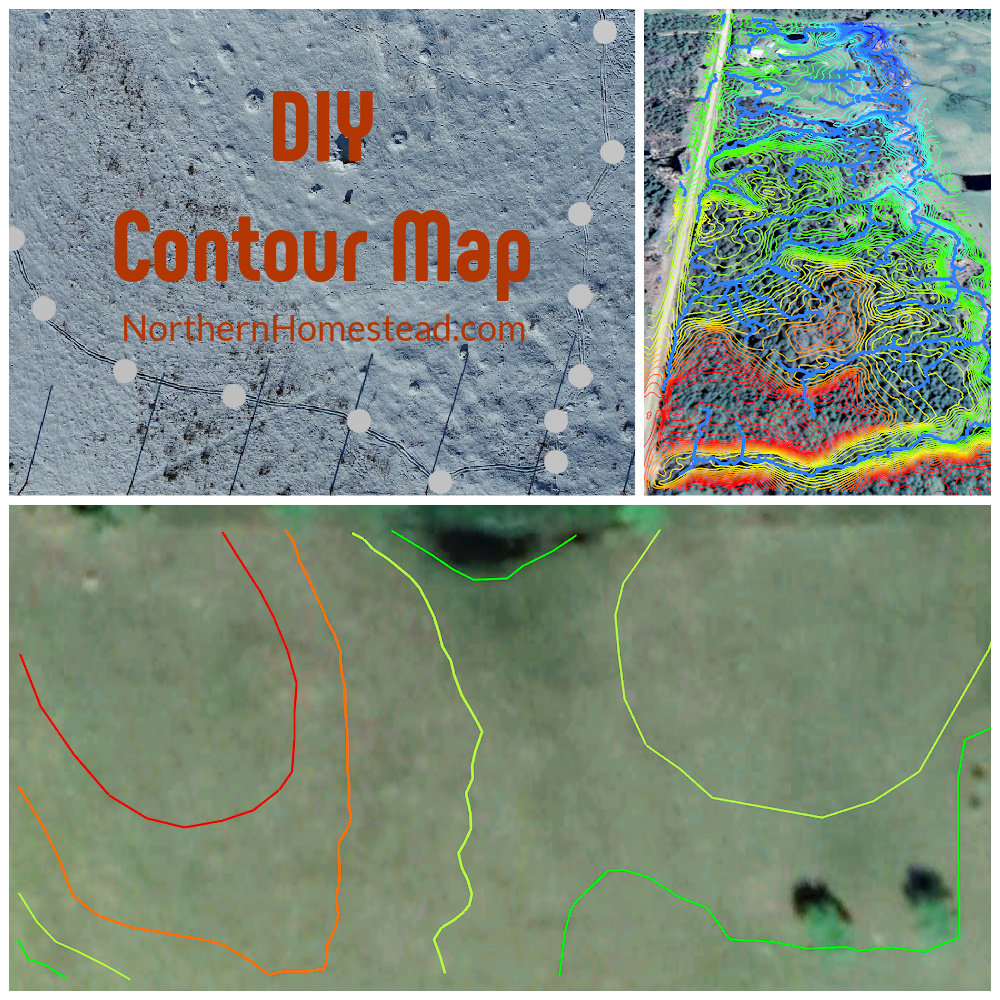
When designing a permaculture property, the topography of the land is one of the first things you want to know. Depending on where you live you might have great resources available to find that. However, if those resources are not available, a DIY contour map might be an option. Here we share our experience, what we did and why.
Note, we are talking about a 2-acre property. If you have much bigger land, a DIY contour map is likely not an option. However, it could still be useful information to start with the home site of that property, and we share a link to a great program to help you out further.
Why is a contour map important
In order to design a property so that it gives us optimal yield for minimal effort, we really want to understand the terrain of the land first.
Topographic maps are set together from many contour lines. As the slope gets steeper, the contour lines are closer together.
Ideally, you want to know the elevation of the property, the hillshade, slope angle, and slope direction.
Further, we are interested in the local drainage network and greater watershed the property is located in.
Water always flows from high to low. In an event of rain or snowmelt, the water on the property will also flow and saturate in lower points.
Contour map generator
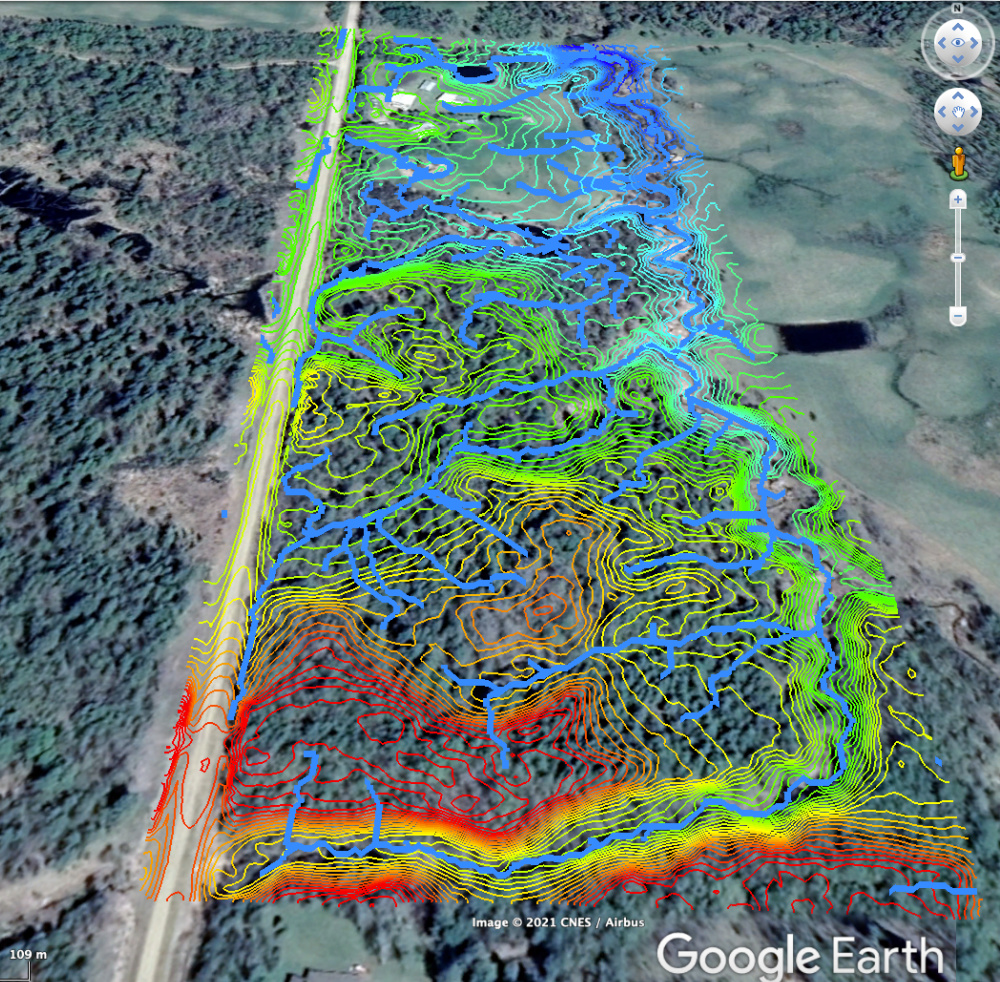
The Contour Map Generator is an awesome program created by Verge Permaculture that answers all those questions in just a few clicks. If you need a contour map to design a new property, or to fix some problems on an existing property, we would highly recommend it.
In the screenshot above you can see what it offers you with 50cm contours, elevation, and the local drainage network, all in one package. The picture above shows what can be done with a high-resolution dataset, in this case, LiDAR. The downside is that LiDAR isn’t available everywhere, but if you’re interested you can email Mitch at [email protected].
First, find your property on the map, outline it and create a preview to see what open-source data is available. Unfortunately in our case, it wasn’t looking like the best quality data there.
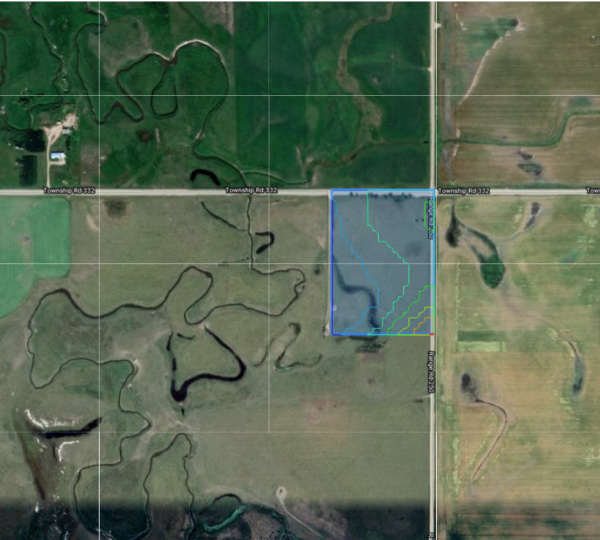
Here is a preview of the contours in the area, these contours represent 1m (3.2 f) in elevation change. Those lines barely touch the two acres, but do show that the land slopes away to the east, south, and west. The good news is that there is no danger of flooding.
To get higher resolution data there is the option to purchase LiDAR data for the area. To make a smart decision wheter or not that is the best option for you, we would recommend the Contour Map Generator training which is included either with the Basic contour map or comprehensive mapping package.
What tools to use
To make a contour map we need to find the contour lines. There are several tools that can be used to do that.
Water level, a very simple tool that can be built out of a long vinyl tube filled with water and two posts to fix each end of the tube onto. It works on the principle that water always finds its own level. It being winter, we didn’t even consider that tool. For summer though, it is a great option.
An A-frame level, basically two posts with a crossbar forming an A-frame with a level, is perhaps the most known tool in the permaculture community, however is not recommended for a bigger site because of the compounding of the error with every move of the frame. In the professional world, there are even more tools ranging from sight level to high-tech LiDAR Drone.
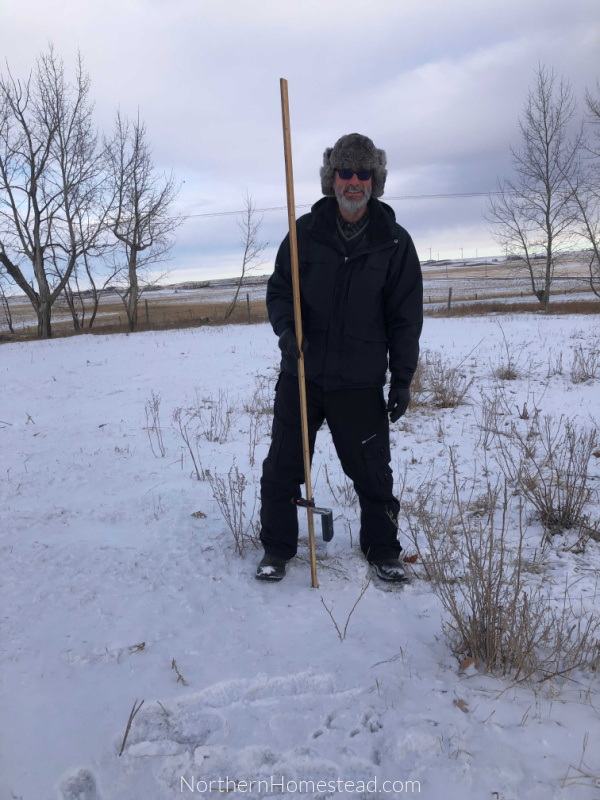
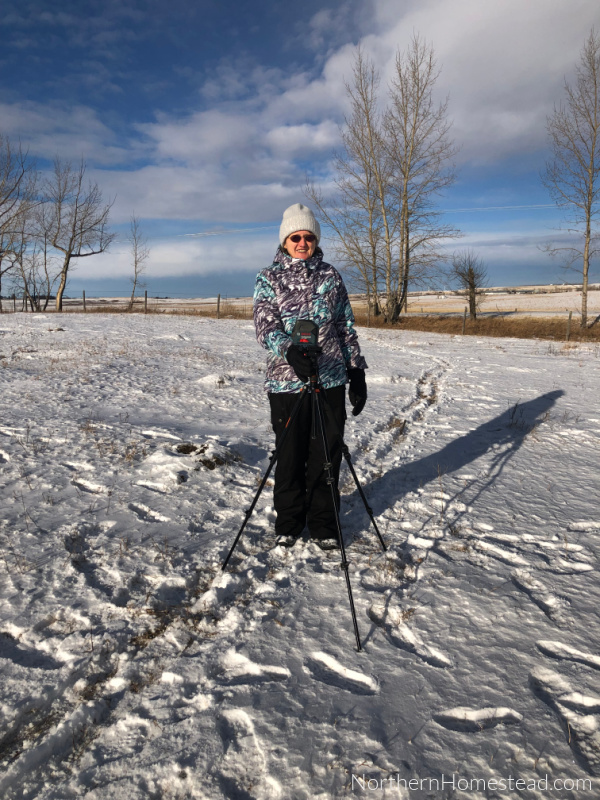
We used a Cross-Line Combination Laser with a receiver. It’s basically a self-leveling laser level that shoots a laser beam to set a point of reference on a surface. To extend the range, an electronic receiver of the laser beam comes in very handy.
The DIY contour lines
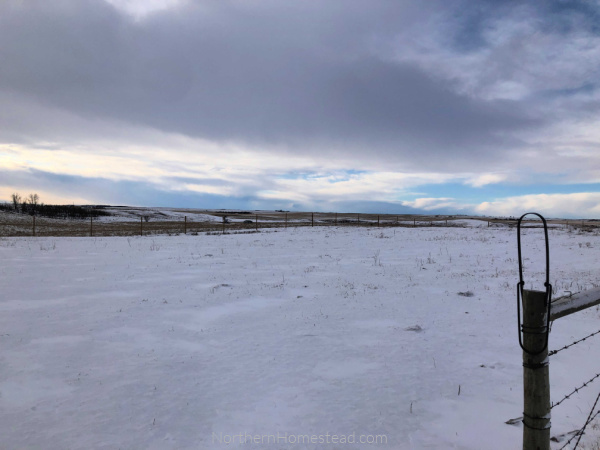
On a beautiful winter day with a bit of a snow cover, we went to the property for our DIY project. First, we defined the highest and lowest points in the main area of interest. We discovered that there is about 7 feet (2.13m) elevation. Just looking at the prairie property it did not look like that. Sure, there was a bit of a hill, but 7 feet! Our eye can be deceived, what appears to be level might not be so.
Using laser level we marked a couple of contour lines, those that we thought would be significant for the design. To make the lines more visible we drag-marked them in the snow, it made the project go quite smoothly.
We used the trace contour method starting in the middle of the property, the low line in the main area. We located the contours at 2 feet elevation interval from the low point. Some prefer to start from the high point of the lot, and in some cases, it might be a better option. Since we used the snow as a marker, we did not need stakes, but normally we would put stakes into the ground at a certain distance.
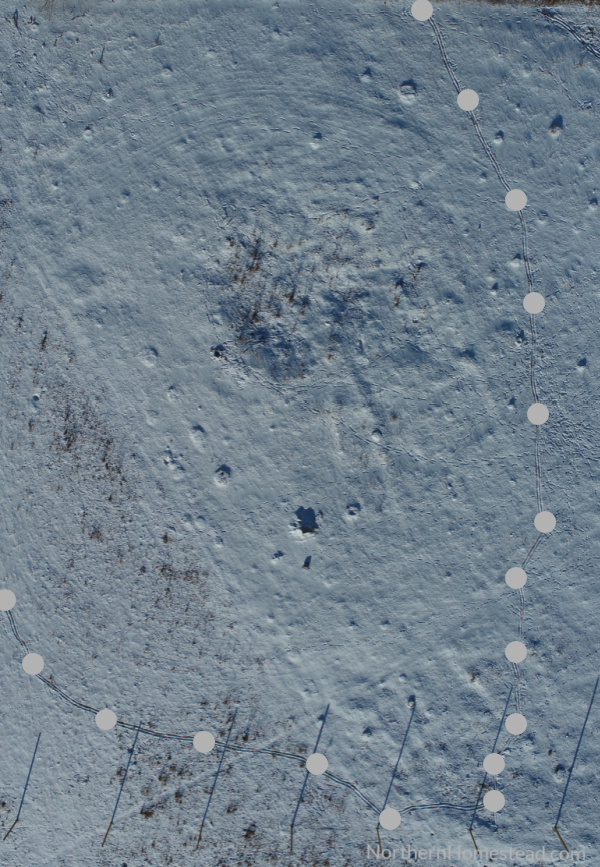
Once we had our lines in the snow, we took an overhead drone picture.
At home, we uploaded the picture to Google Earth Pro and traced the contour lines onto the map. We added some more lines without measuring since it’s just something to keep in mind.
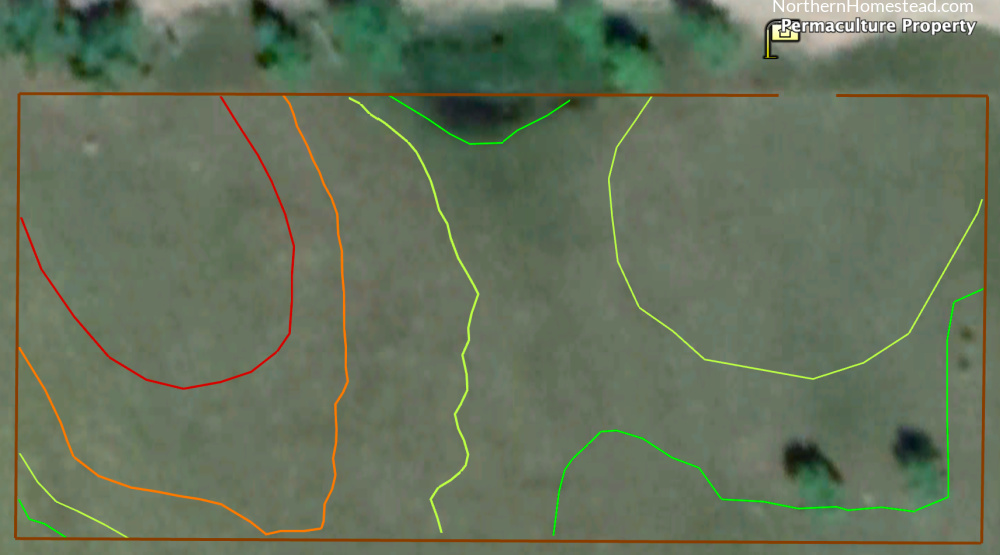
The two bolder lines in the picture above, are the ones we surveyed. They are 2 feet (60 cm) different in elevation, the next approximate line is again about 2 feet higher and the top of the hill in the left upper corner is still a foot higher. We did not measure on contour the low spot north nor in the southeast corner, but both are lower than our first hill line. The DIY contour map is finished.
Here is a great permaculture design read, if you want to learn more: Building Your Permaculture Property: A Five-Step Process to Design and Develop Land

We invite you to subscribe to Northern Homestead and follow us on Instagram, Facebook, or Pinterest for the latest update.
More permaculture posts you might enjoy

Finding and Creating Microclimates in a Northern Garden

How to design an urban yard for food production

Using rocks to build raised beds and borders in the garden
Ten Years Yard-to-Garden Initiative Update
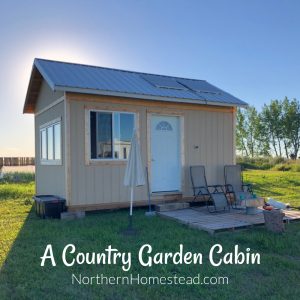
A Country Garden Cabin
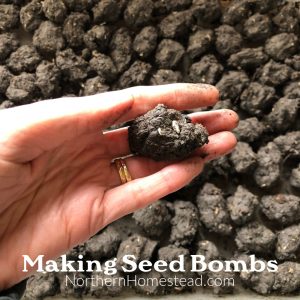
Making and planting seed bombs
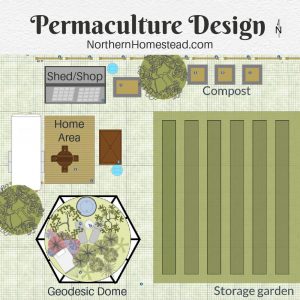
Permaculture Design Project


I did the generator preview and the resolutions weren’t great either. If that is the case would I still benefit from the full package? I feel like I know the topography of the 2-acre property (Hilly/sloping with a couple of “flat” areas), how the water flows the sun/wind etc. I have no problem spending the $$ of course if I will benefit from it.
If I figure out how to do the contours myself, like in your post do you think that would be ok?
Lastly, I feel kinda stupid to ask… But here it goes. What is the benefit of knowing your contour lines?
For instance, I have an area on my property that gently slopes down. I was thinking of putting some fruit trees/shrubs/berries, a kitchen garden, perennials, and a chicken composting area there. So when I begin to plant it would be good to know the lines so I plant on contour? I also was going to make use of all the water that runs off the house and direct it to this area. So I would make swales on contour? Is that the purpose of contours? Sorry for all the questions!!!
Hi Jen, good questions! The benefit of knowing your contour lines is mainly this, Quote: “I feel like I know the topography of 2-acre property (Hilly/sloping with a couple of “flat” areas), how the water flows the sun/wind, etc”. Yes, these are your words. If you know all that you do not need an exact contour map. A DIY one will do.
If you have a water source, and from what you describe it seems you do, swells would be a good option. Again, for swells you do not need a map beforehand, but once you are ready to dig, find a spot where you want to start (best place to plant the first tree or shrub), and then find the contour from there. If you want another row or garden rows on contour, you just repeat the process. Hope this makes sense.