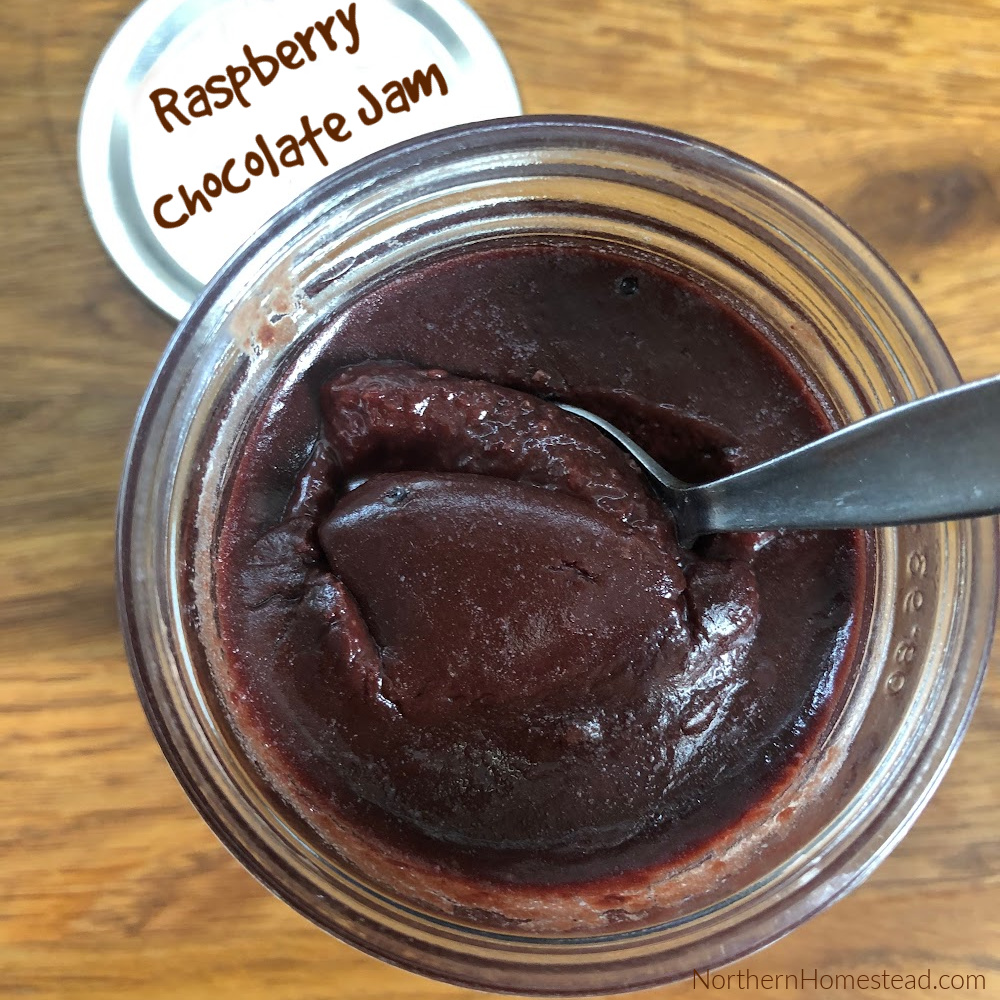
Raspberries are hand down my favorite berry, and chocolate is my favorite treat. In this recipe, we combine those two into a raspberry chocolate jam. How delicious is that!
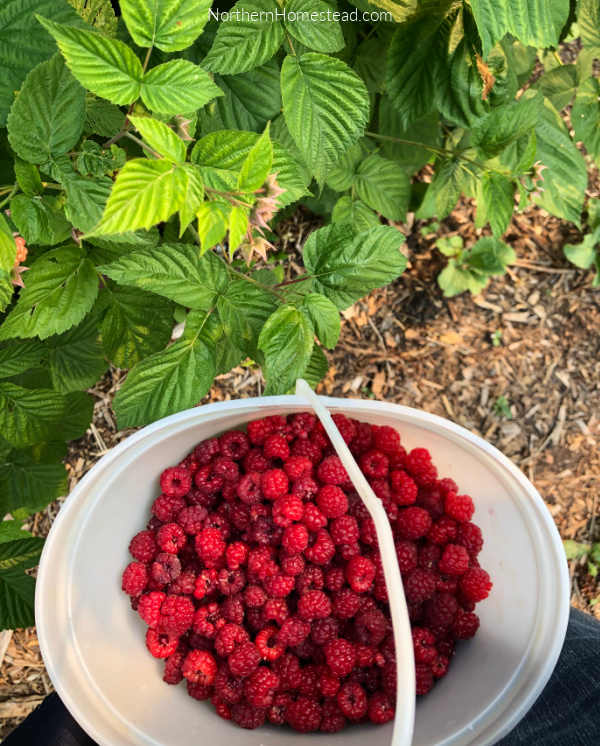
For most of the raspberries we harvest, we freeze whole for our breakfast porridge. At the end of the berry season though, the berries are often very ripe, and not so suited for freezing whole. That’s the perfect time to make some jam.
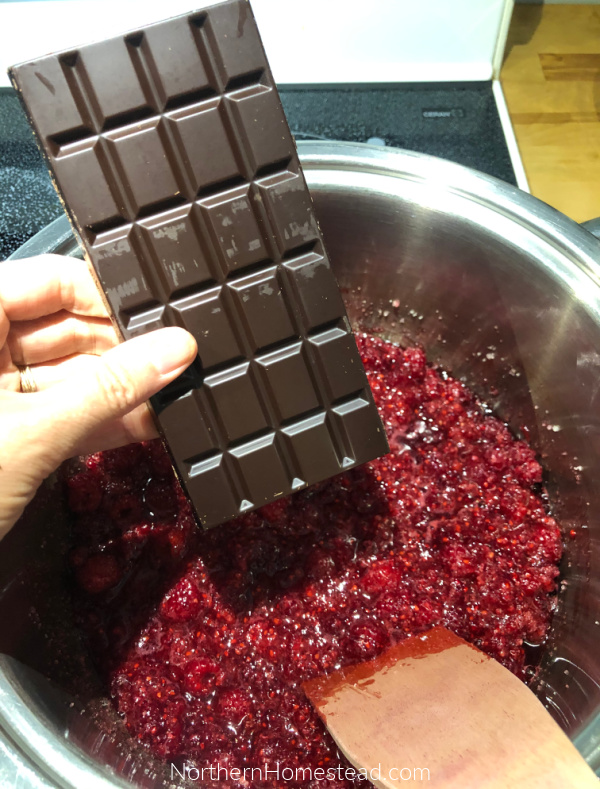
Not just any raspberry jam, but raspberry chocolate jam. You want to use a bar of dark chocolate with 70% Cacao or higher. Mild milk chocolate will not work for canning.
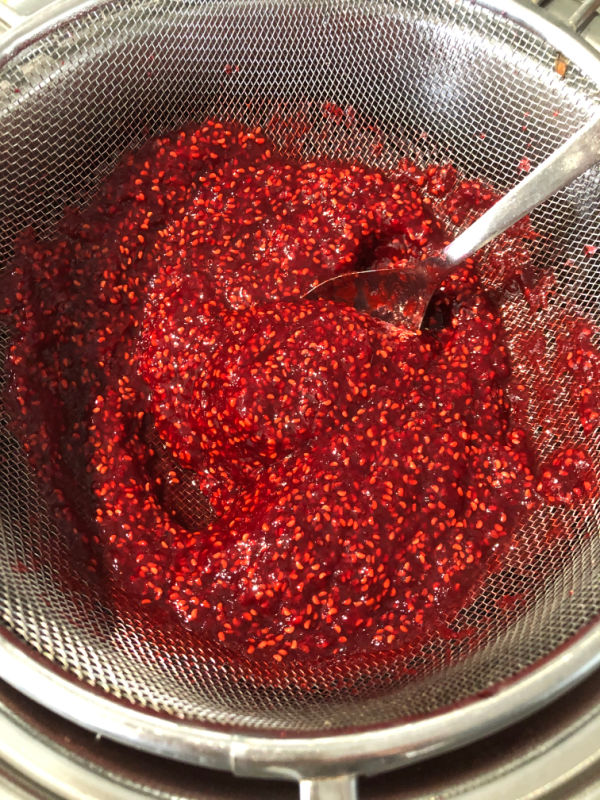
Since we are making a special raspberry recipe here, we do not want any seeds in there. Before adding chocolate strain all the seeds out. A mesh strainer is a great tool for that. Of course, that is optional, you can leave the seeds in or remove half of them to your liking.
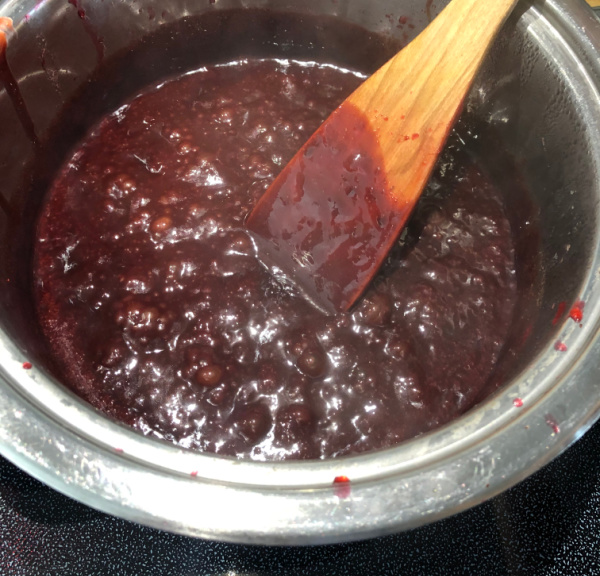
Since the chocolate contains chocolate butter, the jam thickens quite nicely, no pectin is needed. I make it quite thick, the texture reminds me more of a chocolate pudding than jam.
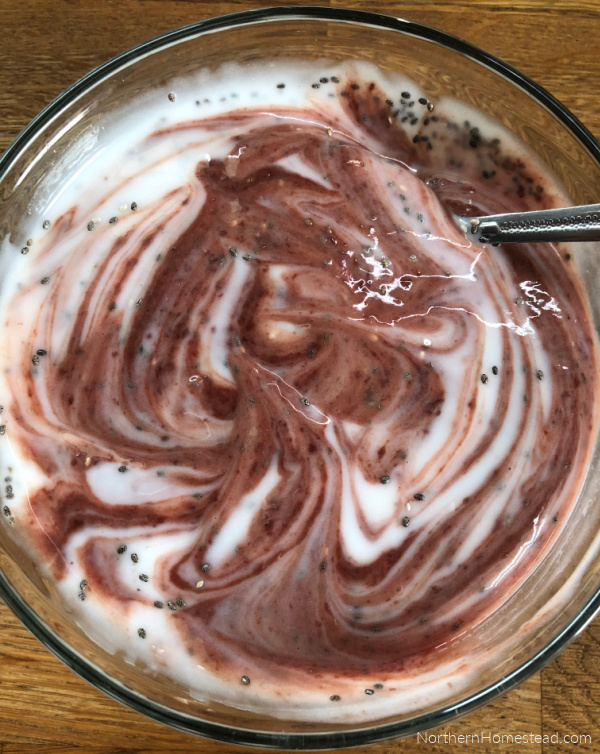
Our favorite way to enjoy the jam is with yogurt and chia seeds. It’s an instant dessert or in-between snack very delicious and wholesome.
Raspberry chocolate jam recipe
- 2¾ lbs (1250g) raspberries
- 3½ cups (700g) sugar
- Juice 1 lemon (1/4 cup)
- 9 ounce (255g) chocolate with 70% Cacao or higher
- Combine raspberries and sugar in a large stainless-steel saucepan
- Steering cook on medium-high heat till the sugar has dissolved and the raspberries have softened
- Sieve the mixture through a fine mesh, and stir till all that is left are the seeds
- Rinse the saucepan if you do not want any seeds in the yam
- Add the raspberry sugar mixture back to the saucepan and bring to a boil
- Add the lemon juice and chocolate broken into pieces
- Cook till it thickens to your liking (about 10 minutes)
- Ladle into clean jars
- Cover with lids and screw on bands finger tight
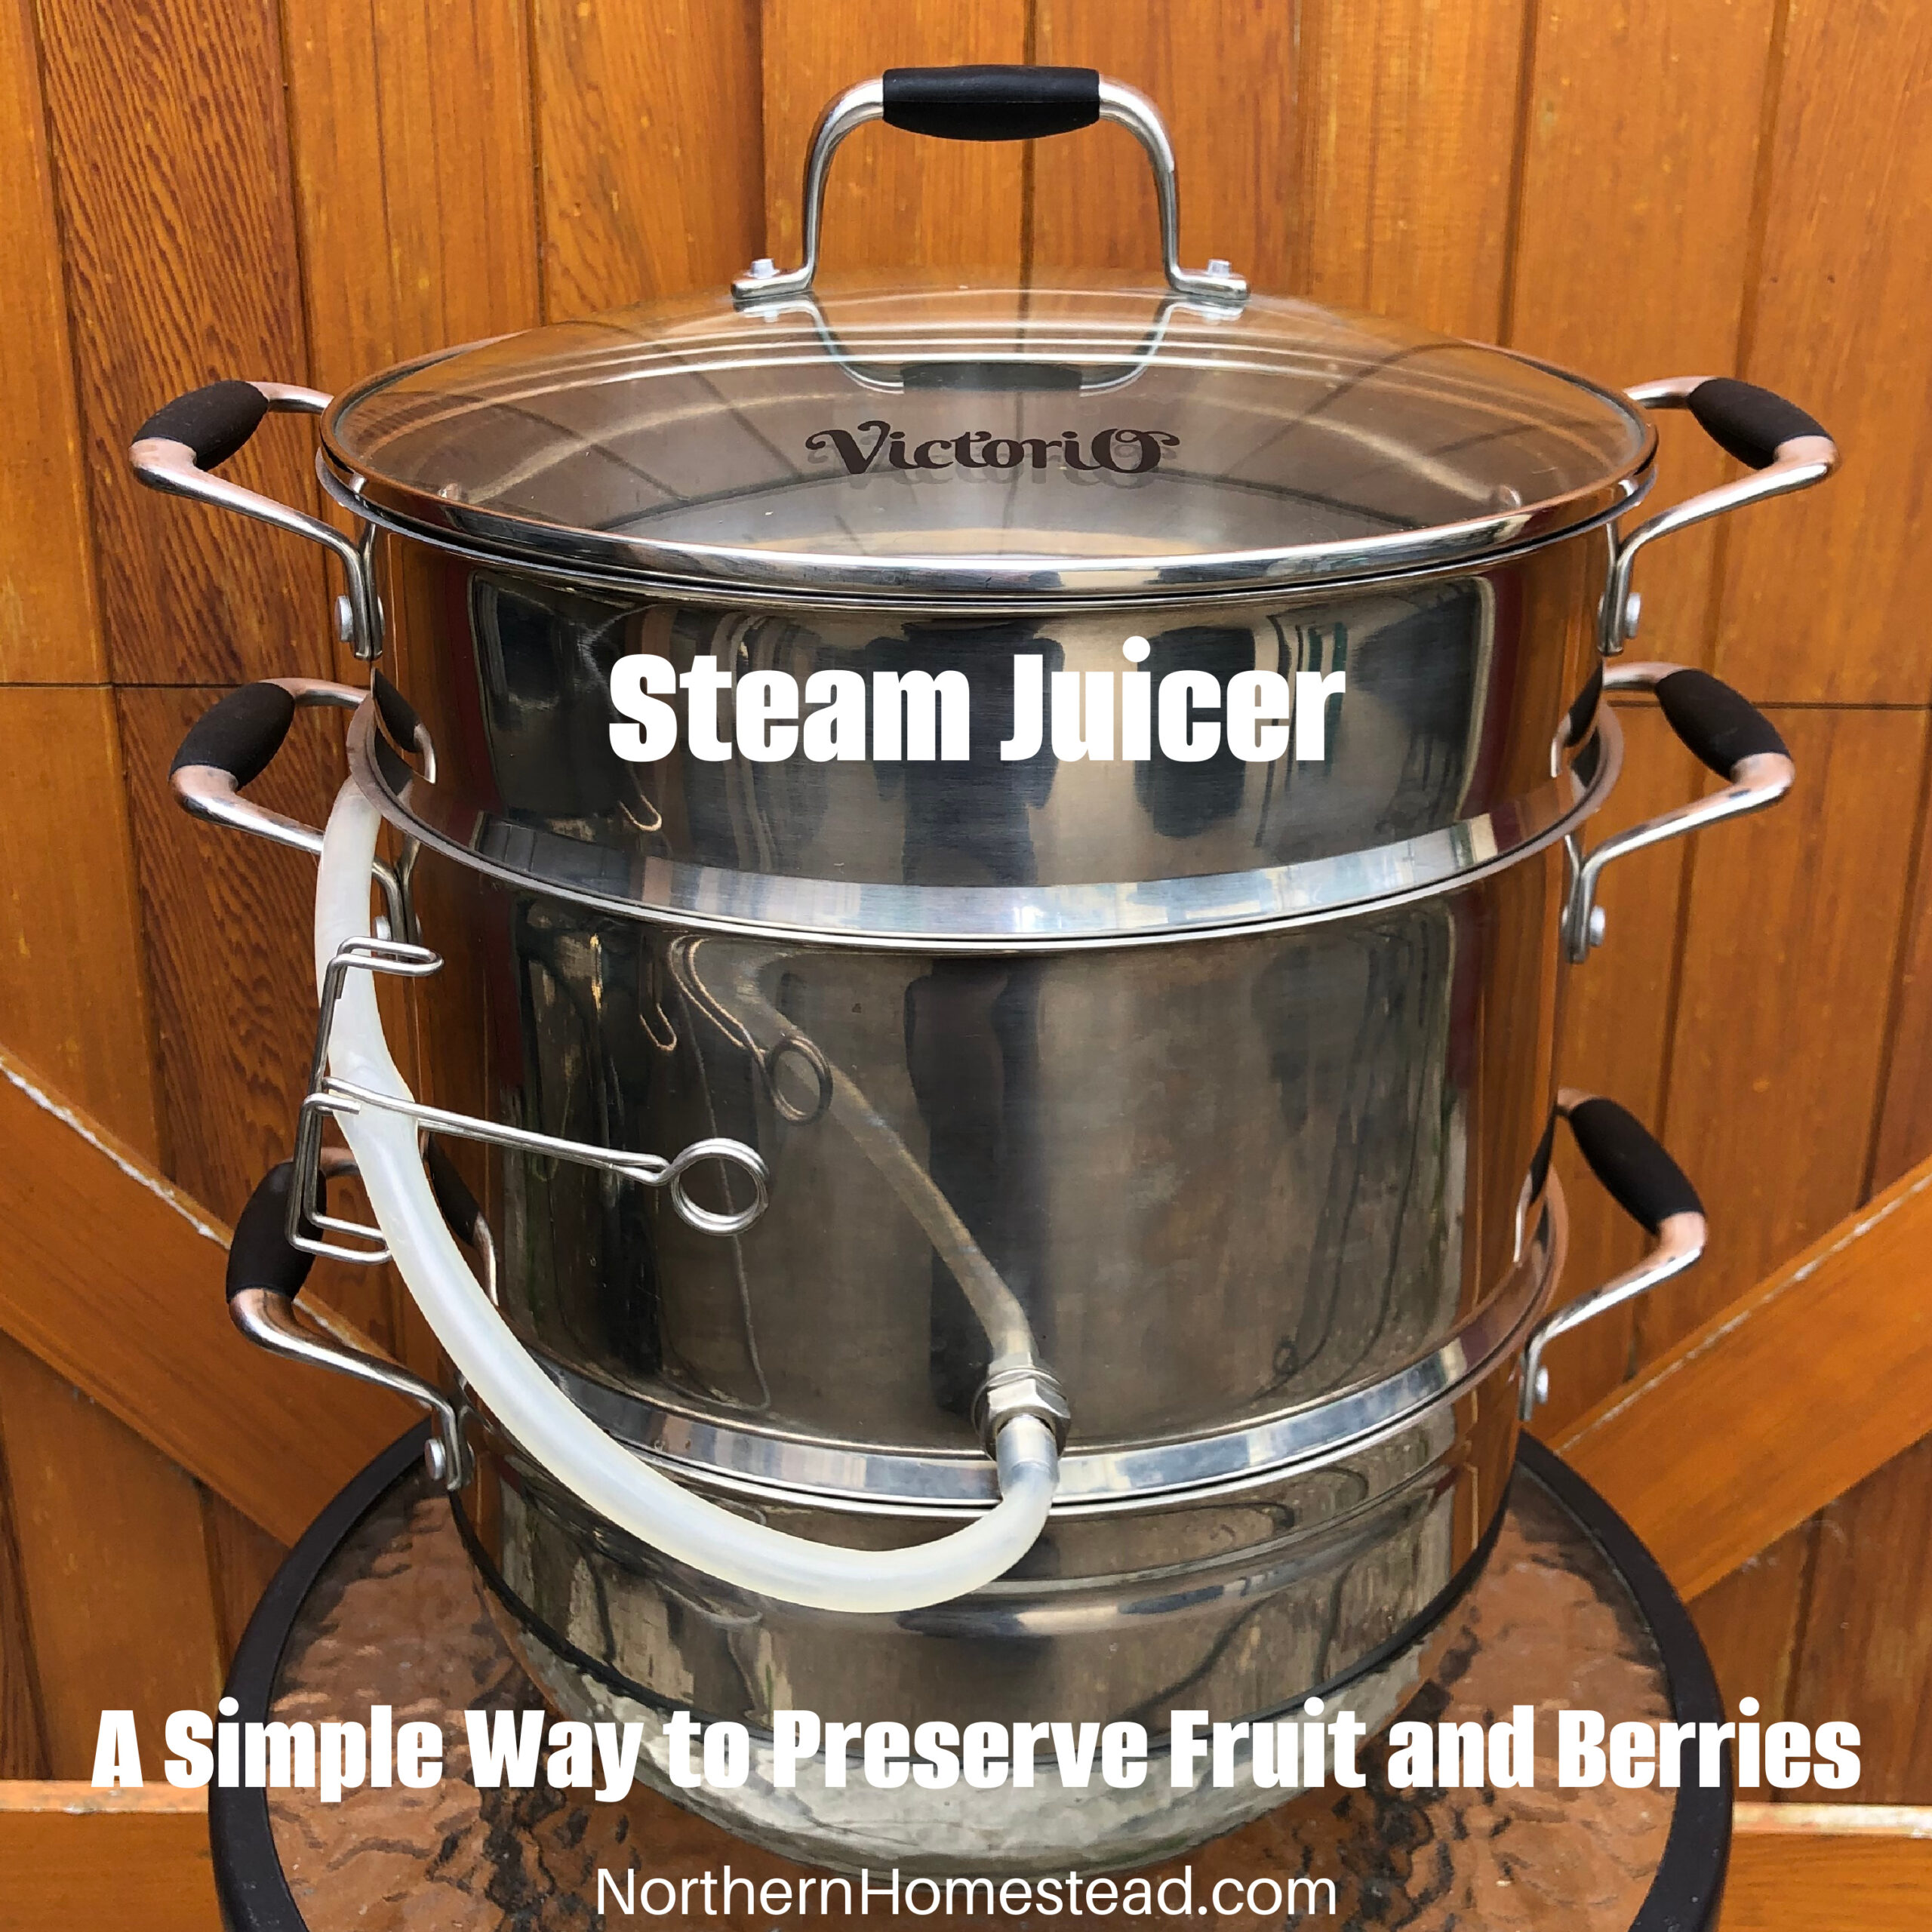
- Process in a water bath or steam canner for 20 minutes
- Note: You can process this jam for 10 minutes (adjusting to your altitude), but in that case, you have to sterilize jars and lids beforehand. I just process it for 20 minutes, to save myself the extra work.
We invite you to subscribe to Northern Homestead and follow us on Instagram, Facebook, or Pinterest for more great recipes.



This Raspberry Chocolate Jam Recipe looks absolutely delightful! I can’t wait to try making it and experience the unique combination of flavors. Thank you for sharing such a fantastic idea for using fresh raspberries!
Enjoy! Anything with chocolate is delicious, right!?
I’m wondering if you can use any chocolate that is over 70% Cocoa? I’m hoping to use the Enjoy Life brand of chocolate. ingredients are cane sugar, unsweetened chocolate and cocoa butter. Thoughts?
Yes, the brand does not matter, but less ingredients, like the one you mentioned is great. Enjoy the yummy jam.