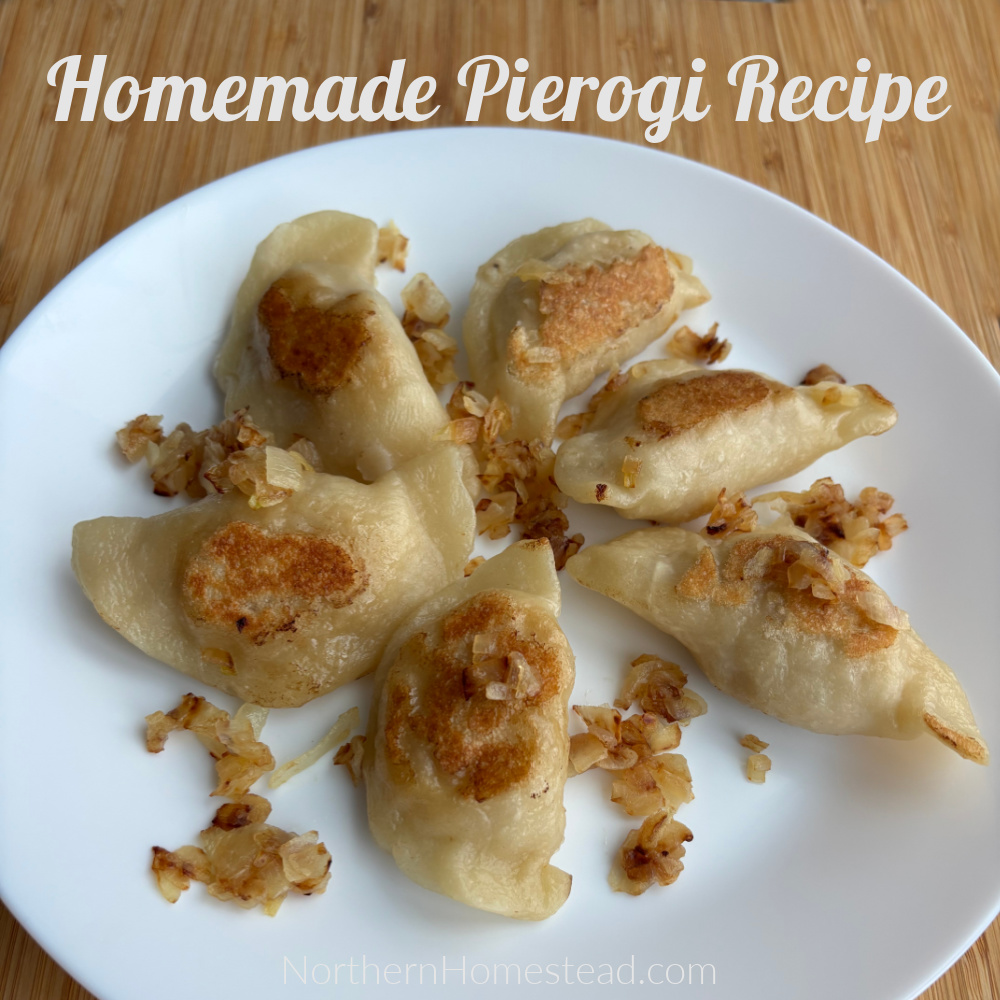
Homemade pierogi recipes originating from Eastern Europe are the epitome of comfort food. These delightful half-moon dumplings can be filled with various delicious ingredients. While the classic potato-and-cheese pierogies are readily available at supermarkets, making your own at home opens up a world of flavor possibilities. Plus, pierogi are a low-cost, high-quality food if you make them at home.
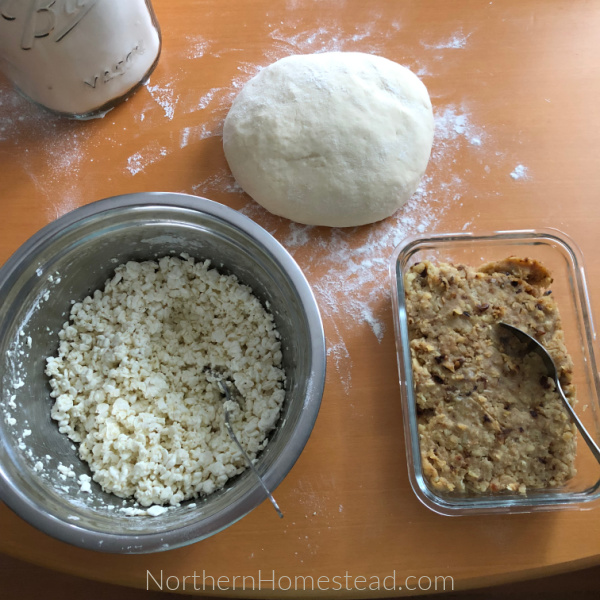
In our family, that often meant creating a variety of fillings to suit each family member’s taste. It might sound like more work, but trust me, it’s also a lot of fun!
Get Creative with Potato Pierogi Filling
Potatoes are a staple filling for pierogies and can be enjoyed in various ways. You can go for the classic mashed potatoes, perhaps with some sautéed onions. If you’re feeling adventurous, try mushrooms or sauerkraut – they add unique, delicious flavors.
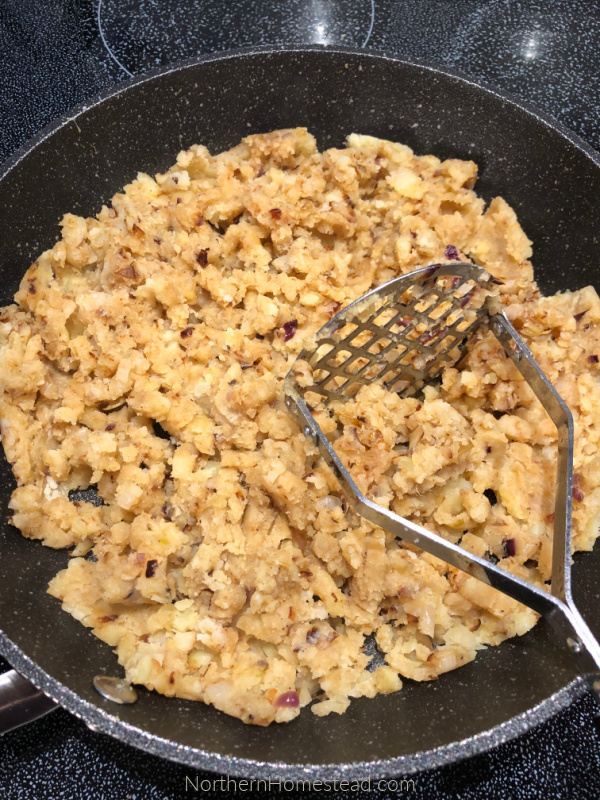
I prefer my potato filling to be pan-fried for that extra flavor—it’s a game-changer! You can boil the potatoes in their skins, which also enhances the taste, or use leftover mashed potatoes. If you plan to add shredded cheese, make sure the mashed potatoes are hot enough to melt the cheese.
If you prefer a smooth filling, like the store-bought pierogies, use a food processor or hand mixer to homogenize it. Personally, I like to keep a few chunks in mine to make it uniquely homemade.
Indulge in Cheese Pierogi Fillings
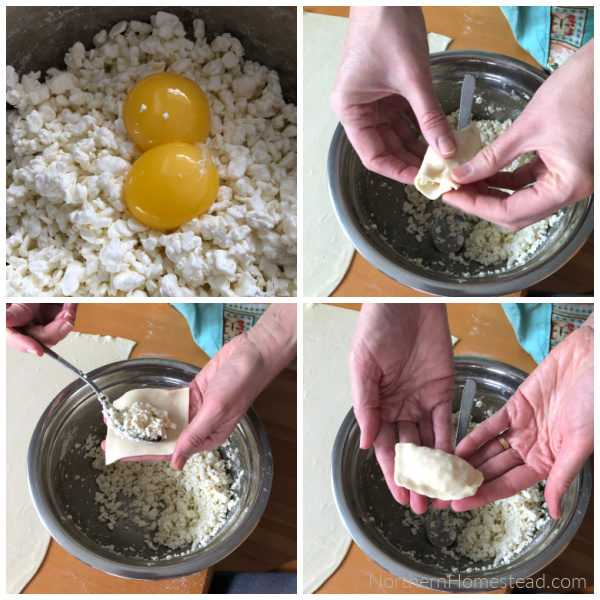
Potato and cheese pierogies are well-known, but don’t overlook the traditional cottage cheese filling—a great vegetarian option. Combining dry cottage cheese with egg yolk creates a rich, creamy pierogi filling. If you can’t find dry cottage cheese, drain regular cottage cheese in a colander for a few hours to achieve the right consistency. Use the egg white in the dough.
Fruit and Berries for Pierogi filling
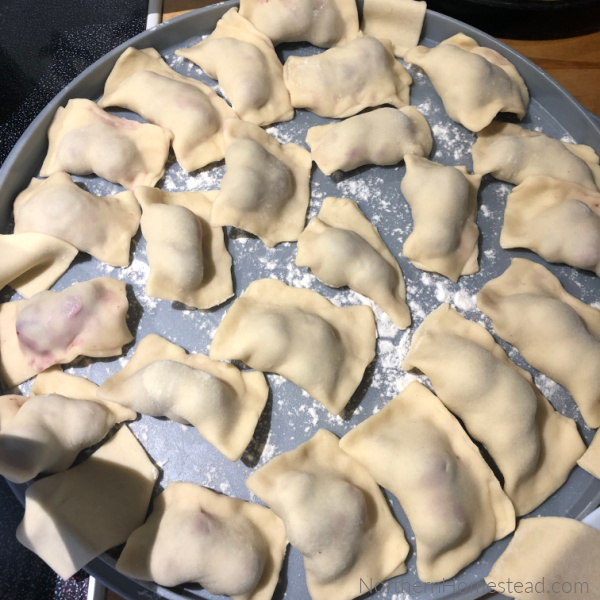
Pierogies aren’t limited to savory fillings – they can be sweet treats, too! Fruit and berry pierogi are a delightful indulgence, with options like cherries, strawberries, apricots, or any fruit you fancy. These sweet pierogies offer a delectable contrast to their savory counterparts.
Shaping the homemade pierogies
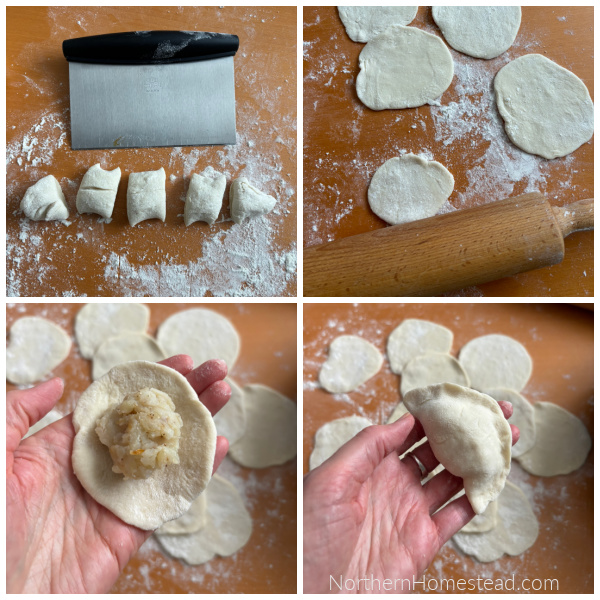
The half-moon perogies are made from round dough, which can either be cut out of a larger dough using a round cookie cutter (tip: a cup also does the trick). The round pierogi dough can also be rolled individually, as I show in the picture above. It is an excellent option if you struggle to roll out larger pieces of dough.
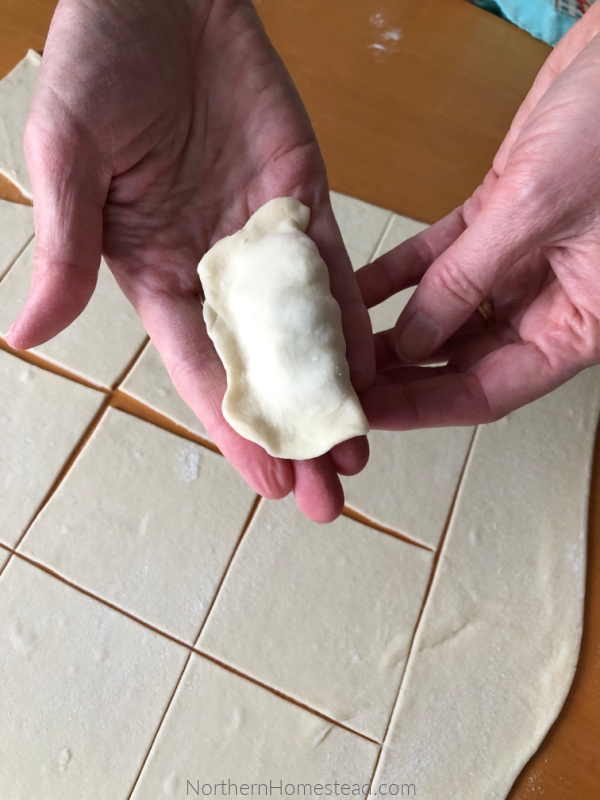
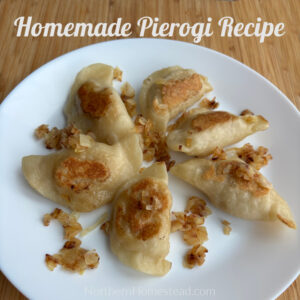
As you may have noticed from the pictures, my perogies are mostly angular. My mother used to make triangular ones, but I prefer mine to be rectangular. Despite the difference in shape, I find no difference in taste. Making them angular requires less rolling, and I like things simple.
You can refer to the manti dumpling recipe to learn how to make and roll out a large dough. I have included many pictures and instructions there.
Cooking or frying the pierogis
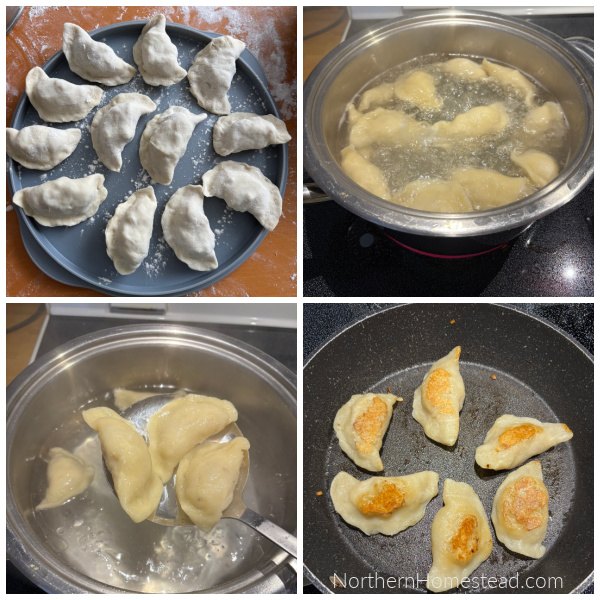
Once the pierogi are shaped, they are ready to be cooked or frozen for later, see below. Bring a pot of salted water to a boil, and add 6-12 pierogies at a time. The cooking time depends on whether you plan to fry them as well. They need about 3-5 minutes either way. As soon as they are floating, they can be removed from the water and layered in a frying pan with some fat. Fry golden-brown on both sides for 3-5 minutes.
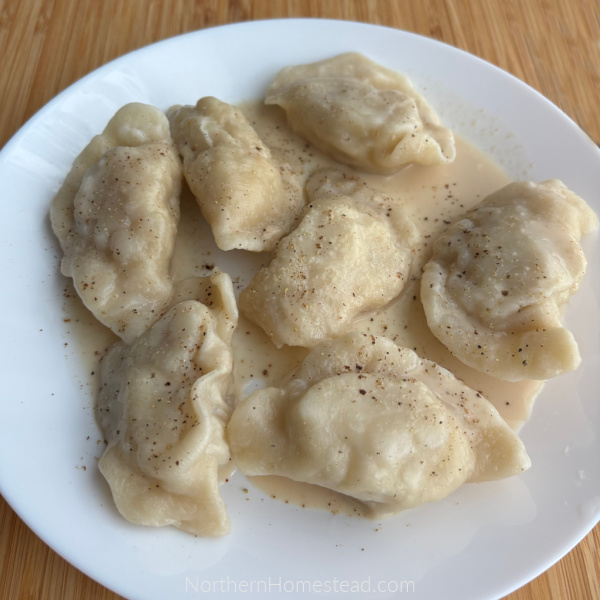
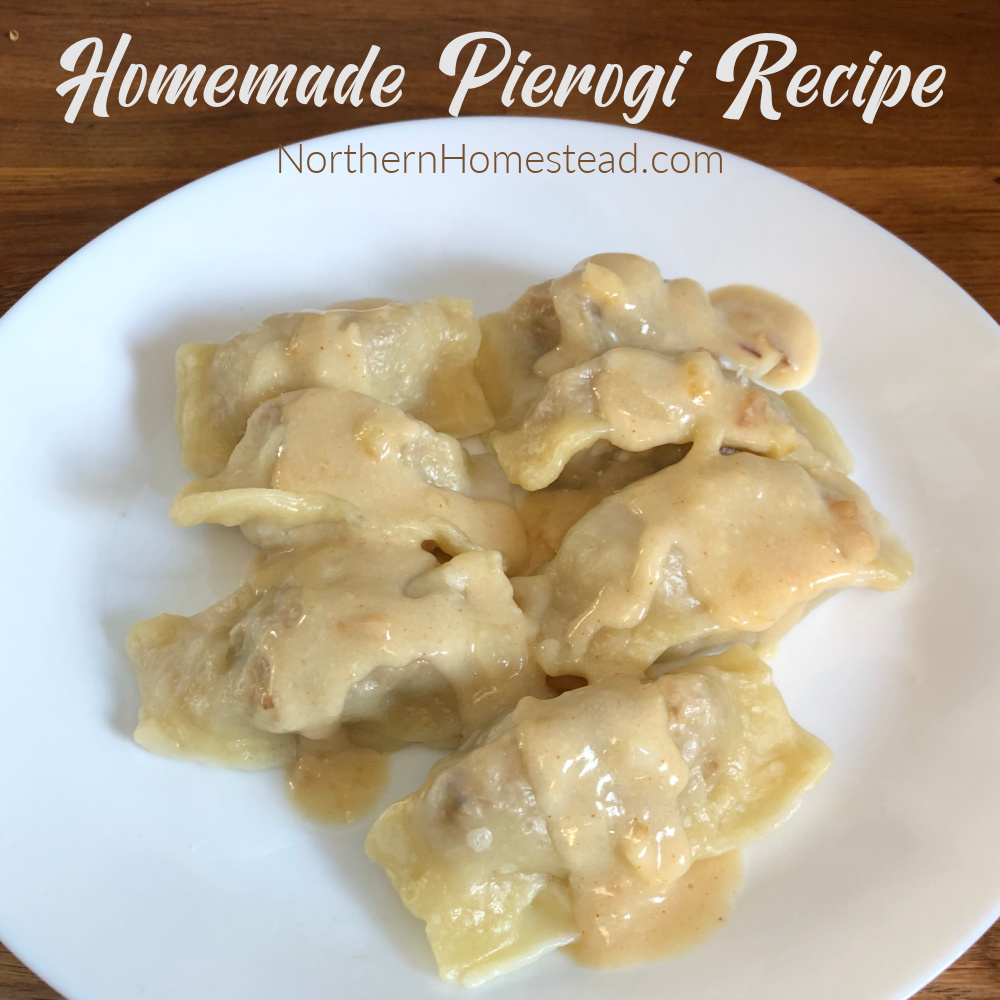
The Mennonite way is only to boil the pierogies and enjoy them with a cream sauce. In that case, you keep cooking the pierogies for 3-5 minutes, depending on their size. You can top with sauce and serve immediately.
Freezing pierogies for later
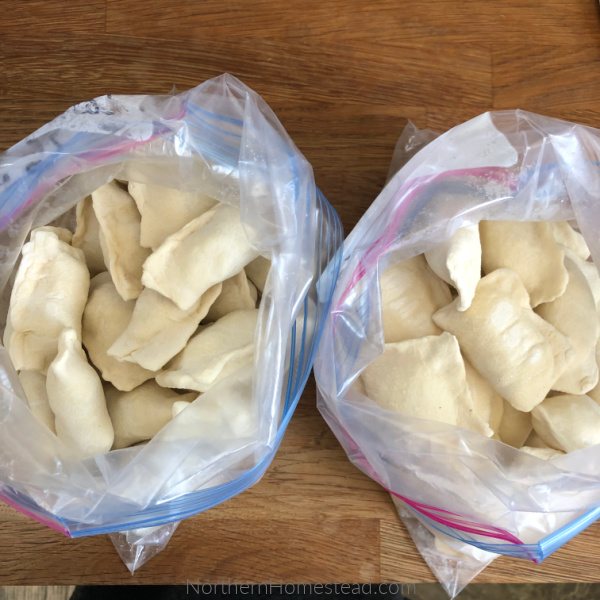
Another fantastic aspect of pierogies is that they freeze exceptionally well, making them perfect for meal prep. Do not cook pierogies before freezing. Line them up on a plate or baking sheet, ensuring they don’t touch, and pop them into the freezer. Once they’re frozen solid, transfer them into freezer bags or airtight containers to prevent freezer burn. Keep them frozen until you’re ready to cook.
This versatility and make-ahead convenience make pierogies a beloved dish you can enjoy whenever the craving strikes. Whether boiled, fried, or frozen, pierogies are a delightful addition to your culinary repertoire.
Delicious Toppings for Homemade Pierogies
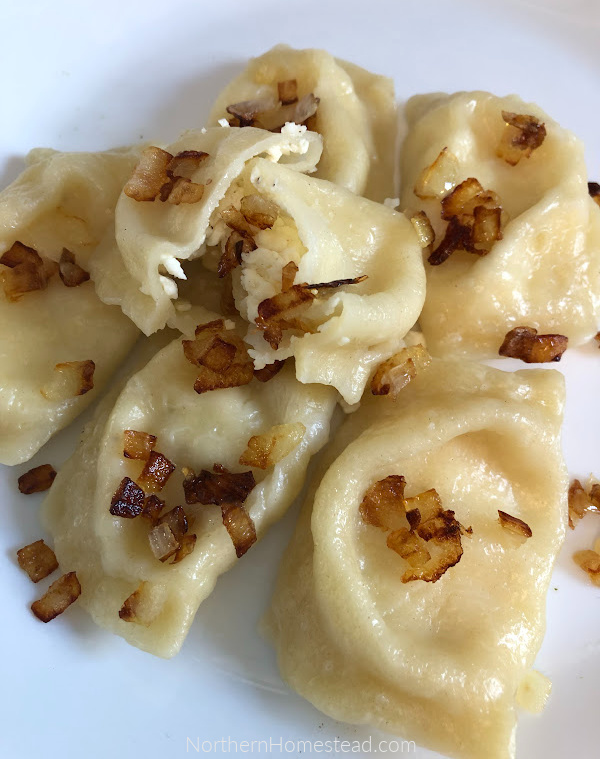
Pierogies can be served in various ways, depending on your preference. Standard toppings include fried onions, a creamy sauce, or a dollop of sour cream. When it comes to sweet pierogies, they pair wonderfully with a sweet cream sauce.
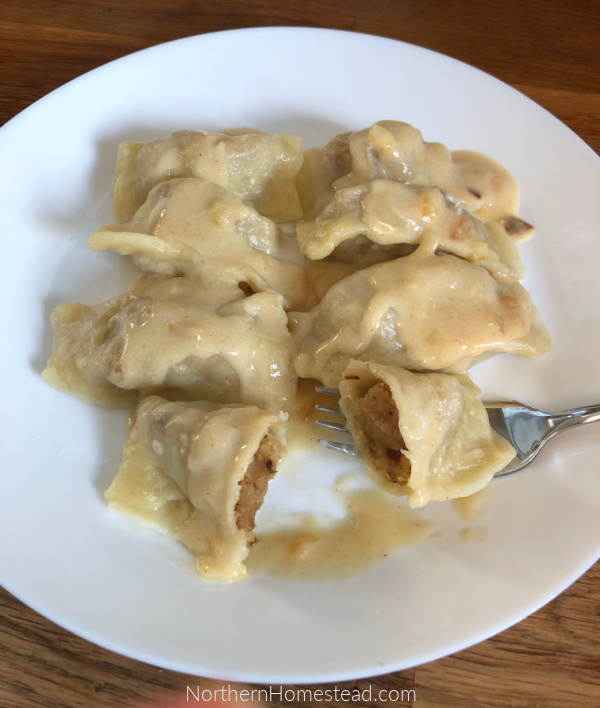
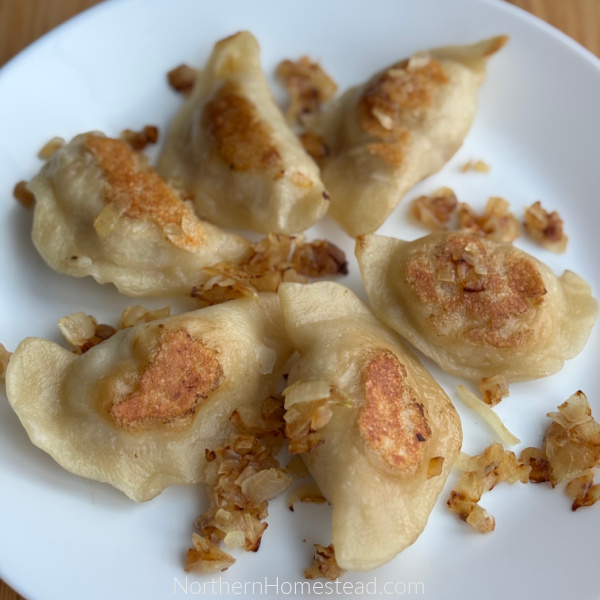
So, whether you prefer savory or sweet pierogies, there’s a world of flavor to explore with these delectable dumplings. Get creative, have fun, and enjoy this comforting homemade dish!
Homemade Pierogi Recipe
- For the dough
- 1 cup (240 ml) hot water
- 1 tablespoon oil
- 2 egg whites; optional if you do the cottage cheese version. Reduce the water by two tablespoons.
- 330 grams (2⅝ cups) all-purpose flour
- Pinch of salt
- Filling options:
- 600 g (about 4 cups) Boiled Potatoes, mashed or fried, one onion chopped and fried, salt and pepper to taste
- 600g (about 4 cups) dry cottage cheese, two egg yolks, salt and pepper to taste
- 600g (about 4 cups) fruit or berries
- In a bowl, combine the hot water, oil, salt, 1 cup of flour, and egg whites if used.
- Mix till it is a paste.
- Then, continue adding more flour, stirring with a spoon.
- Once the mixture thickens, remove the dough from the bowl and transfer it to a floured, clean surface.
- Your dough should be firm but not overly tight; it should still be workable. I’ve included the flour I used in the recipe, but add it gradually in case you require less.
- Keep kneading, stretching, and folding until it no longer sticks to your hands or the work surface.
- Cover the dough and let it rest for approximately 20 minutes.
- Prepare the filling
- Potatoes or any precooked filling should be cooked beforehand so the filling has time to cool down.
- Cottage cheese is mixed fresh.
- Fruit is also prepared fresh. Bigger fruit, like apricots, can be quartered.
- If using canned cherries, drain them well in a colander.
- Roll out the dough and cut it into the desired form, round or square
- Fill each with about a tablespoon of filling and close tightly.
- Bring salted water to a boil,
- Add about a dozen pierogi at a time,
- Stir, and bring to a rolling boil. Once they float, they are ready to fry. Or continue to cook for 3-5 minutes to serve without frying.
- Serve warm with a topping of your choice.
What is your favorite filling option for pierogies? Would you be adventurous enough to try a new one for homemade pierogies? Please share in the comments below.
We invite you to subscribe to Northern Homestead and follow us on Facebook, Instagram, or Pinterest for more great recipes.







I make pierogies and raviolis. Both types can be made the same way. If you have a big family or want to bring them to a special gathering, they are much faster to make if you roll the dough out on a floured surface. Then using a rolling pizza cutter cut the dough into long lengths/strips. Then cut the lengths/strips of dough into wide widths. You will now have rectangular or square pieces of dough, depending on the length & width that you cut the dough. If you are going to make rectangular pierogies, place a spoonful of filling in the middle of the dough closer to one of the longer sides. (Continue to the next piece of dough and do the same with all of them, assembly-style). Then return to the first one you filled and cover the filling now by taking hold of the other long side of the dough that is furthest away from you. Carefully bring that side over the top of the filling and down to the edge just beyond where the filling sits. (Do that to all of the them, again, assembly-style). Then go back to the first one and gently press the three sides of the dough together with a fork. (Do that to all of them. You are now finished making them.
If you want to make square pierogies, place a spoonful of dough closer to one of the shorter sides and then pull the other short side over the filling and pressing it into the short side that the filling is sitting closest to. With a fork, gently press all around the three cut edges to seal them. (If the dough seems dry, just dip your finger into water and wipe the lower edge before you press them together).
Set all of your pierogies aside while you melt the butter or heat up whatever oil you choose to use. I like to fry pierogies in butter, on medium heat and in a big fry pan until their bottoms gets brown and a little bit crusty. Then flip the pierogies and lightly brown the other side. Browning pierogies gives more flavor and a bit of a crunchier texture. You can also boil them in broth instead of using just water. If you want to make large ones that can be picked up in your hand, frying is the best option.
Making pierogies is just like making raviolis and you can use any kind of ravioli-dough recipe to make pierogies with. Rolling the dough out on a floured surface just about cuts your time in half rather than handling each pierogie individually to fill/seal it.
Thank you Marilyn for sharing your method of making dumplings. I appreciate your willingness to be creative and try new things.
I am assuming English is your second language,I am amazed at your command.
Your writing is wonderful.
Wishing you and yours a very Merry Christmas.
I am glad you came to Canada.
Thank you, Ted, you are very kind. Improving my English was one of the reasons I started the blog, and seeing it grow like it has was a pleasant surprise.
Pierogi remind me of the rich culinary heritage of Eastern Europe. Every bite feels authentic and deeply rooted in tradition.
That’s a very nice description of Pierogi. A labour of love.