
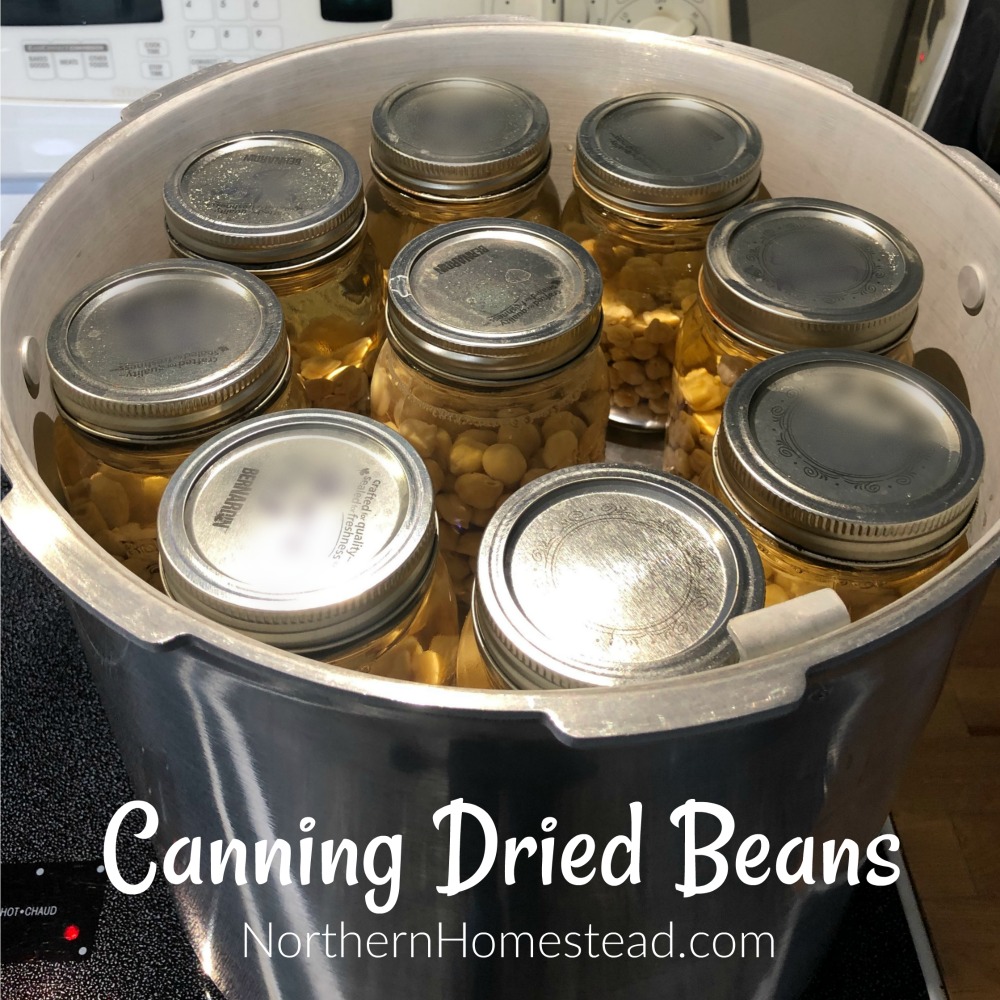
Beans are a big part of a whole-food plant-based diet. The easiest way to have them available is to pressure-can dried beans. Canning dried beans is not a lot of work, but it does take 4-6 hours. My canner fits 18 pint jars, and I rotate between pinto, black, and kidney beans, as well as chickpeas.
As I mentioned earlier, I use the FlyLady system about once a month, often during the kitchen-cleaning zone week. While the beans are getting processed, I clean my kitchen.
Things you will need to can dried beans
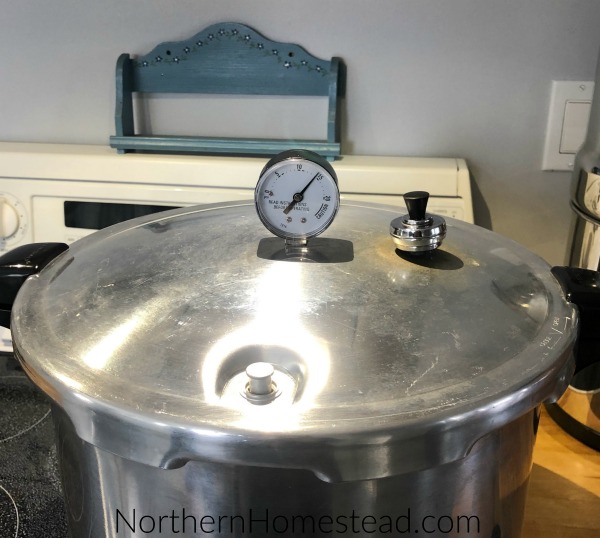
For canning dried beans, you will need a high-pressure canner. I use the Presto canner, which is a canner that can be used on a glass top stove.
If you want to fill your canner to the top, as I do, you will need a second canning rack. Other canning essential helpers you might already have.
I have shared before how I clean and store my regular canning jars; you can read about it here. However, the jars for canning dried beans do not get stored away; I use them all the time.
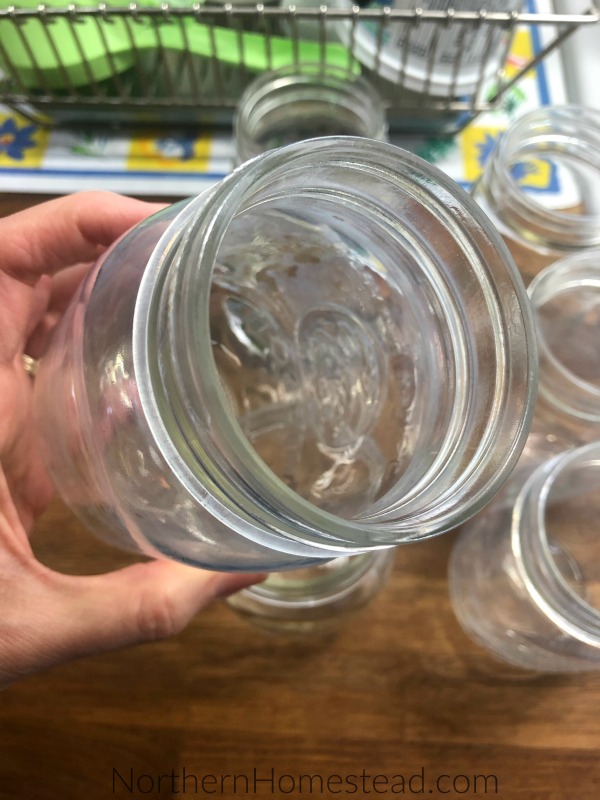
If you have canned beans, you know that the jars, even after a dishwasher cleaning, still have a film. They are clean. The film can be easily cleaned with acidity if you prefer. I just reuse them for more beans.
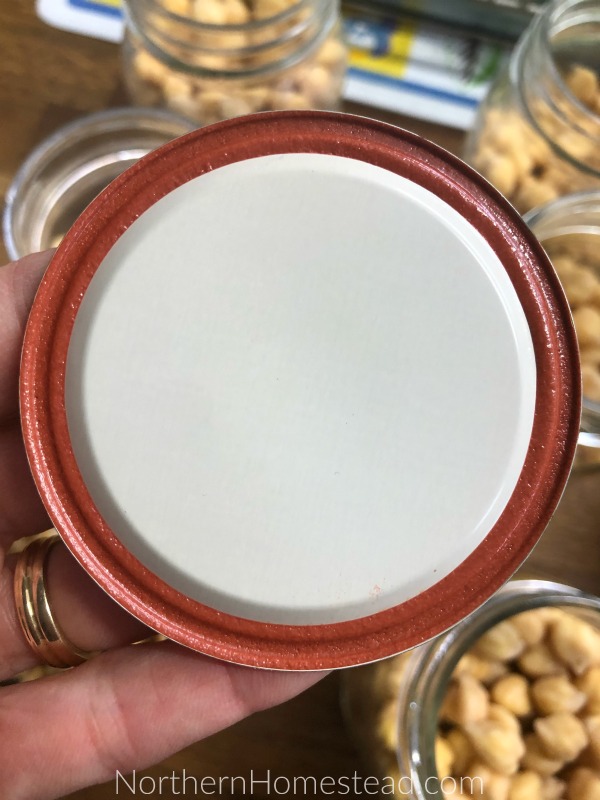
Also, for regular canning of my fresh produce in the summer, I use new lids. Not so for beans. For beans, I actually reuse lids. I just make sure the lid has no rust or defects. Used lids might not always seal. Since we use beans all the time, a jar or two that didn’t seal is not a big deal. However, in my experience, they usually all seal. Read more about safely reusing canning lids.
Soaking dried beans
Dried beans need to be soaked prior to cooking. That is also the only method that guarantees canning safety according to the guidelines.
In practice, though, I don’t always pre-soak Chickpeas; they are better for roasted chickpeas that way.
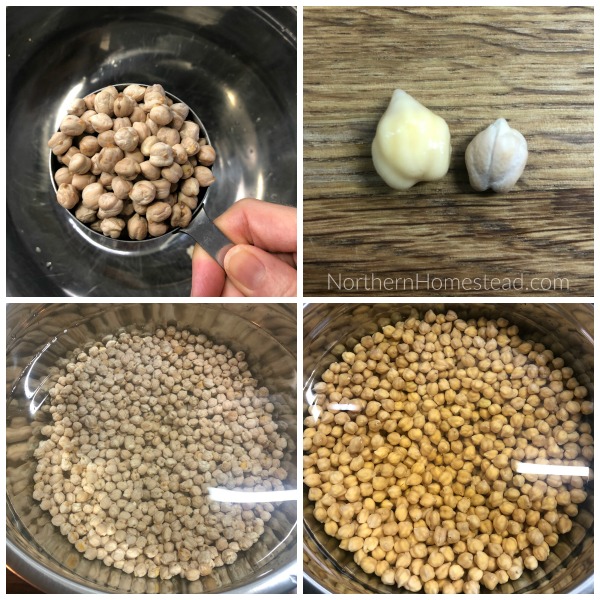
For a pint jar, you need a heaped half cup of dry beans, so one pound of dry beans fills 4 pint jars. The beans will about double after soaking.
I wash all beans, changing water 3 times, and make sure there are no bad beans.
For soaking, use filtered water, since most of it will be absorbed by the beans. Use a large bowl or pot; the beans do expand a lot. Soak for about 12 hours, then drain.
I usually use the quick soak method. I cover sorted and washed beans with water, bring them to a boil, and cook for 2 minutes. Remove from heat, cover, and let soak for 1 hour.
Filling the jars

Note, the canning book recommends using a hot pack. Boil the beans for 30 minutes prior to filling the jars. I don’t do that.
I start by pouring about an inch of boiling water into each clean jar. Then I add the beans or chickpeas. That way, I do not have to worry about a dry bottom or air bubbles.
I fill the jar to 2 inches from the top with pre-soaked beans, or a heaped 1/2 cup of washed, dried chickpeas, add 1/4-1/2 teaspoon of salt, and cover the beans with boiled water, leaving 1-inch headspace. Adjust jar lids. Skrew the band to finger tight.
Getting the canner ready to can
Place the empty canner on the stove using the right-size burner (read more here).
Place the first canning rack on the bottom of the canner. Fill the canner to the marking with water (about 3 quarts) and a splash of vinegar. The vinegar prevents water stains on jars.
Important! The water needs to be about the same temperature as the jars. Keeping everything hot isn’t necessary, but you can’t place cool jars into boiling water or vice versa, as they can crack.
Check the lid, sealing ring, and air vent (it sometimes loosens on its own). The vent pipe is to be open, and the overpressure plug is to sit in nicely.
Pressure Canning Dry Beans
Place the jars into the canner. Use a second rack and fill the canner up if so desired.
Close the lid, aligning the V mark on the cover with the mark on the body handle. Press down and turn the lid to align the handles.
Turn on the stove on high. Note, if your high setting is so high that you never use it, choose a setting you are comfortable with. It has to be relatively high to reach the heat a pressure canner needs.
Heat the canner till steady steam comes out of the vent pipe. Set the timer for 10 minutes. Turn down the heat a bit while keeping the steam flowing.
After 10 minutes, place the pressure regulator on the vent. Turn the heat back to high and leave it there until the desired pressure is reached.
The canner will seal first, then the dial gauge needle will start to move till it reaches the pressure you need. This can take 20 minutes. If you have a Presto canner pressure regulator with weights on, the regulator will start to wiggle at the set pressure. If not, just watch the needle.
Dried beans need to be processed at
11 pounds of pressure at an altitude below 2,000 feet.
2,001-4,000 feet at 12 pounds.
4,001-6,000 feet at 13 pounds
6,001-8,000 at 14 pounds
Processing time is the same for all altitudes. 75 minutes for pints and 90 minutes for quarts.
Turn the heat down when the pressure is reached, then set the timer. Make sure the pressure remains constant throughout the entire processing time. It is much easier with a Presto canner pressure regulator. The sound will just get stronger if there is too much heat, so turn it down a bit, and slower if there is not enough heat, so you can adjust the heat.
Do not rush to finish canning
When the time is over, turn off the stove. Let the pressure come down; don’t touch the regulator or the lid. It will come down on its own.
Once the pressure is down, wait another 10 minutes before opening the lid. Don’t rush anything. After opening, wait another few minutes before removing the jars. There is pressure not only in the canner but also in the jars; you don’t want any liquid to spill over.
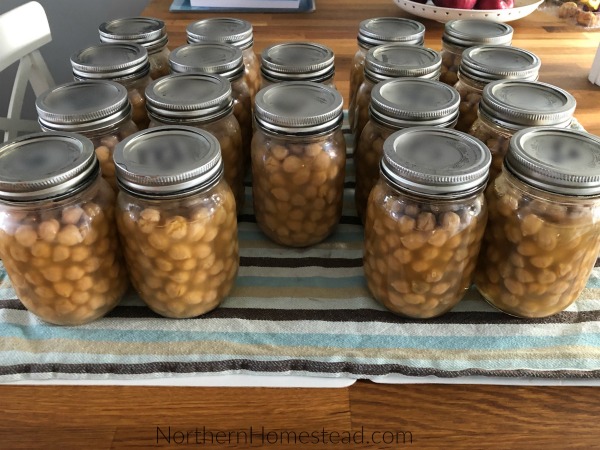
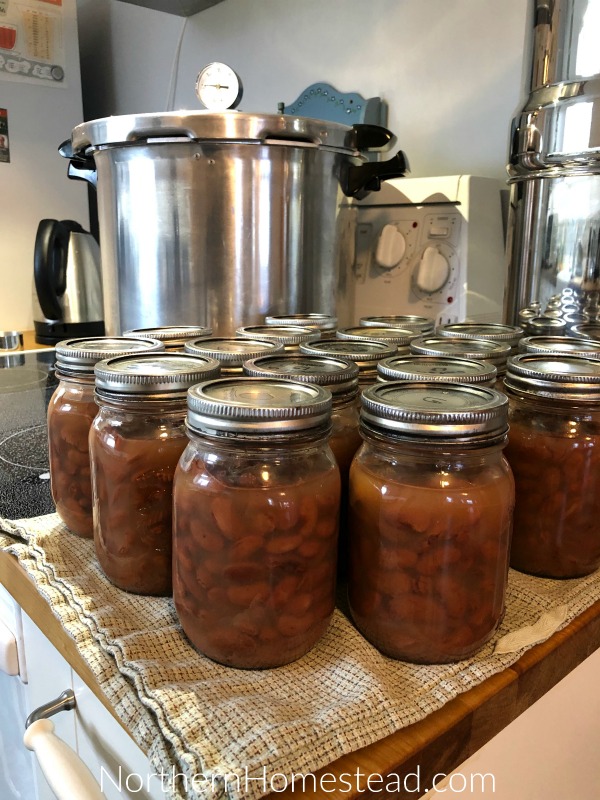
Let the jars cool on a towel, check the seals, and store for use.

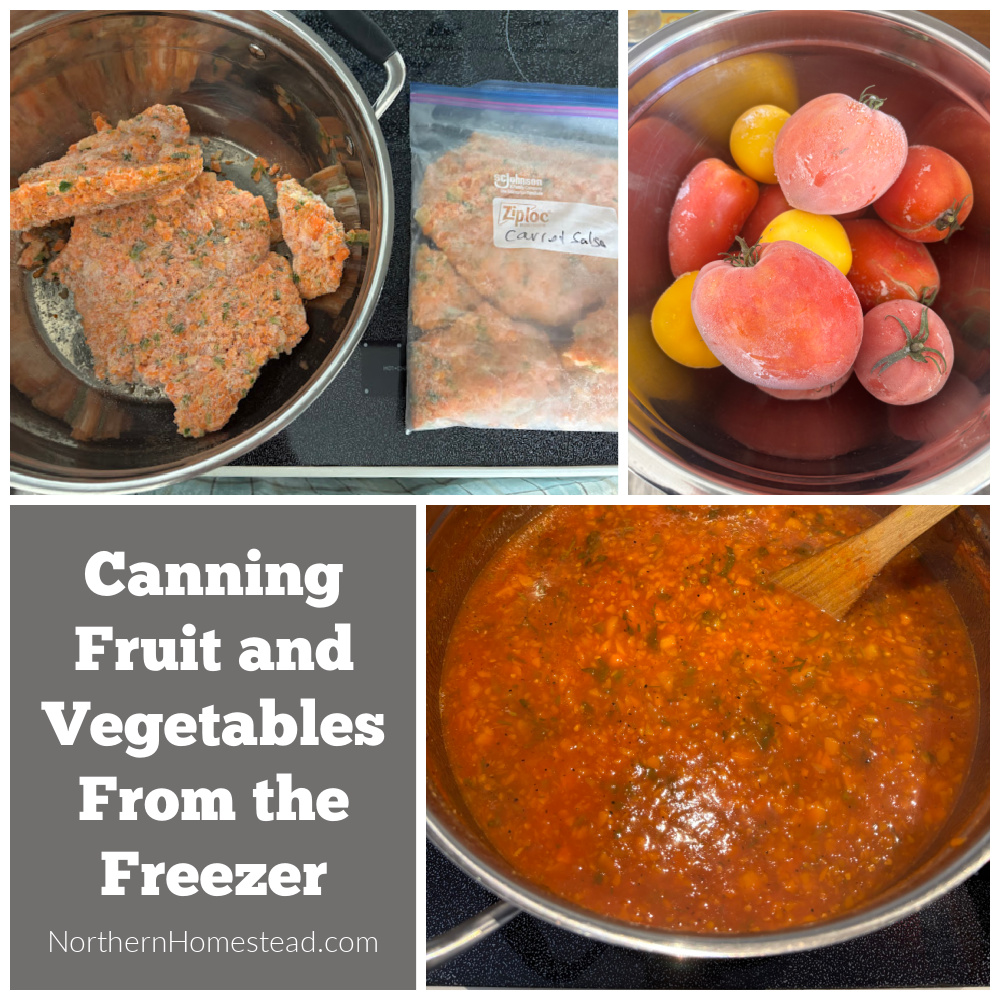
Read this article for ideas and recipes for incorporating canned food into meals.
We invite you to subscribe to Northern Homestead and follow us on Instagram, Facebook, or Pinterest for the latest updates.


I make large batches of chili, and have learned to undercook the kidney beans. If I can with fully cooked beans, they get a bit mushy after canning. I let the heat of the canning finish off the beans in the jars.
Yes, the instruction manual says to cook them for 30 minutes prior to canning, as I mentioned in the post, I do not precook at all. But that is at your own risk.
Is it ok if you do not have liquid covering your beans?
Thank you
Kathy
You cover them before canning as I describe. However, sometimes the beans are not all covered after canning. That is okay.