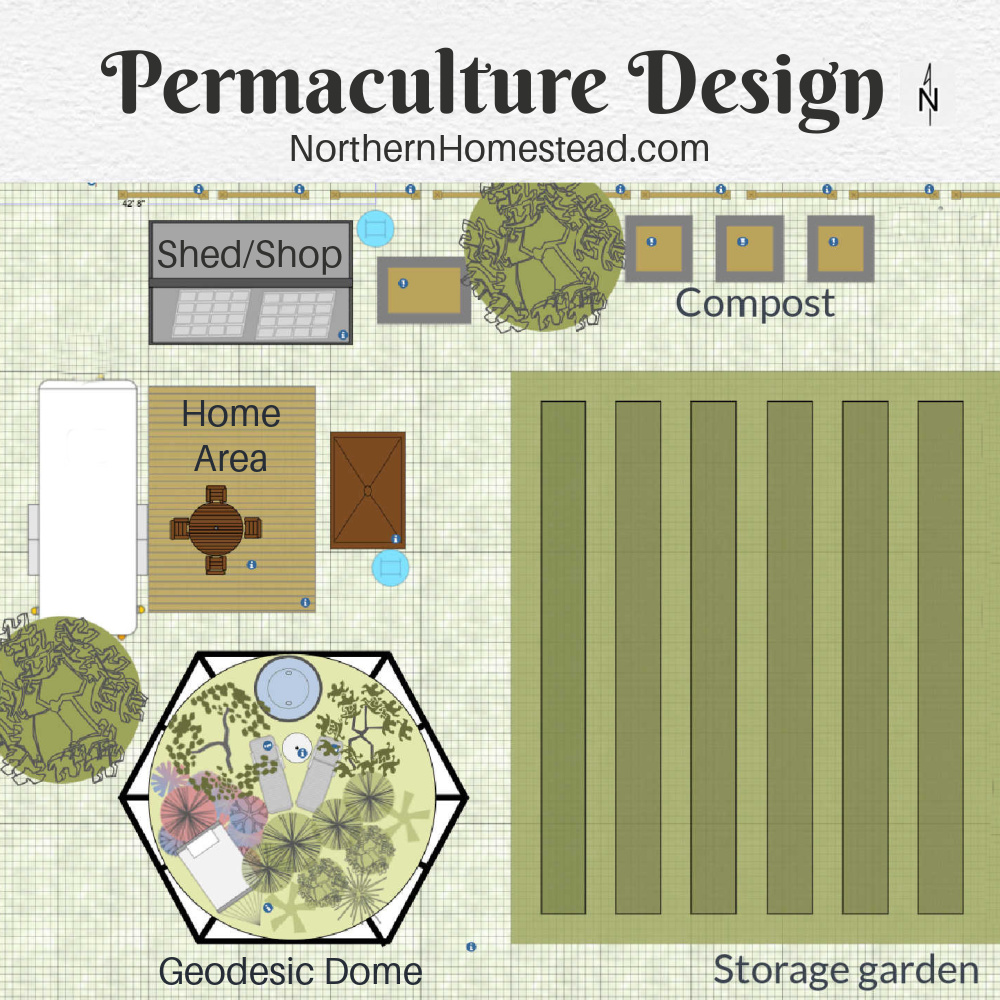
The Permaculture Design Project was my final project for the permaculture design course. I finished it in the spring of last year and got my Permaculture Design Certificate. Summer was busy realizing the design, and as promised we are finely sharing it here on the blog.
My goal is to share with you some of the simple thought processes that stand behind the project that can be helpful to anyone who is designing a property, or just a garden.
Base and topographic map
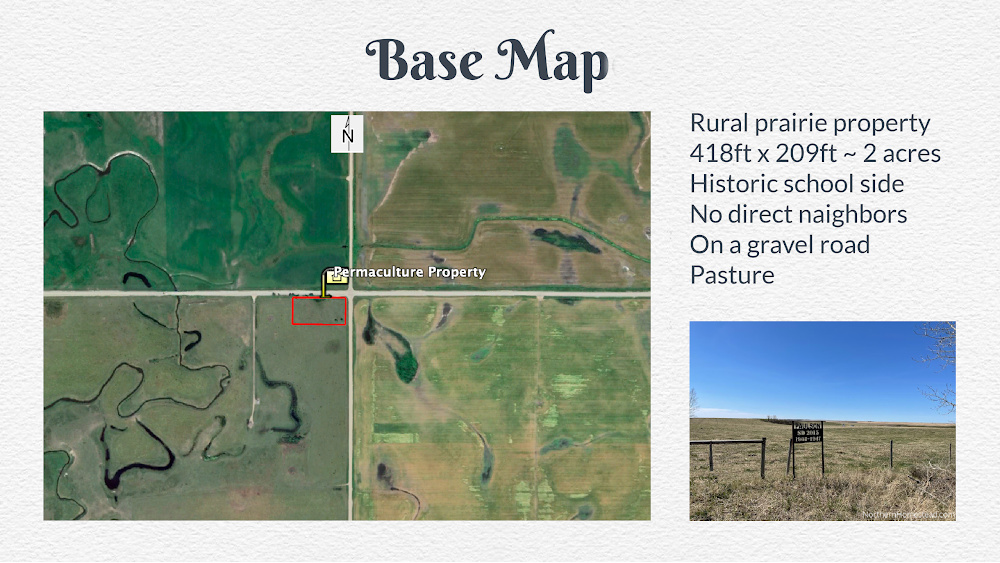
Every project starts with a basic geographic map. In our case, we are working with a rural 2-acre prairie property. At the starting point, it was pasture. The history of the property is a school. That tells us that there might be some remnants of a foundation left, and there are.
We also want to know the basic topography surrounding the property. Is there a lake, river, creek, mountain, forest, as well as buildings, etc that could affect the property? In our case, it’s an open prairie.
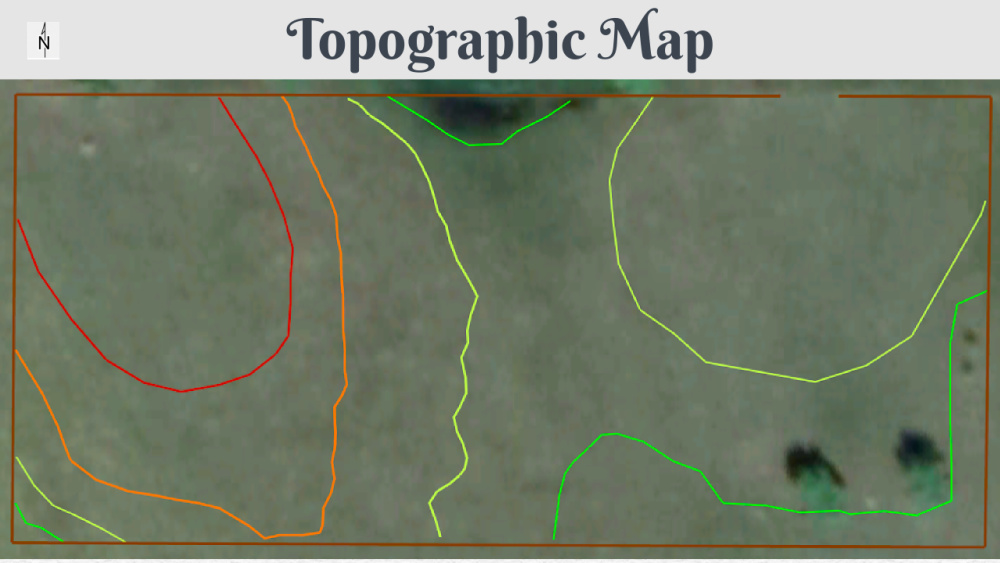
We did an extra blog article on topography, and how we made a DIY contour map on the property. Depending on the size and complexity of a property, a DIY map might be all you need. Having a basic idea of the topography of the land helps us to design a property, food forest, or garden in a way that works with the land, not against it.
Design Brief
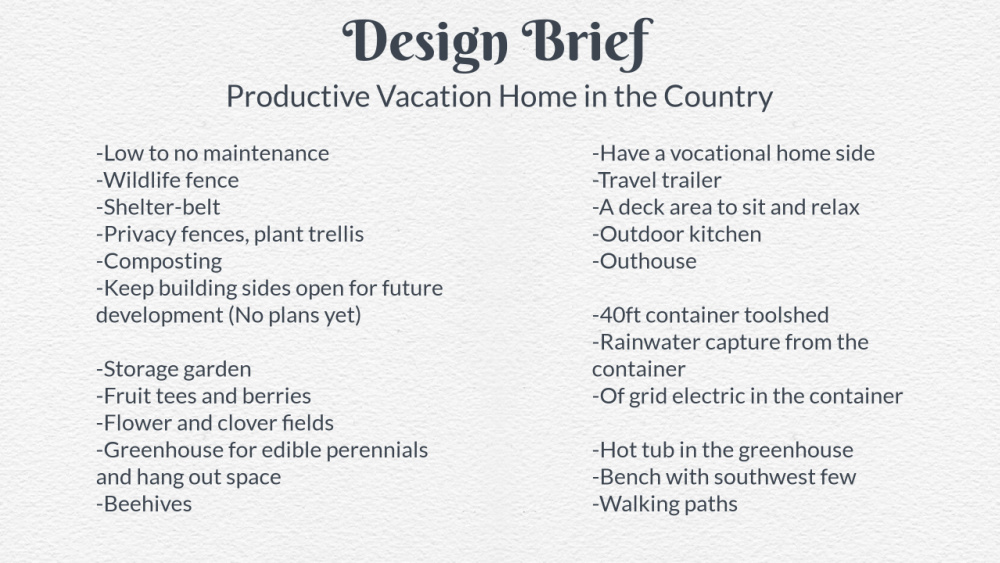
In a design brief, we list everything that we want to do on a property. There is no need to be overly realistic because as the proverb goes: “You may make your plans, but God directs your actions”.
In our case, we are designing a productive home away from home. Being homebodies, we liked the idea of a home away from home. Looking into recreational properties though, we learned very soon, that that wasn’t what we are after.
A food forest with a beautiful garden and an off-grid cabin sounds great though. Speaking of the cabin, as you may have seen it wasn’t on our original list. But once we started building up the property, things happen.
If you have been considering something, be it on your existing property, or a new place, make a list. At first, it might be just your ideas that can later become the design brief.
Pre-design analysis
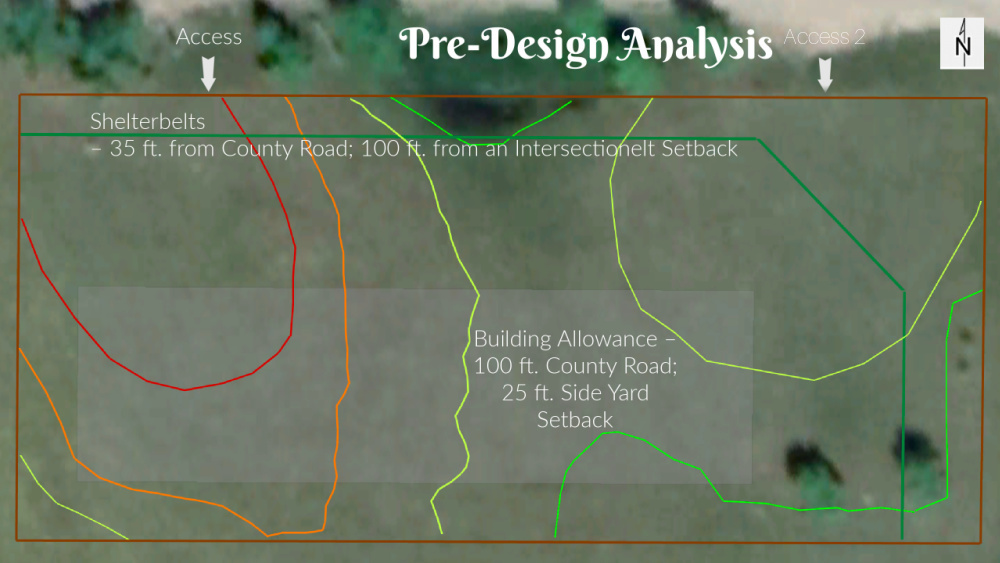
In a permaculture property design, we spend a lot of time in analysis. That probably is the main difference to any other design. We are not just looking into shelterbelt, fence, and building allowances that are set by the county bylaw.
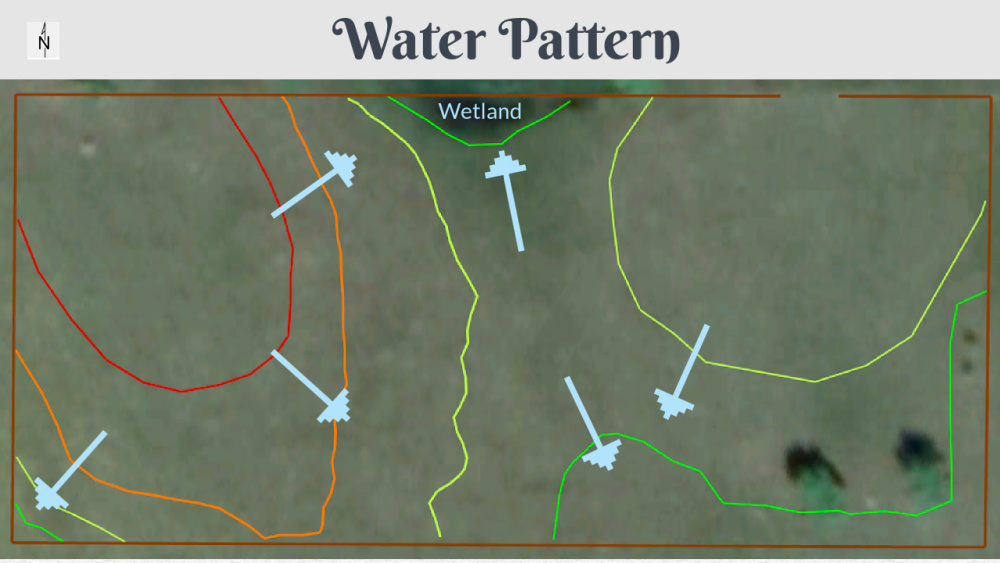
We are also looking into weather and water patterns, dust, and noise sectors. The aim is to observe what the property has to offer or wants to become. We are not ignoring what is, forcing our ideas onto it.
Looking into our property, we know that we have little to no water to deal with since the climate is very dry here, but we do have wind and dust from the gravel road. The dust affects mostly the northeast part of the property, so when designing, we do not want edible plants there, nor would we like to have a house there.
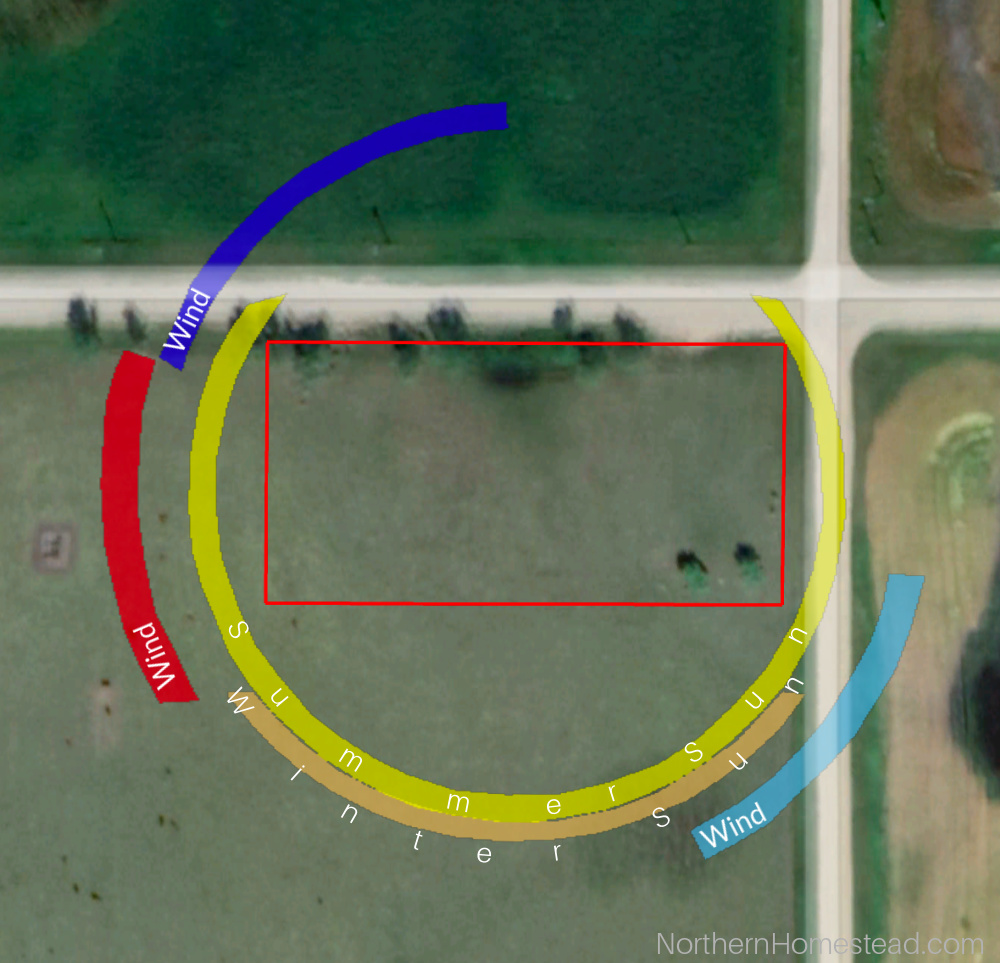
Prairie wind is something that we still have to get used to. Knowing where it comes from is a great help when planning a property. In our case, the prevailing wind in the winter is from the north-northwest. But the prevailing wind in spring and summer is from the southeast. We also have some warm chinook winds coming from the west.
Knowing the sun’s angle and the circle is important when it comes to planning a garden or a greenhouse. We share more about it in our year-round growing update. It is also important when planning trees, you don’t want to block the winter sun with evergreens.
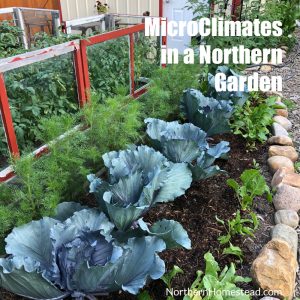
Even when you are just planning a garden area, it is so helpful to know the microclimates and do a shade survey (Follow the links for more information).
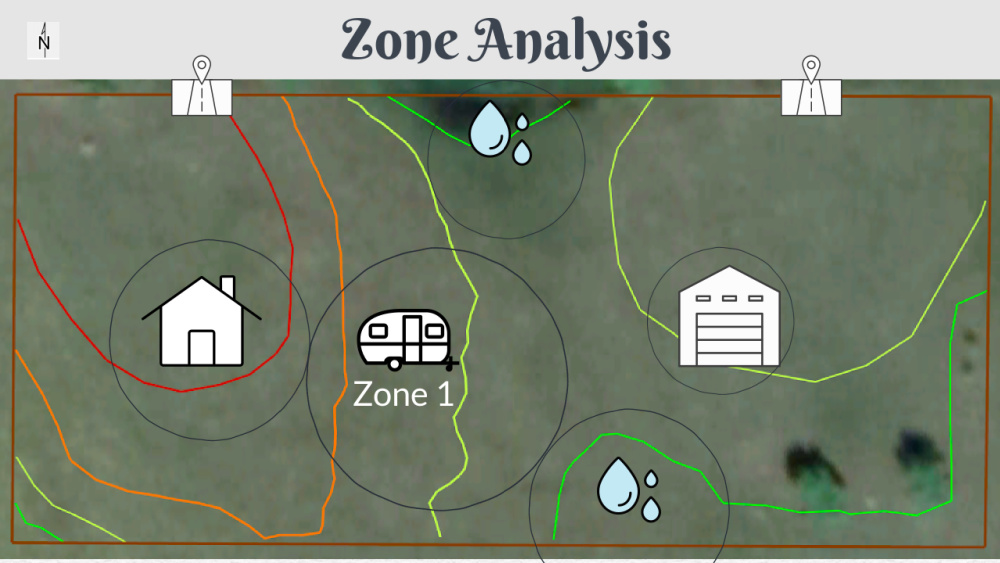
Permaculture zones are an important part of the permaculture design project. Here, however, in the predesign analyses we want to know what zones we want to have.
In our case, we are designing a home away from home, so on the property, the vacation site is Zone 1. However, the whole property is Zone 3-5, since it is away from our current home, zone 1. And we also want to leave building sites open for a house and a shop, in case we would like to retire on that property and make it our primary home.
Permaculture design project
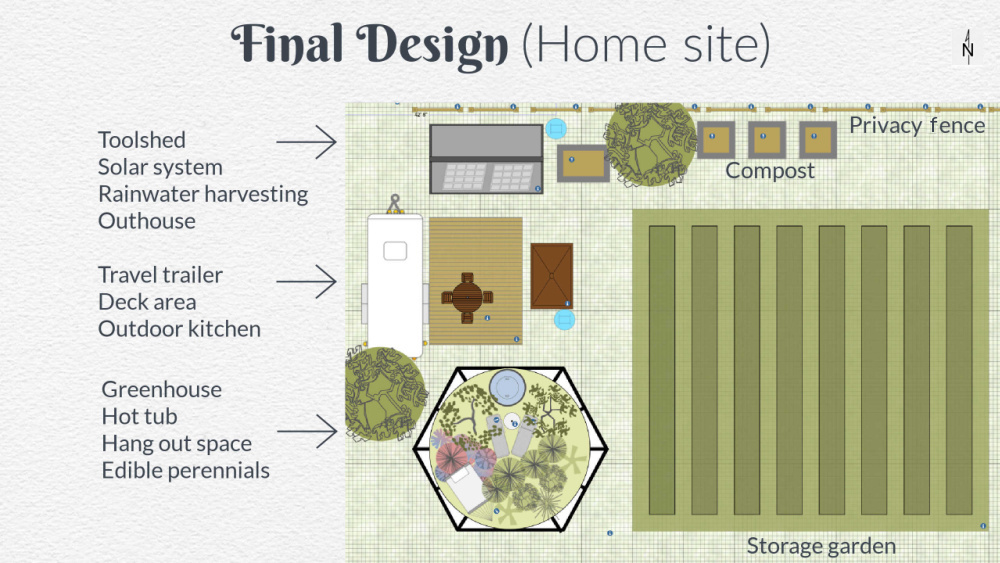
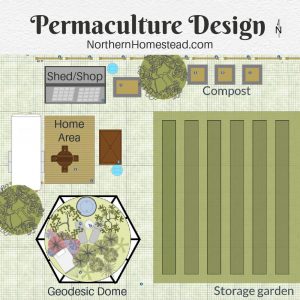
The heart of our final design is the home site. If you have read our new country garden update, you know that the garden location was the first change in our design. Instead of being from the east, the garden is now actually from the west. The outhouse and compost bins have also moved to the west. We build the composting bins out of pallets. The bins have a dual purpose, to shelter the garden from the north, and gather composting material.
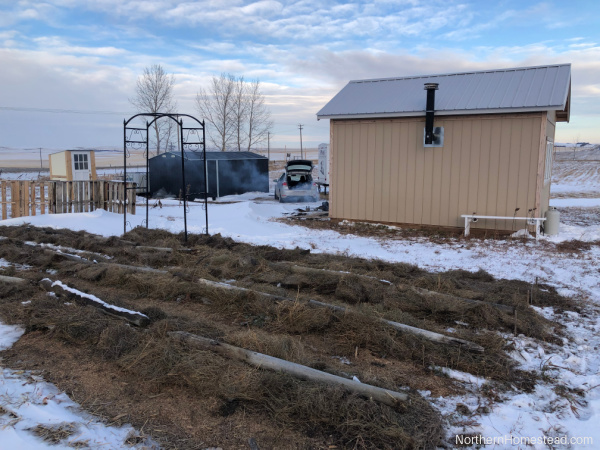
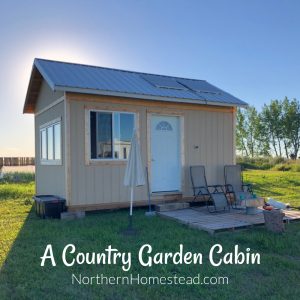
Instead of a travel trailer, our home site has a cute little cabin that a neighbor had built for himself but had to sell. Plans change, and we just go with the flow.
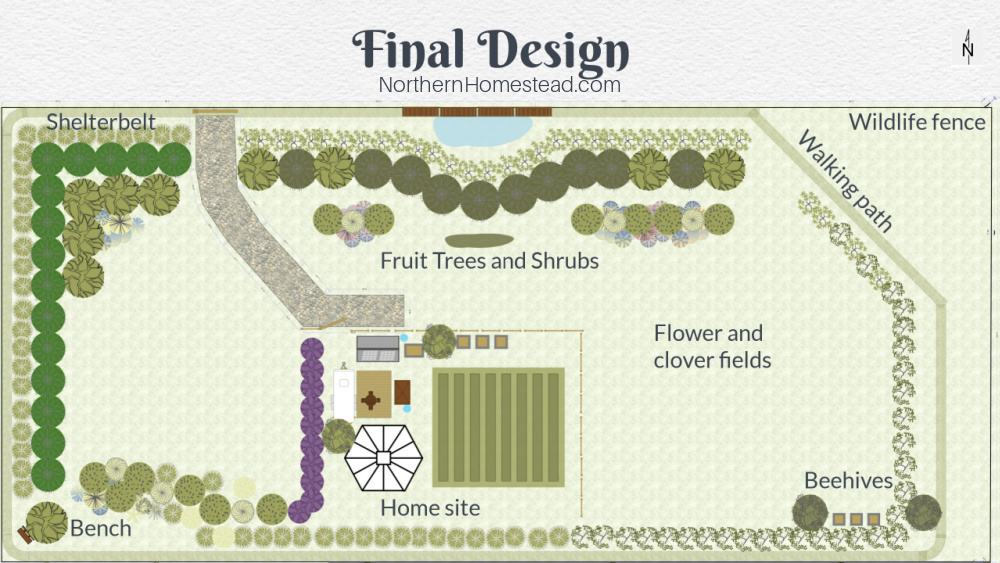
A shelter belt was very important to us. Thankfully there are already some mature trees on the property. We planned and planted lots more to shelter in the property. We also planted some nitrogen-fixing trees to get ready for planting fruit trees next.
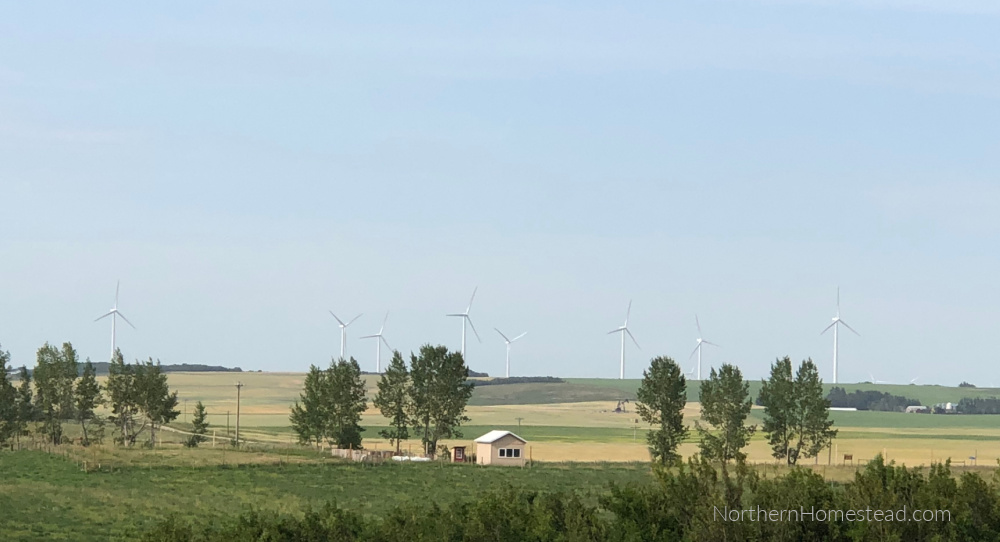
In this real-life picture, you see the prevailing southeast wind on the distant wind turbines. The garden from the west, the outhouse (most important), and the cabin. We also finished the tool shed in the fall before winter put our projects on hold.
Designing the property on paper was one thing, making it real is quite another. We are having lots of fun in the process.
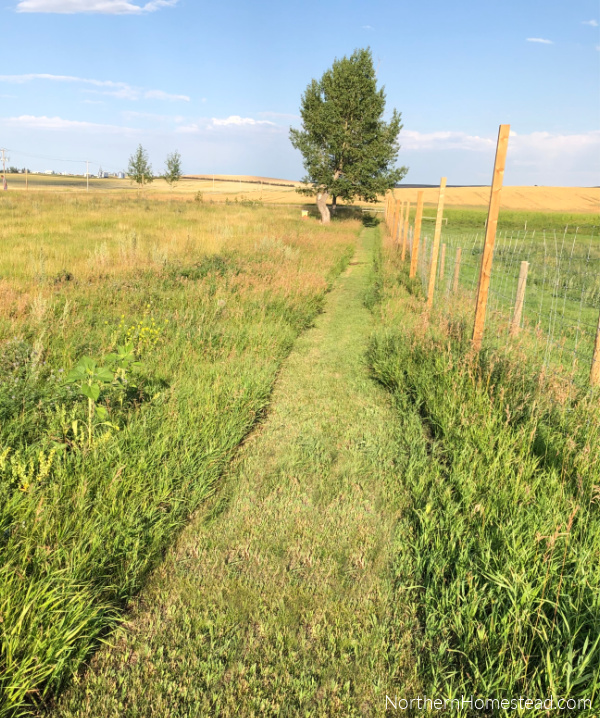
The simplest part of my design was the walking paths. I love going for walks in the summer, and also snowshoeing in the winter. I planned a walking path all around the diameter of the property. It only takes a few rides with the lawnmower to accomplish it. And I have used it many times, walking my happy rounds.
This simple example shows you that small things can make a big difference. If you can’t design a permaculture property, design a small part of it just for your enjoyment. I’m planning to do a lot more of that in the future.
We invite you to subscribe to our newsletter and follow us on Instagram, Facebook, or Pinterest so you do not miss a thing.
More permaculture posts you might enjoy
How to design an urban yard for food production
Using rocks to build raised beds and borders in the garden
Ten Years Yard-to-Garden Initiative Update
A Country Garden Cabin
Making and planting seed bombs
Permaculture Design Project
Permaculture Design Course


Very interesting project you have undertaken. While this question may be a little off topic, have you ever blogged about your composting system and what you have found to work in a cold climate. My wife and I also live in a cold climate (not quite as cold as your climate) but I’m still struggling to come up with a system for composting kitchen and garden scraps throughout the year. What do you do to solve this?
Thank you for your question, John. No, we have not blogged directly about composting yet. We have shared ideas in the blog about simplifying gardening that might be interesting to check out. One that worked well for us was having chickens that do the work for you. But since there will not be any chickens, we plan to pile up and let it sit as long as it takes, hence the 3 bins. If you are serious about composting and want quick results, turning it often seems to be a must. We are not up for that just yet. We like things simple.