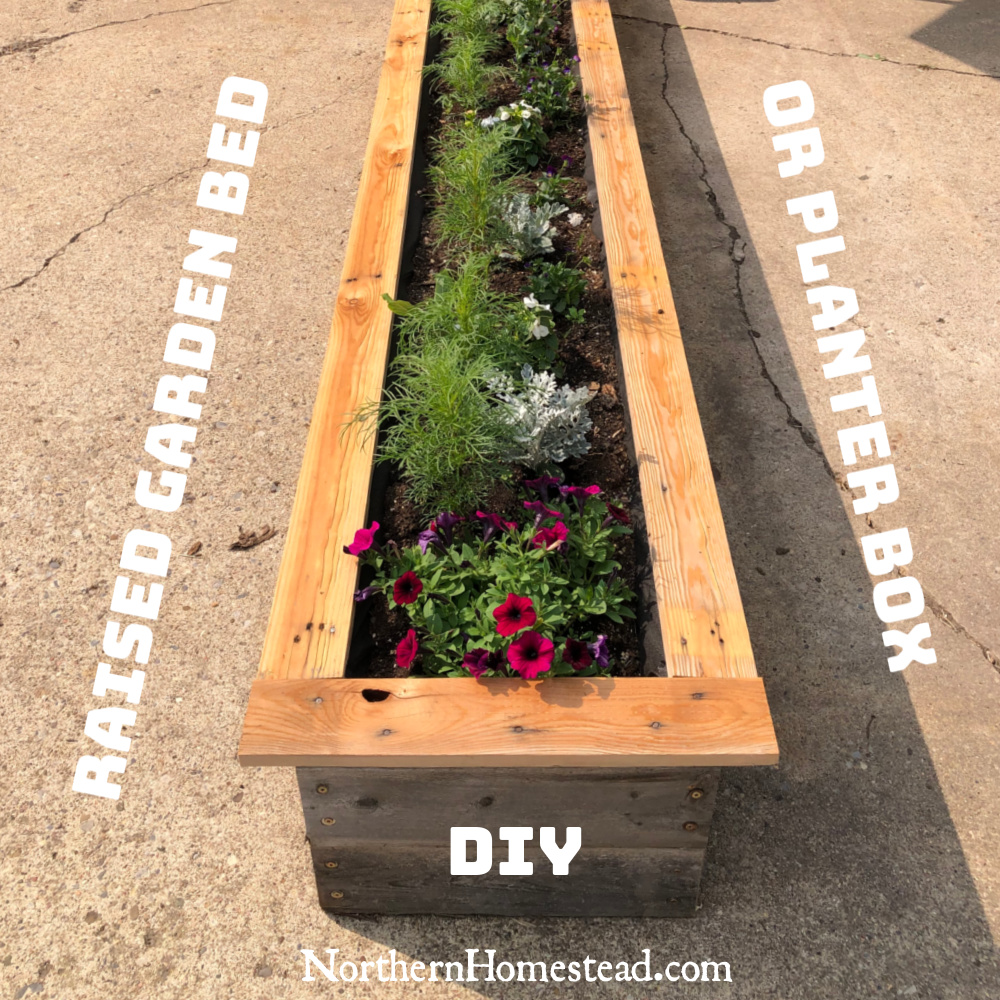
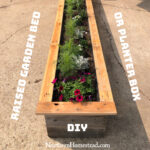
A raised garden bed or planter box has many uses. It is a great solution if you have no soil but still want to grow flowers, greens, or herbs. You can build a DIY raised garden bed or planter box in any size to meet your specific needs. We divided our driveway into a sitting area and a working area. Build one along your driveway, balcony, or deck to fit either a small or large space.
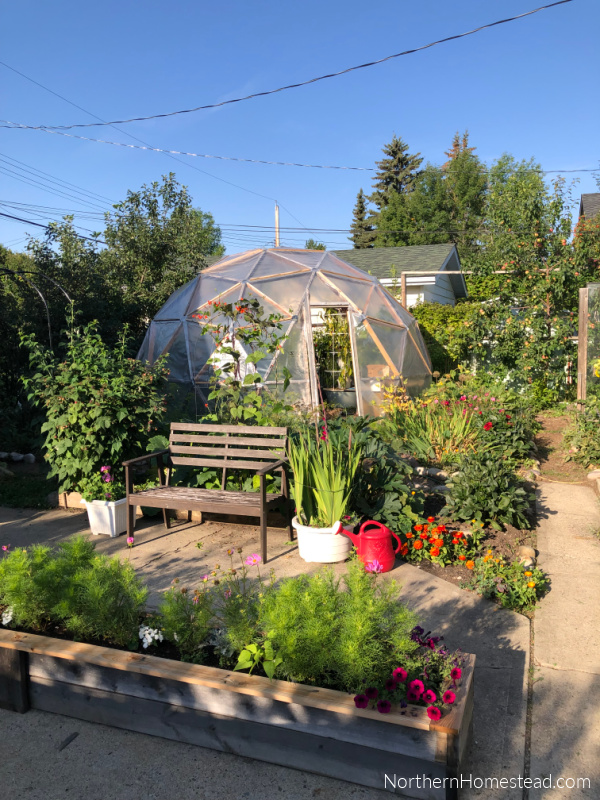
A raised garden bed can certainly be built in your garden, but in this case, we do not recommend lining the bottom. It’s important to distinguish between a raised garden bed and a container garden. The raised garden bed, or planter box, that we are discussing here is technically considered a container garden. In contrast, when creating a garden directly in the ground, it is preferable to construct a traditional garden bed. For more information about the differences between a raised garden bed and a container garden, read further here.
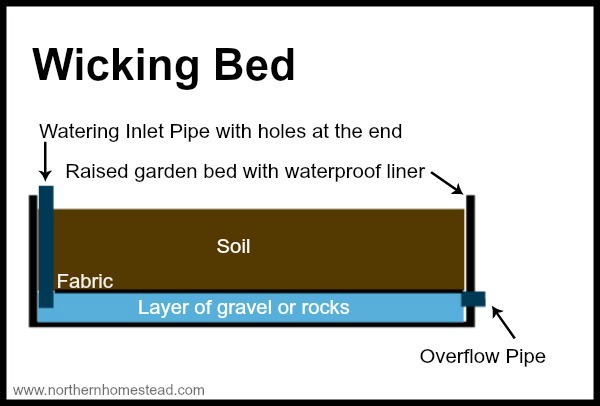
You might consider building a self-watering wicking bed if you have a greenhouse without soil or a covered deck. The construction is similar, but the lining and filling will differ. A wicking bed lets you keep the area clean, preventing water from draining out of the box.
Materials needed to build a planter box
The material needed to build the raised bed will vary by size. If your bed is 8 feet long and 2 feet wide, you will need 5 – 2″x6″x8′ and 2 – 1″x6″x8′ spruce boards.
- 2″x6″x8′ boards
- 1″x6″x8′ boards
- ca. 30′ chain link fence
- Weed control or landscape fabric
- Screws, nails, staple gun
- Eco wood treatment (optional)
The chain-link fence and landscape fabric help protect the boards from rotting while also allowing for good airflow, which is beneficial for root growth. With this method, you don’t need to construct a wooden bottom, as the chain-link and fabric effectively serve that purpose.
Constructing the raised bed
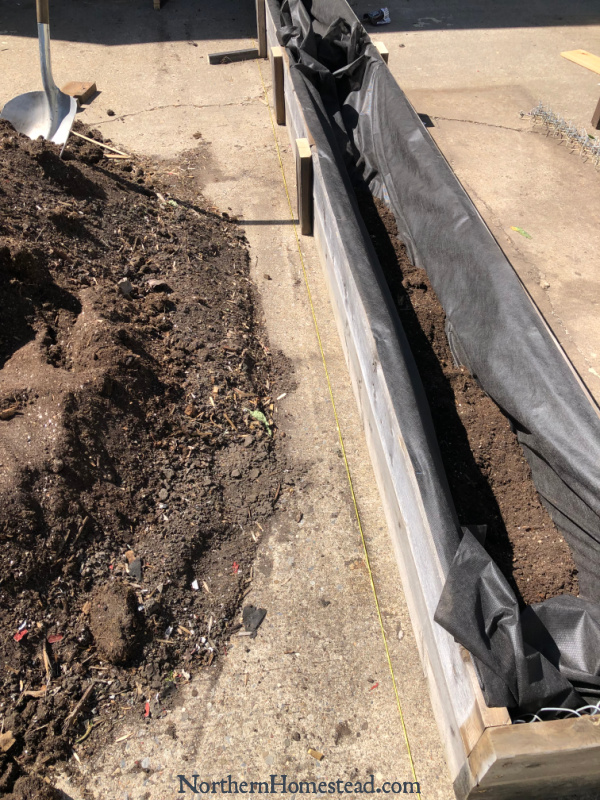
Cut the boards to your desired size. For example, for the 2’x8′ bed, cut 4 2-foot boards out of the 2″x6″x8′ board for the box. Cut the 2 – 1″x6″x8′ spruce boards lengthwise in half, which will give you 4 8-foot boards. Cut one of them into 2 2-foot boards for the ends, and the rest into 1-foot boards to support the raised beds from the side.
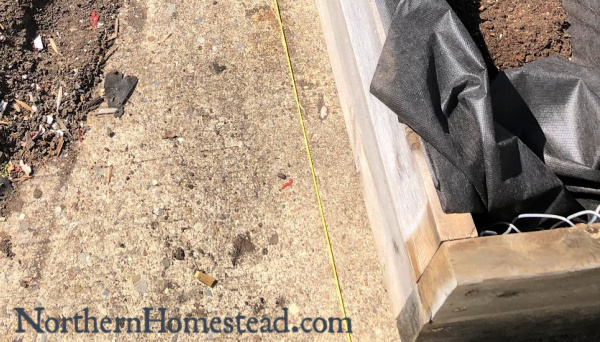
Now assemble the beds by screwing the boxes together.
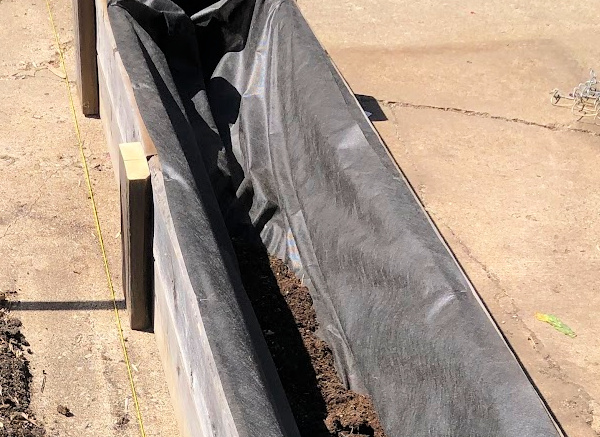
Place the one on top of the other and, using the one-foot boards, support the box from the side.
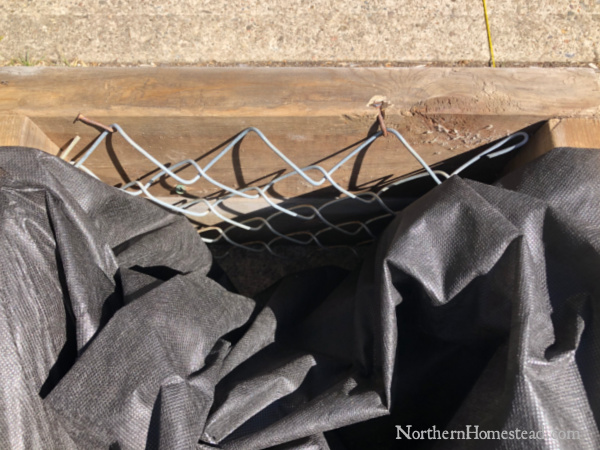
Now it is time for the chain-link fence. Cut the chain into 6-foot pieces and line the walls and bottom inside the box, holding it up with nails. The next layer is the fabric. Again, if your box is 2 feet wide, cut the fabric into 6-foot pieces, adding a few inches for overlap. It is a good idea to staple the fabric on top of the board so no soil can get in between the board and the fabric.
Note: If you plan to build a garden bed directly on top of the soil, leave the bottom open and do not use fabric. This will allow soil life to move into your garden beds, which benefits the soil.
We filled the box with soil at this point, so the final decorative boards stayed clean. However, you can choose to finish the box first. Screw the 3-inch boards on top of the box to give it a beautiful finish. Read more about soil for containers and raised beds.
Note: If you are building a larger garden bed and want to use the top board as a sitting area for working in the bed, use wider boards for added strength. In our case, it is just for decoration.
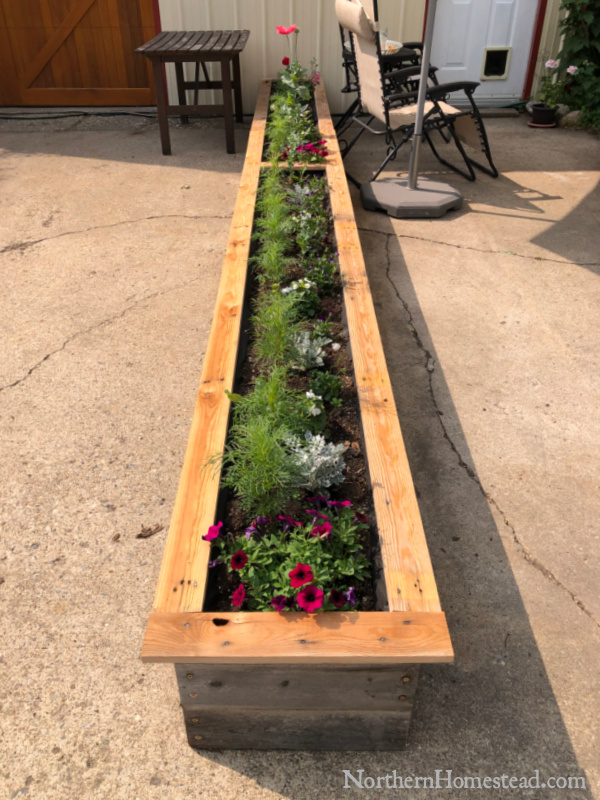
Doesn’t that new raised bed look beautiful? Where would you want to build your new DIY raised garden bed or planter box?
We invite you to subscribe to Northern Homestead and follow us on Facebook, Instagram, or Pinterest for more great ideas.
More DIY Articles you might enjoy






Leave a Reply