

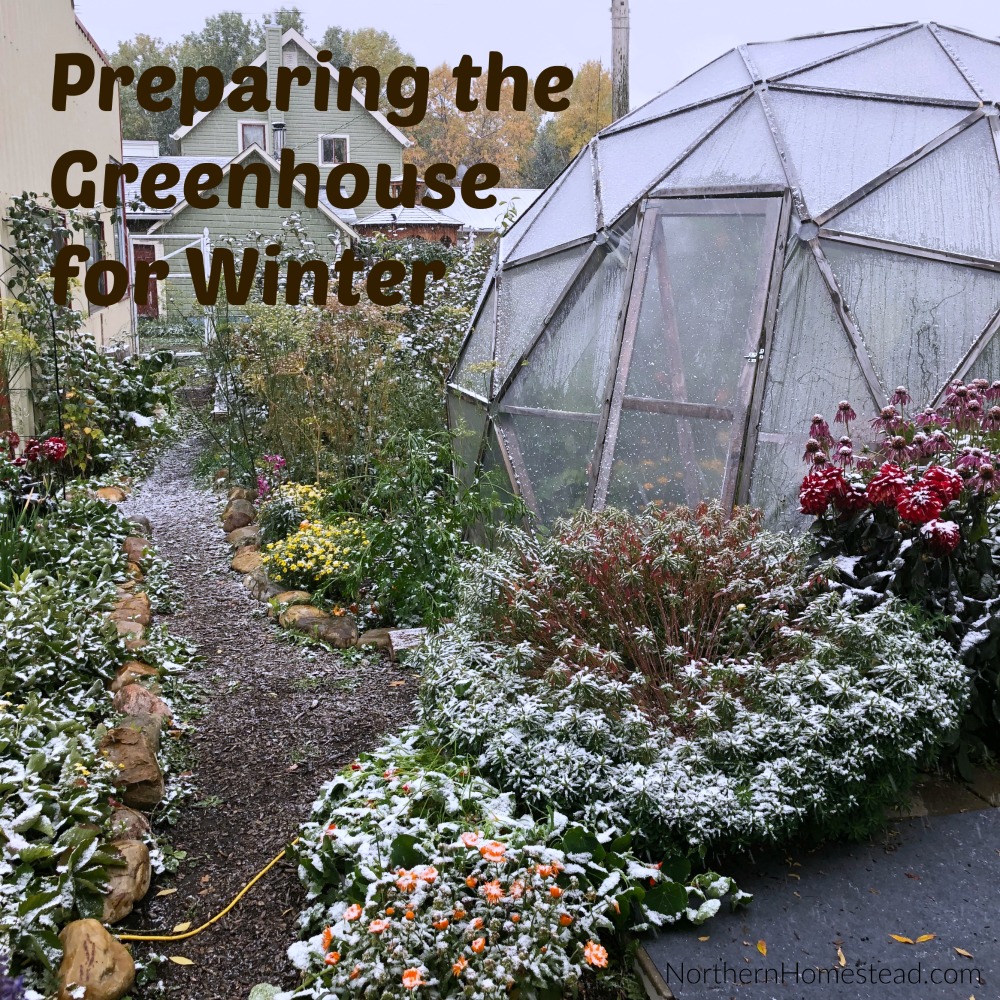
After a combined 12 years of use, it’s time for a Geodesic Dome Greenhouse Building Review. This review focuses specifically on greenhouses, which differ from other uses due to their unique requirements, primarily being covered with plastic in a high-humidity environment. This combination of wood and plastic presents its own set of challenges.
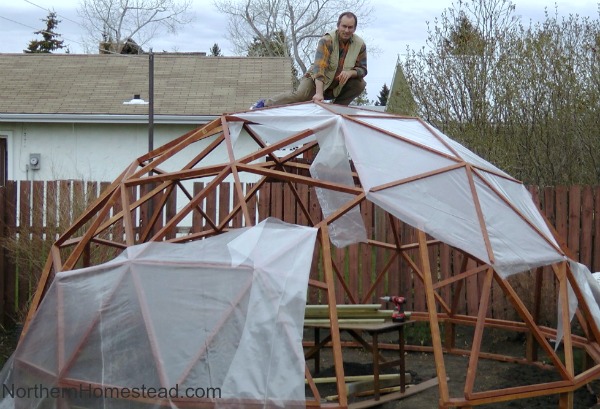
In 2011, we embarked on a journey to build our first geodesic dome greenhouse, constructed from spruce wood with no connectors. After three fruitful seasons, we had to part ways with it due to a move, and the new owners continued to use it until spring 2023. In 2017, undeterred, we decided to build our second geodesic dome greenhouse, but this time, we opted for connectors. While the dome still stands, it’s not without the need for some repairs.
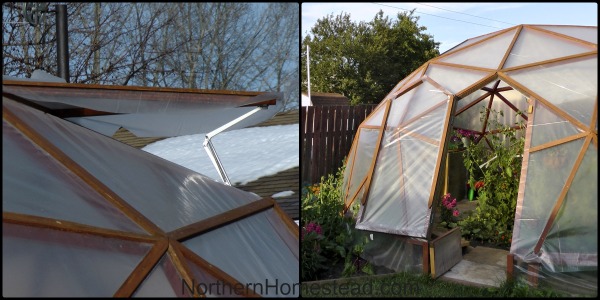
The All-Wood Geodesic Dome
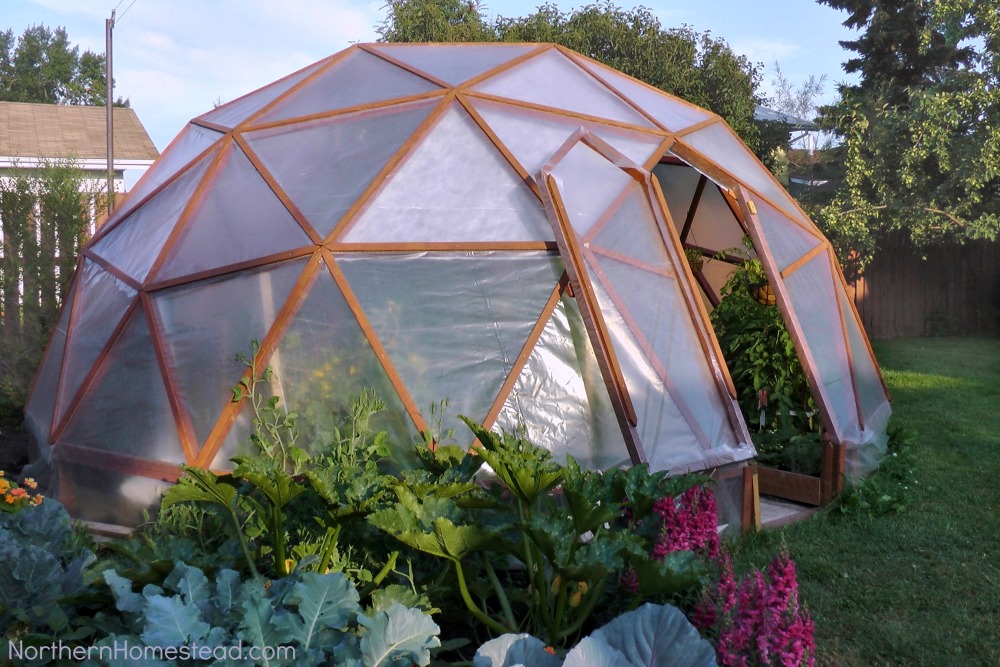
A geodesic dome greenhouse is essentially a collection of wooden struts covered with plastic. This simplicity is what makes the structure cost-effective. Read how we built it here. However, after 12 years of use, our first greenhouse showed signs of significant rot. Some of the boards had deteriorated to the point that hardly any solid wood remained. Despite this, the dome’s structure was surprisingly sturdy; the new owner mentioned, “Even in this condition, the dome could support my weight when I hung from the top.” If you’re curious to see pictures, you can find them here.
The dome was initially constructed from spruce wood, which was treated with a wood protection product we unfortunately can’t recall. Whatever it was, it didn’t prevent the wood from rotting, as spruce lumber and high humidity don’t play well together. The most significant rot occurred at the joints and the areas in contact with the plastic cover.
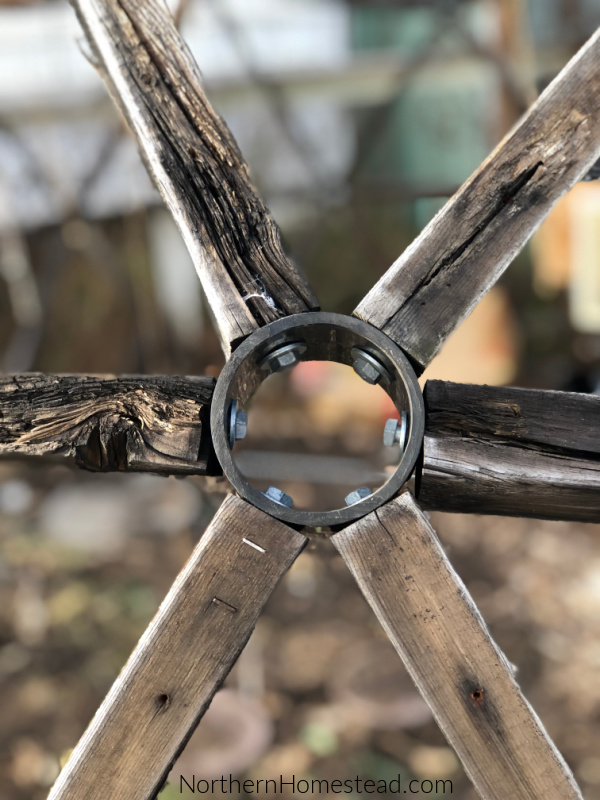
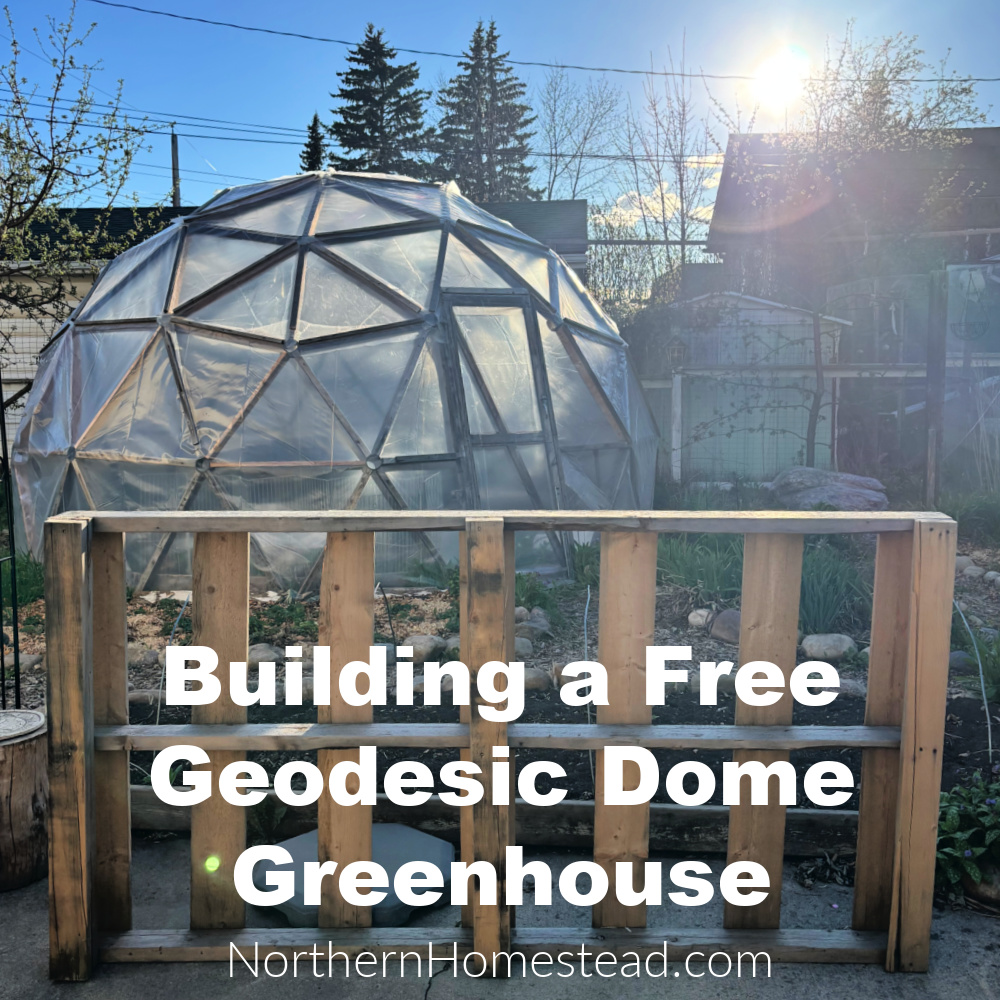
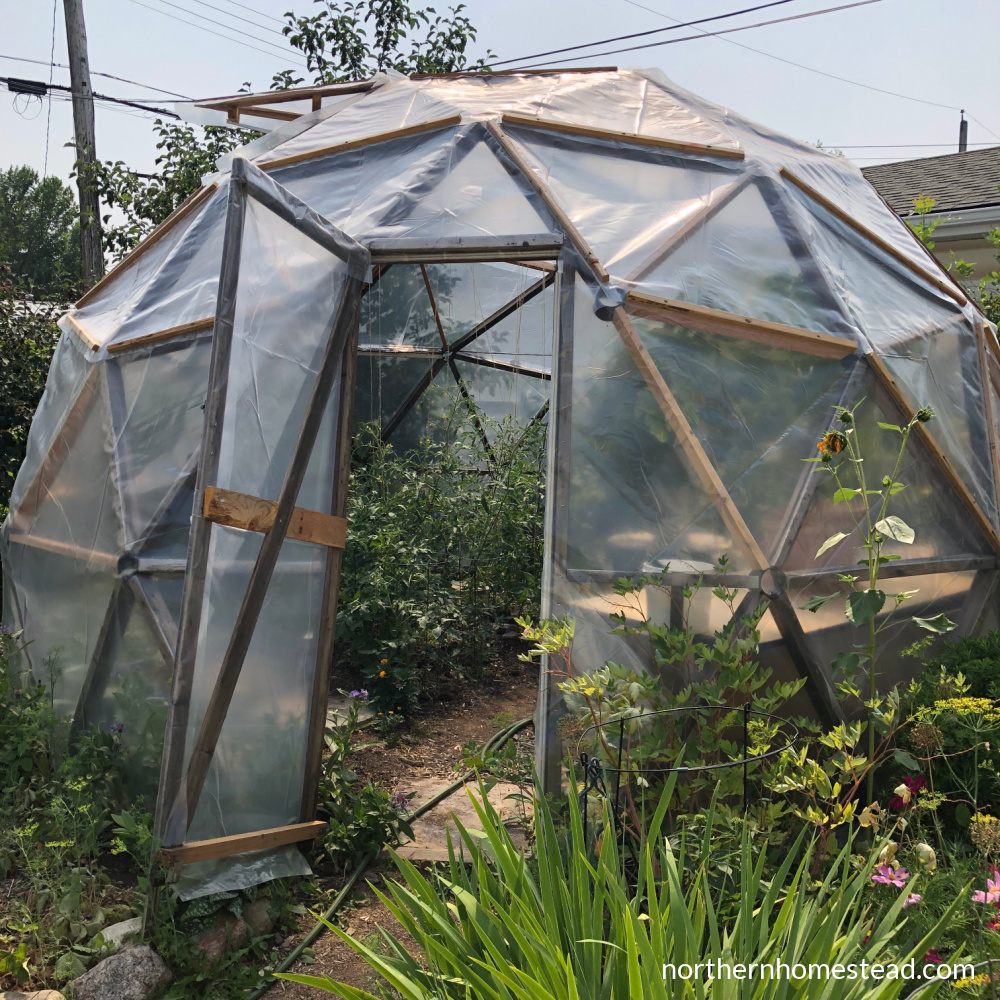
The Geodesic Dome Version with Piped Hubs
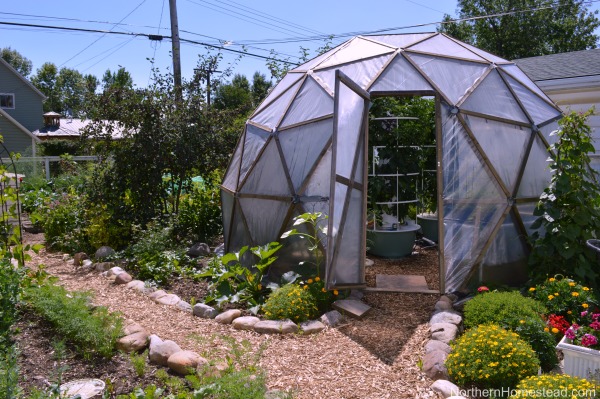
For our second dome, we once again used spruce wood but took extra precautions by treating the lumber ourselves with Eco-wood. We hoped this, and using connectors would extend the structure’s lifespan. However, we noticed that the Eco wood treatment didn’t effectively protect the wood from rot. We would not recommend it.
This time around, it’s primarily the struts that have shown signs of rot, while the connectors remain in excellent condition. After seven seasons, we’re considering replacing more struts or possibly rebuilding the dome with a different type of wood. The advantage this time is that the connectors are still in good shape, so only the struts would need to be replaced.
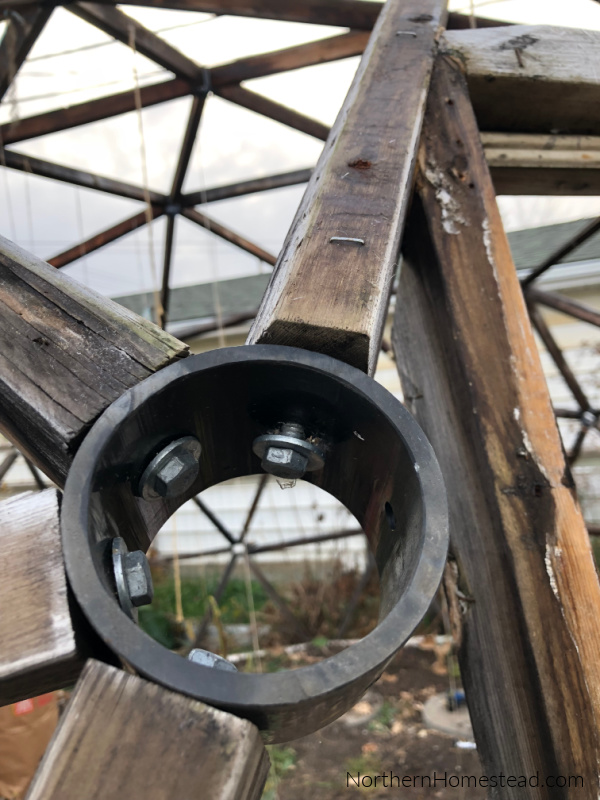
We used lag bolts to connect the wood to the pipe connectors, which held up quite well over the years. Only in areas of particularly high tension, such as around the door, did they loosen a bit over time. The owner of our first all-wood dome greenhouse has also rebuilt his structure using pipe connectors but opted for screws throughout. It will be intriguing to observe how this alternative approach fares in terms of longevity and stability.
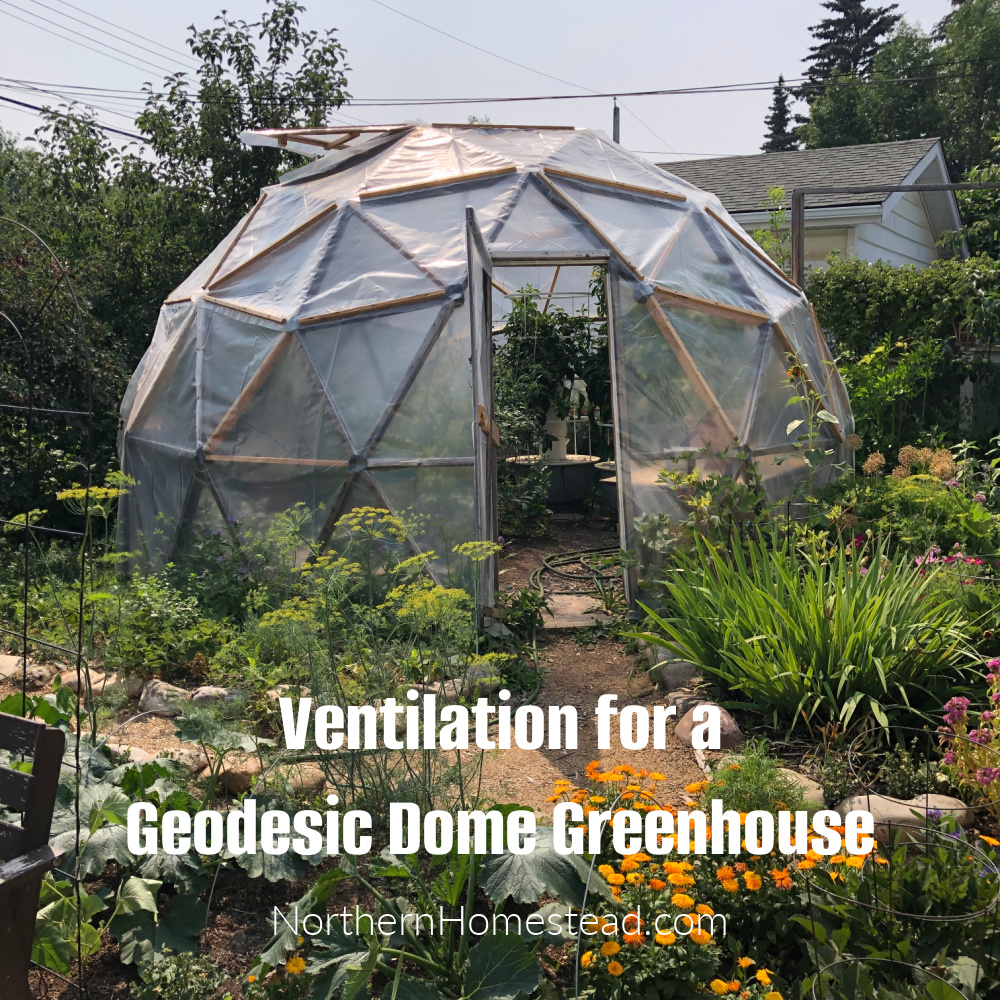
Windows or No Windows
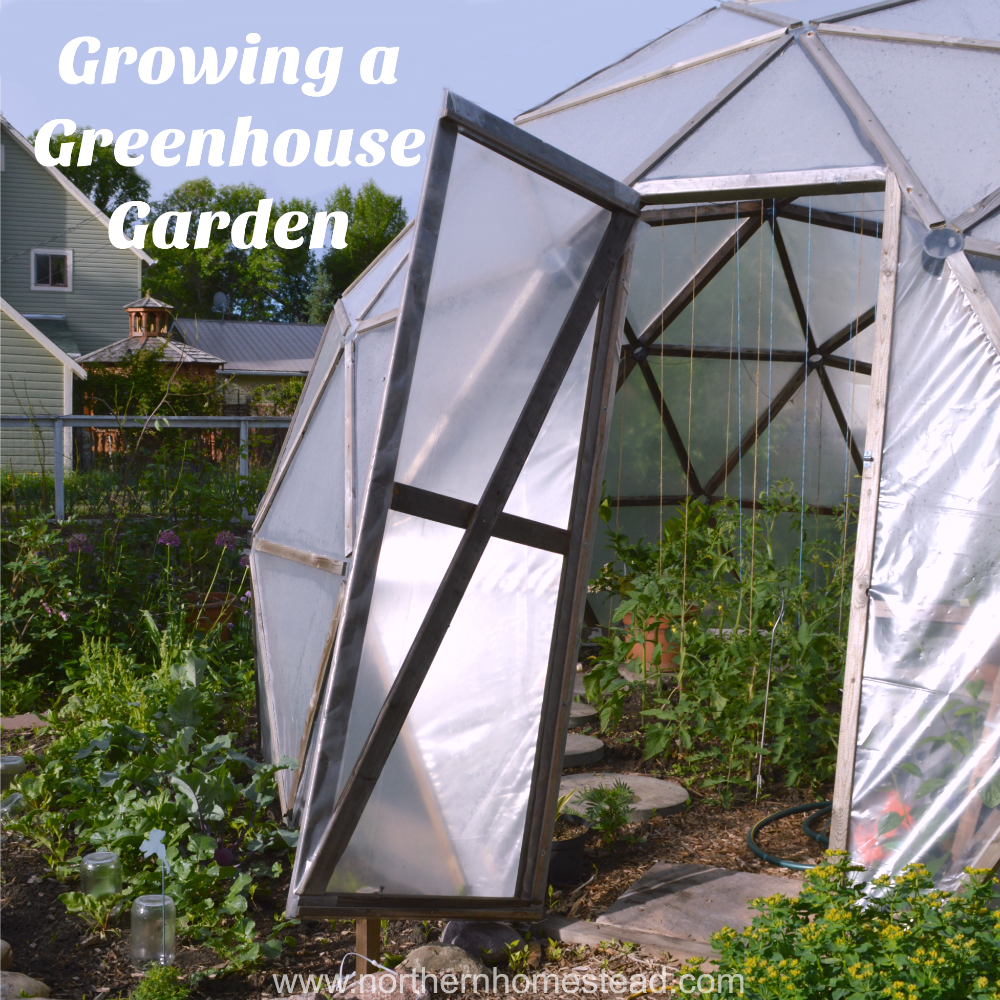
Our first dome had two windows and a door for ventilation. The new owner added more windows and an exhaust fan for ventilation during hot days. While it worked well during the day, it didn’t provide any heat at night.
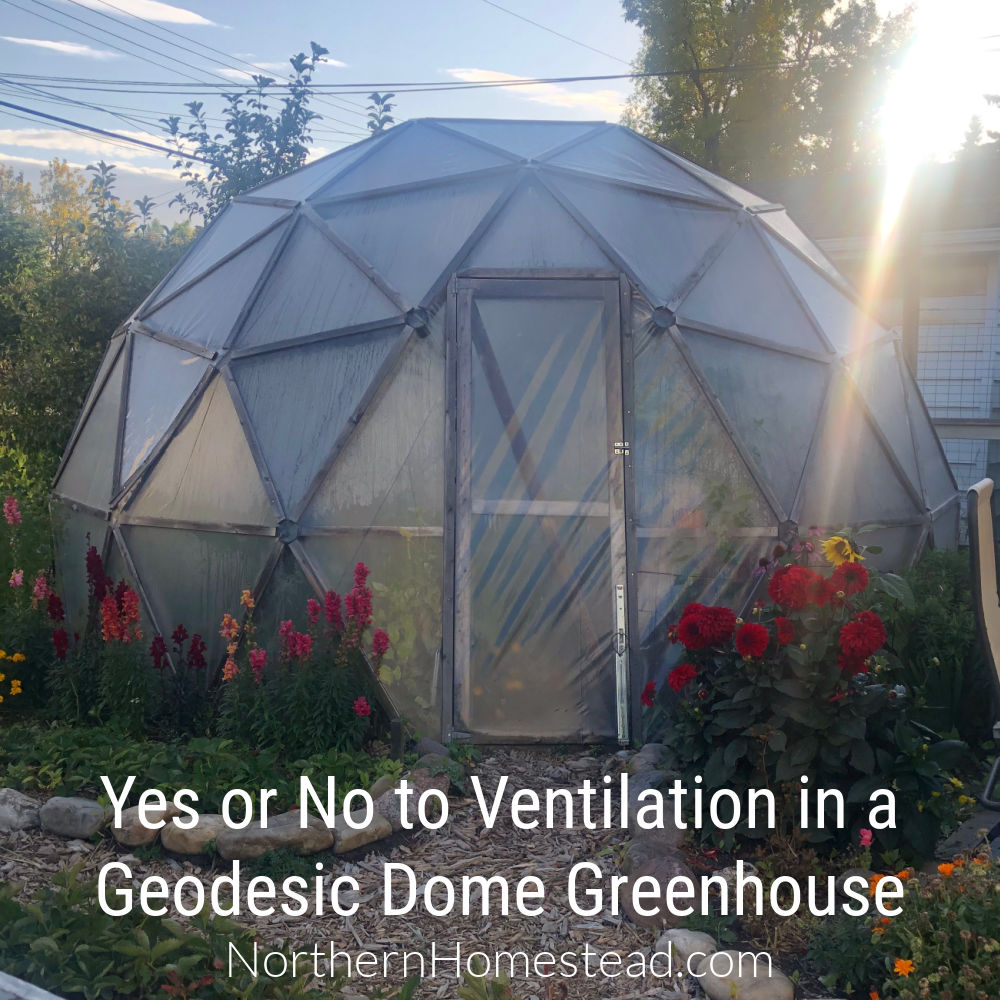
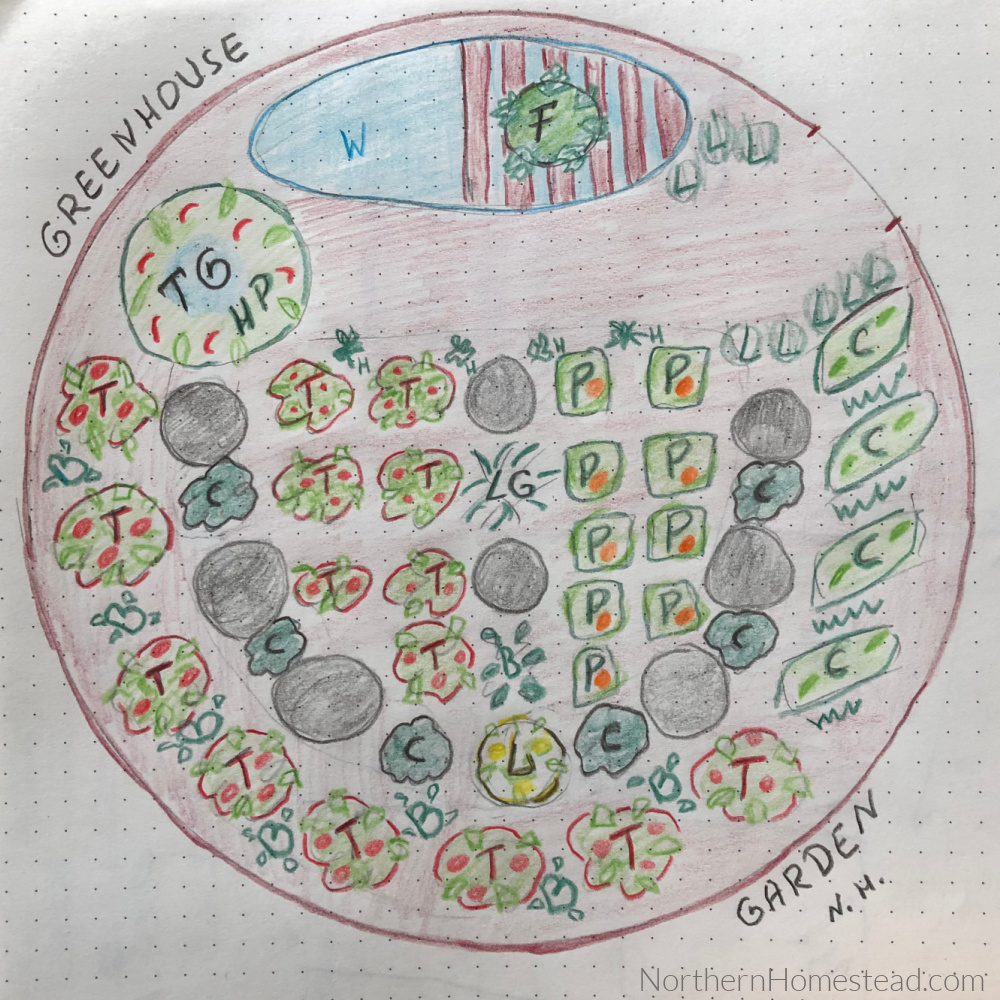
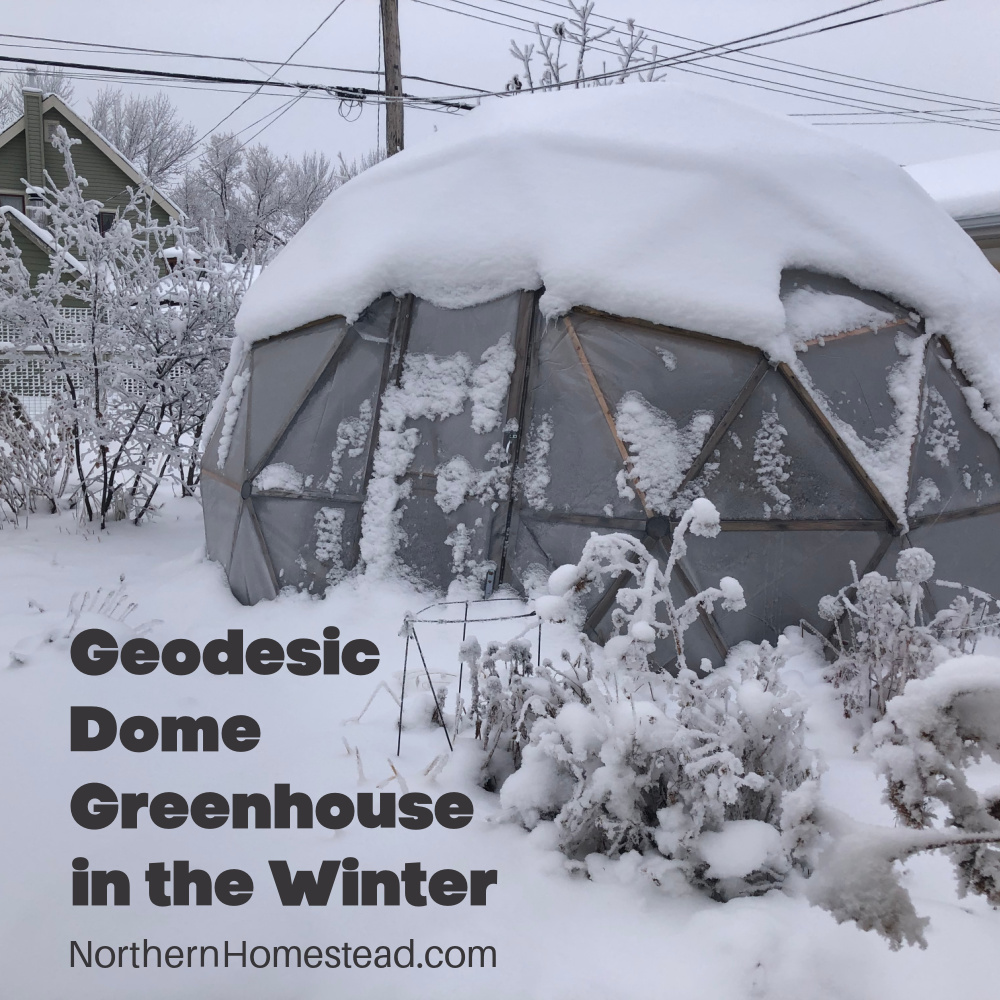
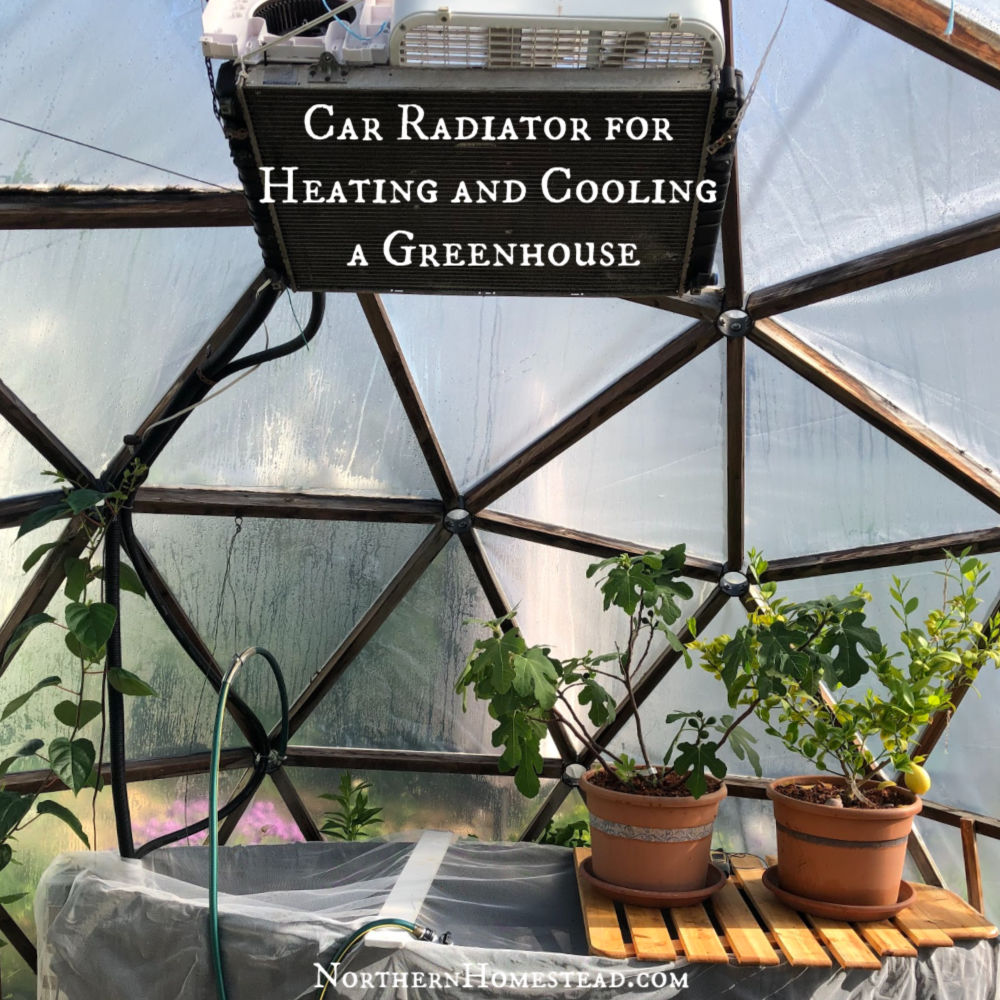
In contrast, our second greenhouse was built without any windows. Instead, we captured and stored heat in a water tank, using it during cool nights through a simple heat exchanger with a car radiator. Read more in our article Yes or No to Ventilation in a Greenhouse. This method allowed us to extend the greenhouse growing season until outside temperatures dropped to -10 degrees Celsius. However, operating a water pump and a ventilator required constant energy.
It is also possible that the higher humidity leads to earlier rot on the wood struts. We would not recommend doing it without windows for proper ventilation.
Covering of the geodesic dome greenhouse
The first geodesic dome greenhouse was covered with greenhouse-grade poly that we acquired used from a commercial greenhouse. This covering held up well throughout the dome’s lifespan.

Our second dome, on the other hand, was covered with shrink film. While the concept seemed promising – pull it over and shrink it to fit the dome shape – it didn’t work as effectively as anticipated and was unsuitable for our climate. Shrink film is highly sensitive to temperature fluctuations, causing it to shrink and require repairs each spring.
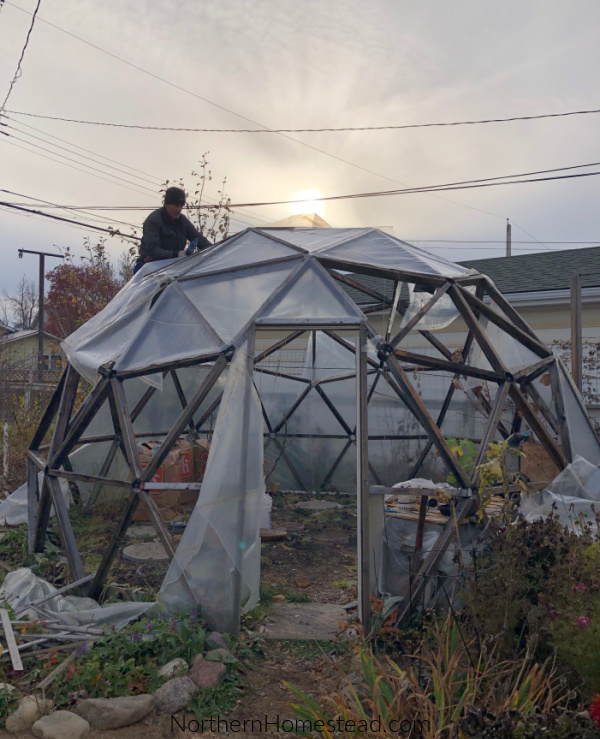
The dome shape has proven advantageous for covering repairs. Our harsh climate, which includes frost, wind, and hail, often damages the covering. However, only the affected sections need replacement, saving a significant amount of money since we don’t need to replace the entire cover. We have been using the cover for 7 seasons, and it is now in need of replacement. Therefore, we uncovered the dome structure in the fall to allow the soil to recover naturally over winter.
Would We Recommend a Geodesic Dome Greenhouse?
In our expiriance the lifespan of a dome structure is around 10 years. Since it is easy and cost-effective to build, it is a great project for someone who loves woodworking. Greenhouse plastic lasts about the same. Using expensive coverings that would last much longer might not be a good choice unless you also use a different type of wood that lasts longer. Coverings that retain more heat at night and add ventilation to release it during the day could be an option. This could allow the dome to run on minimal electricity, which is a great way to keep rising energy costs in mind.
Using an above-ground water tank for thermal mass and plant watering was good. Additionally, the pipe connectors have proven durable, making it easy to prepare a dome if needed.
In conclusion, a geodesic dome greenhouse is a great option for DIY enthusiasts due to its lower cost. However, it requires ongoing maintenance and attention. The pipe connectors make repair easy. The structure allows for replacing only what is needed without rebuilding or recovering the entire structure.
If you have experience building or maintaining a geodesic dome greenhouse, we would love to hear your insights. Please feel free to share them in the comments below. Your firsthand experiences can be invaluable to others considering similar projects.
Don’t forget to subscribe to Northern Homestead and follow us on Instagram, Facebook, or Pinterest for the latest updates.


Leave a Reply