

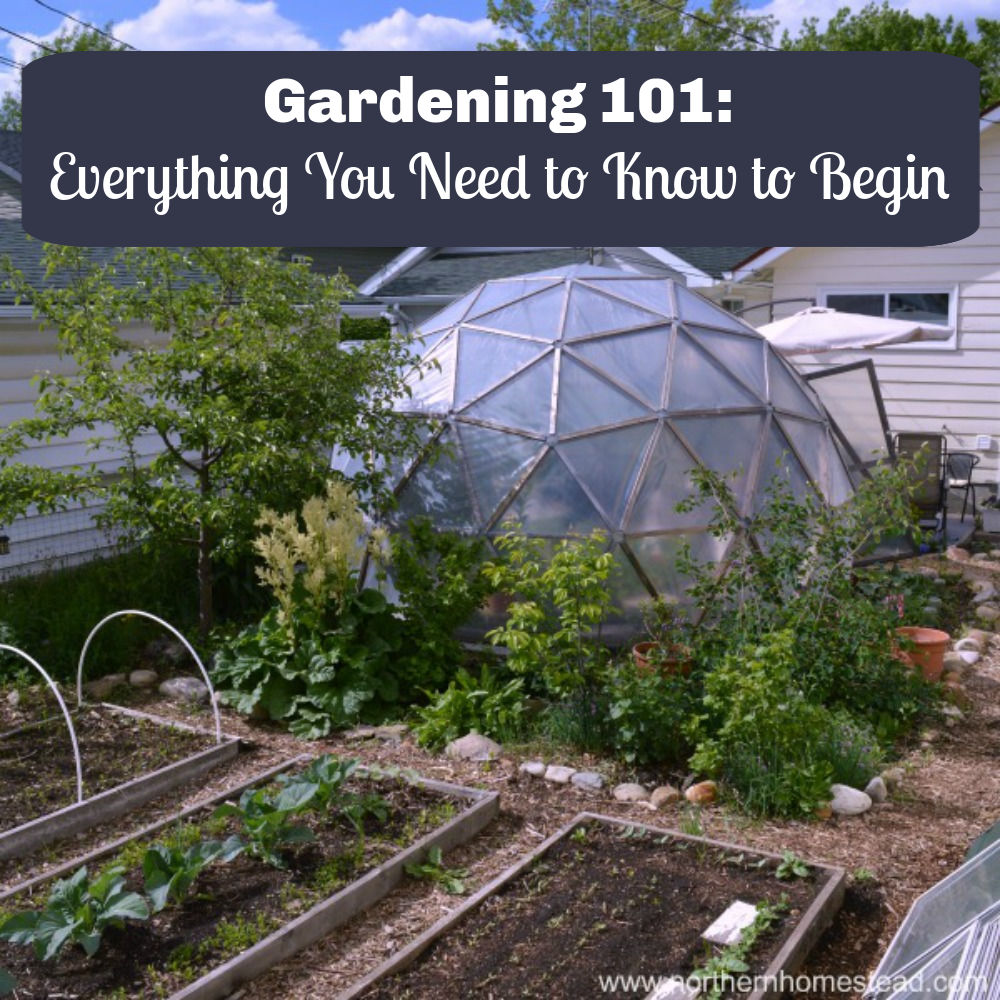
Not even 100 years ago, every family had a vegetable garden. Children learned from their parents, and each home typically had an established garden. That has changed, but increasingly, people are returning to gardening and growing their own food. Gardens are both rewarding and fun. So how can you create a new garden bed if you don’t have one? Let’s delve into the details.
A few things to consider first
New garden beds are unlike new cars; they don’t run smoothly just because they’re new. Gardens usually improve over time, often taking about three years to become established. Comparing your new garden to Auntie’s well-established plot won’t be fruitful.
The important thing is to start. Even if you make all sorts of mistakes in the first year, go ahead. You’re not just working alone; millions of worms, microorganisms, and bacteria are collaborating with you. In fact, they often do a better job than we could. However, they can only start once a garden bed exists.
The best season to begin is in the fall, giving the garden time to settle and allowing the microbiome to move in. Additionally, all necessary materials are readily available. Starting in the spring often results in a rushed season, so if you can, opt for doing it in the fall.
Where to create a garden bed
1. Pay attention to where the sun is. The ideal garden should have morning and midday sun and some shade from the afternoon sun. In cooler areas, it’s good to have sunshine all day long. If you only have morning sun, you can still grow lettuce, herbs, radishes, peas, and other cold-weather plants. If you get a lot of afternoon and evening sun, then the place is better suited for warm-weather plants, like tomatoes and zucchini. You can still grow a garden even if you don’t have optimal solar conditions. Unfortunately, a garden in total shade in a cold climate won’t be productive.
If you are far north, or far south away from the equator, your sun angle will change dramatically over the course of the year. Where there is shade in the winter might be sunshine in the summer, or the other way around. It is helpful to do a shade survey.
2. Stay away from trees. If there are branches above you, then there are also roots in the ground. If you can, move a little farther from a tree. Or build raised garden beds; they work great even close to a fruit tree. Trees with shallow roots, like American elm and maple trees, as well as birch and poplars, should be avoided altogether in a garden.
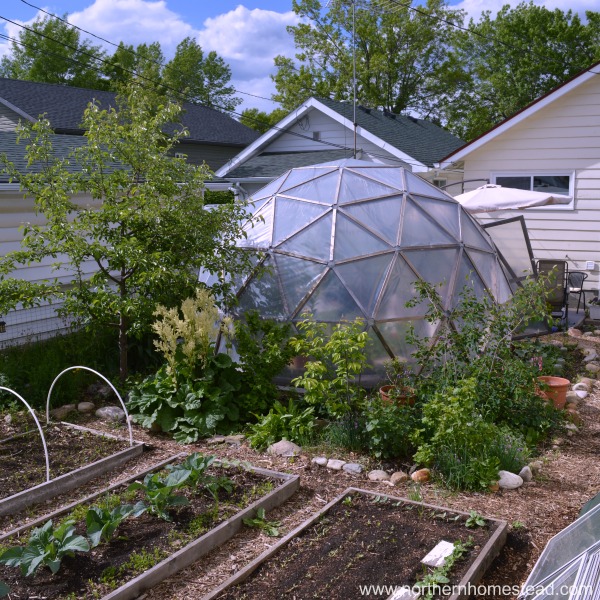
3. Use microclimates. A garden on a hill will be dry and windy, while a garden down in a valley will get frost sooner and be wet in early spring during heavy rain. Windbreaks can make the spot warmer, good for northern and winter gardens, but may heat up the spot too much in hot areas. A slight slope toward the sun will work for you, and a slope away will work against you. Read more about microclimates here.
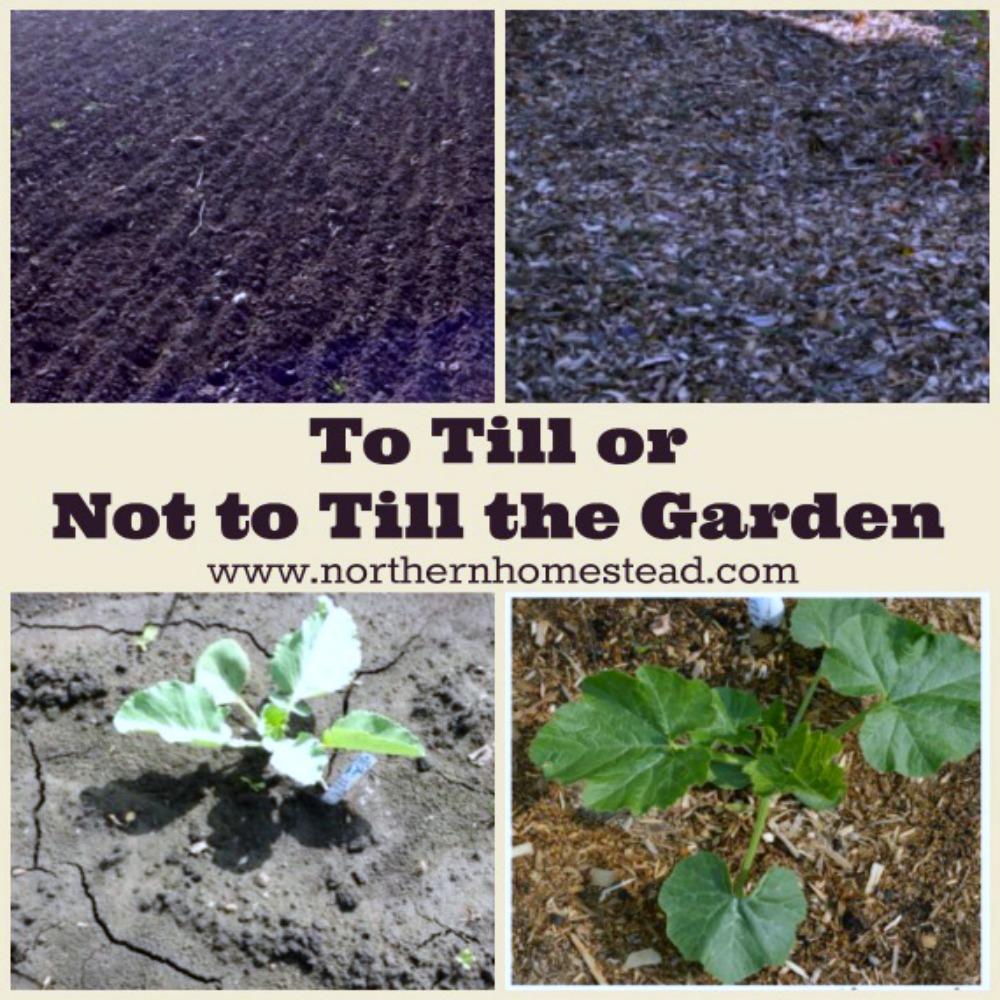
Using a No-Till or No-Dig method
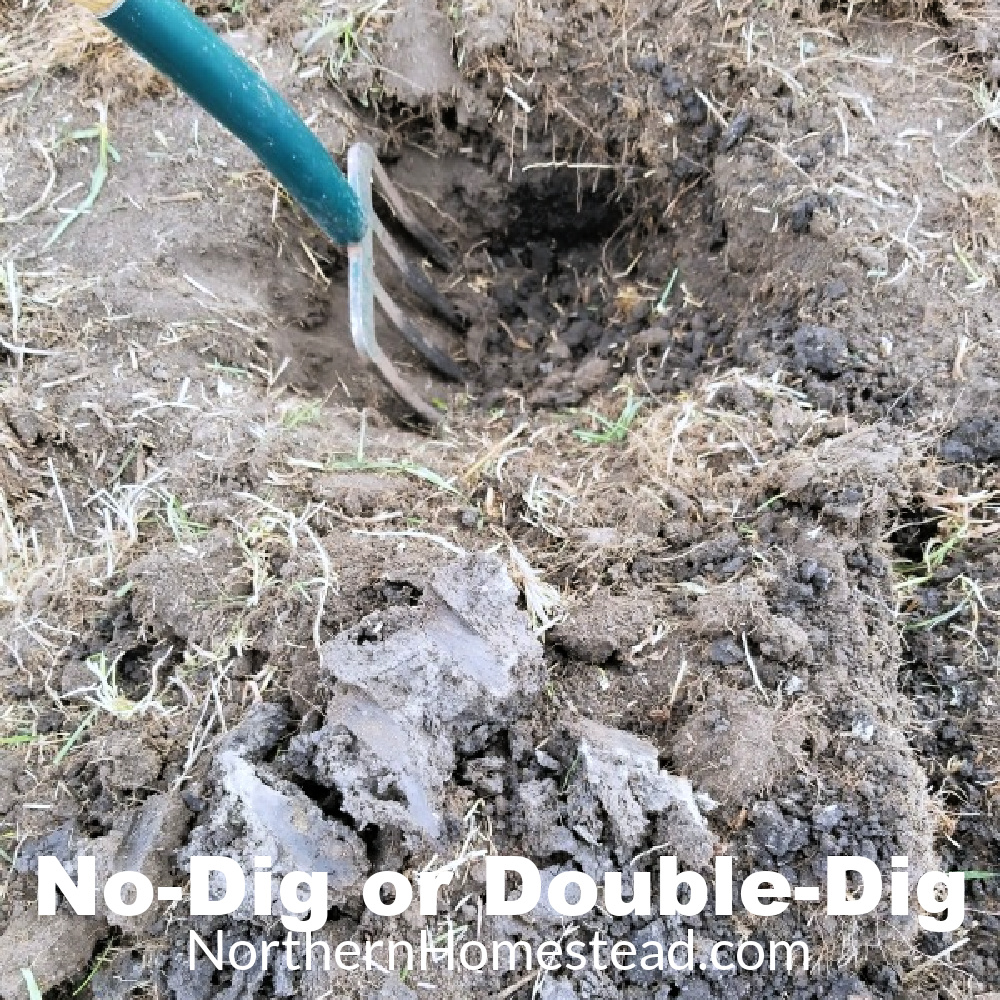
Once the location is settled, you’ll want to see if there’s any topsoil to work with. A small dig with a fork will reveal the truth. Read more in no dig or double dig.
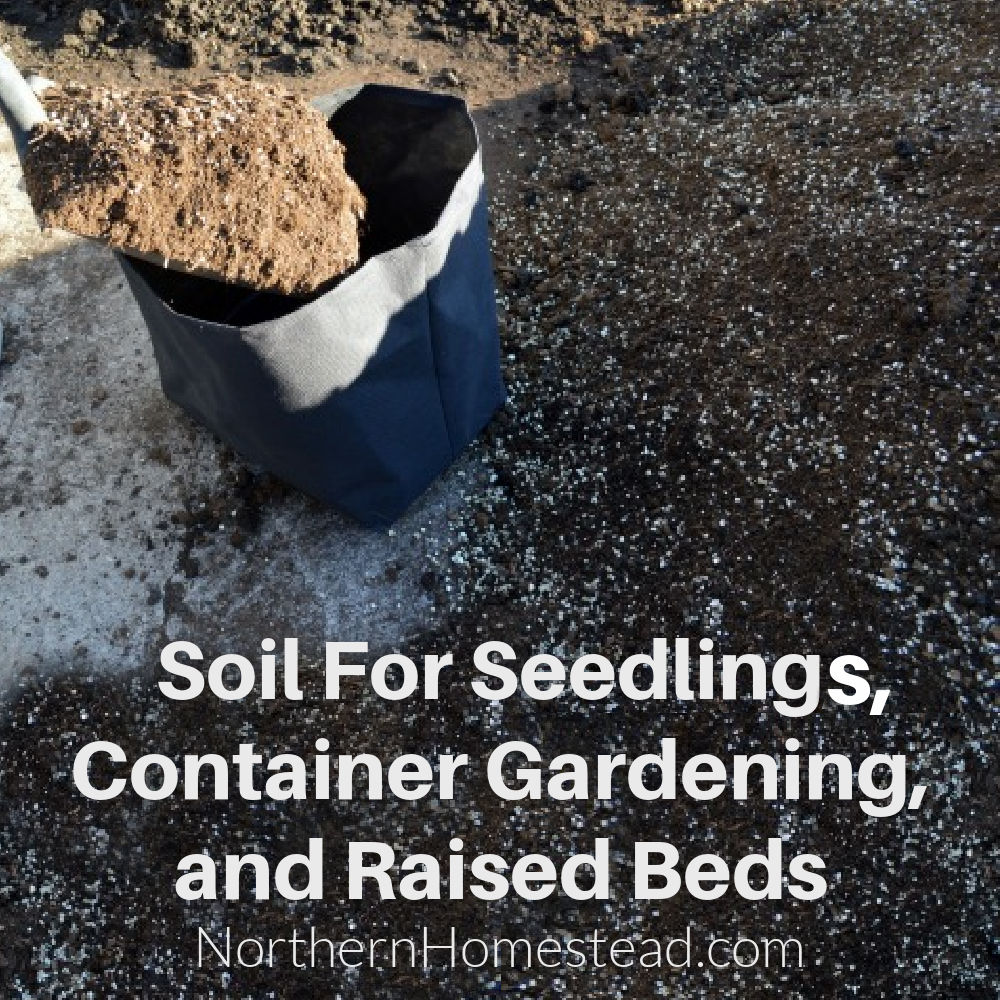
In an urban setting, you might not have any topsoil at all. In that case, one of the 3 Great No-Till Gardening Methods we recommend could be your solution. Depending on your needs and resources, you could go for sheet mulching, an instant garden with brought-in soil, or a square-foot garden.
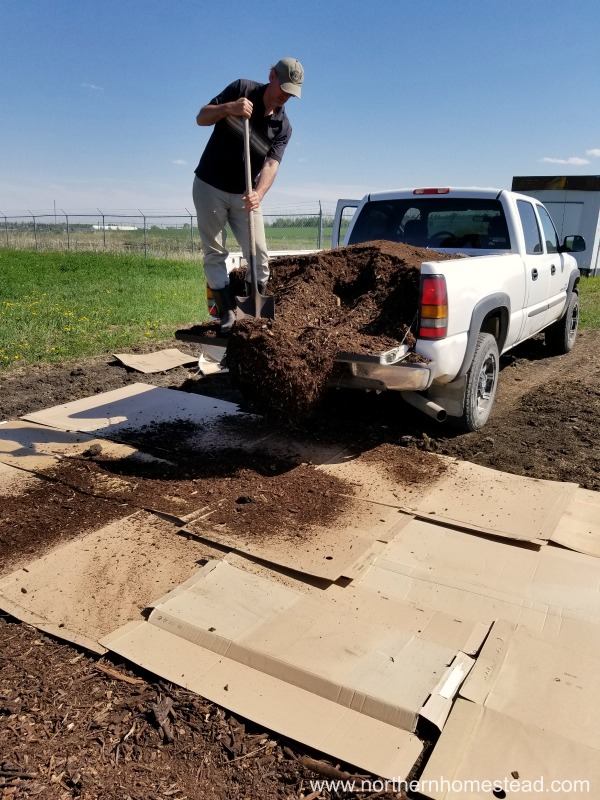
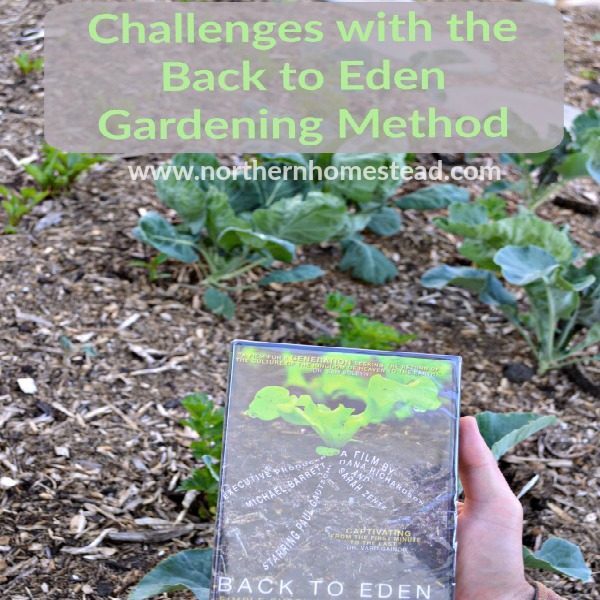
To prevent weeds, you can lay down cardboard or newspaper, followed by compost and mulch. Charles Dowding’s book, “No Dig Organic Home & Garden,” shows both methods—with and without cardboard. You need a thick and compact layer of compost to be successful on top of a weedy pasture or lawn without any weed barrier first. We’ve used both methods and found that the cardboard takes a long time to break down in our dry climate. However, we do not recommend using weed-control fabric.
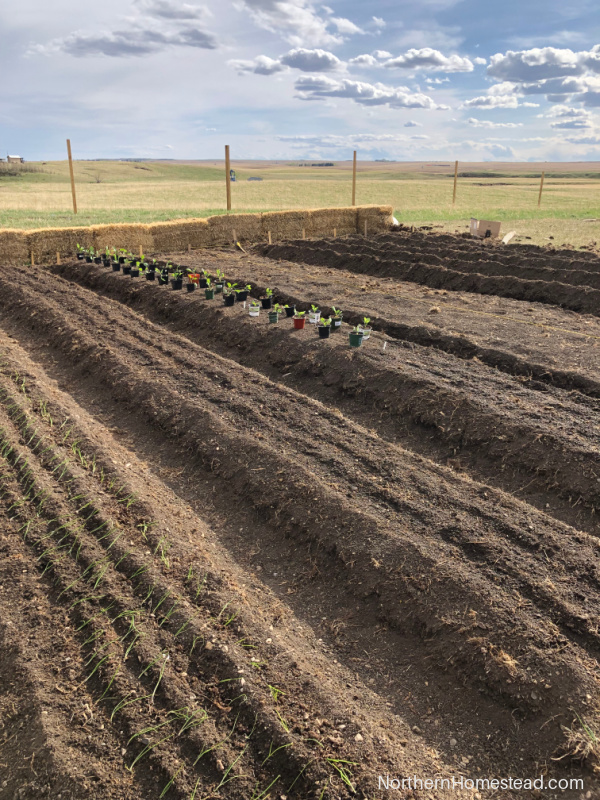
On a field or pasture for a big garden, you can also use no-till gardening methods, but if there is good soil we recommend tilling first, it helps to level the soil better if needed, and working with tilled soil is easier if you are laying out the beds and making pathways. Read more about starting a no-till garden with tilling here.
More resources for a No-Till or No-Dig organic garden:


The Layout of the New Garden Beds
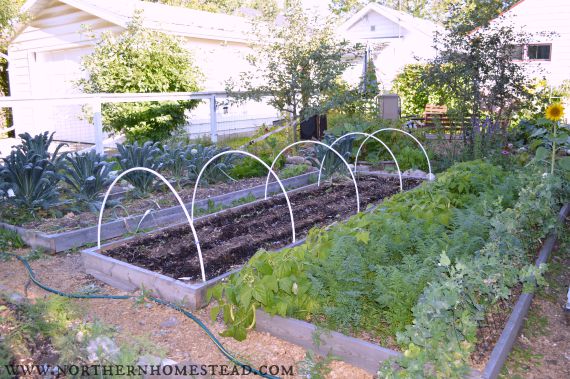
The layout depends on your location. If the area is level, aim for beds or rows that run north-south. This way, they get the best sun exposure and don’t shade each other as much. If your garden is on a slope, align your beds or rows against the slope so the water soaks in rather than running off.
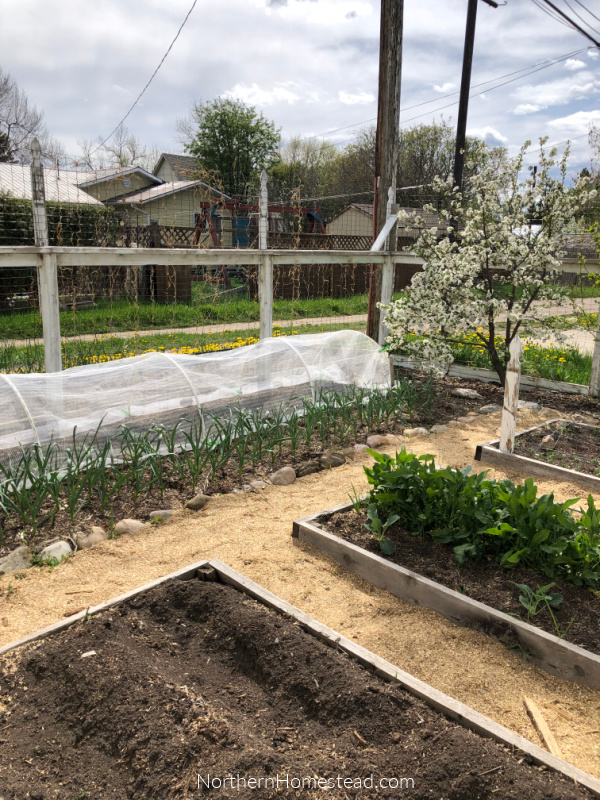
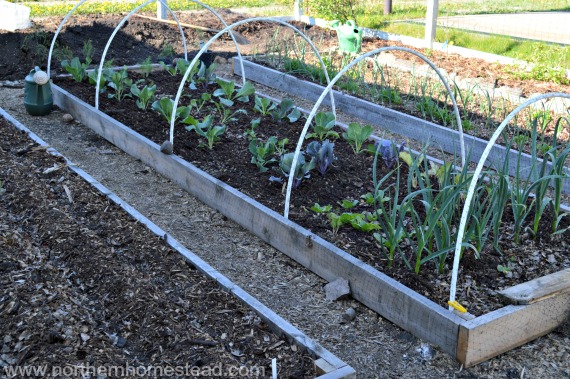
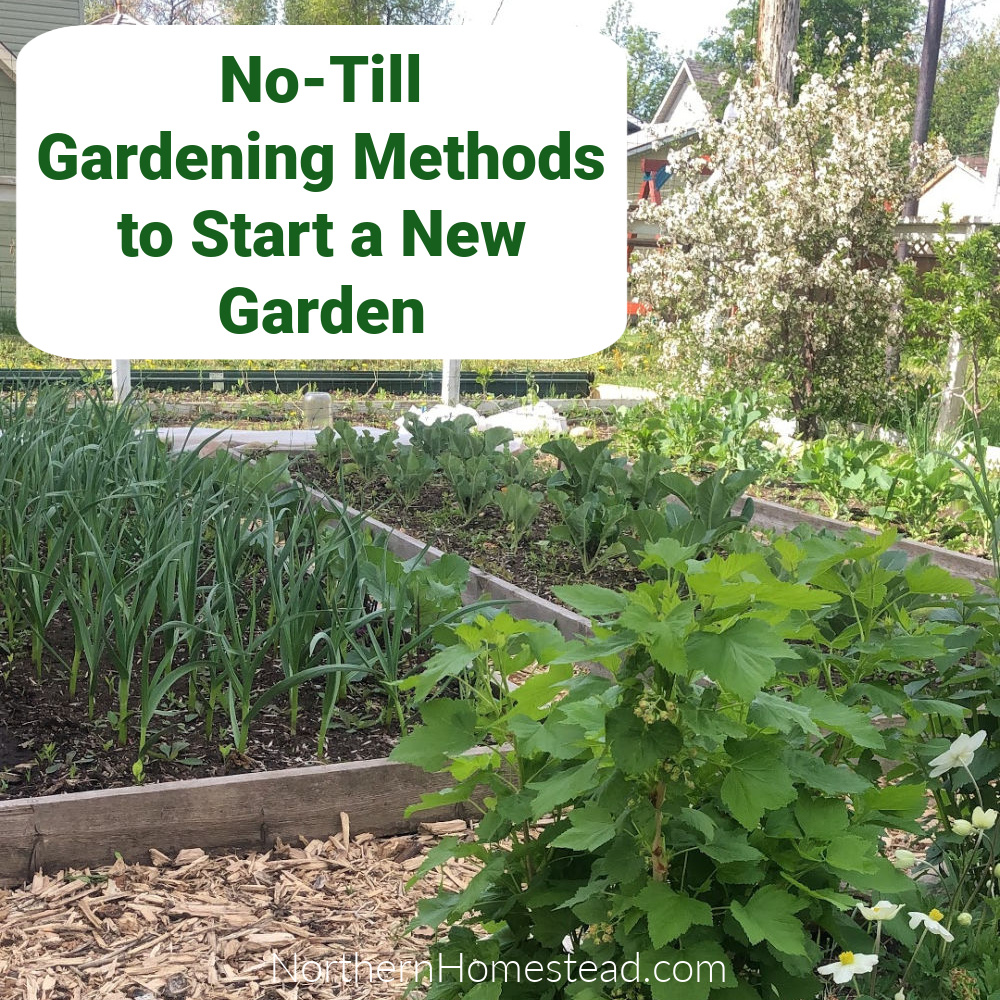
The width of the beds depends on your preference. Important is that you can reach into the garden bed without stepping on it. In the picture example, we went with 4 feet. We took the idea from The Square-Foot Gardening book. However, after using them for a while we would recommend either making 4×4 beds or if the beds are longer like ours, making them 3 feet wide.
The Pathways
The pathways between the beds should be as wide as you need them to be. If space is tight, they can be as narrow as 2 feet. If you want to use a wheelbarrow or tractor between the beds, measure your equipment and add an extra foot to make sure you can easily move around.
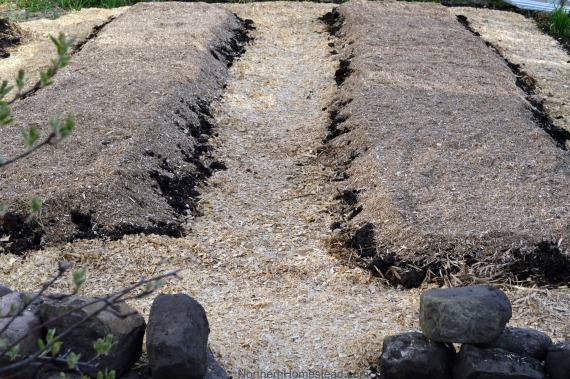
The pathways don’t need any topsoil; move that to the beds. This way you already have somewhat raised beds. Now fill the pathways with something that will help them to stay dry. We usually use woodchips or wood shavings.
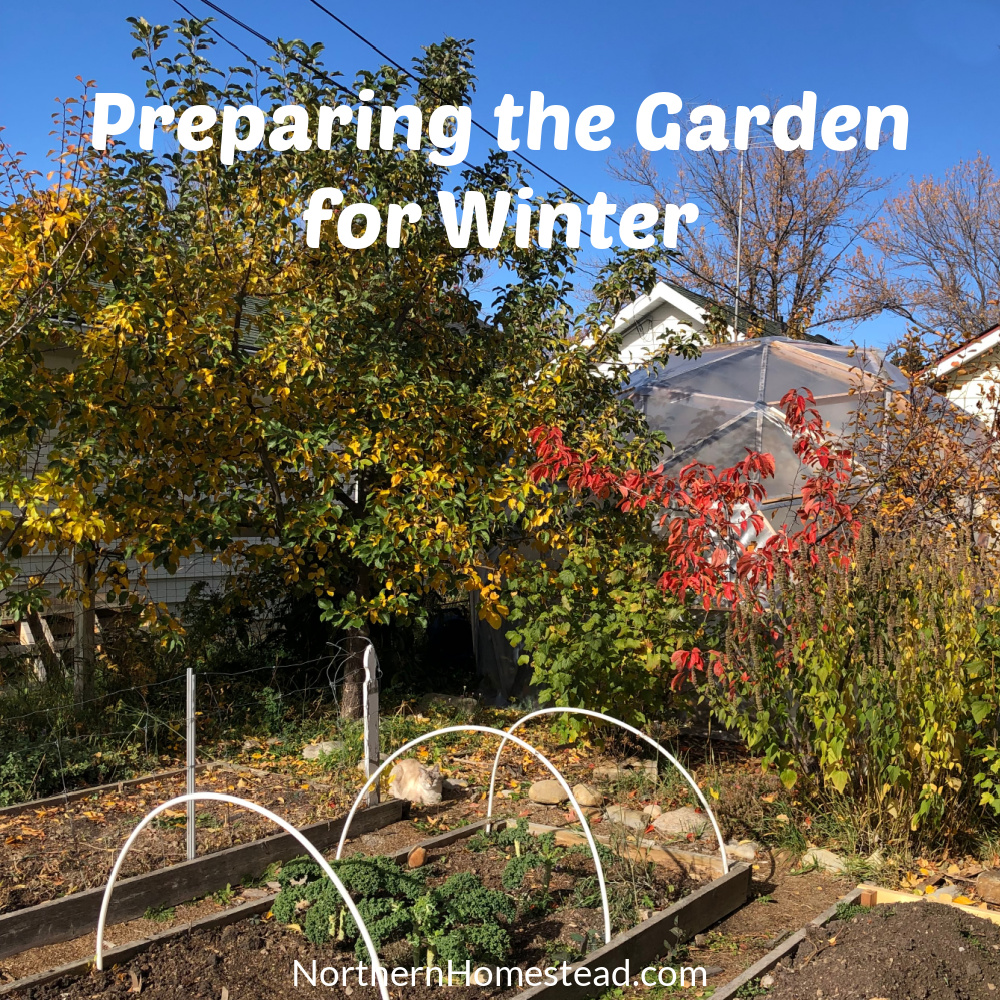
Mulching the garden
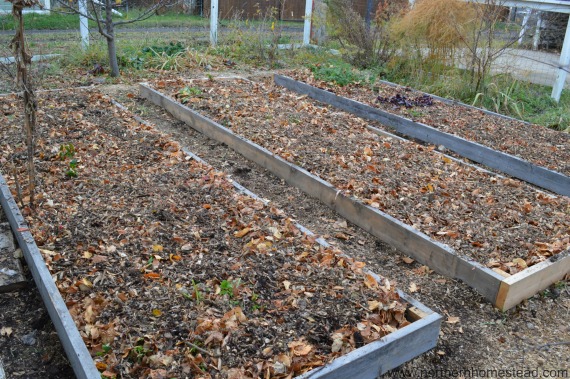
Once you have completed the layout and pathways, it is essential to tend to the garden beds. Regardless of your soil method, it’s important to mulch the new beds before winter. Mulching during the off-season can help build soil and keep it moist and weed-free until spring planting.
You can use any natural material available, particularly if you are building new garden beds with existing soil. Cover the soil with a thick layer of mulch, starting with compost as the first layer. Old straw (at least three years) or hay is also a great option. You can also use wood chips for mulching. Read more about maintaining a no-till garden.
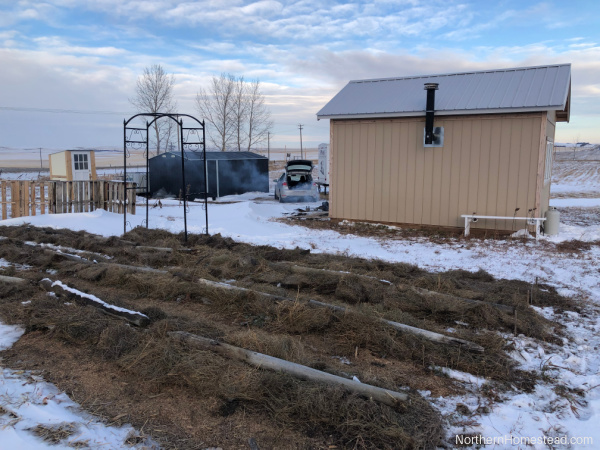
If your garden is located in a windy spot, you may need to provide some support to keep the thick layer of mulch in place. Our solution was to use old fence posts to weigh it down. We were pleasantly surprised in the spring to find an abundance of earthworms in the soil under the mulch.
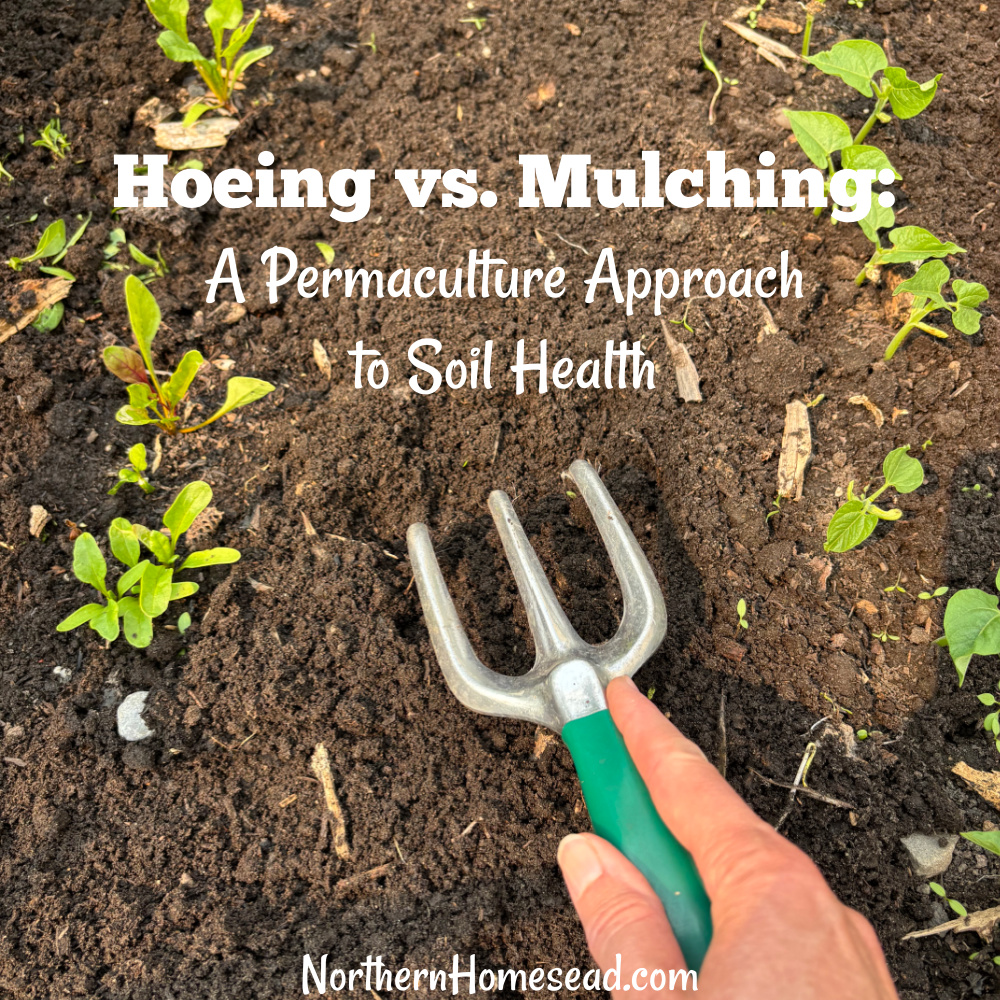
When dealing with slug problems, compost mulch is a more effective solution. Simply apply it like any other mulch on top of your no-till garden. Compost is also easy to work with and won’t interfere with planting small seeds. After experimenting with both, we prefer woodchips for perennials and compost for the vegetable garden, we still use hay or straw for bigger plants. Apply a layer of about 2 cm (around 1 inch) every year, ideally in the fall or early spring before planting. Be sure not to work the mulch into the soil!
Raised beds or hills
You may have seen our first raised bed garden before, which initially had no boards and was just layered. However, we soon realized that to use the growing area efficiently as we intended, we needed to add some kind of edge. So, we incorporated wooden boards into the design.
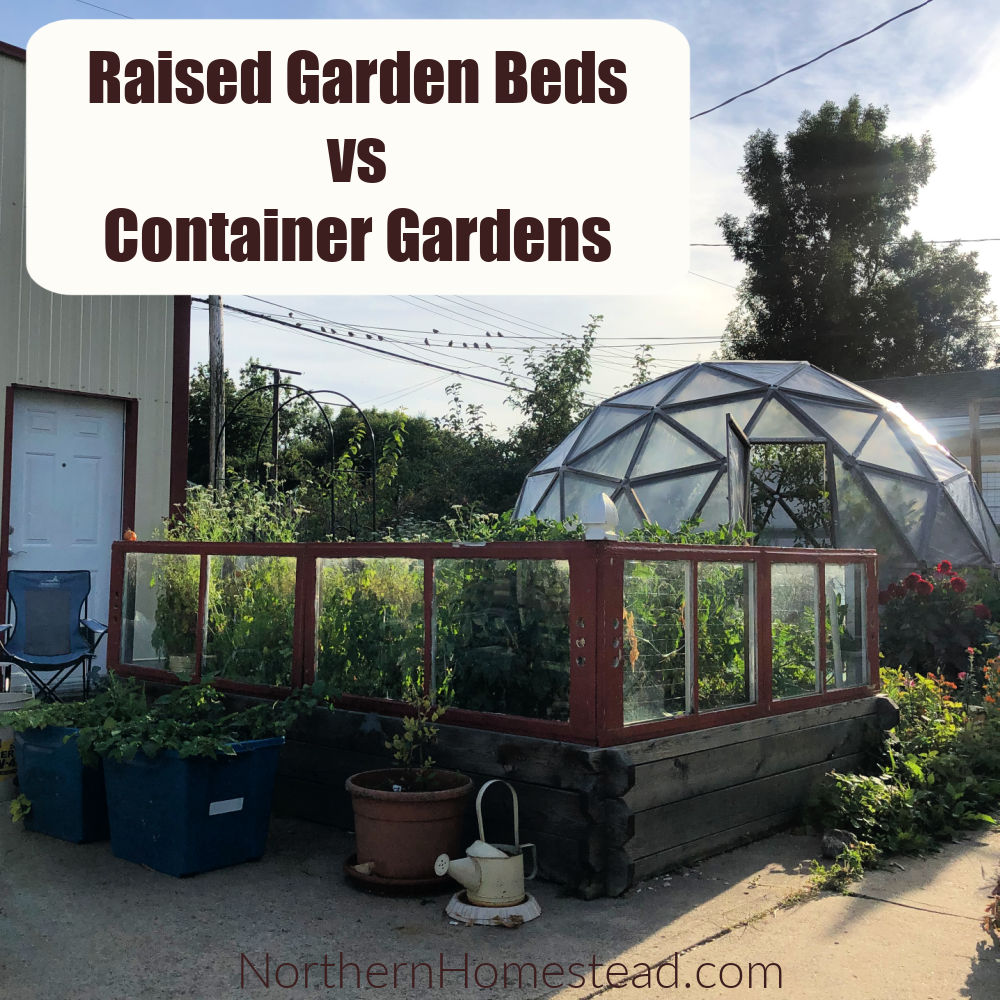
Raised beds can also be constructed using materials such as cinderblocks, old garage doors (which work particularly well), or any sturdy, non-toxic materials. Raised beds offer the advantage of containing the soil, allowing for more effective use of the entire area. They are perfect for small spaces and tidy gardens.
Based on our experience, we recommend building a bed to contain soil if you need to bring it in or mix your own garden mix. In urban gardens, raised beds offer more growing space. However, if you’re using existing soil or lasagna gardening and have ample space, keeping it simple without any structure is easier.
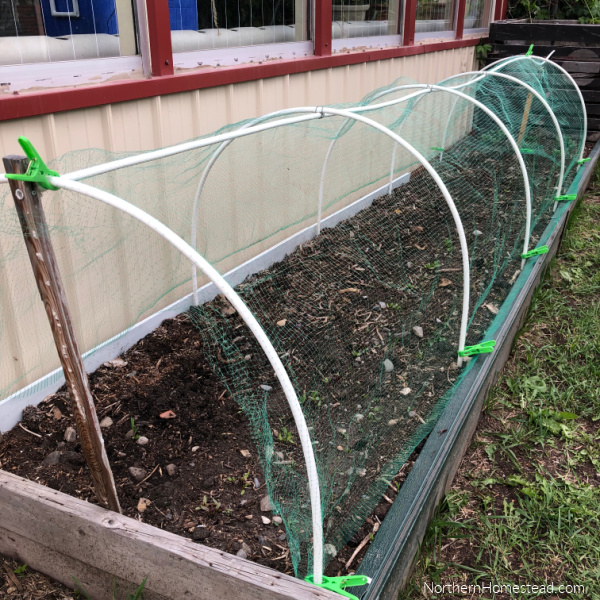
The disadvantage of raised beds is that they dry out quicker. If built out of wood, the boards tend to rot. Protecting the wood as we did in the window-protected raised bed, is an option.
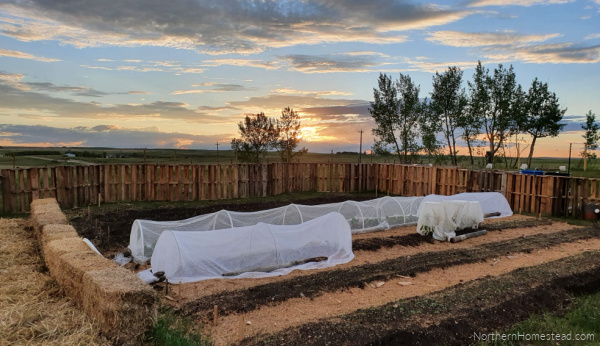
Row covers and hail netting can easily be added to any bed, raised and enclosed, or just hilled.
Here is a good tutorial on How to build a raised garden bed with wood – easy and cheap:
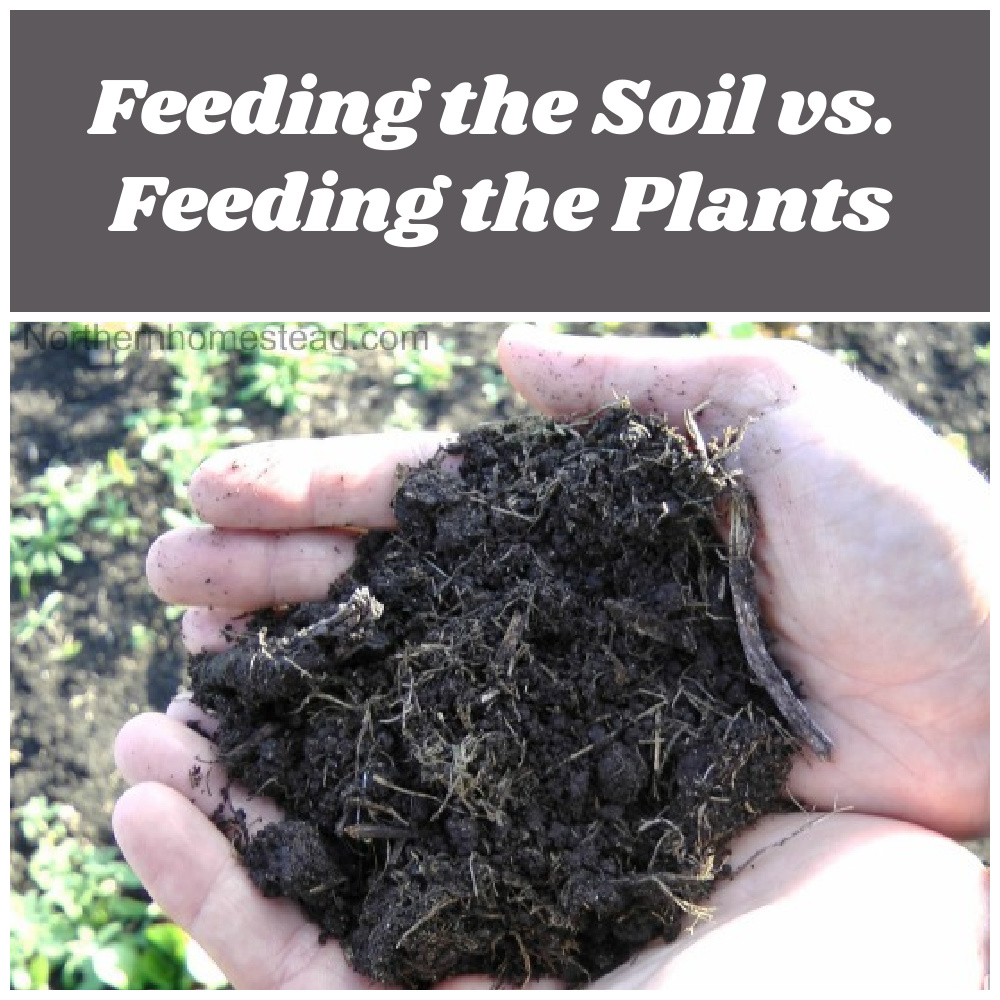
Now that you have your new garden bed, enjoy the process and learn as you go along. Don’t compare your garden to Auntie’s; each garden is unique. Feed your soil, and your garden will flourish over the years. Just don’t stress about it; you’re doing great!
We invite you to subscribe to Northern Homestead and follow us on Instagram, Facebook, or Pinterest for the latest update.

Perfect, we use raised beds, works so much better here. The soil in our region is so rich in clay, raised beds make it far easier to find success through our growing season.
Good for you Kate, it really does make gardening easier and more effective. Plus raised beds look good ;). .
I am creating a rose garden, so I think there are a lot of things I can take from this to help me in creating a great bed for them.
~Lorelai
Life With Lorelai
Glad I can be of some help. Roses are so beautiful!
This is exactly what I want to do in our backyard! I love raised beds! Thanks for joining us at the #HomeMattersParty – we hope to see you again this Friday!
Raised beds are great, especially if you have to improve the existing soil.
thanks for adding this to the From The Farm hop! This was my favorite for this week, and you’ll be featured this Friday!
Oh thank you Heather! I cant wait for spring to start growing again!
Mel Bartholomew’s “All New Square Foot Gardening” has a great idea to avoid digging and weeds. :Lay down newspapers (wet), then build the garden box (he says 4 x4, I’m experimenting with other sizes), line the box with cardboard and fill it with the mix he recommends. The mix is 1/3 each of (a) sphagnum moss, (b) a mixture of composts (I’m using hen + horse + mushroom composts), and (c) vermiculite. This mix preserves every bit of moisture. Mine is ready for spring and I’ll be using that same mix in the milk jug plantings you recommended as well as the bottle tower I’ll be using. Can’t wait to see the outcome.
We love Mel Bartholomew’s books, and your your soil is of no use, his mix is a great way to start. If you do have some aggressive weeds, make sure to get rid of them before lining the box with cardboard or newspapers. Happy gardening in your new garden box!
Great tips! Thanks for sharing this with the Homestead Blog Hop!
I absolutely loved this post….in fact, I chose it as my featured post last week, but it looks like I failed to inform you of that…I am so sorry! I really like your ideas on making a new garden bed and I know just where I’m going to try this at!
~Lisa M
Thank you for featuring my How to create a new garden bed post. Hope your new garden beds work great for you. Happy gardening!
Hi, I live in Queensland Australia, I want to start a new garden which at present is lawn and lovely soil underneath. Paul in back to Eden puts newspaper as the first layer. I have a problem with that as all the chemicals in the ink will get into the soil. Can I skip that part. Plain paper is so hard to get, especially for a large garden. We have half an acre to plant.
I will take me too long to write to Paul and get an answer as he doesn’t have a computer.
Thanks for your help.
Anne
Hi Anne, congrats on the new garden! I love to hear when people start new gardens. For your question, you need somehow to get rid (kill) the grass. Just adding the wood chips on top of the grass will fertilize the grass and make it grow better. Newspaper is just one way. We used cardboard, but really aggressive weeds like quackgrass grow through the cardboard. So we tilled the grass first, which did help with the weeds. You can also use tarp and leave it on for a season, until the grass dies off. Or you can start a sheet mulch garden. No matter what you do, you want to kill the grass prior to adding the wood chips or in the process. Hope this helps.
Hi Anne, we didn’t use news paper. Last fall we covered our garden with 6 inches of leaves and 6 inches of wood mulch on top of that. It will take about 3 years of chop/cutting the weeds before they go to seed. Better than pulling as not to disturb the soil. They will however diminish over time. Remember Paul did not use just mulch but organic compost from his chickens to achieve what he has created over many years. God Bless 🙂 Kathryn in Quebec Zone 3b.
My husband and I moved to the family farm and started our veg. garden in virtual sand….it did not do too well. So, I gathered up all the old tractor tires and started filling them with compost. I grew huge broccoli, squash, tomatoes and potatoes in big tractor tire. My son-in-law just bought a place where we can garden so I told him to start collecting truck tires.
A great idea! Also in a cold climate, tires help to warm up the soil. Thank you for sharing.
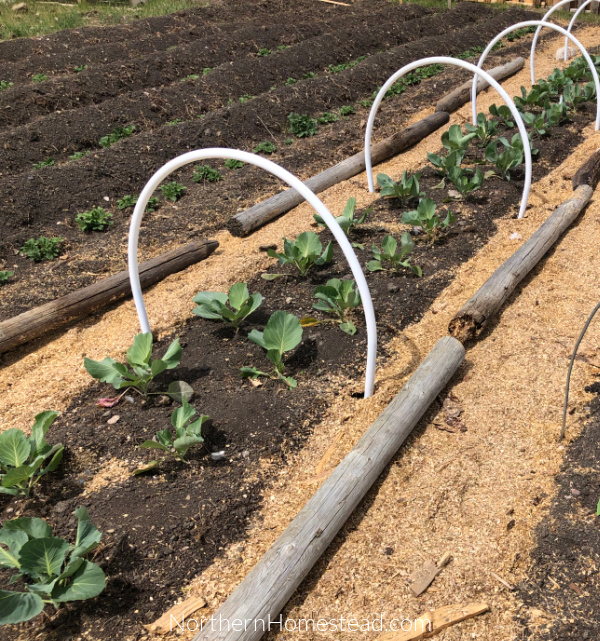
What kind of PVC pipe do you buy? Do you have to cut it after buying? Thank you!
We cut 1/2 in PVC pipe into 7-foot lengths, inserted a 1 1/2 foot rebar on each end, and pushed them into the ground. If the ground is too hard, then the rebar can be hammered into the ground first, and then put the pipes unto them. Then we attached the plastic to boards and put it over the PVC pipes. The board holds the plastic down, and it can be rolled up.
Thank you for sharing your experiences here and publishing this article. Could I ask you to elaborate on why the wood woodchips are not suitable for vegetable gardens? This is an abundant free resource available for me, that I am now hesitant to use. Not necessarily for an annual vegetable patch but more for a perennial tree guild, with some annual vegetables. Would you still recommend against the wood woodchips. Thank you!
Wood is mostly carbon, so it does not have much value for the garden other than retaining moisture, and for that it is great. I would not hesitate to use it under trees. You can also easily mix in some fall leaves, making it lighter and better for the annual vegetables you also want to grow.