
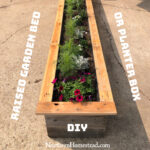
DIY Self-Watering Wicking Bed for the Greenhouse, balcony, or deck garden—anywhere watering needs to be clean and not spill over.
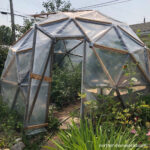
We are in the fourth year of garage greenhouse/growing room growing where we grow food year-round. You can read more about it here.
A very important part of a greenhouse is the soil to grow plants in. Since our garage greenhouse, has no soil, we had to come up with a good alternative solution.
First, we sewed some grow bags. The first year growing in the grow bags was challenging since we had not figured out a good watering system yet. Plus, we didn’t think that the grow bags filled the space well. So we transferred the grow bags into our driveway, and they worked great there. See how to grow in grow bags.
Anyway, after some consideration, we decided to try a wicking bed.
Why a wicking bed
The DIY wicking bed is a great solution for a self-watering raised bed. Filled with good soil mix it waters the plants from the bottom up.
You can build a wicking bed as small as a square foot or as big as you want it to be. It has a waterproof lining that holds a reservoir of water at the bottom from which water is drawn upwards like a wick to the surface of the bed, through soil or roots of the plants in the bed.
Wicking beds are great for container gardening. A wicking bed can be indoors or outdoors. Wicking beds are great for a greenhouse where there is no soil to plant in.
Wicking beds are also great for an outdoor garden if you want the garden bed to be close to the house. This way the foundation stays dry, while the plants are well watered.
Wicking beds are also great for people who don’t want or can water containers or raised beds regularly. The self-watering bed can keep the soil moist for a longer period of time. However, it has its limits, too.
How to build a wicking bed
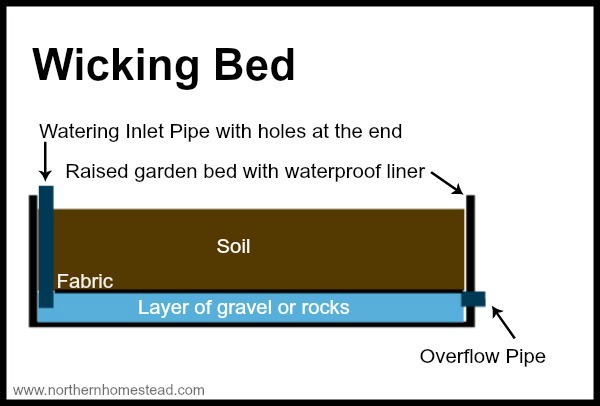
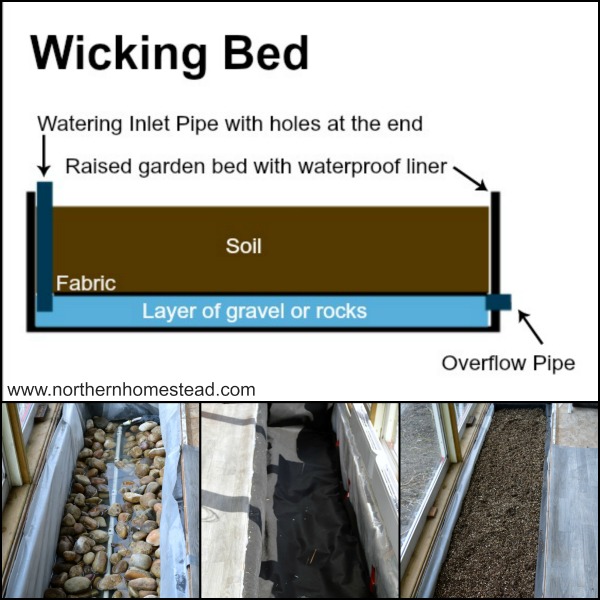
The core elements of a wicking bed is a raised bed that either is waterproof or has a waterproof liner. It also needs an overflow pipe about 8 inches (ca. 20 cm) from the bottom, and a watering inlet with holes at the bottom to fill the bed with water.
In a bigger bed, you want to use scoria, gravel, or rocks; in a smaller container, you can use a pot or two. Cover the scoria with weed control or shade fabric.
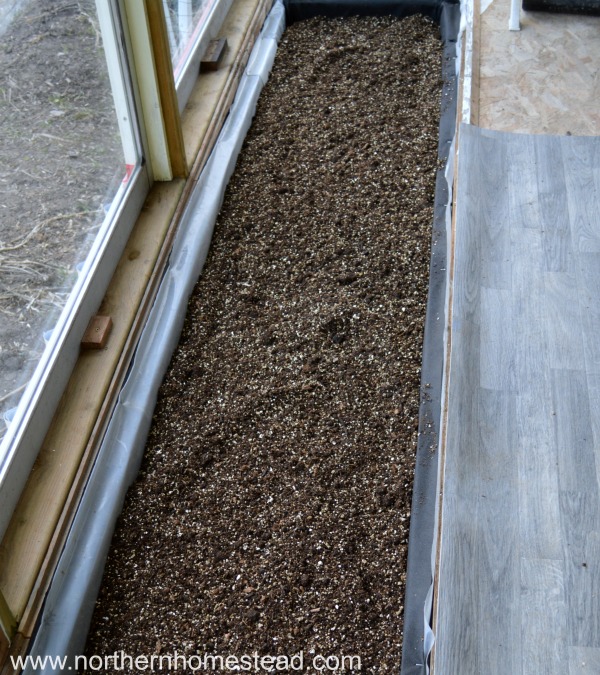
Now fill the bed with good soil mix, read more below.
Our wicking bed
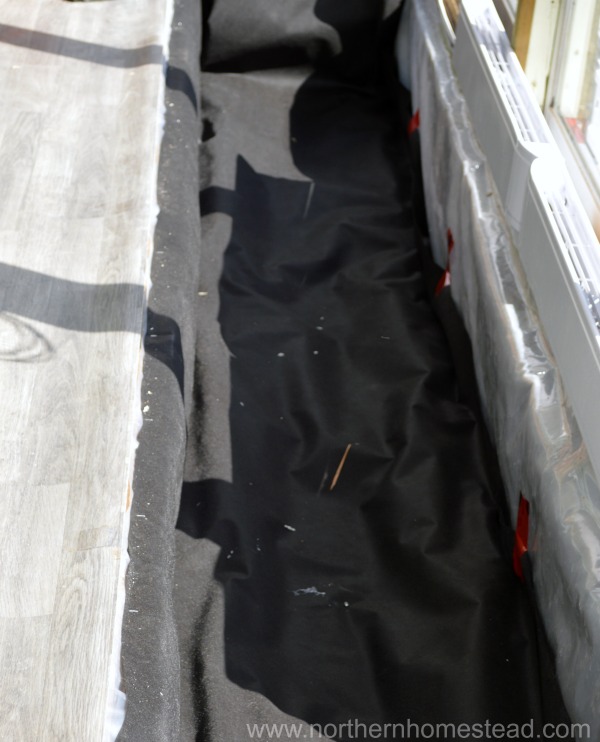
We build the wicking bed for year-round growing in a cold climate, therefore we insulated it with Styrofoam first.
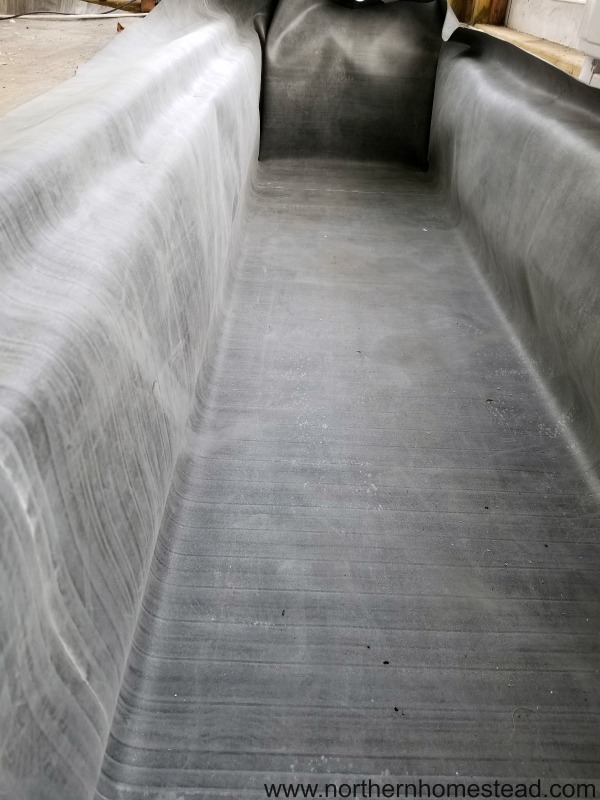
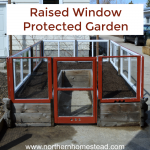
Update: We used construction plastic (See picture below) to line our bed, it did not hold and started leaking. We had to take out the bed. Use pond liner instead (See picture above), it is more durable and will hold for many years.
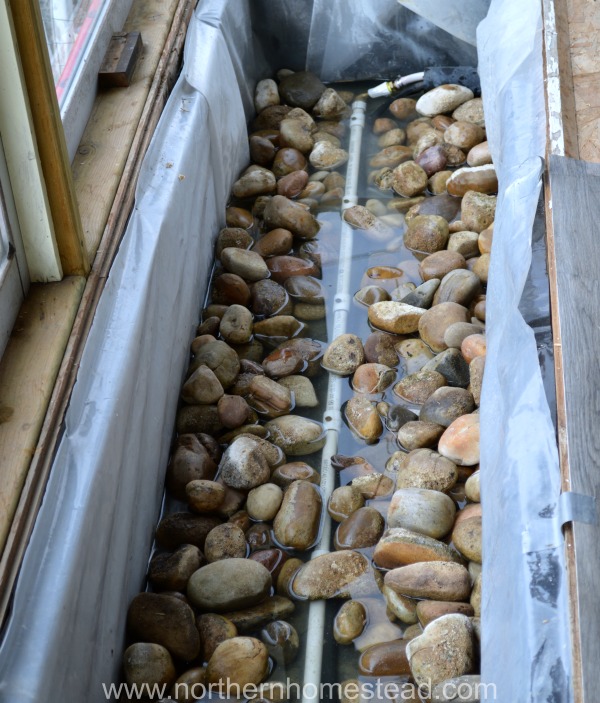
We used rocks from a farmer’s field. Those were free and worked well. The pipe is not needed, it was just a leftover from the aeroponic we had in the same bed before.
Next came the weed control fabric to make a barrier between the rocks and the soil.
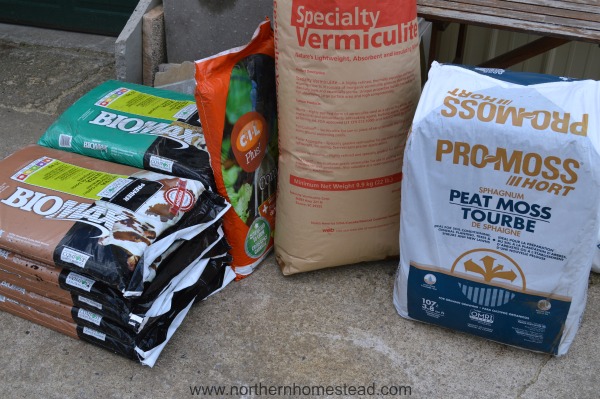
The most important part of a garden bed is the soil. We mixed Mel’s Mix from the All New Square Foot Gardening book. Mixing together: 1/3 compost, 1/3 vermiculite, 1/3 peat moss.

What are your experiences with wicking beds? Please share in the comments below.
We invite you to subscribe to Northern Homestead and follow us on Facebook, Instagram, or Pinterest for more great ideas.


I’ve used wicking garden pots but not garden beds. The only thing I noticed with the pots is that from time to time they need a flush-out. The water tends to get sour.
Great tip Sheri, this is good to know, thank you for sharing.
Thank you for sharing! What type of poly/plastic did you use? I wanted to be sure the bed I’m creating isn’t using toxic plastic…
Hi Lisa, I need to update the post. Do not use plastic, it does not hold and starts leaking. We just took out the bed. Use pound liner, that is more durable. Hope this helps.
How big is this, and what is it built of? Also, my well water is quite hard and I’m afraid excess minerals would build up very quickly in this system – what kind of water are you using and did you find you had issues with alkalinity buildup? How do you regulate the water, or is it just flowing through all the time? Doesn’t the soil end up waterloggeed eventually, since there’s really no drainage in this sytem? It seems kind of like a pot sitting in a saucer and essentially sitting in water until the saucer is full and starts dripping over the sides – the soil itself never drains? I must be missing something here because it just doesn’t seem very workable to me.
It was about 2 feet wide and 20 long. We don’t have alkaline water but had a leak soon, so we gave up on the system. If you build one, you do need an overflow, so the soil does not get to wet.