
 Sunchokes, also known as Jerusalem Artichokes, have a mixed reputation among gardeners. Some claim they will always feed you, while others would never grow them in a food production garden.
After growing and using Sunchokes for several years, it is time for an update. Let’s take a closer look at growing and using sunchokes or Jerusalem artichokes, how to make them less gasy, some recipe ideas, and preserving tips.
What are Sunchokes or Jerusalem Artichokes?
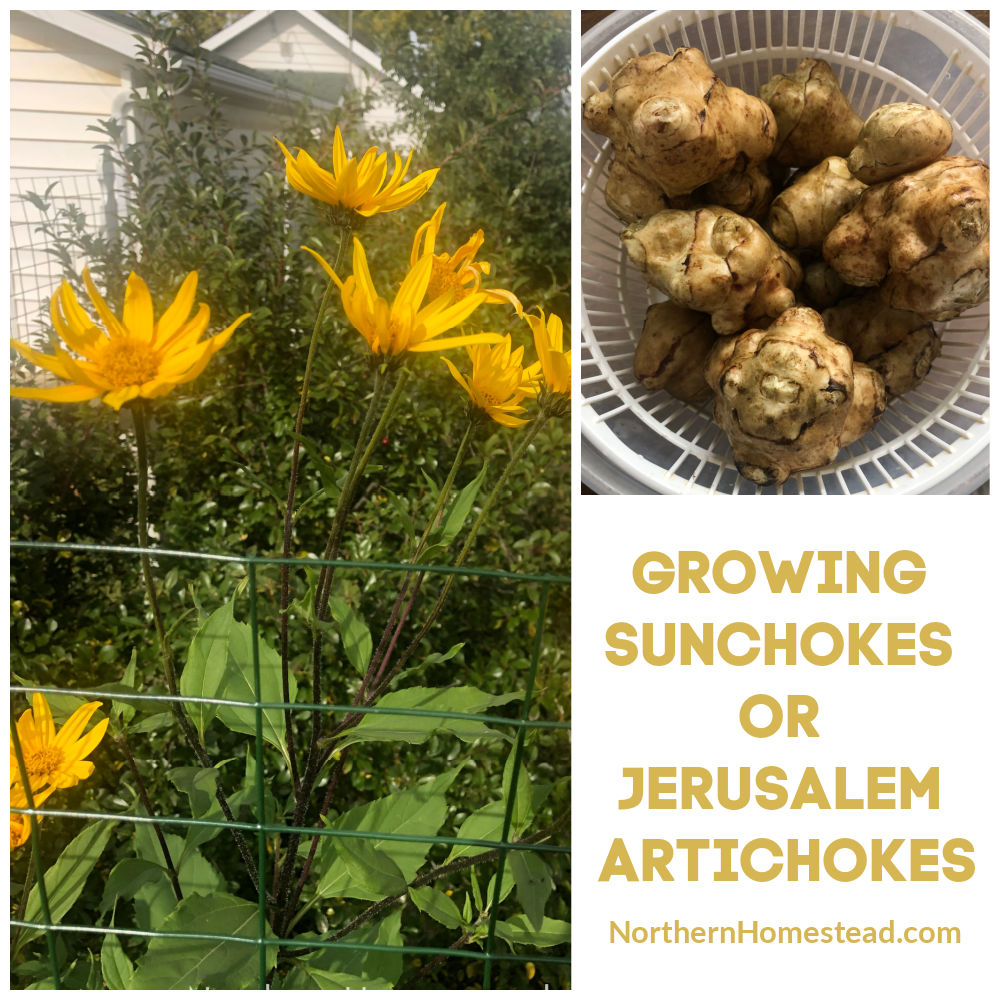
Sunchokes have nothing to do with Jerusalem or artichokes, so I prefer to call them Sunchokes. Their botanical name is Helianthus tuberosus. They are from the Sunflower family but produce tubers much like potatoes.
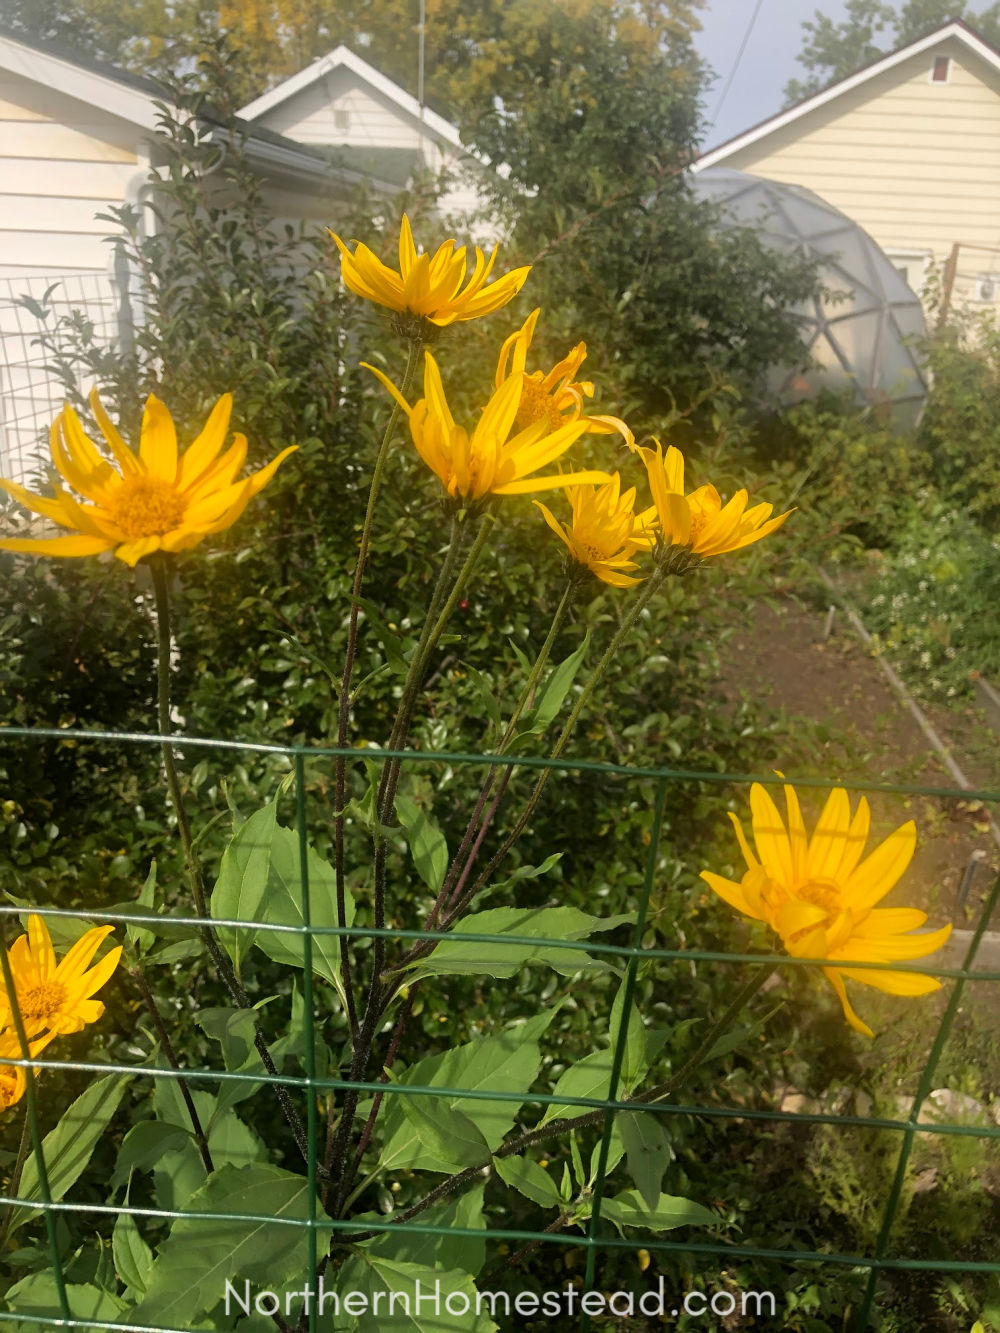
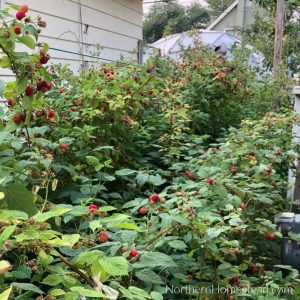
Depending on the variety, the plants grow 6-10 feet tall, and the flowers resemble little sunflowers.
Sunchokes are a perennial plant that is hardy to Zone 3.
The tubers are edible and grow to a nice big size if harvested yearly. If they aren’t harvested, the plants become dense, and the tubers are too small to enjoy. The taste is mild and sweet, with a nutty flavor. When cooked, the texture reminds me of zucchini or eggplant.
Planting Sunchokes
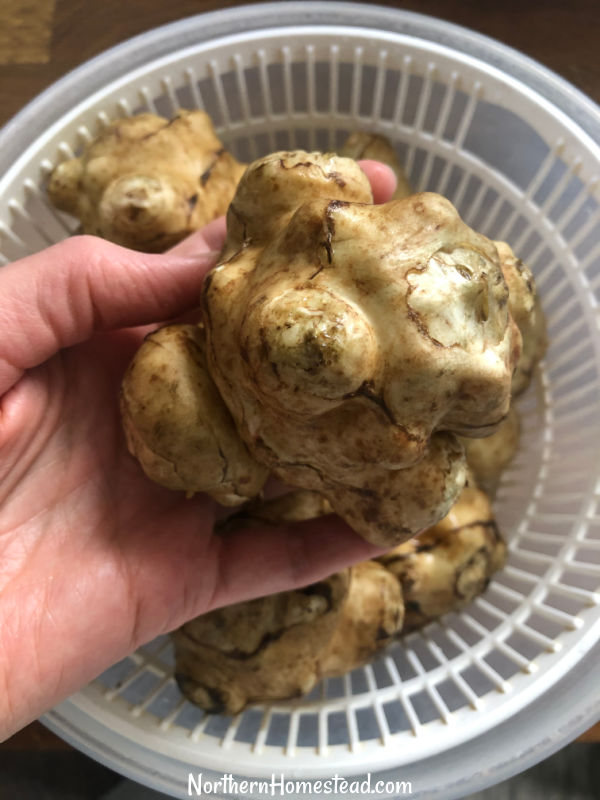
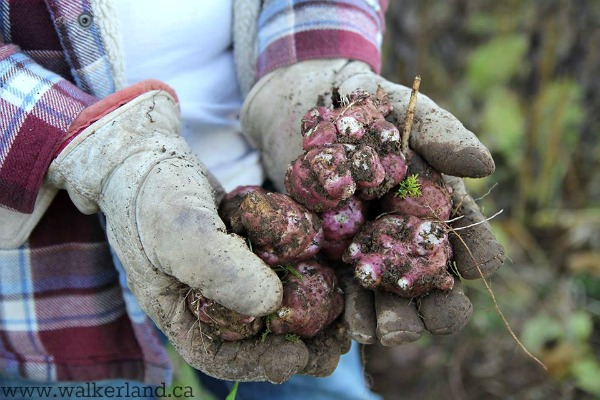
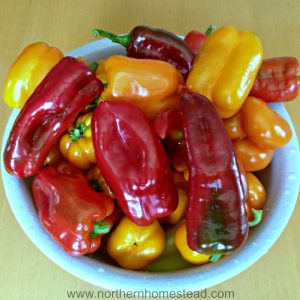
There are different varieties of sunchokes. I suggest finding someone who grows them in your area or at your local farmers market and planting those whose taste you like. Some greenhouses carry them. In Canada, for example, T&T Seeds has the white variety. There is also a red variety. Walkerlands is growing them (Picture credit).
Sunchokes are planted like potatoes by tubers. You can plant them in the fall before the ground freezes or in early spring as soon as the ground is workable.
When planting in the fall in zone 3, mulch the area with a good layer of leaves, wood chips, or straw.
Plant sunchokes 12 to 18 inches apart, 4 to 6 inches deep.
Sunchokes prefer full sun and loose, well-drained soil.
We grow sunchokes along fences in different spots of our perennial garden. They serve a triple purpose: a privacy screen, a flower, and an edible tuber that we can harvest in late fall or early spring before anything else is available.
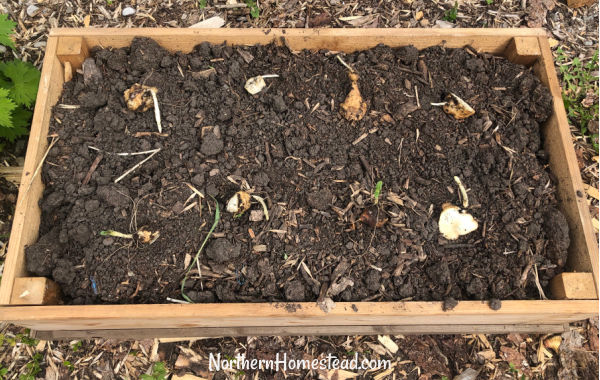
Spring planting can also be done by planting just a piece with a growing eye on it. In the picture above I did an experiment, I actually dug up a tuber that was planted a few weeks prior and divided it. All of them grew and produced, which leads us to the next topic.
Sunchokes are invasive plants
Sunchokes will grow and multiply from the smallest piece left in the ground. Choose a site for sunchokes that will not overtake your vegetable garden.
If in doubt, use a raised bed with a 1/4″ wire mesh bottom. The hardware cloth stops the plants from running away. A raised bed without wire mesh will not stop the aggressive grower from getting out of the box.
In some areas, sunchokes are on the invasive plant list and are not recommended for cultivation. In our Zone 3 garden, we find that they do not survive winter well without cover, so there is no danger of them taking over.
Caring for sunchokes during the summer
In our garden, the sunchokes don’t get much care. However, the tall plants might need some support in a windy location.
Sunchokes are drought-tolerant but will produce better with a regular water supply. We mulch them to retain moisture and water only the ones growing in the raised bed as needed.
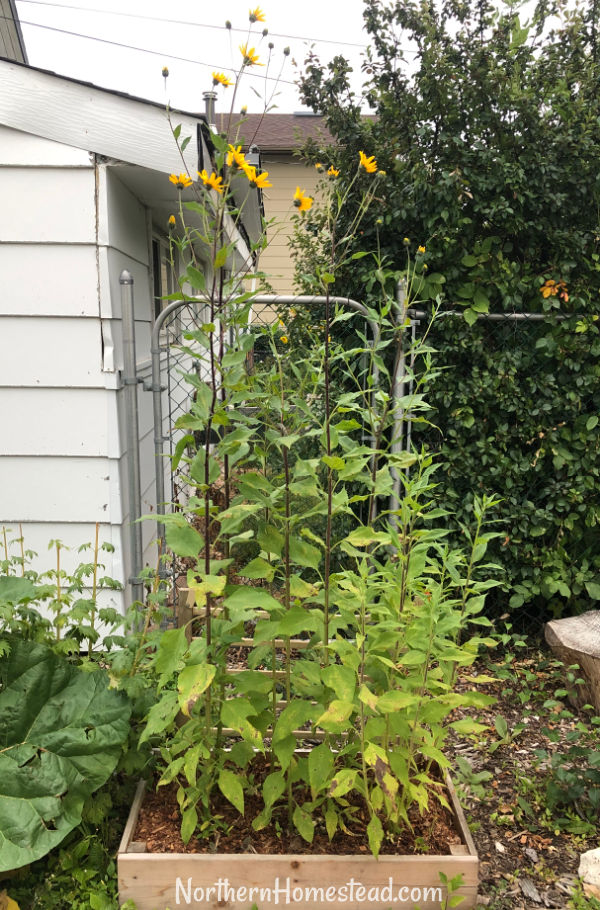
The flowers at the end of the summer are pretty showy. We enjoy them till the frost kills them off.
After the frost kills the flowers, cut the plant back to about 2 feet (0.61 m) and leave for another 2 weeks to harden the skin.
Harvesting Sunchokes
Sunchokes taste best after they get some real frost, and they seem to be better digestible then. The best time to harvest sunchokes is just before the ground freezes.
Sunchokes can also be left in the ground till early spring; however, if you have moles or mice, the harvest might be partly gone by then.
Also, even though they are said to be hardy to zone 3, in our experience, they do not survive the winter without cover. A good snow cover or just a layer of leaves and mulch is enough.
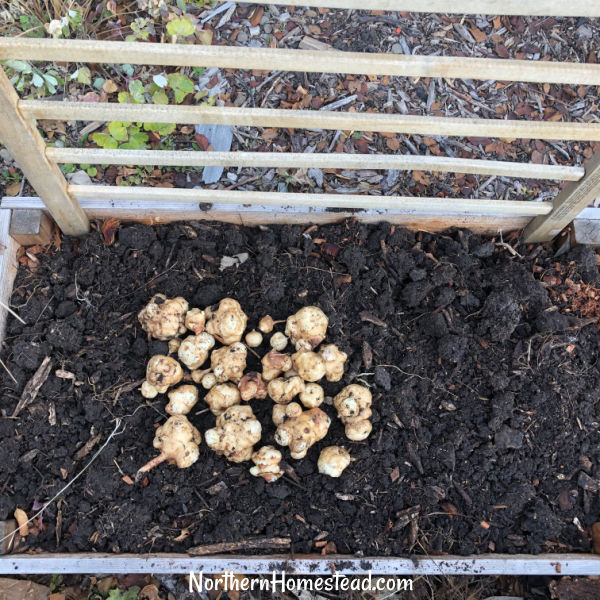
For harvesting, use a spading fork and gently lift the soil. Try to catch all the tubers, including those that are attempting to run away. I’m not sure, though, if that is possible. There always seem to be some that are overlooked and will only show next spring. Remember to plant some deep and mulch for next year’s harvest.
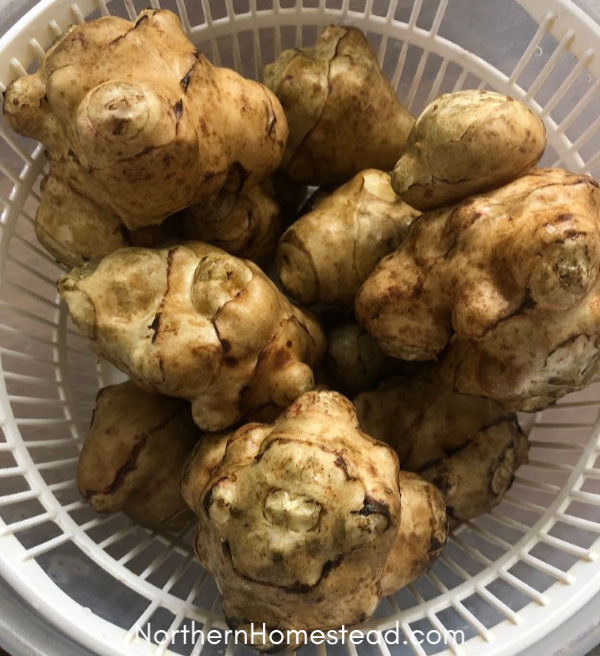
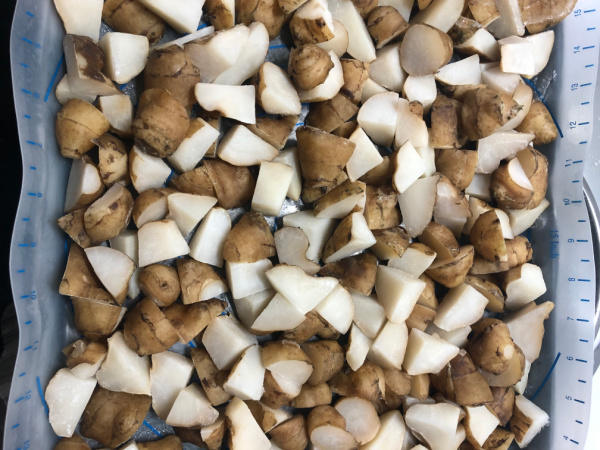
When ready, scrub the tubers well; they are prepared for use.
How to Make sunchokes better digestible (not so gaseous)
Sunchokes are so yummy and productive, but also for some people a bit troublesome, if you ever had any you might know what I mean. Nevertheless, they deserve to be enjoyed.
Sunchokes are known for producing gas because they are high in soluble fiber (inulin). Soluble fiber is good for us, but the side effects (gas) can be unpleasant. Not everyone reacts to sunchokes. If you have never had any, find out gently by having just a little bit.
Some options may help if you react to sunchokes by bloating.
- Leaving them in the ground till spring can help some but does not eliminate the problem completely.
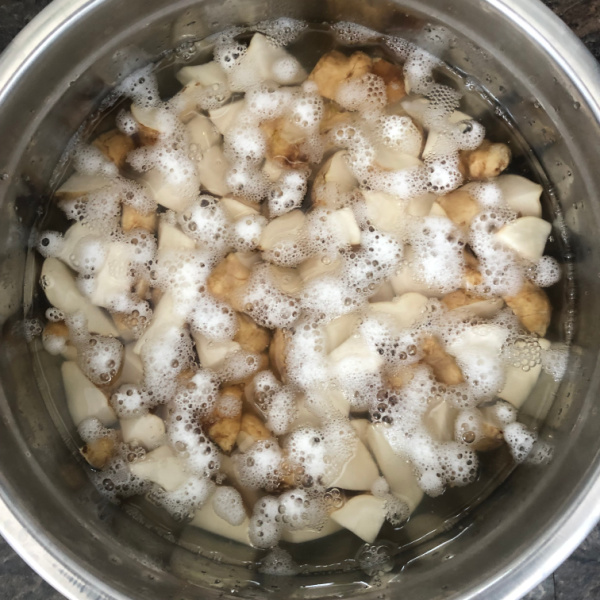
2. Slicing them up for a recipe, then soak them in salt water (2 quarts of water, one teaspoon salt). Leave them at least overnight; it is better for 1-2 days till you see the gases float. Then rinse, cover with fresh water, and bring to a boil. Now pour out the water and use the sunchokes for a recipe or freeze them for later. We like this method.
3. Soak the sunchokes in salted water until the gas comes out. Replace the water regularly and keep it bubbling until it stops. It could take a week. This is an excellent first step before fermenting or pickling them.
4. Boiling for 15 minutes in water with added acidity, such as lemon or vinegar, should help. I have not tried it. The taste is said to change, so I wasn’t sure if we wanted it.
Also, herbs like savory, bay leaf, and cumin can help digestion.
In our experience, the most effective approach is to go light on the sunchokes. Use them for their taste by adding small amounts to a dish, not as a main dish.
Using sunchoke tubers in recipes
Sunchokes can be eaten raw, cooked, baked, pickled, and fermented.
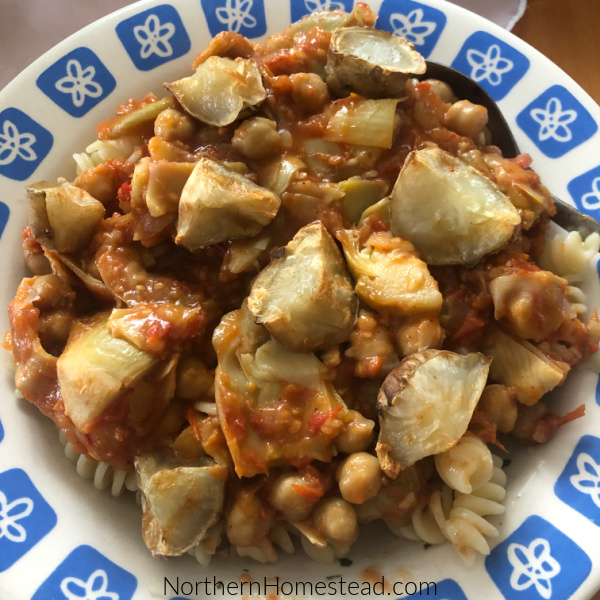
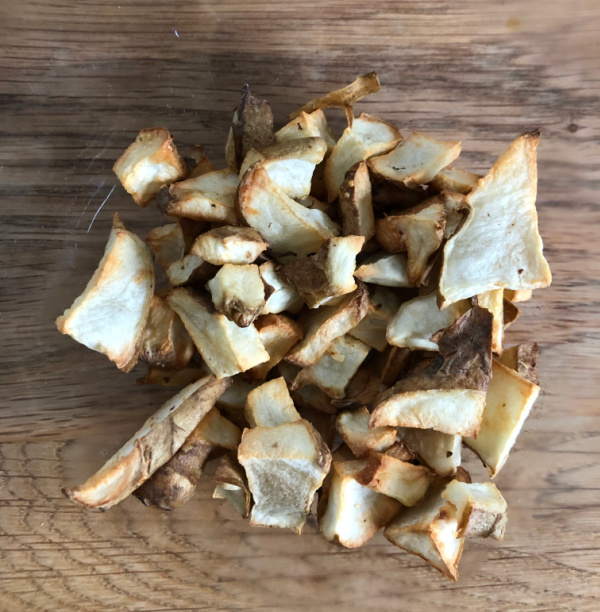
They are so tasty air-fried. Just toss them in some olive oil and fry till done. They go well with artichokes and tomato sauce.
They are yummy baked with olive oil for 30-40 minutes. They are best added to a vegetable tray as part of a meal, not a whole side dish. Remember, they can produce a lot of gas. They make a yummy addition with other root vegetables like beets, carrots, or potatoes.
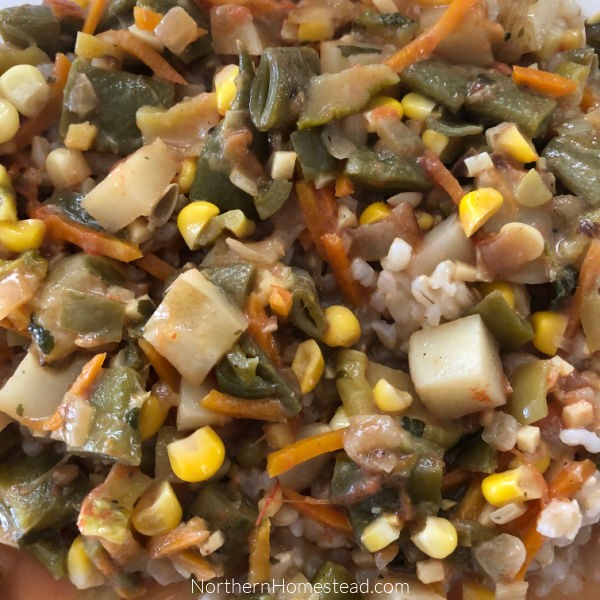
Sunchokes are also very delicious in vegetable curries, soups, and stews. A little goes a long way. We love the taste and look forward to enjoying them. I just add a tuber or two to a favorite recipe.
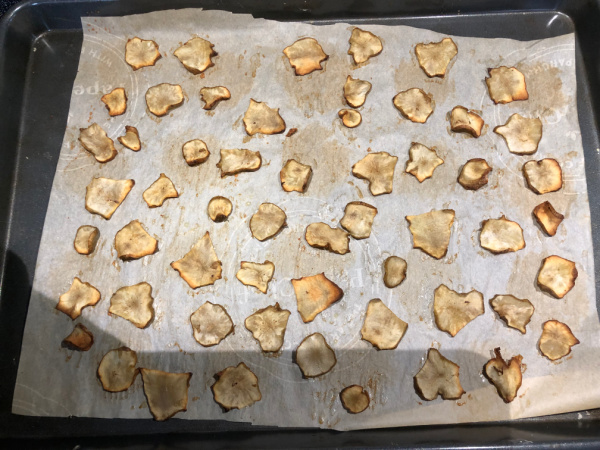
Sunchocke chips taste delicious as well. Slice them thinly and bake at 350F until crispy. Depending on the thickness of the slices, this will take 10-20 minutes. The chips can be added to soups and salads to add some crispiness.
Preserving sunchokes
Sunchokes are not as easy to preserve, but there are several options. The best way is to use the longer harvesting window to keep them fresh in the ground.
Storing sunchokes. You can not cure and store sunchokes like you would potatoes. The thin skin dries very quickly. Sunchokes will keep in a bag or container in the fridge for about 10 days. We have stored them in the cold room, buried in peat moss or sand for weeks.
Freezing sunchokes. Freezing sunchokes is easy; you can do it in two ways. Blunch for 1-3 minutes, depending on the size of the pieces. Freeze them on a sheet first so you can use them a little bit at a time. After they are frozen, put them in freezer bags or containers. They will be good for up to 3 months and lose their texture as they are stored in the freezer.
Dehydrating sunchokes. A second option to freeze sunchokes is to slice or chop them smaller and dehydrate them first, then freeze them. They will need about 10 hours in a dehydrator at 140F. You can also use the oven or air fryer to dehydrate them. Just like zucchini, without all the moisture, they will last better. If you are ready to use them, soak them in hot water for about half an hour or add them directly to a dish if the recipe has enough liquid in it.
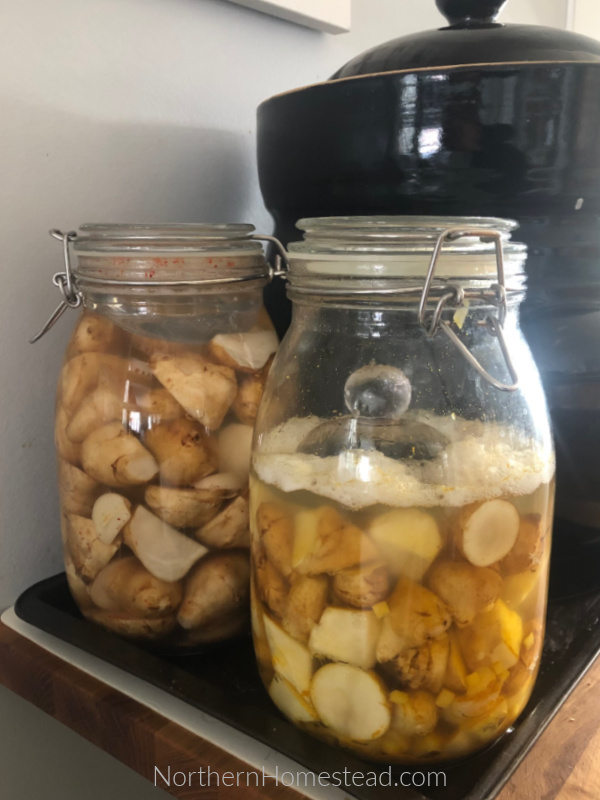
Ferment and pickle sunchokes. Fermented sunchokes taste yummy, but they also do not last long. Fermenting small batches is helpful. The Fermented Vegetables book has a recipe for that. Or make your own creation, look for ideas in the blog post fermenting is simple.
Do you grow Sunchokes or Jerusalem Artichokes? What is your favorite way to use them?
If you like this post, remember to subscribe to Northern Homestead and follow us on Instagram, Facebook, or Pinterest for the latest updates.


When we moved into this house in N.W. Montana there were some sunchokes. But they never flower. And I have tried digging them up and can not dig down far enough to reach the roots. Do you have an suggestion for me?
It’s possible that those are very old plants that just keep coming back. I would try to get to the tubers and replant the best in early spring. Or you can kill the plant by cutting at soil level whatever comes up. It might take a season. After that, you can get new tubers and plant them.
Thank you.
They are hugely successful in our very harsh climate (although I have never had them bloom). Since we are high desert, they do not take over anyplace that isn’t watered (ie anything outside the garden rows). I don’t care for the strong artichoke flavor, but my goats and cow love them as much as apples! Our season is so short that sunflowers and corn (even short season) are not reasonable options for animal feed. Sunchokes to the rescue! They produce far more animal edible biomass than turnips or any other option I have tried so far. I just pull up the whole pant, dig around for extra tubers (planting back one for next year), and feed the whole thing as a supplement/treat to their pasture browse. Plus zero seed cost and they make a nice shady hedgerow for native bug predators like toads, snakes, ladybugs, and praying mantis. They have a permanent place on our grow list.
Thank you for sharing. Whatever makes a goat happy, right!
I have read that spring dug is lower in inulin (and gas) than fall dug. I got my start from a natural food store that carried them and a few gave me a bushel. Mine grow 12 feet tall in a few clumps on north edge of garden. Flowered very late in season. Just before freeze. Zone 3. Like them best sliced in stir fry at end so still crunchy. Or with other root veggies roasted. Thanks for your newsletters. Very helpful to a gardener transactioning from zone 5 to zone 3
Happy to hear that what we share is helpful. It does seem that spring dug artichokes are tastier and better digestible.
Do you harvest the sunchokes in spring before they start new growth?
Yes, some in fall before the ground freezes, but most in spring before they start growing. The spring harvest is a bit sweeter and better digestible we find.
Mom made sweet pickles from sunchokes when I was a child in Georgia in the 1950’s….sweet and crunchy. Thanks for this information…always good to know when a plant will take over the garden…because I’m planning on growing some next year and pickling them myself.
I have read about pickling the sunchokes, would really like to learn to do that. Do you have a recipe from your mom?
I’ve got three varieties I’ve gathered locally in west-central Pennsylvania. One grows to 12′ and is a white/tan skinned smooth obnoxious, nasty tasting tuber. Another grows around 6′, is very knobby, white/tan skinned very tasty. The next grows up to 8′ and is a mostly smooth red skinned tuber with a slightly nuttier taste than the knobby ones. Picture small red skinned sweet potatoes. We can most of our fall harvest as pickles and we cheat. We use Mrs. Wages pickle mixes.I like them better than cukes!
Those varieties sound interesting. Pickling is on my list to try. I tried fermenting in the fall. They are tasty at first but get soft with time.
Hi Blaine, I have the white variety, that is all I’ve seen down here in Louisiana zone 9. Your red variety sounds like it’s more useful! Do you have any idea which variety it is? Or remember where you found it?
Hi Anna, do you think it is necessary to fertilize the plants? I’ve dug them “all” up a couple of times in the late summer to stop them from taking over the garden areas but they manage to keep coming back and still spread. Trouble is now they are no longer flowing and the plants struggled this summer in the drought even when I watered them. They grew slowly and never flowered or got very tall. What should I do? I used to get a decent size of tubers from them but not last year – they were small and very knobby which makes them hard to clean. Thank you
I have a small cheap electric chipper and I chip the tops and scatter them over the patch after pulling them up and before I go digging for deeper roots. Mixing the chipped tops in has loosened and amended my soil very well over the years and the tubers get better and better. One patch is on an old barn apron, a horrid mix of clay and shale. Today it’s lose and very productive. The only other treatments it gets is Sluggo for the slugs and a light scatter of lime maybe twice over the years. I’m in zone 5 and get good moderate rainfall in west-central Pennsylvania. There’s no harm at all in adding some composted matter and fertilizer. There are a few varieties that don’t flower well and they all do much better at flowering when they’re in full sun.
By the way, I make wine out of the flowers. Just boiled flower broth + sugar and more water with a few raisins for natural fruit yeast. DO NOT use baker’s yeast – yuck! Wine yeast would be OK, but I get good results with just raisins. I’ve made wine from the tubers too. It’s a much stronger earthier wine, not great for drinking, but it’s a good cooking wine and both the flower and tuber wines blend very well with fruit wines giving them a nice earthy tone.
The green leaves have trace amounts of salicylic acid (raw aspirin) and coumarin (raw coumadin/warfarin). Native Americans dried the leaves for tea for aches and pains. They can also be used just like grape leaves in Mediterranean wraps. My red skinned variety has HUGE leaves, as big as three of my hands! The others have smaller leaves. You’d have to triple them to use them for cooking wraps.
I always wait until the tops are fully dead and dried before pulling, that lets all the upper plant energy retreat into the tubers.
I’ve also dried raw tuber chips and ground them in a food processor for flour. It’s best mixed with other flours since it’s heavy like Buckwheat flour. Use it straight and you can almost use your baked goods for door stops!!
Love all the information that you are sharing, thank you!