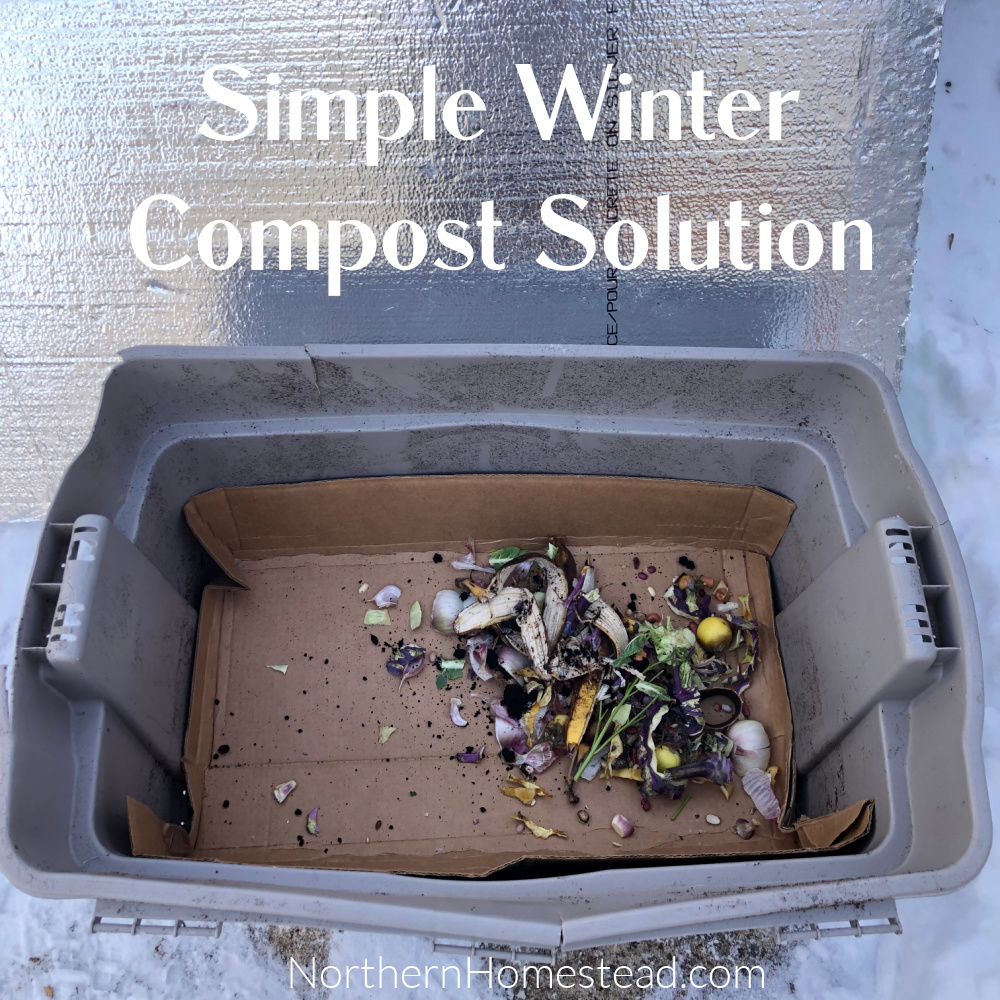
Composting is like nature’s recycling program, but it has a bit of a love-hate relationship with winter. You see, compost needs heat to do its magic. If it’s not steaming hot before the temperature drops below freezing, your composting materials will just freeze. In that case, we’re not composting during the winter; we’re just keeping those materials cozy for future composting.
Now, if you already have a steaming hot compost pile and a bounty of material to keep it cooking through winter, this article might not be for you. But if, like us, you find yourself in a situation where all you have to compost during the winter months is kitchen scraps, stay tuned. We’ve got some valuable tips for you.
Our homestead is in a climate where half the year is a frozen wonderland. The other half? Well, it’s pretty dry, which means composting happens at a snail’s pace. Since we are an animal-free homestead, we don’t produce as much compostable material to begin with. Still, we treasure every bit of compost we can make.
Now, let’s talk about kitchen scraps. In the composting world, these are considered “green” materials. When all you have is kitchen scraps, like during those chilly winter months, you can’t exactly call it compost. But, hey, since it’s freezing anyway, it’s perfectly okay to have a bin of just green material.
Simple winter compost solution:
- Get a Bin:
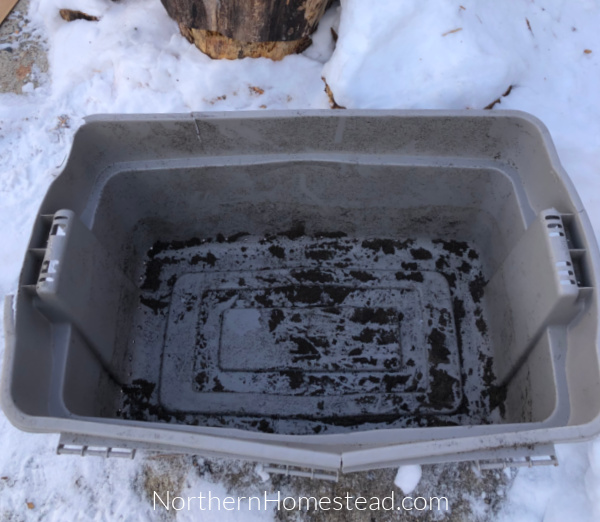
Find a bin or container that’s convenient and close to your house. Drill holes in the bin for drainage, just in case there’s excess moisture. During the frozen season, this is unlikely.
2. Layer It:
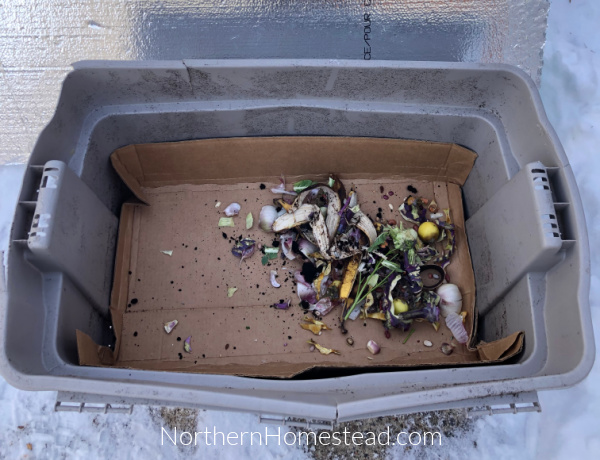
Start with a layer of cardboard at the bottom. It’s practical for emptying the container later and considered a “brown” material in composting. As you accumulate kitchen scraps, keep tossing them into the bin. As long as it’s freezing, there should be no unpleasant smells.
3. Cover It Up:
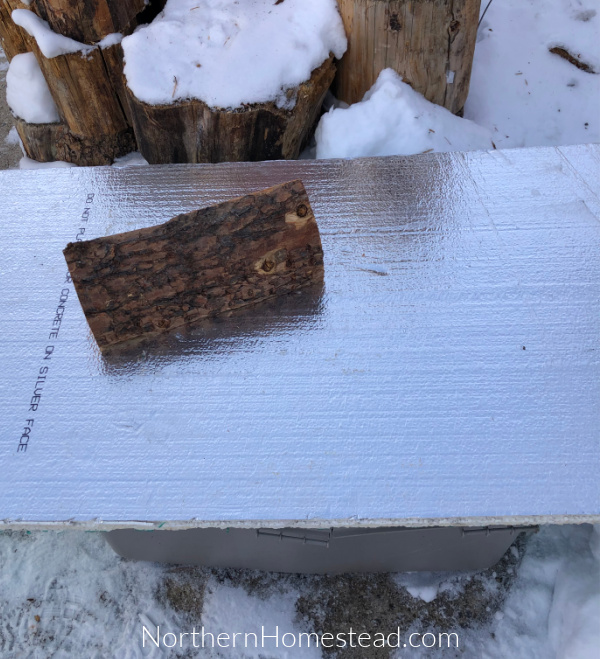
It’s a good idea to cover the container with something lightweight that keeps snow and rodents out but is easy to lift. Traditional plastic bin covers can be used, but they tend to get super tight during frost and can even break. A sheet of Styrofoam is a fantastic alternative.
Springtime Composting:
When spring finally arrives, it’s time to reap the rewards of your winter efforts. Empty the container into your regular compost pile or composter. Here’s the critical part: Layer it with brown materials like leaves. Since we use plenty of leaves in the garden to protect delicate plants, there should be an abundance available in spring. Also, the spring garden cleanup includes all brown material that can be added to the compost.
And there you have it – a simple composting solution for the winter months. It’s easy to manage, conveniently placed near your back door, and keeps all those composting goodies safe until they can be transformed into real compost.
Other winter composting ideas
We have tried different methods and found that the one we use is the most effective for us. However, if you are more adventurous, you can try the following options:
Worm composting:
Worm composting is an excellent idea that involves using red wiggler worms to produce worm castings from kitchen scraps. To keep the worm composting bin frost-free, in our climate, it has to be kept in a heated building. Although some people have great results with worm composting, we did not enjoy it and gave up on it.
Outdoor composting:
Maintaining a compost pile during winter is possible, but as we mentioned earlier, you would need more than just winter kitchen scraps. Compost piles are usually located farther away from the house, and keeping a path to it free of snow and regularly feeding the pile requires more effort. Therefore, our simple winter compost solution keeps our composting dreams alive and is all we need.
Happy composting, no matter the season!
We invite you to subscribe to Northern Homestead and follow us on Instagram, Facebook, or Pinterest for the latest updates.




I have the same climate (Norway). But I compost inside the house.
I had a worm “farm” last year, with perforated lid, no problem, no smell, only 2-3 worms escaped, but good compost outside provides enough worms.
I had the same set up the 2 previous years, no lid, no smell, easy to dump into, smack beside the front door (🥰), no holes in the bottom, 30L bucket, flipped it just a bit once or twice per month – but make sure to add a bit of good earth and manure (1L each) to get it started, lasts 4-6 months. People visit, I invite them to stick their noses in, impressed.
My house is never over 20C, one person household.
Can’t add fluids, but for drying out I give it some cheapo rice or recycled toilet paper.
Excellent way to make potting soil for the following spring.
That is impressive, thank you for sharing. Great information for those that want to do worm compost indoors.
I would add for those that want to try it:
– all ORGANIC/BIO/ECO,
– no onion or garlic or citrus, and banana peels use only the lower 2/3 and sliced (a pain),
– moss is gold – scrape a handful off a rock when you take a hike,
– popcorn (!) – there is always some unpopped left in the pot (I don’t use microwave), covered with coconut oil, disappears in a flash.
– lacto-ferments that have gone “bad” – some mold is fine, our friendly bacteria love them.
Thank you again, great additional information. Happy composting.