The covering of the geodome greenhouse makes all the difference in how much protection you will have. A single layer of greenhouse plastic poly keeps a greenhouse around 4 degrees warmer at night than the outside temperature.
Adding another layer of plastic filled with air in between the two would more than double the protection. Also, double-walled polycarbonate panels would significantly increase the protection. Depending on how much protection you want, get creative with the cover.
Because of the shape of the dome, covering it can get tricky. The Acidome calculator calculates nicely the size of the facets, which is especially important for pricier coverings.
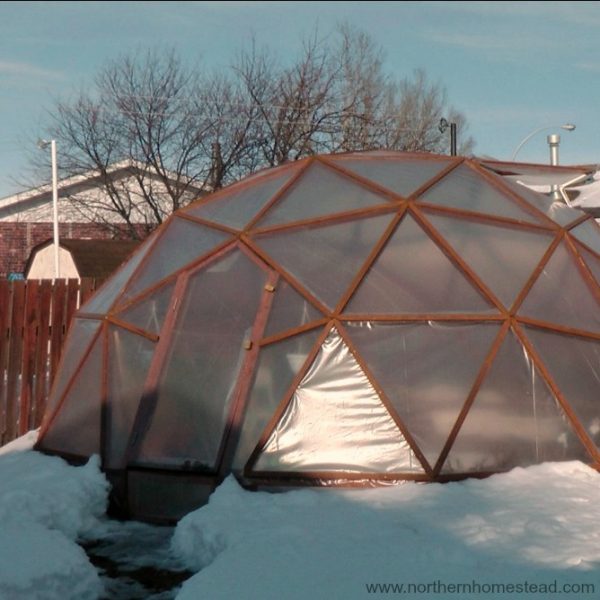
Covering the GeoDome Greenhouse with greenhouse plastic film
We covered our first dome with used greenhouse plastic poly that was given to us by a friend. It still had plenty of life left. It was a commercial greenhouse, and the greenhouse plastic was of good quality. 9 years later that dome is still covered with the same plastic!
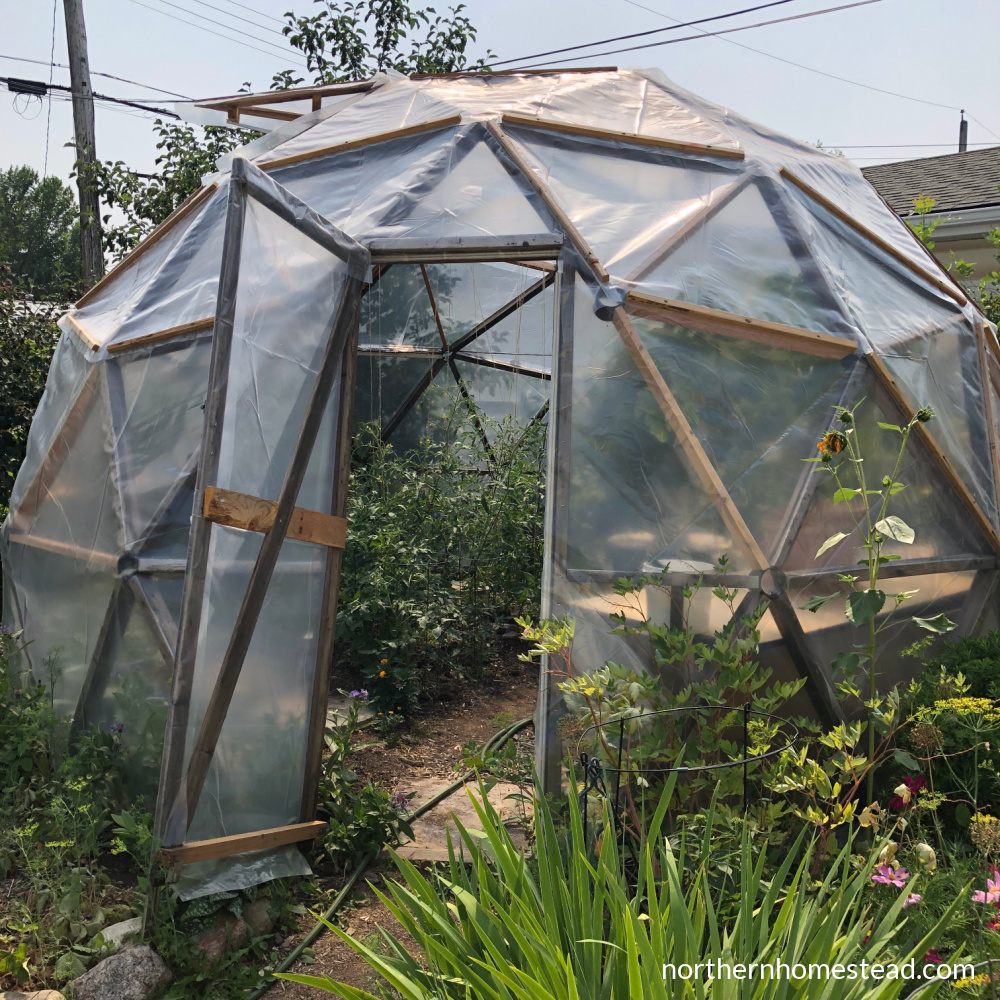
With our free plastic cover, we simply laid the struts on the plastic and cut the 2-3 facets approximately. Cutting the plastic for 3 facets in a row worked the best. Any overlaps we trimmed with a utility knife.
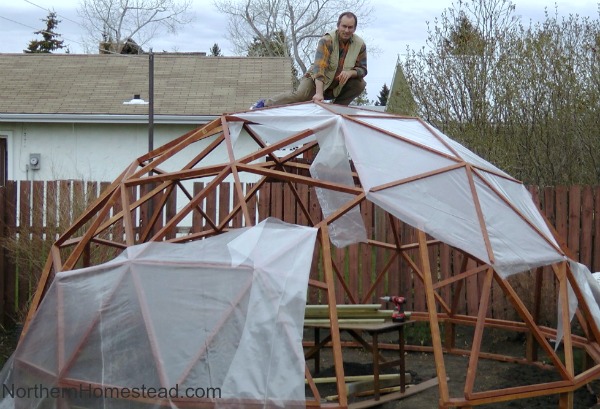
Make sure the upper facets overlap the lower ones to keep the rainwater out of the greenhouse. Just the same way shingles are done.
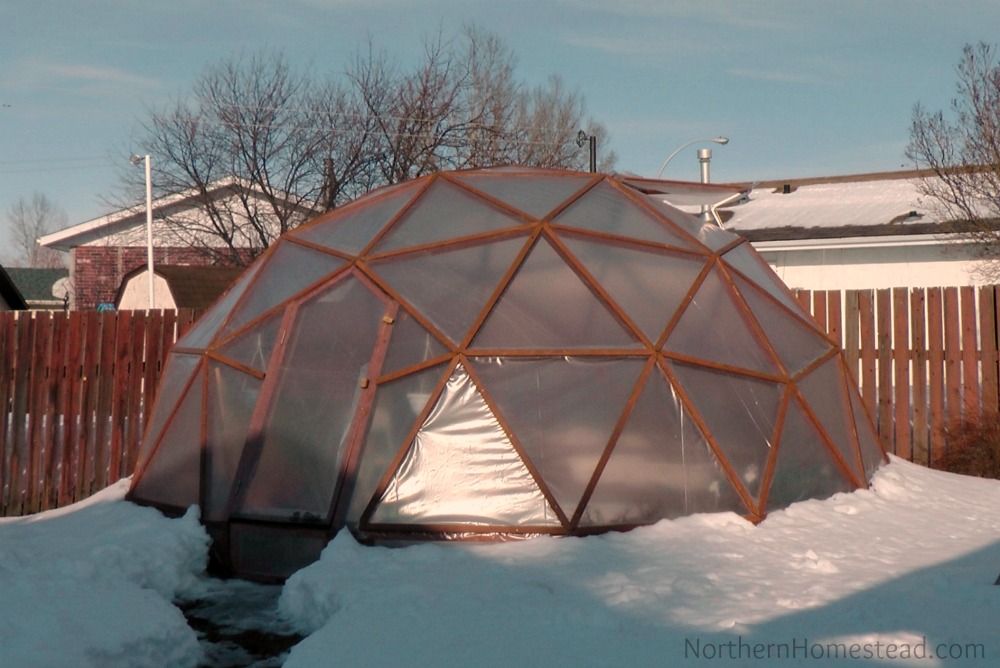
We stapled the plastic to the struts and then used 1 cm planks to hold it in place which also pointed out the structure of the Geodesic Dome even more. We like it :).
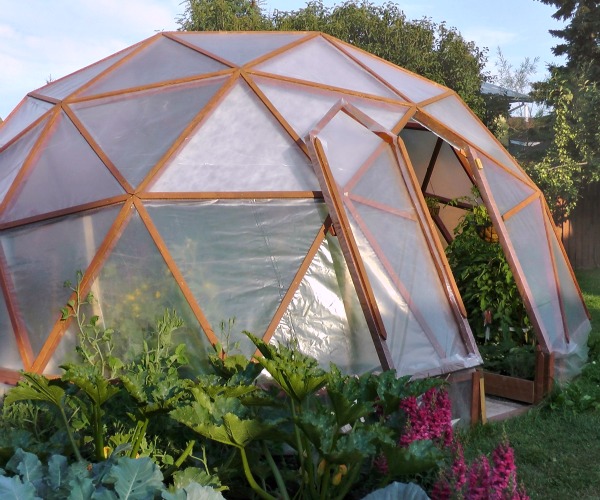
Covering the GeoDome Greenhouse with Shrink Film
Shrink film comes in different colors as well as transparent. Because of the dome shape, it makes sense to use shrink film. With our second dome, we went for a shrink film cover.
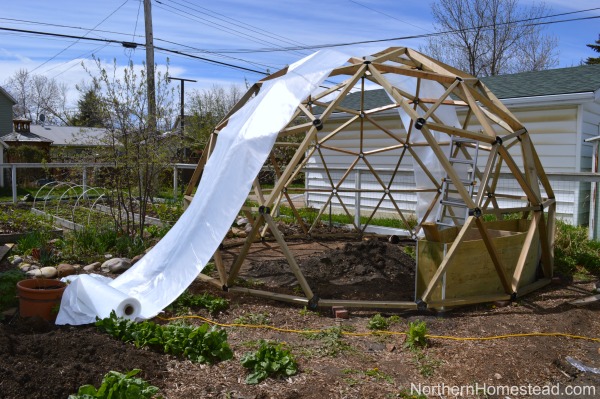
It was fairly easy to pull it over, however, the shrinking was not so easy. But that wasn’t the biggest problem.
The foil when shrunk loses some of its optical transparency. It becomes slightly opaque. In a greenhouse, however, we want all the light we can have.
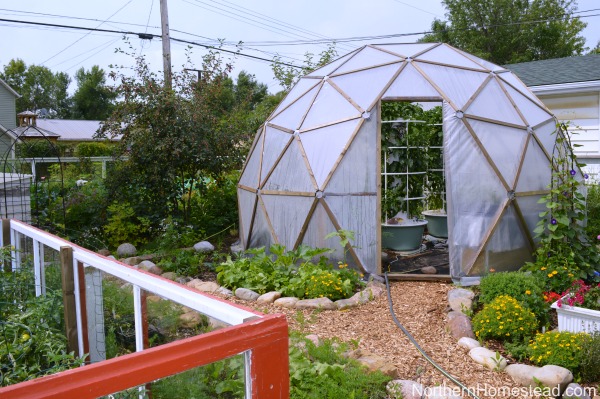
So we gave up on shrinking the foil and folded the overlaps and stapled the plastic to the struts and then used 1 cm planks to hold it in place as we did with our first dome. It only lasted 3 summers and burst during a cold period in the winter.
We would not recommend covering a greenhouse with shrink film.
Cold climate challenge
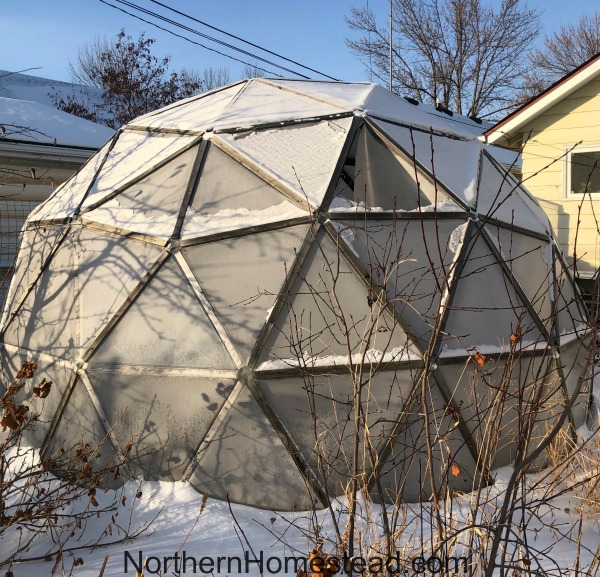
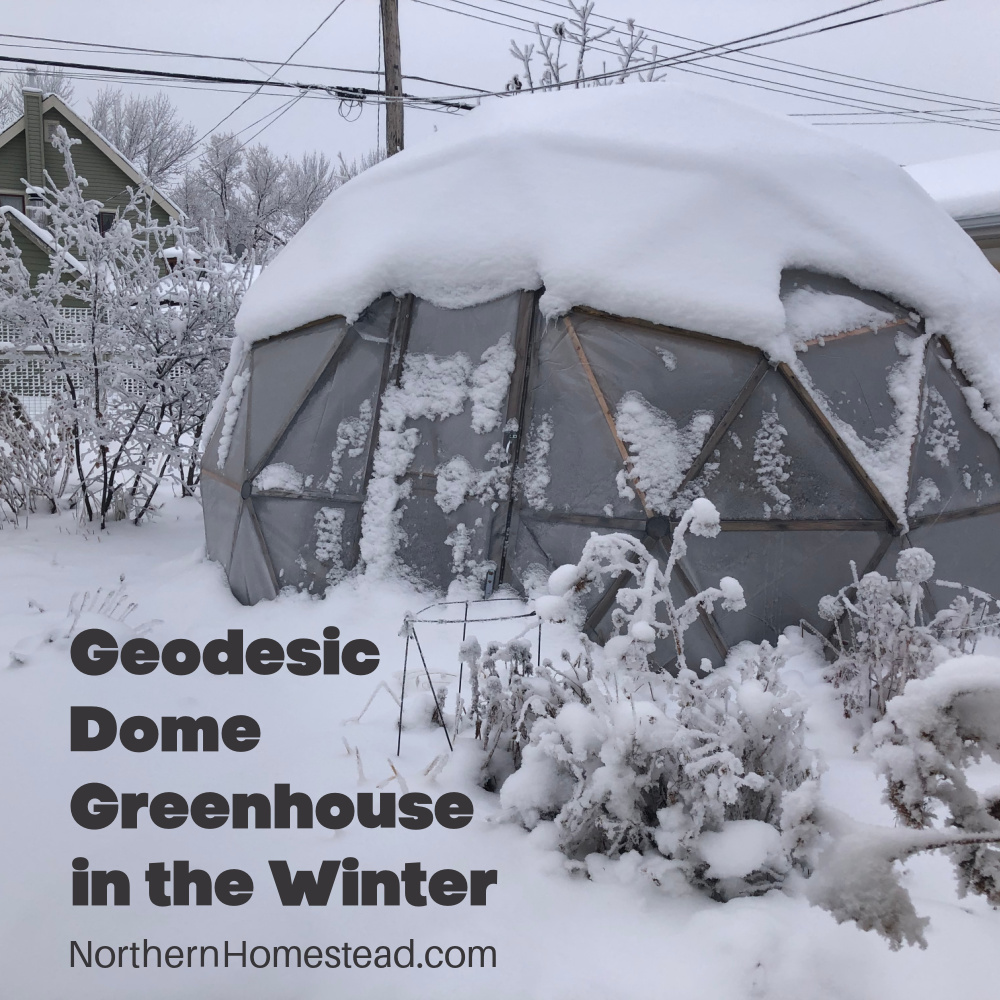
Living in a climate where temperature can drop to -40 degrees the covering has to withstand extreme cold often in combination with some wind.
Since the structure of the dome secures the covering between the wooden struts, it contracts more when it gets colder. With a bit of wind on a freezing night, it becomes almost brittle. The advantage though is that only the affected areas can be patched, without having to cover the whole dome.
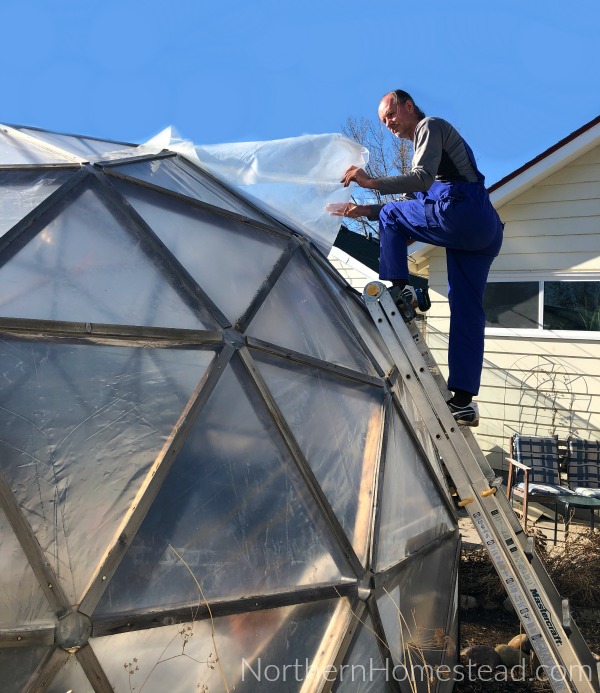
You might also want to look into some stronger greenhouse poly. Northern Greenhouse and Grow Tech have some interesting offers.
Covering the GeoDome Greenhouse with polycarbonate panels
Polycarbonate panels are probably the most durable cover you can have. You can choose the thickness you want and the size of the panels you need. If growing a year-round garden in the geodesic dome is your goal, this would be a great covering to choose.
Here is a great tutorial about how to cover a GeoDome Greenhouse with polycarbonate panels.
Other covering ideas
If you are building a greenhouse in an area with frequent hailstorms or heavy snow loads, consider other types of coverings.
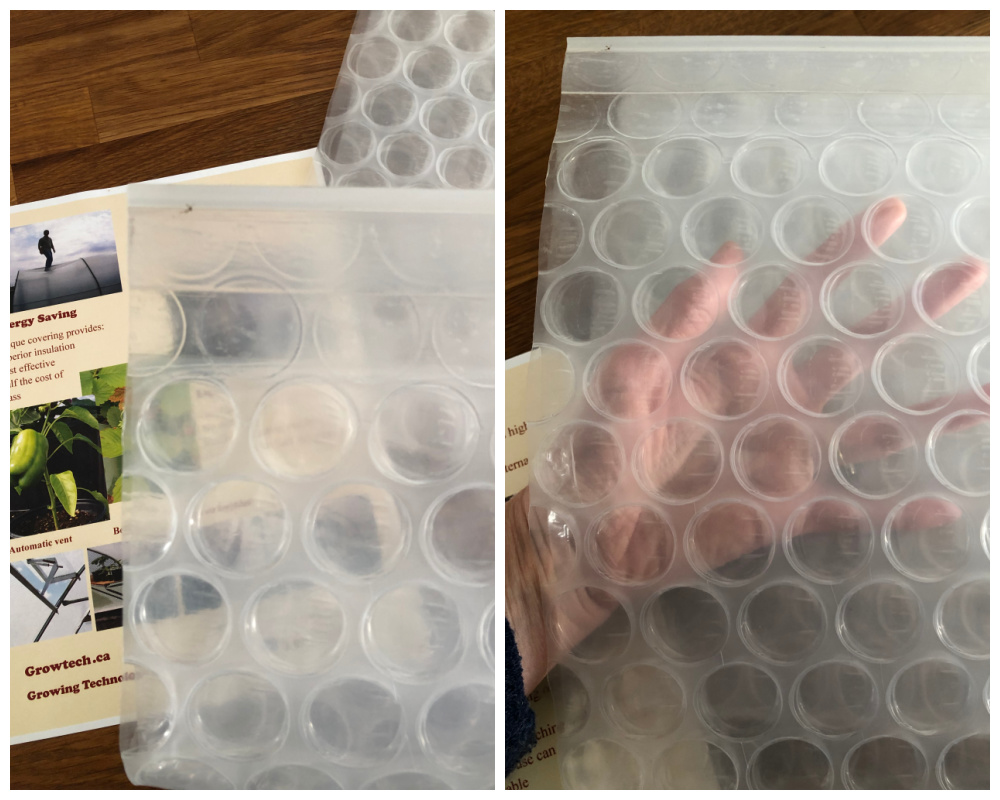 Solawrap is a strong bubble cover for greenhouses. The Canadian distributor of Solawrap, a highly efficient greenhouse covering manufactured in Germany is Grow Tech. We got a sample of the air bubble greenhouse film from them. As you see in the picture, the wrap is very strong, not comparable to bubble wrap for the packaging. The air bubbles would also give more insulation, a plus in a cold climate. We have not used it yet, but do see in the example that it is a quality product.
A local greenhouse grower used HydraTarp – Clear Greenhouse Tarp. It held up pretty well in a hail storm that had damaged the roof and siding of their house, but they could use the greenhouse covering all season.
If you want to build a Geodesic Dome too, we share a step-by-step How to Build a GeoDome Greenhouse, and an updated version two here.
Don’t forget to subscribe to Northern Homestead and follow us on Instagram, Facebook, or Pinterest for the latest updates.




You make it sound so easy! I’d really like to own one of those, maybe someday!
Well, it is work, but sure doable and very rewording! Hope you can have one soon.
You can, and it also does not cost very much. depending on the size you want. less than $500.00 to build it yourself. To see what I mean, go to the Desert Domes web site for the information on it.
I didn’t realize just how big it was until I saw your husband (I’m assuming that’s your husband?) on top of it! WOW! I’m pretty sure it would mean an HOA fine for me LOL
Yep, that’s him. And yes it is big, you are funny 🙂
What a fantastic project! How nice to have a little haven to go to garden amongst the snow. ~Renee
Wow! What a fun project! Do you grow in your geo dome year round? If not, when do you begin your growing season?
Have a great weekend!
No, we do not grow year round. We are in zone 3a, it gets really cold here. But I have started as early as march (I know it is not early for most parts of the world, but here it is).
This is the coolest thing ever! You all are busy. Thank you for all the amazing info you always provide.
I would love to have a greenhouse – any greenhouse. That’s a huge one! Maybe I should start with something a wee bit smaller. 🙂
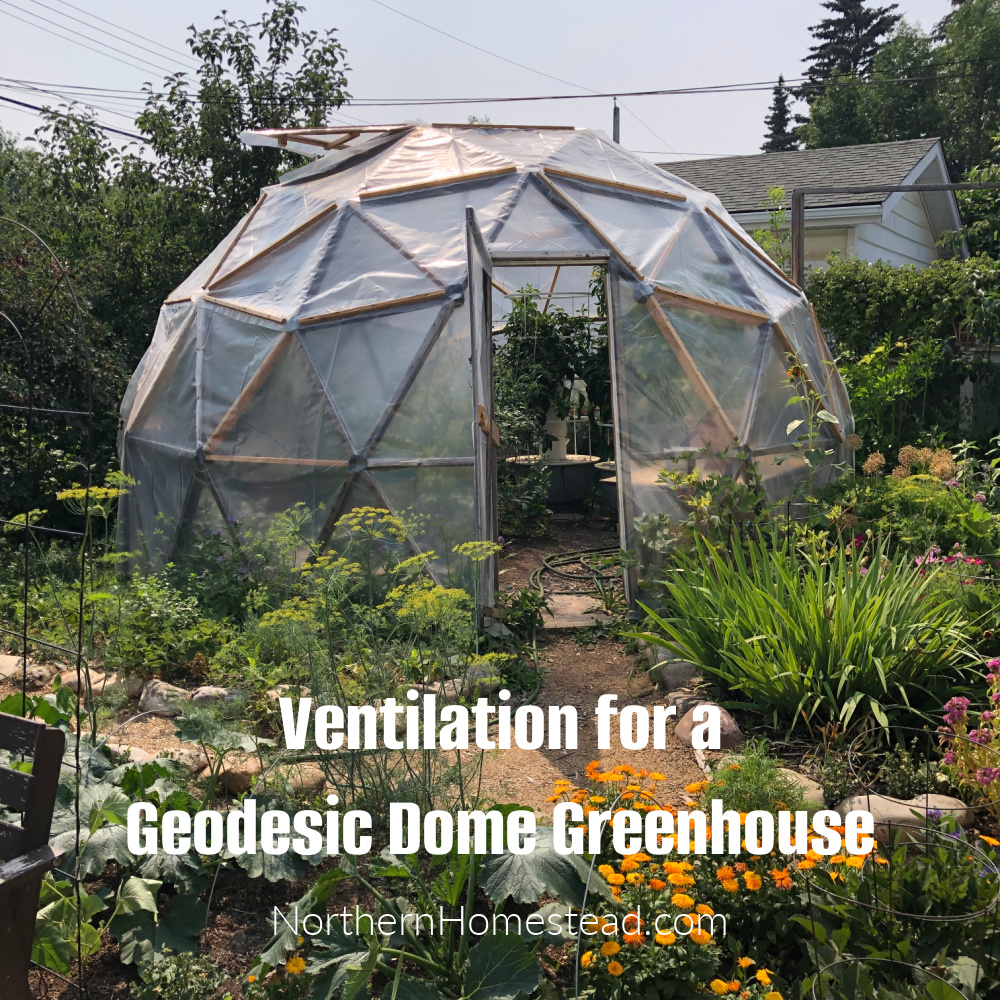
Hi Anna, what about ventilation? I live in zone 8-9 so I would definitely not be using the greenhouse in the summer. It would be a great place for me to put my citrus trees in the winter but I would definitely need ventilation.
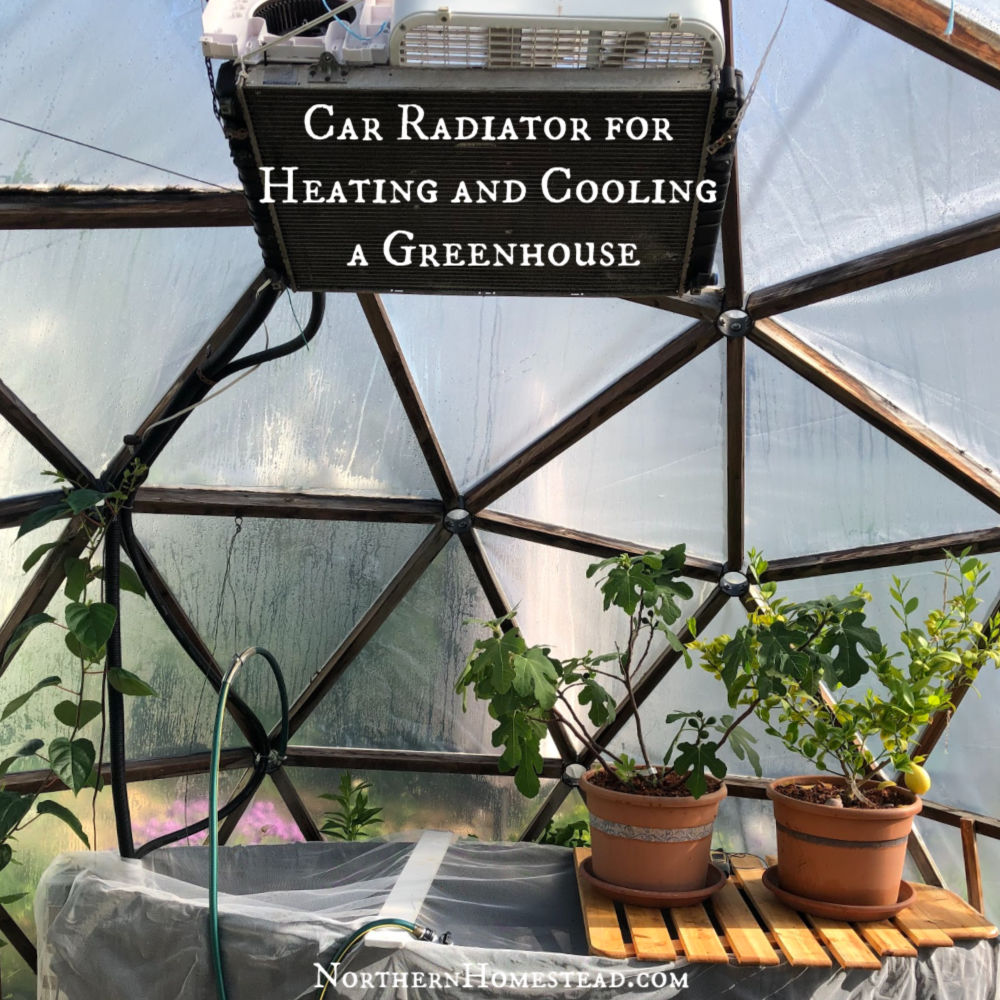
You sure would. We had two automatic windows and a door. We also had a water tank as a thermal mass.
Are there kits available with all materials already cut to size and shape?
Mike, there are kits available, just search for geodesic dome kit, be prepared to pay a high prize though. Good luck.
Oh yes, I found a 20′ one for $2,200. Ouch. But I think it might still be better than me with trial and error, which would probably cost more in the long run.
Thanks, I’ll be back.
🙂
My dad, Jerry Holliday, would have loved your GeoDome info. He graduated from Kansas State with an engineering degree back in 1957. I was born while he was in his senior year. He had a geodesic (sp?) dome office and a house built on 200 plus acres in SE Kansas in the late 70’s. Those geos are still standing. My dad passed about a year ago. I would like to build a geo-dome in my small backyard, but I’m not sure we can ‘handle’ this one (takes up 18 feet in diameter?) I’ve been thinking/wanting some kind of simple, portable/moveable greenhouse ‘cover’ so I can start my spring garden sooner than our Oklahoma weather allows. We rent-so whatever i do in my current yard…has to be easily moved. am wondering just how much smaller could i make a geo-dome-practically speaking? If my dad were alive, he’d design it for me! thanks, for the helpful info…Chere (Holliday) Parker
Parker, thank you so much for sharing your dads dome building adventures with us. Sorry for your loss. Yes you can build a GeoDome smaller. In fact we are planning to build a smaller and simpler one come spring. The 18 feet dome was build on a rented lot. We sold it before we moved. Stay tuned, we will share how to build the smaller dome, too. In the meantime you could check out our post on how to build a geodome.
Hi there, I am planning to build a geodome in northern Germany and I read your story quite often so far. Thank you for sharing with all of us your experience! I think I understood the building of the GeoDome, but still unclear is for me the covering with foil and how to get it waterproof.
I understood that you cover each single triangle with cover (by the way how do you fix the cover to the triangles?) but then to my understanding there is a gap between each of the triangles. Do you use some kind of adhesive to cover the gap?
Or did I understood something very wrong?
Thank you, Arne
Congrats on building your GeoDome! We did cut the plastic for about 3 facets in a row, we stapled the plastic to the struts. The overlapping of the plastic (like roof tiles) helped to make it waterproof. There is no gap between the triangles. The planks you see are on top of the plastic. Does that make sense?
If you can get Shrink Wrapping, it might be even better for a rainy area like Germany.
how do i find out what zone i am in i live close to Ottawa Ontario Canada
Hi John, you can see a zone map here. You should be zone 5.
Hi, Anna. When I discovered your webpage earlier this SPring it has been one of the sites I visited quit often and nearly done with finalizing the 4v (1/2 sphere) version with 2.8 metres in diameter in Riga, Latvia.
Congratulation on your new Dome. GeoDome greenhouse gardening is so fun. Enjoy!
Hi Anna,
New reader here from Denmark, am a student gardener and researching how to be selfsufficient in a small plot. My husband and I are also wanting to build a new greenhouse in our next home. I am more and more convinced that it should be a Geodome.
Do you know if it’s doable to cover in a glass/double poly combination? (Glass at the ground level as to be see-through…)
Thank you for an inspiring site,
Many thanks Sanne
Welcome, and thank you for your kind words! You can cover a dome with whatever you want as long as you can cut the glass or polycarbonate panels into the shape of a three angle and are able to hold them in place. For glass you would need a frames to hold them, I think. For polycarbonate panels see the video in the post. Hope this helps.
Beautiful design! How did you secure the 1cm planking to the top of the struts? I understand you stapled the plastic to the struts, but then did you use screws or finishing nails maybe for the 1cm thick boards on top of the plastic? Did you also cut the corners of the 1cm boards to mimic the angles of the struts underneath or did you just leave them squared off on the ends? Thanks!
Thank you. I used screws for the planking, and I squared off the ends on the planks.
I’m currently building my own dome here in the UK , your guide has been invaluable so thank you 😁, I have built a pony wall for my dome to sit on and found that the most tricky , I kept building it too big or too small for the foundation ring , I’ve finally got it right and now I’m just waiting for a dry day to build the actual dome , thanks again for an awesome guide
You are welcome, happy to hear it was helpful. Congrats on your new dome.