The old window temporary little greenhouse idea came out of necessity. As so often in spring, our house was overfilled with plants that had no room at the windows any longer. They had to go out.
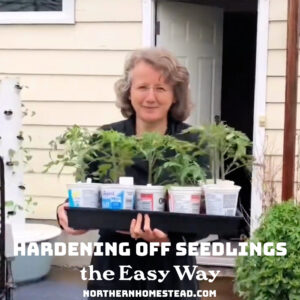
Hardening off plants before planting them in the garden is important. Instead of carrying all the seedlings in and out for a couple of days, we like to simplify it. Read more in our article hardening off plants the easy way.
The need for a little greenhouse
In order to simplify hardening off plants, you need a sheltered location, ca a little frame structure. An open, sunny and often windy deck will not do. It really will be hard on the seedlings.
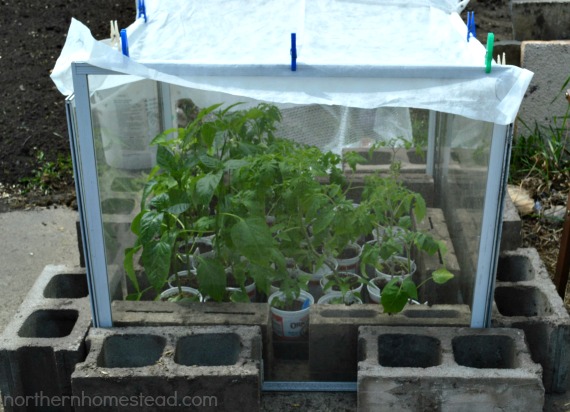
That’s where the temporary little greenhouse was born. We wanted wind protection that also does not blow away. And we wanted to be able to provide some shade with a blanket. The shade is important for the first few days, so plants can get used to natural light. We also wanted to be able to give some frost protection if needed.
The little greenhouse worked so well, that it turned into a permanent raised bed. But for just the task to harden off plants the temporary structure works perfectly.
We do not recommend the mini-greenhouses, they overheat during the day, blow away during a windstorm, and give you a false sense of security at night.
You want the walls to be enclosed for wind protection but open top for ventilation.
Build a temporary little greenhouse
The idea was to use what we had on hand and make it as simple as possible. It worked.
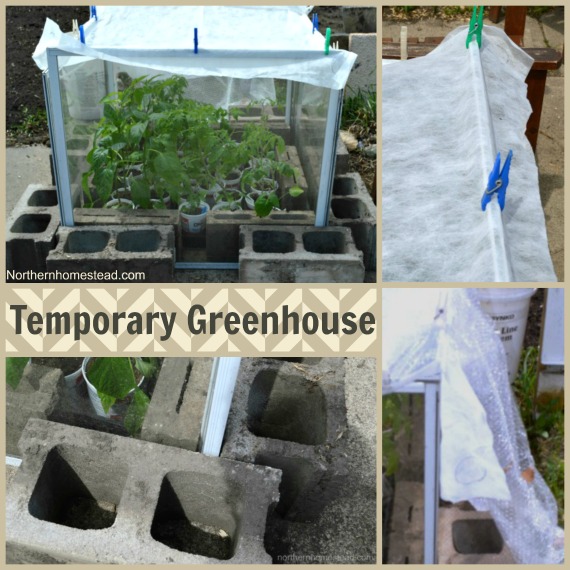
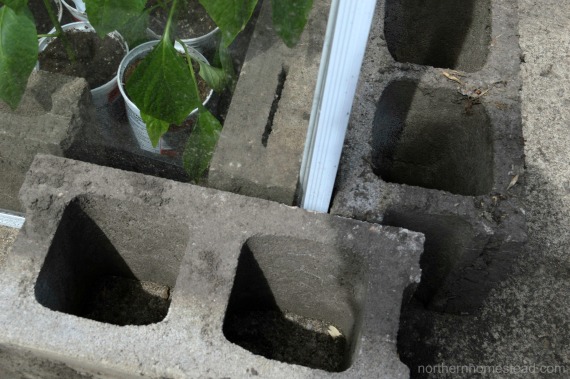
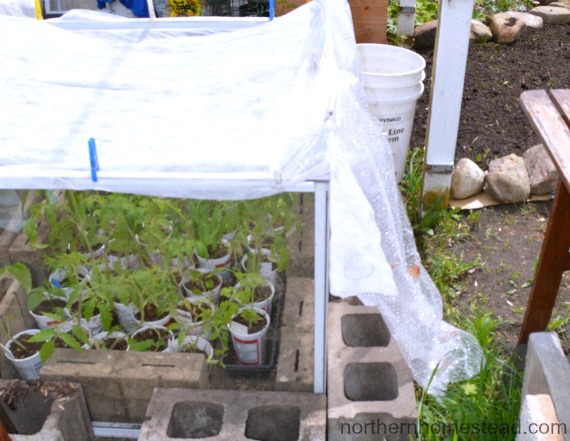
We had some old light-weight windows and some cinder blocks in different sizes. We used the wider ones for holding the window frames in place on the outside and the more narrow ones inside. The greenhouse was placed right in our sunny but sheltered driveway.
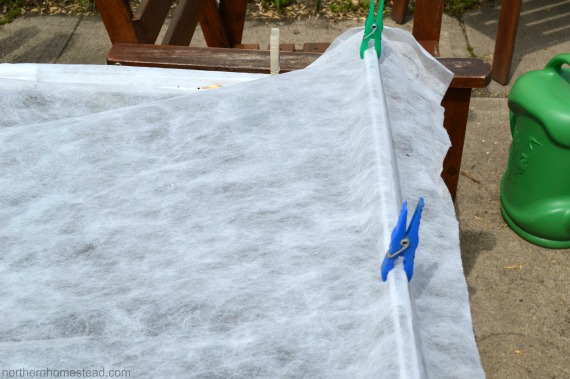
We covered top of the little greenhouse with a Frost Blanket. It gives some shade and protection from wind and cold, but the fabric lets air in, there is no worry about overheating. The blanket can be held in place with some clothespins
, those are handy in house and garden :).
Since some nights are still very cool and rainy we added another layer of protection of bubble foil/wrap for the night and if needed. Again holding it in place with some clothespins. Note, when using plastic it has to be removed as soon as the sun comes out, otherwise, a little structure can overheat very quickly.
The temporary little greenhouse is a solution that works very well for hardening off plants and even keep them in there for longer as needed. The natural light is much better than anything indoors. Before planting the plants into the open garden we take the cover off for a couple of days so the plants get used to the direct sun and wind.
The temporary little greenhouse worked so well that we upgraded it to a raised window protected garden that we use in spring for hardening off seedlings and in the summer to grow heat-loving plants in.
We invite you to subscribe to Northern Homestead and follow us on Instagram, Facebook, or Pinterest for the latest updates.






That worked like a charm! Great way to improvise and make do! I know you were glad to get the plants out of the house! I enjoy starting seed indoors but get tired of them very soon.
By the time the plants get this big, I rely do not know where to put them. So glad I had this temporary greenhouse idea.
That worked out great! And what a great way to re-purpose things, too!
Yes, it is nice to be able to do things simple and free, but still useful.
You always come up with the best solutions! I’ve seen entire (small) greenhouses made from windows on Pinterest. Looking forward to seeing your big greenhouse!
Oh yes, those are cute. There is still lots of work on the big greenhouse. But it is coming.
What a great idea! I’ll have to try this next spring.
Thanks for linking up with Green Thumb Thursday. I hope you’ll come back and join us again this week!
~L
Yes, it worked great and much cheaper then those little greenhouses on the marked ;).
I love this idea will be doing this next year. I have a question was is bubble foil? and where do you get it…
Glad you like it. Bubble foil is what I call it, it is bubble wrap. I posted a link to amazon where you can get it.
And I thought I was limited by our Zone 5-6 climate…you guys are rock stars! I’ll have to try and scrounge up some old windows to use this coming Spring as a green house.
Thank you for your kind words, we just do what we can and try to make the best of it.
I love this idea, will definitely be keeping my eye open during my regular visits to the re-store for nice windows to make my own version with. This is my second year starting all my plants, and we quickly outgrew the basement (and can’t afford a greenhouse)…this is going to be perfect.
Wish you lived closer, I could share some of my windows with you. Did you see our version of this this year in the last garden update? It is way bigger, and we do use it all :).
What a great idea. We live just outside of Calgary and have been struggling with how to harden off my plants without creating a lot of work.
Glad to be of some help to a fellow cold climate gardener.