
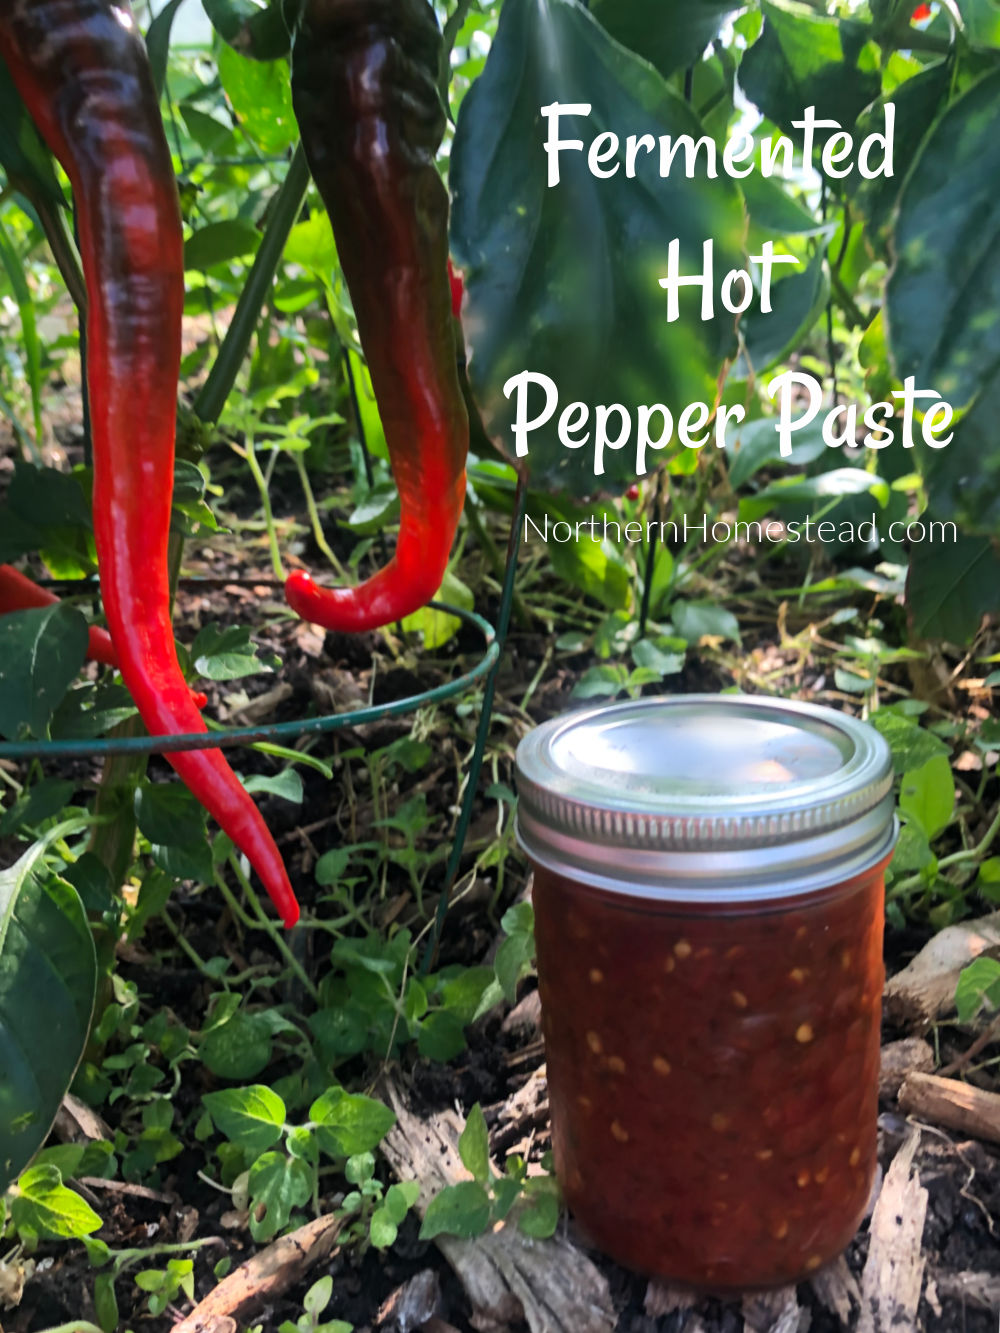
Fermented hot pepper paste is a must-have in our house. If you like spicy food, you will love this paste. It takes just a few minutes to mix it up, but you can enjoy it for years, really. Since it is hot it lasts for a long time, so it’s very worthwhile to make it.
Fermentation is a great way to preserve the harvest. We grow some more hot peppers just for this paste.
The original recipe comes from the book Fermented Vegetables and it only asks for two ingredients: chilies and salt.
If you follow me for a while, you will know that I’m a freestyle cook. I use what grows in my garden, not so much what a recipe asks for (except if there is a safety concern of course). When fermenting the only thing that you need to worry about is the amount of salt. You need 1-3% salt for it to ferment properly. Read more in fermenting is simple – learn the basics.
If you like it very hot, you can use all chilies, or mix with some sweet peppers, as I did this time. And of course, you can use any kind of hot peppers, not just chilies.
You don’t like it hot? No problem, use sweet peppers instead. In this case, you might want to add 1 tbsp of lemon juice and also onions and garlic to taste. Call it salsa and enjoy it.
Uses for hot pepper paste
The hot pepper paste is a great addition to any soup or sauce where spices are desired. We prefer to use it as a condiment at the table to preserve the beneficial bacteria, and that way everyone can do it to its own liking.
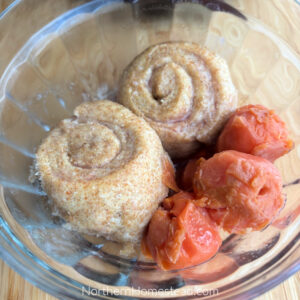
The fermented hot pepper paste also tastes great on a sandwich with a slice of fried tofu and sun riped tomatoes.
Ultimately you can spice up any dish you want.
How to make the Hot pepper paste
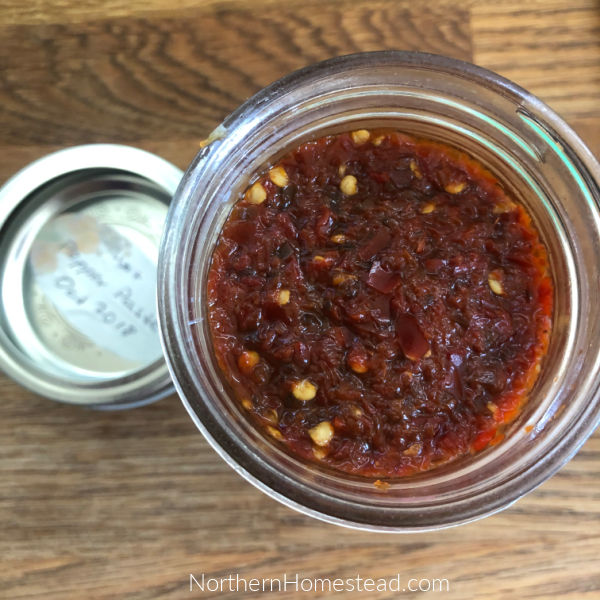
In this video I share how I made the paste that we are still enjoying, it’s almost two years old now. The paste gets better with age and lasts for 2 years and counting. If you can’t see the video below, turn off your ad blocker.
As you see in this picture, the aged paste is darker, more mature, and more flavorful too.
So this year’s paste will be used next year, however, you can also enjoy it right away.
Fermented hot pepper paste Recipe

- 1½ pounds (680 gram) chilies, or peppers of any kind, stemmed
- 1-3 cloves garlic optional
- 2 teaspoons unrefined sea salt
- Chop the peppers and garlic if used coarsely in a food processor. You can use any chilly type peppers or any other hot or sweet peppers.
- Mix in the salt
- Fill the mixture into a clean jar making sure to leave a few inches of headspace
- Add a freezer bag into the jar, opening it up to add water into it to keep the ferment submerged. (See video)
- Set aside on a baking sheet or plate to ferment, out of direct sunlight for 21 days.
- Check occasionally to make sure the ferment is still submerged.
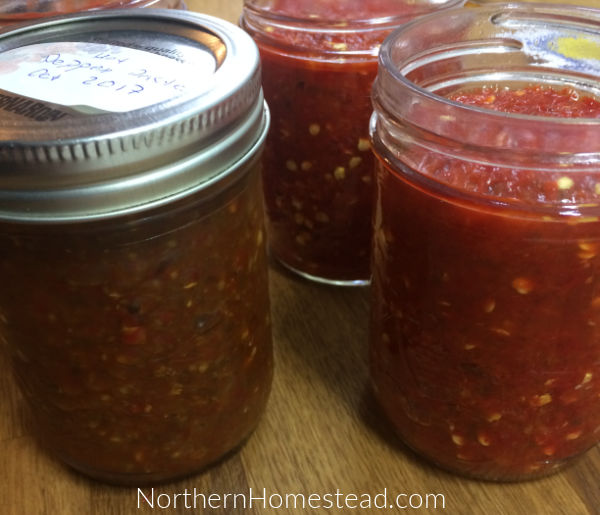
- After the fermentation is done, refill the paste into small jars, close, and store in the fridge.
- Let it rest for at least 3 more weeks, better 6 months to develop the complex taste.
We invite you to subscribe to Northern Homestead and follow us on Instagram, Facebook, or Pinterest for more yummy recipes.


For the fermented hot pepper paste, have you tried water bath preserving rather than storing in the fridge? If so, would you warm it first to put it in jars and how long would you process it in boiling water?
I haven’t, not sure why I would bother, it stores for years just so. I fill it in 1 cup jars and have them at the very back of the fridge, where nothing else is anyways.
I would love to try this. Is there a video link?
The video link does not work if you use add blocker, unblock and you should see it. Let me know if you still can’t see the video.
Got it! Thanks!
I made a huge bowl of this chili paste. It looks so good. I can’t get the plastic bag to seal in the sides though. I am afraid that air from the sides will make it turn bad. Have you ever had that problem and what do you do to avoid it?
In my last batch, I had a similar problem. It’s not so much about no air coming in, since you can do fermentation without an airlock. But if some of the peppers are not under the brine, they will turn unpleasant. So what I did was at the end of the fermentation, I took that off and discarded it, and refiled the rest into new jars, and stored them in a cold place. It is all good now.
The book Fermented Vegetables suggest cutting some kind of food-grade plastic screen, mat, or wrap to fit into the jar, or crock to keep the veggies from floating up. After that use some weight. Hope this helps.