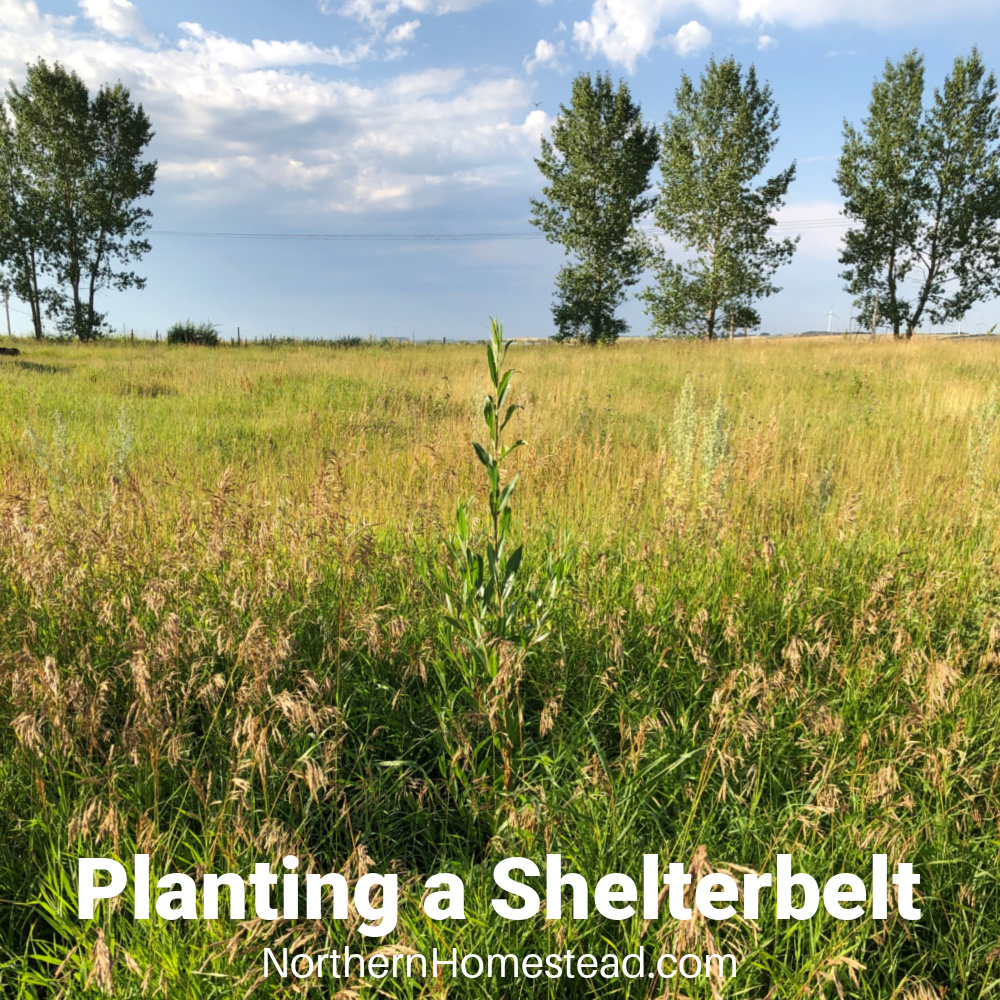
On an open prairie property, planting a shelterbelt is (almost) a must. Even though I really love to be able to see miles and miles, the wind is serious.
Letting the wind just blow is an option, but it brings a second challenge with it, it does blow the snow cover away. Without a snow cover, the cold and dry wind can be a real hazard to vegetation during the winter.
The best option is to plant a windbreak.
The narrow two-acre property does not have room for extended shelter belts. So I spent quite a bit of time finding a workable solution. Here we cover our experience with helpful links. Note that we are not affiliated with the links we share. We just want to be helpful to those who are looking for the same information.
Where to plant a shelterbelt
Shelterbelt treelines are planted to prevent the prevailing wind or to shelter roads and entryways, shelter in and accumulate snow in a garden area, and also to provide privacy.
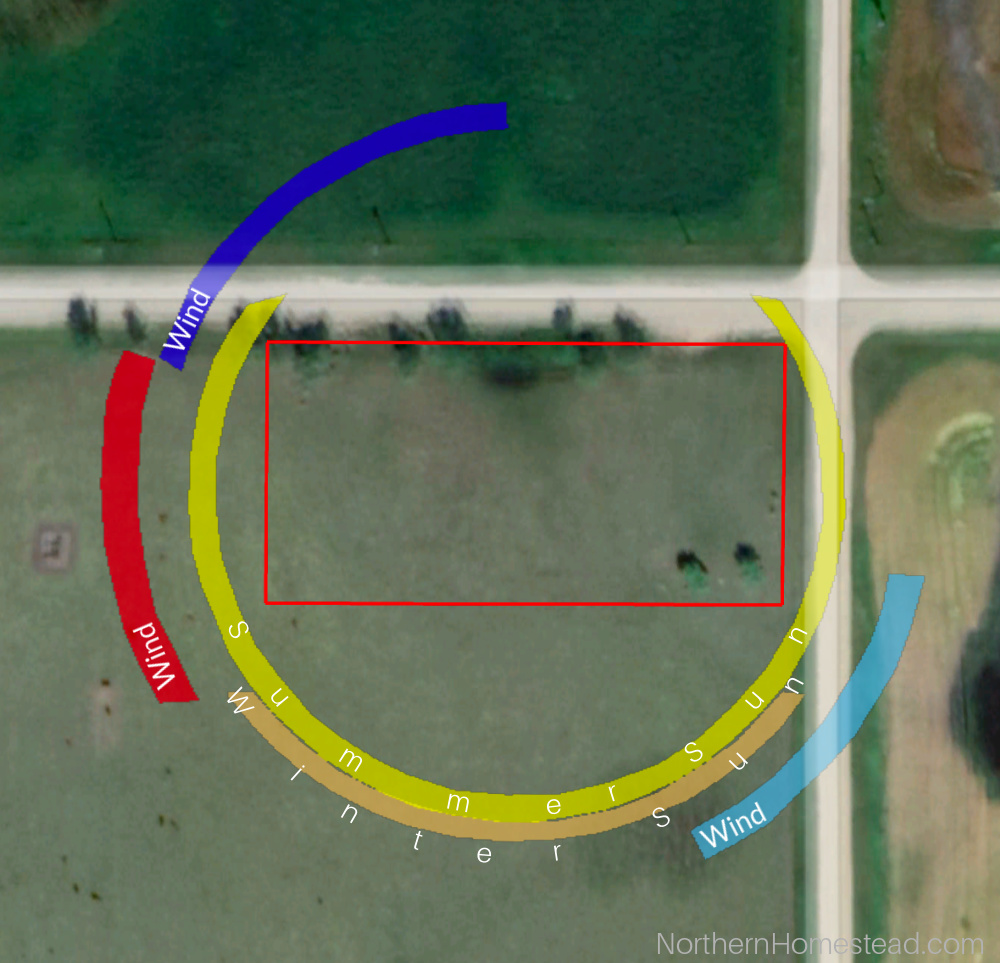
In our case, as we shared in the permaculture design, the wind does not just come from one direction, even though the northwest is the prevailing wind. But we also have quite a bit of nasty wind during the summer from the opposite direction from the southeast.
You can read our blog post about microclimates on how to find out your prevailing wind if that is something you want to know.
You get good 10 times the wind shelter from a windbreak, (up to 20 partial protection). A 4-foot-high wind barrier will protect 40 feet (ca. 12 m) of gardening space. For an acreage, field, and orchard plant trees, for a garden shrubs are better. They will protect from the wind, but not ruin the garden with massive roots.
Rows and planting spacing
Common information for a good shelter belt is 3 – 5 rows of trees. For example, the first row (taking the prevailing winds) can be common lilacs, the second-row plant Manitoba Maples, and the third row could be Scots Pine.
Another good example from real-life experience that has been effective on a bald prairie with nothing else to slow the wind down is from outside to inside: Caragana bushes, poplars, spruce between poplar spaces, Manitoba Maples. The owner shares that “within our acreage, it’s always very nice, just slightly breezy on a windy day”.
In our case, we already have a row of poplars from the north side. We added a row of willow (hoping to let them grow low) followed by a mixed row of pine, larch, and birch.
Lilac makes the first row from the west. The second row is a mix of edible and or nitrogen fixer plants such as Russian olive, seabuckthorn, hazelnut, and pine nut trees. The third row will already be fruit trees and berry shrubs again mixed in with nitrogen fixers. This way we hope to get a windbreak, without using too much space to only shelterbelt trees and shrubs.
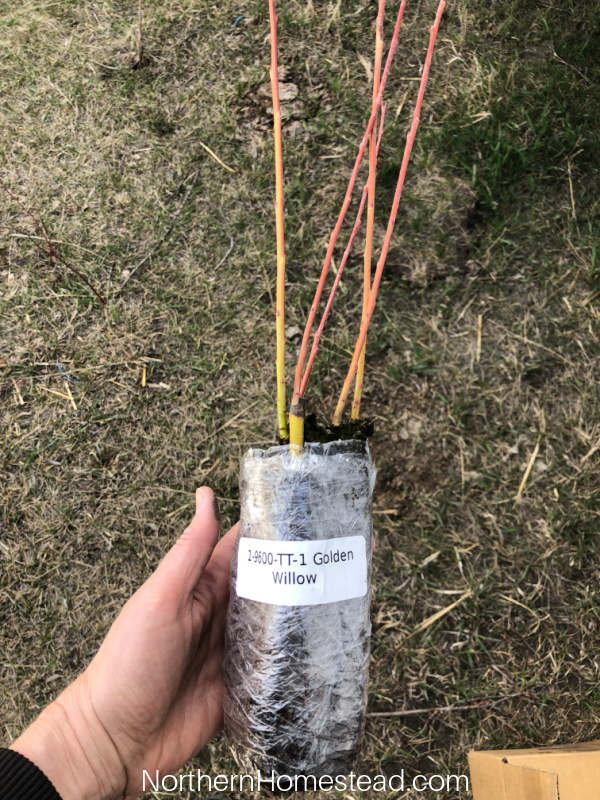
And we added to the existing threes at the southeast golden willows and linden. Both are great for bees and have an ornamental value making a beautiful privacy line.
One of the companies that we ordered our trees from has great information on rows and planting spacing that you can check out: Shelterbelt Planting: The Best Guide for Amazing Windbreaks.
Ordering the seedlings
When looking for seedlings to order we aimed for what we wanted and as close as possible to our location. So most of our seedlings were from TreeTimes and Prairie Shelterbelt Program in Alberta.
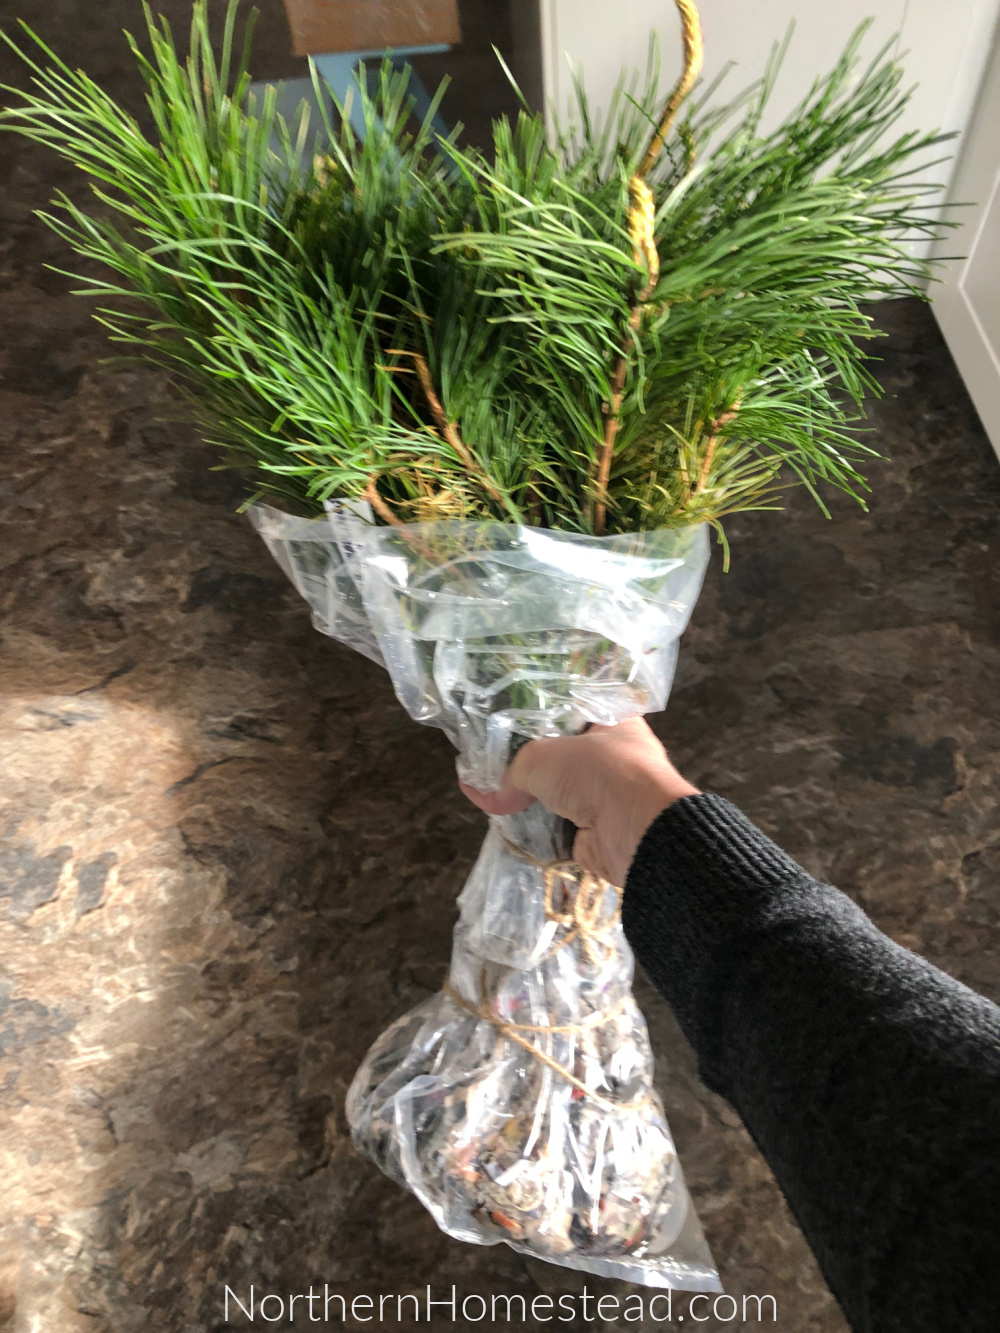
We could not find the edible pine nuts that we wanted close to home, so those were shipped from Nut trees in Ontario. We had the most losses here (read our blog post following the link). For seedlings to be on a way for days, and sometimes weeks is hard, even though the pine seedlings were packaged very well.
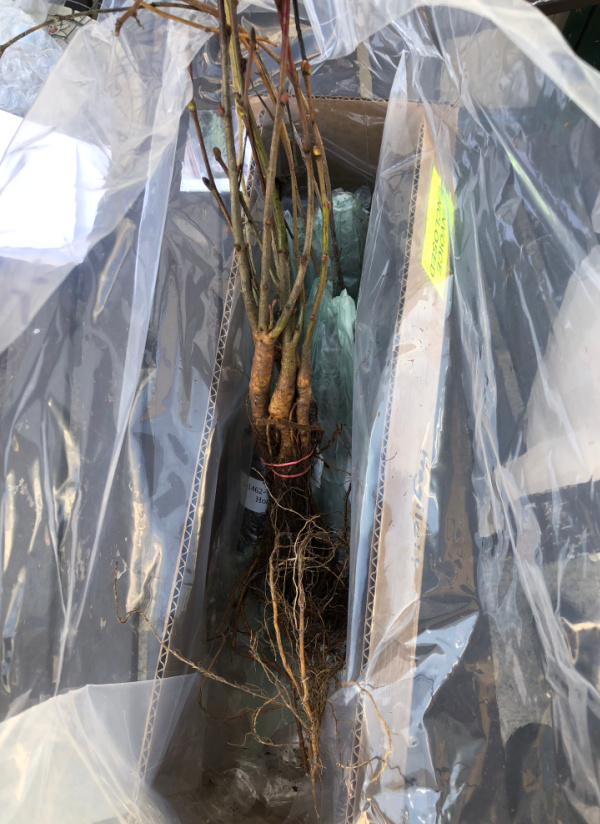
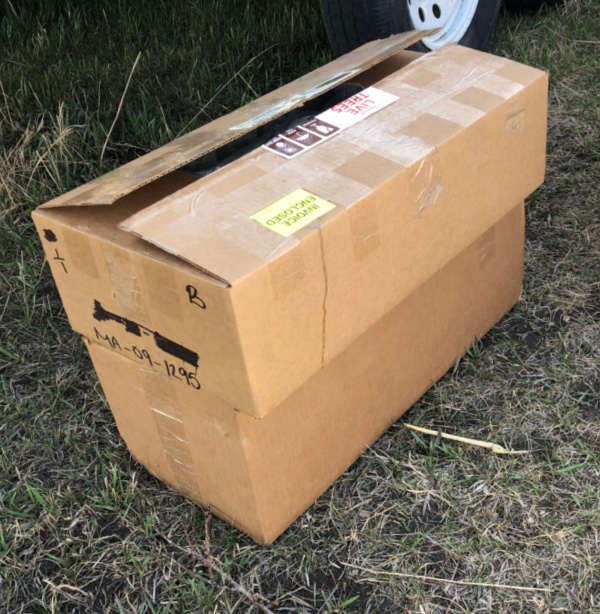
Here in the picture is a package from TreeTime. As you see bare roots are staring at us under some loose packaging material. Since the trees were not long on a way to us, we only lost 1 of these bare root trees (I’m sure it would be more with a longer shipment). We could have claimed a warranty, but the process they offer for warranty is complicated (new growth within 30 days of planting with picture proof) and was not worth it for us. Summer is a busy time without complicated procedures. I still thought I would share out experience as it was.
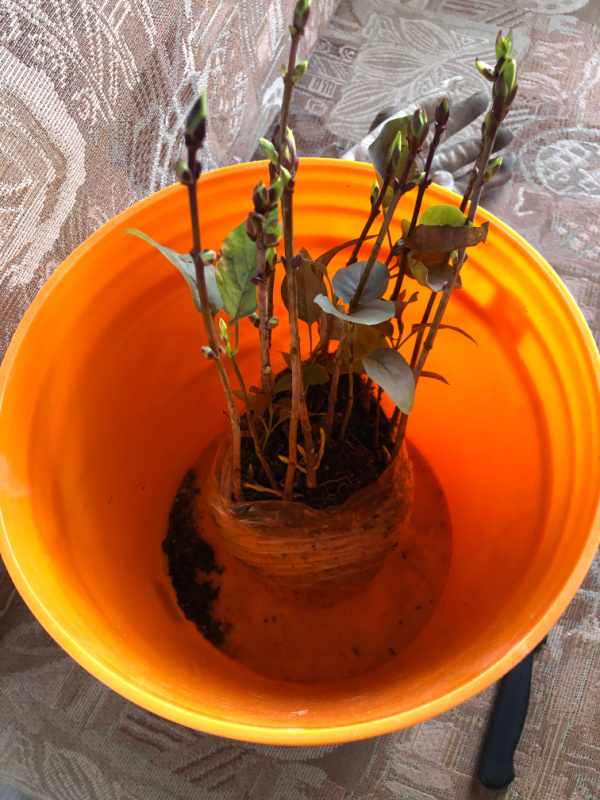
After the first shock of finding leafed-out lilacs in the package, we had a good experience all throughout with the Prairie shelterbelt program. They offered very friendly customer service. It was nice to be able to add to our order without having to open another shipment. They do not offer any warranty though after seven days of acceptance of the nursery stock. We had no losses with them, even though we ordered way over 100 seedlings from them. They all took and grew nicely, even the already green lilacs.
Seedlings can also be dug up for free in ditches along the roads, or in Canada from Crown land. Check with your county’s bylaw. Each province has its own permits, here’s a link to Alberta’s website for permits.
Planting the shelterbelt
Nurseries that ship seedlings also offer great planting instructions. TreeTime even had a nice brochure in the package. Instead of repeating the instructions I will share what we did and what we have found works, or does not.
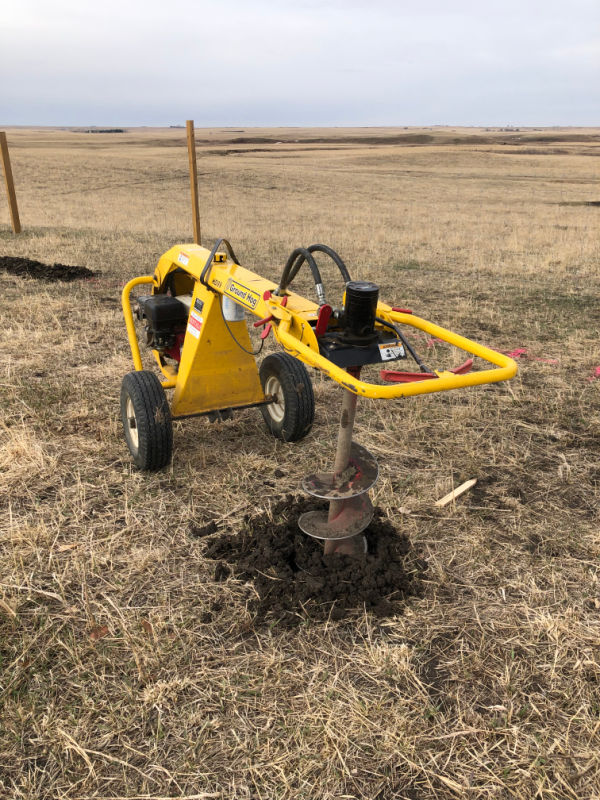
As we already shared in our New country garden update, we dealt with very compacted, overgrazed soil. With little snow cover during the winter, and dry early spring, we needed heavy-duty machinery to dig holes for planting.
For the shrubs, we used a rototiller to till the rows, and for tree seedlings, even though a lot of them were plugs, we rented a hydraulic post-hole auger with a 10-inch drill bit. This way we could make sure the soil around the young seedlings was also loosened to help them to establish better.
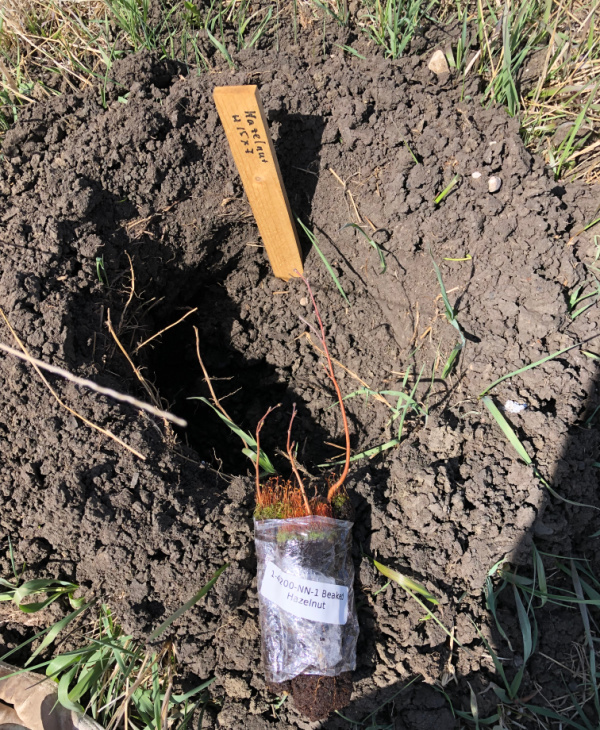
We prepared wooden stakes and placed them into the holes beforehand, marked if needed, so we could know where to plant what on the planting day.
We used native soil to cover the seedling in most cases. For pines, we added inoculant, and if the native soil was of no use around the hole, we brought in better soil from another area of the acreage to give them a good start.
Caring for the new shelterbelt
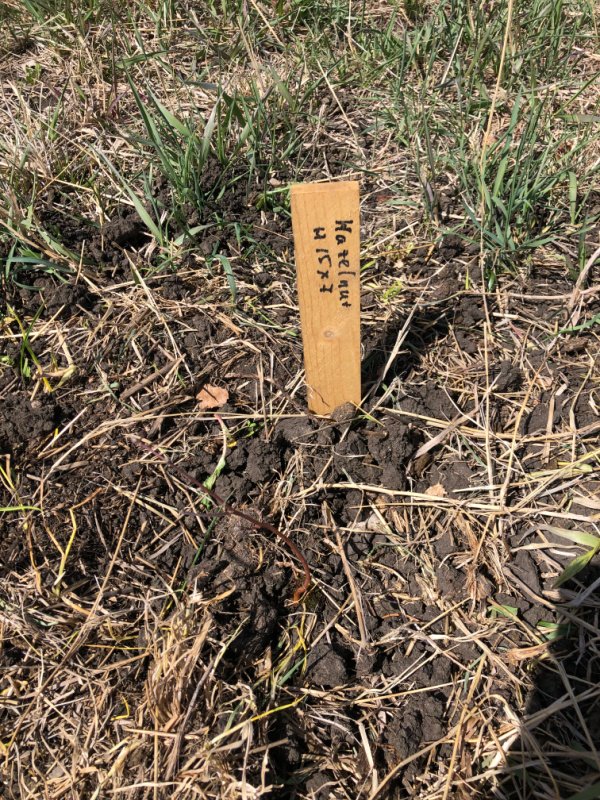
Having a wooden stake has proven to be great all throughout the season. Most of the seedlings were so small that we could easily step on them. The stakes helped us to see where the trees or bushes were planted and not run, or worse mow them over.
We did not till or plow the whole area for the shelterbelt, just let native grass and alfalfa grow as is. We did install drip irrigation for the seedlings right away. With the irrigation, the dry spring actually worked in our favor. The newly planted seedlings could get a head start before the surrounding vegetation started to green.
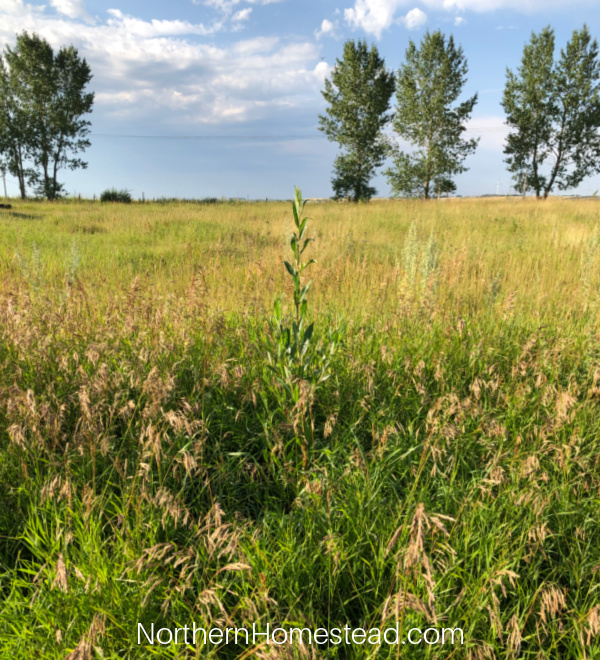
And then we started seeing little trees popping over the grass, showing nice new growth.
Some of the seedlings, of course, did not grow as quickly as the willow in the picture, so I did some weeding, to keep the seedlings from being taken over by grass. Overall though, our experience with making just holes and not disturbing the whole area has been good.
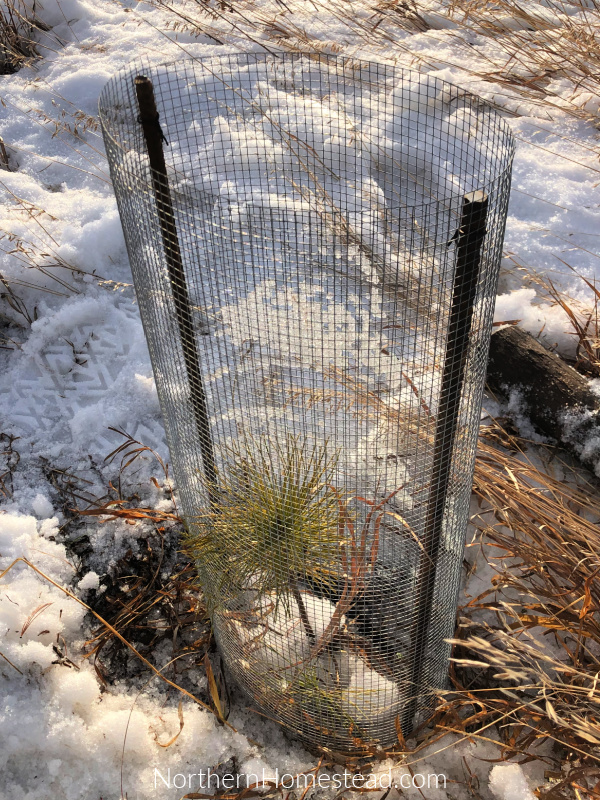
We made protective cages for more precious trees like the pines and linden. Most trees are on their own, we will see how many survive the winter. A lot of them are just buried under snow dreaming about spring.
We invite you to subscribe to Northern Homestead and follow us on Instagram, Facebook, or Pinterest for the latest updates.
More Trees and Shrub Articles You Might Enjoy:
Preparing the Garden for Winter in a Cold Climate
Preparing Fruit Trees for Winter in a Cold Climate

Picking Fruit and Berries at Their Peak
A Complete Guide to Growing Hardy Raspberries in Cold Climates
Growing Fruit and Berries in an Urban Yard
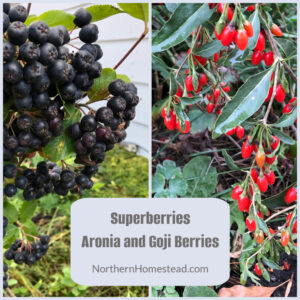
Growing Aronia and Goji Berries in an Urban Garden

Growing Grapes in a Cold Climate
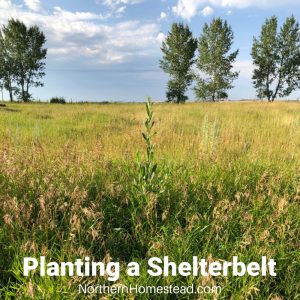
Planting a Shelterbelt
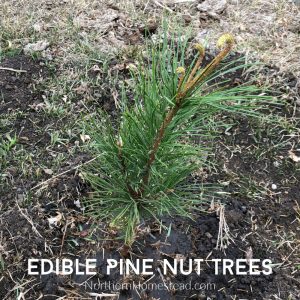
Growing Edible Pine Nut Trees
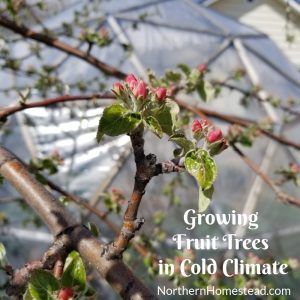


What a wonderful post! It’s going to be fun watching it all grow and that soil becoming rich again. My grandparents were challenged in the Mojave desert of planting a tree break to keep the winds down. I loved the early morning tree watering’s with my Grandpa then sitting on the arm of his Adirondack chair sunning ourselves while it was cooler. Those Popular trees grew so tall.
What beautiful memories, thank you for sharing! Trees are often planted for the next generation, and it’s so worth it. An elder neighbor told us that the two mature trees that are growing on our property were planted by his father. The trees are still bringing joy to us.