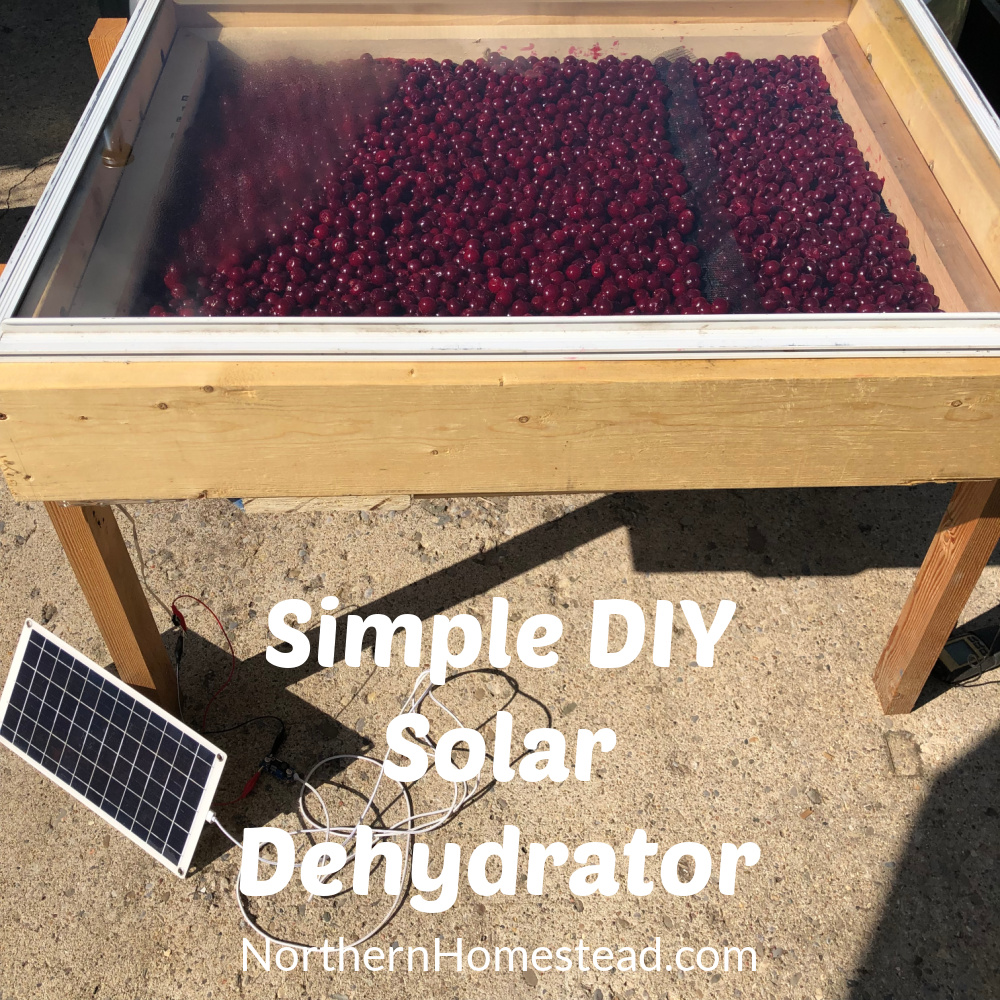
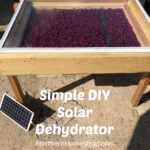
Dehydrating food is a great method for preserving it, especially in our sunny climate, where it makes sense to utilize solar energy for this purpose. A simple DIY solar food dehydrator does the job beautifully. In this blog article, we share how we built one.
Material needed
A recycled window (in our case, it’s 38 x 29 inches)
2×6 boards for the box, legs, and screen frame
Wire mesh
Plywood for the bottom of the box
Antec 3-speed fan
Screws
Building the dehydrator box
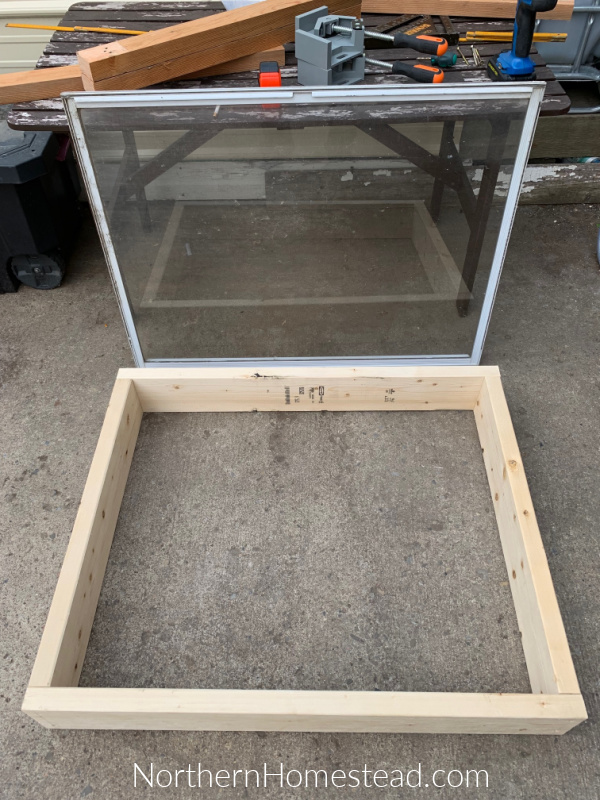
The size of the box will depend on your window. We recommend using a window size that allows you to easily get through your door in case rain comes and you want to carry it in.
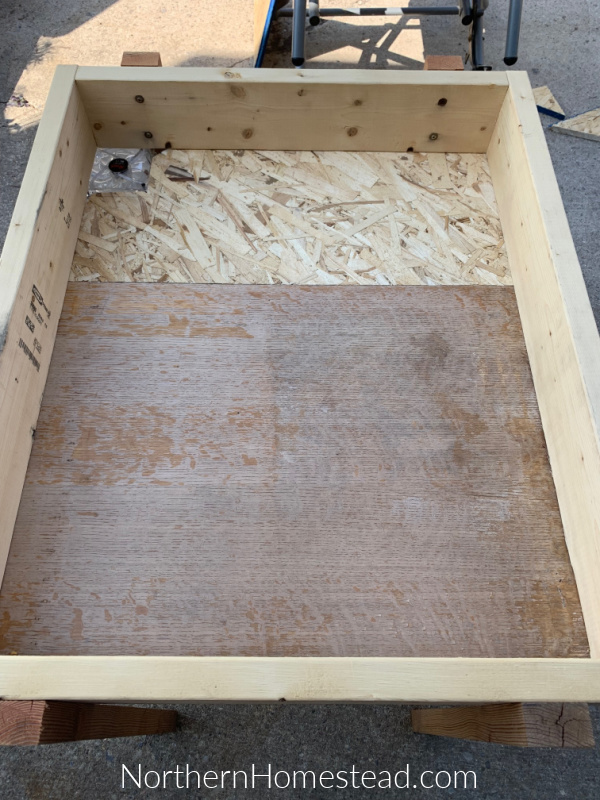
Build a simple box, screwing the boards together. Now add the bottom, leaving an opening for the fan. Add the fan from the underside. Optionally, you could make a couple of venting holes in the side wall of the box on the opposite end of the fan. We didn’t do it because our window is not flat on the box, so there’s enough gap for the air to escape.
Add legs to the box so it stands independently and is easier to work with.
Building the screen frame
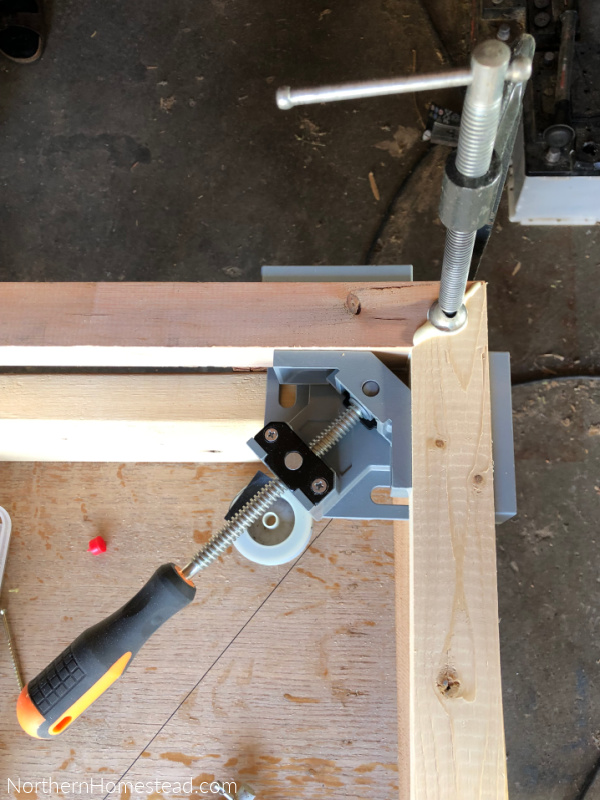
Rip the 2×6 into 1.5″ planks and build a frame. Here, we’re using a right-angle clamp to get it square.
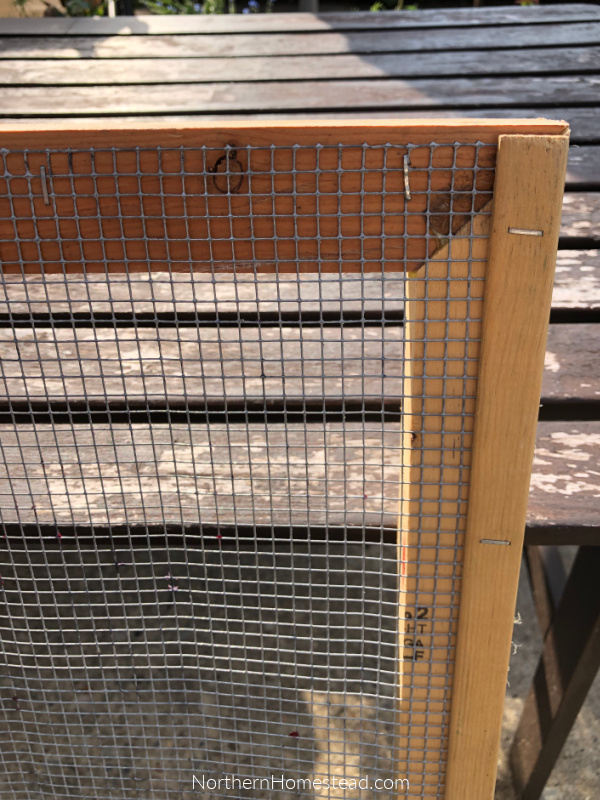
Staple the wire mesh to the frame. You want it to be sturdy enough to hold a bit of weight. In our first trial run, we dehydrated about 11 pounds of cherries.
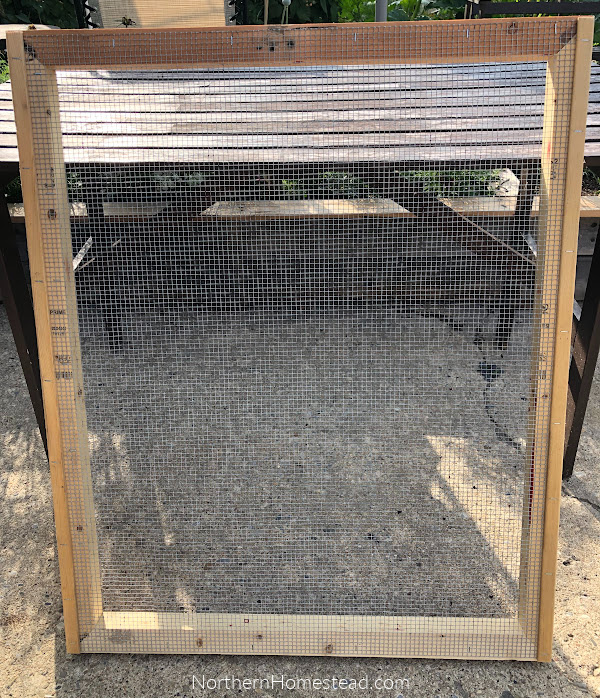
Here’s how the screen frame turned out.
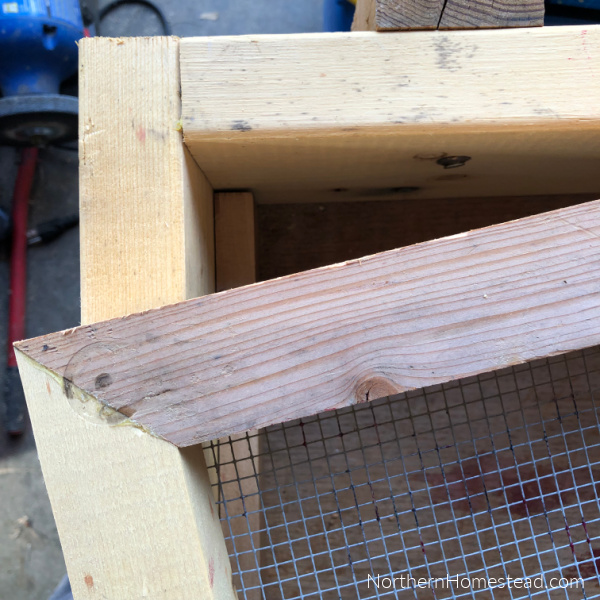
Add a board on the long side of the box to lift the screen frame about 2 inches from the bottom.
Assembling the Simple DIY Solar Food Dehydrator
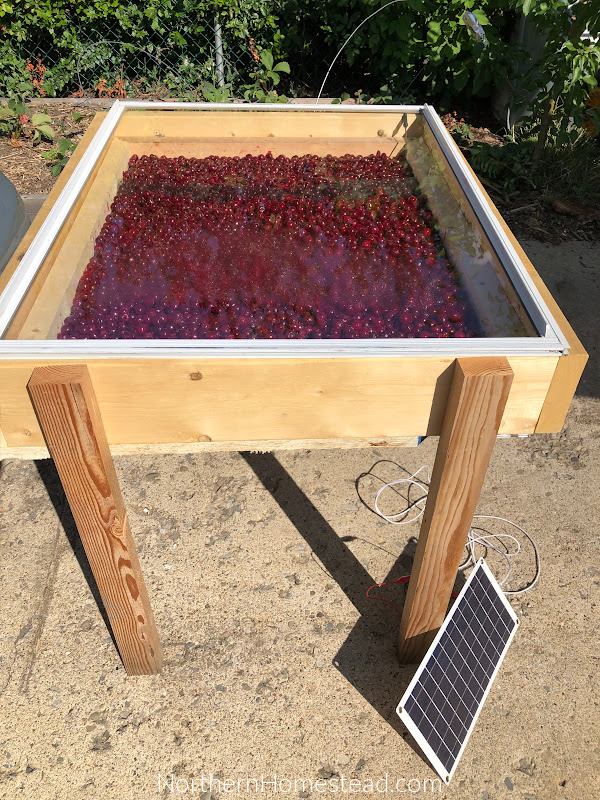
Put the frame into the box and cover the box with the glass window. Add solar energy to run the fan or plug it in.
Using the Simple DIY Solar Food Dehydrator
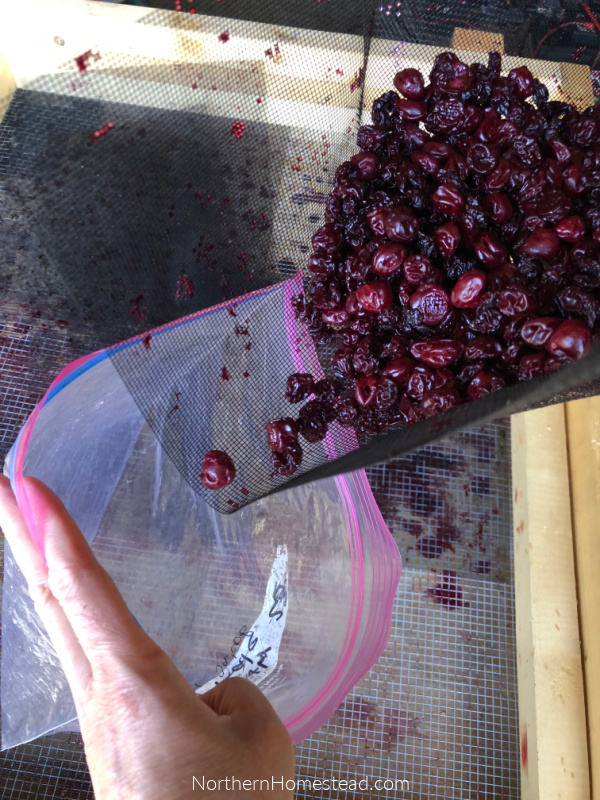
For the first run, we used cherries because they are so nice and messy, ha-ha. We placed the cherries on the window screen. Using small sheets has proven to work well. Not only can they be easily cleaned in a sink, but gathering the dehydrated cherries and putting them in bags was easy.
Protecting the bottom of the box with a liner is a great idea, especially when dehydrating something as messy as cherries.
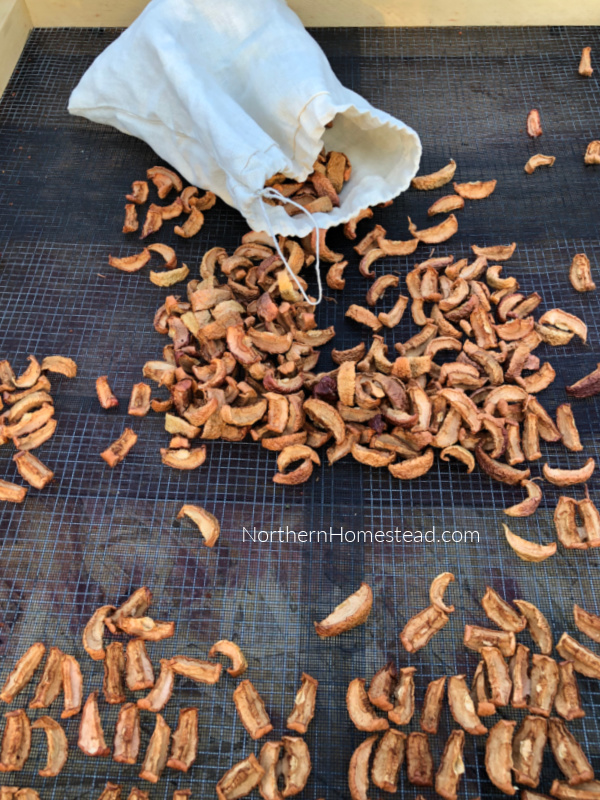
It took a week to dehydrate the cherries. Apple chips or zucchini dry faster. However, this method is not comparable with an electric dehydrator, which dehydrates in hours but uses much energy.
The Simple DIY Solar Food Dehydrator is a great addition to our homestead.
We invite you to subscribe to Northern Homestead and follow us on Facebook, Instagram, or Pinterest for more great ideas.




I liked very much the idea of using the sun to dehydrate foods, but I have a problem with wildlife wanting to get t the food as the smell would be very attractive! Do you do anything in particular to prevent theft by bears and such?
Thanks in advance!
[email protected]
That sure would be attractive if you have bears around. We do not have bears, and our yard is fenced against moose and such. It has not been a problem.
Very nice! I’ve been keeping my eye out for a free High Boy dresser to convert into a large dehydrator. I’ve been using window screens from a remodel job and prop them up in front of my sunroom window with the windows open for circulation. Works pretty good but I did finally purchase a dehydrator because I got tired of my basil going black.
There are so many ways to dehydrate food. As for basil, I like to grow the purple variety for dehydrating. It’s beautiful and tasty.
I stayed with the Italian Basil this year and even got it to grow outside in pots. I’ll try to get more brave next year and try a purple one.