
Properly organizing and storing seeds simplifies the busy sowing season and saves money by preventing duplicate purchases and extending the shelf life of the seeds we already have. There is no need to buy new seeds every year.
When organizing seeds, you can go from very simple to super fancy. As you know, I am all for simplicity. Here are methods that have worked well for us.
Finding the expiring dates for seeds
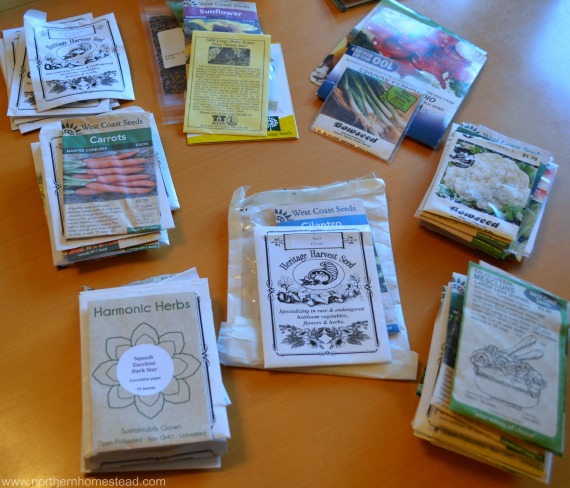
As gardeners, we tend to have lots of seed packages—old seeds, new seeds, and empty packages. Before we organize them, we need to determine what to keep and what to reorder.
Keeping the empty seed package is helpful, so you know what it was and if you want to re-order it. Taking notes in a notebook is another option, but just crossing on an empty seed package is quicker.
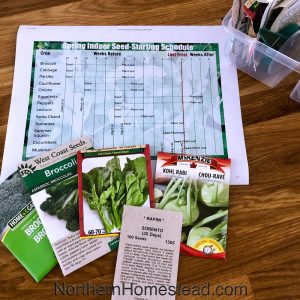
Seed packages that are not empty may still be usable. Many seed packages have a date on them indicating when they were packaged. If not, and you care, make a habit of adding a date when you purchase new seeds.
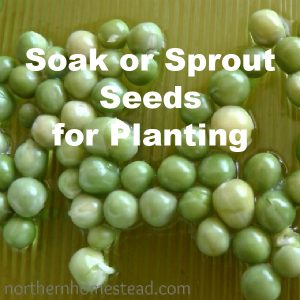
Short-lived seeds are parsnips, onions, sweet corn, beans, and peas. Ordering them new every year is a good idea.
Carrots, turnips, rutabagas, peppers, chard, pumpkins, squash, watermelons, basil, artichokes, and lettuce are good for 3 to 4 years.
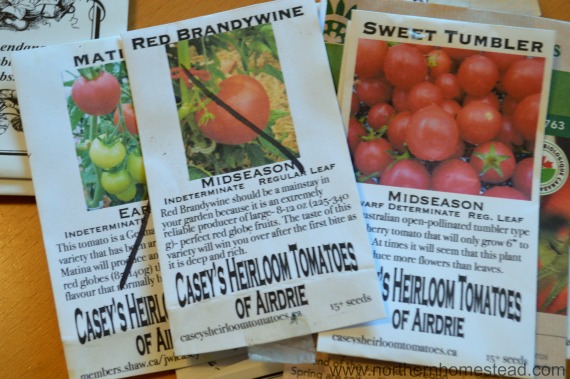
And good for even longer than 4 years are the seeds from the cabbage family, beets, tomatoes, eggplant, cucumbers, muskmelons, and celery. (Source Veseys)
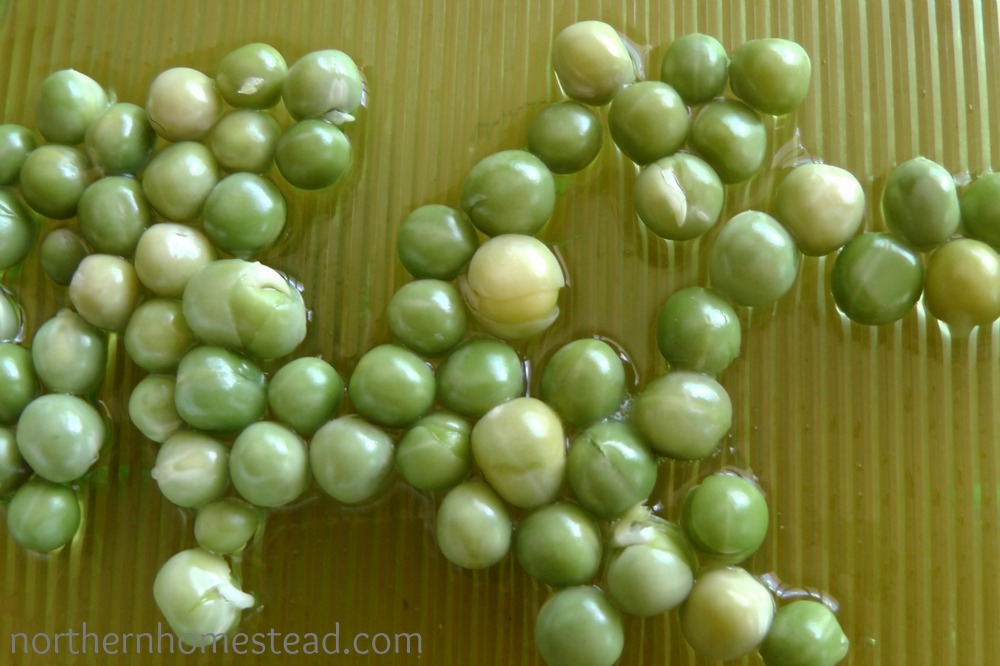
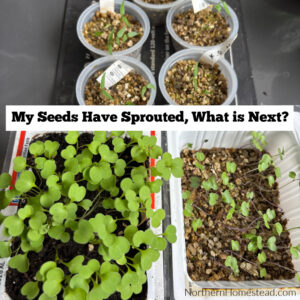
I do not discard seeds until I confirm they have not germinated. If in doubt, I sprout some of the seeds in a seed sprouter or a wet kitchen towel.
We cover Getting seeds for the new growing season in a separate blog article.
Once your seeds are organized, they can be stored until planting time.
Organizing seeds into categories
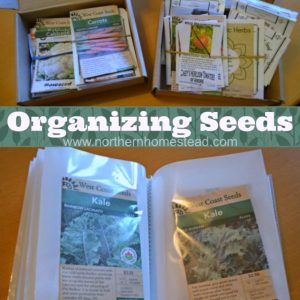
Usually, in the death of winter, I take my seedbox (often messy from last summer) and sort all the seeds into categories.
The categories can be based on variety, planting time, or planting location if you have multiple gardens. This way it is easy to take a package as needed without always sorting new.
Example categories:
- Root vegetables
- Cabbage family
- Summer vegetables
- Greens
- Legumes
Depending on the number of seed packages per category, I may subdivide categories into plant varieties, such as cabbage, broccoli, cauliflower, and kohlrabi.
Then, I hold the main and subcategories together with a rubber band. I know it is not fancy or even really pretty, but it sure works. I like that I can take one package and work on it without bringing up all the seeds.

If you use seed organizers such as Photo Storage Craft Keeper, the separate cases have the same function as the rubber band in my system.
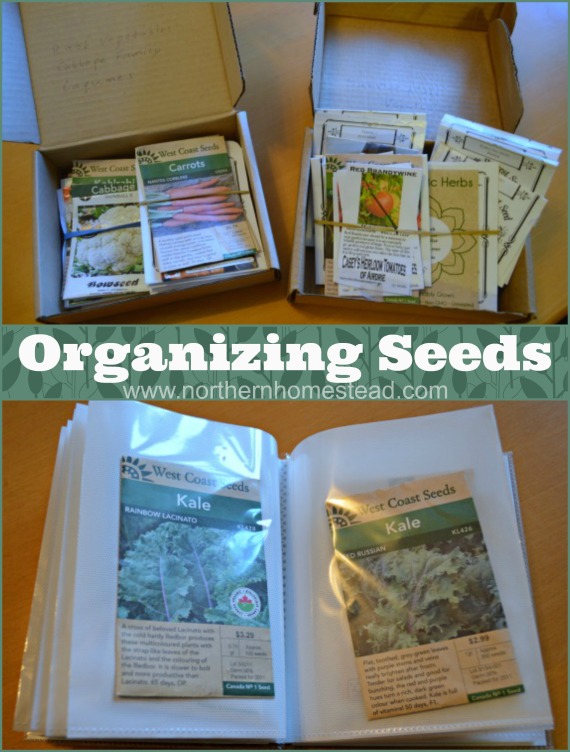
Storing the seed bundles
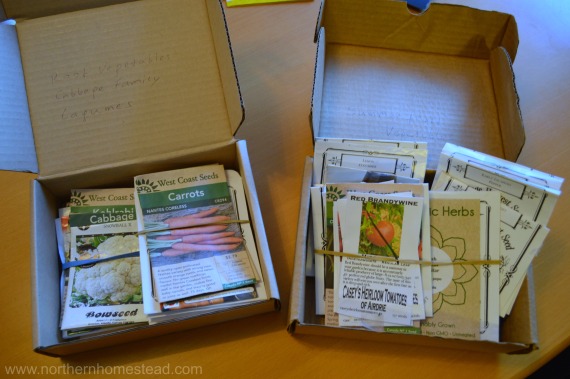
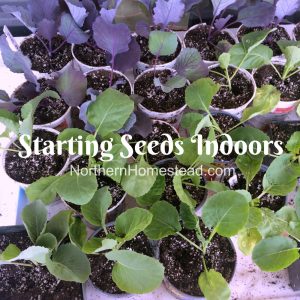
I have stored the seed bundles in small cardboard boxes for years. Separating seeds that are planted directly into the ground (like root vegetables and legumes) in one box from seeds that have to be started indoors (like tomatoes and peppers) in another box.
Rubber bands and labeling the boxes are two essential aspects of this simple seed-storing system.
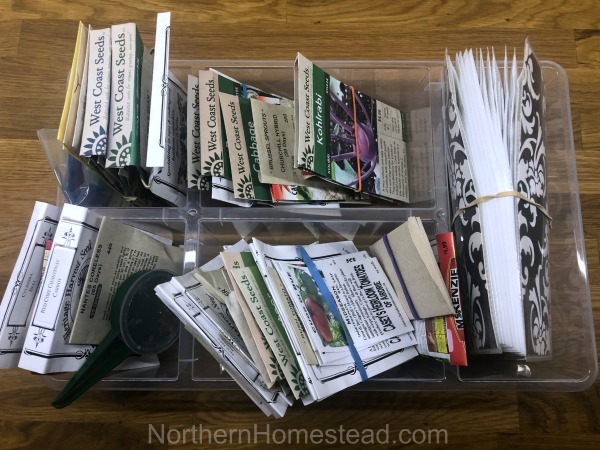
Another option is a plastic organizer. This one is from Ikea and is more durable than cardboard. Almost any organizer the size of a seed package can be used here. Get creative.
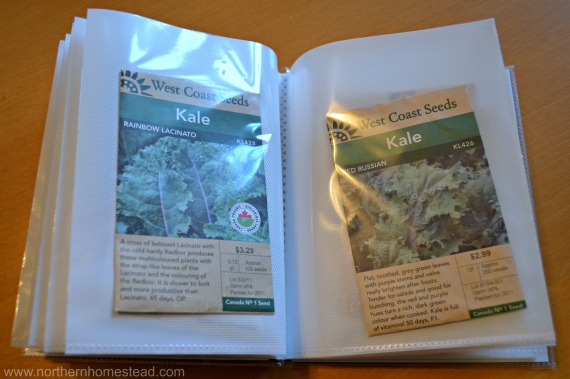
Another great way to store seeds is in a photo album. If you have only about 30 seed packages, this is the option for you! We have about that many packages of different greens and herbs, so I have them in the photo album, starting with salads, spinach, kale, and others. It is nice to have them all in one place and easily accessible. Greens are seeds that are used multiple times a year in our indoor and outdoor gardens.
To store seeds in a photo album, choose one about 5 x 7 inches with about 30 pocket pages. This way, it is easy to access the seed packages, and the album does not become too bulky. Again, you can hold the photo album together with a rubber band. You can get both (the albums and the rubber bands) at dollar stores.
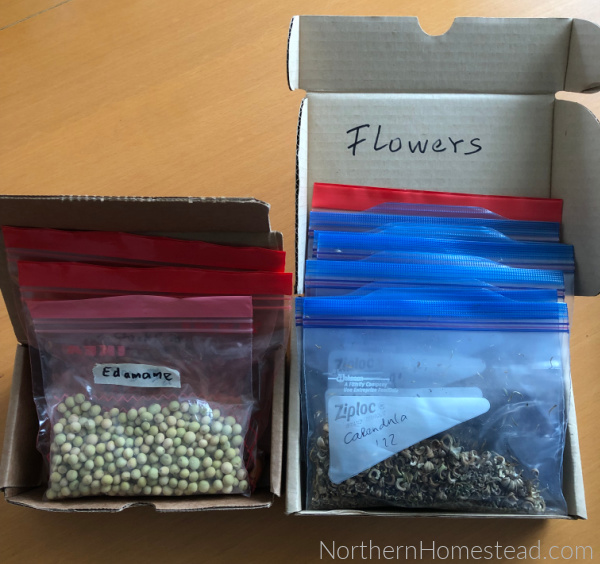
Self-saved seeds are a bit trickier to organize since they do not come in pretty packages. We use either jars or small plastic bags that are sorted and stored in boxes. Before storing them, make sure the seeds are completely dry.
Where to store seed
The seed’s storage place greatly depends on your climate. There is no one-fits-all advice. Seeds are best stored in a cool, dark, and dry place. If you live in a hot, humid climate, store your seeds in an airtight container. In a dry climate like ours, that’s not important.
The fridge is not the best place due to humidity, but if it is the only cool place you have, it would work in an airtight container. Bring the seeds out before planting, and let them reach room temperature before allowing air in to prevent condensation.
A cellar would be similar to a fridge, but probably not as moist. Again, that depends on the climate and type of root cellar.
We store ours in our basement, where it’s dry, coolish, and dim. We have had a good experience with that. Please share your best tips in the comments below for organising and storing seeds.
We invite you to subscribe to Northern Homestead and follow us on Instagram, Facebook, or Pinterest for more great tips.

what a great idea!! I plan on doing a post about starting a spring garden – may I share your post there and add a backlink?
Thanks!
Sure, links with back links are always welcome.
We store our seeds in our barn because there is not any room for them in the house. One year a mouse ate most of them! We were so upset. So now we store ours in old baby food jars and mason jars. It takes up a lot of space, but it keeps them safe.
Oh no, that was expensive mouse food. Glad you did find a solution to keep the seeds safe.
I really like the photo album storage, but right now I just keep them in a basket (not good, I know!)
The photo album is one of the easiest ways to organize seeds.
I love the idea of using the photo album to store packets of seeds. Adding the date of purchase is a great tip. I’m getting ready to plant some tomato and pepper seeds in little starter pots inside. Fingers crossed!
Yes, I do like the album too. We still have to wait before starting tomatoes. I have lots of info on here about starting and growing tomatoes. I love growing tomatoes.
You said organizing and here I am! LOL I really like the photo album idea the best!
I am sure you would come up with more brilliant organizing ideas them me, Kristen.
It just so happens that my daughter and I were talking about seeds this afternoon! I keep mine inside the house also. I have had flower seeds which came from my parents that were many years old, planted them anyway (nothing to lose) and boom they produced beautiful flowers!
I like the album for storage too but I’d like to be able to flip the page and read the back of the seed packet. Repurposing the boxes for organizing the packets is a great idea. I have empty seed packets from many years ago also because I like to keep up with what I have planted before.
I’m often surprised how long seeds can last and still be good. As for being able to read the back, I am sure you could find an album where you can take the divider out and have just one package per pocket. This way you could see both sides.
I have been wanting to start a small garden in my backyard since we moved into our current house 3 years ago. I love how you have your seeds divided into categories. When I do finally get around to starting my garden, I will probably use the photo album method. I love organizing, and there is something about that method that appeals to me 🙂
It is a great method, especially for beginners with less seeds.
this brings back so many memories. My mother was a big gardener. I just loved all the fresh produce we had. I am going to show her these wonderful organizing idea. I’m sure she had a system too, but never really thought about it. Thanks for sharing
It would be interesting what system your mother used.
Thanks for this great idea of a photo album to organize seeds.. Looks neat and practical.
You are welcome, Tilly! I enjoyed having tea with you this afternoon 🙂
Thank you for sharing with our readers at Merry Monday. I hope you will be sharing your tips with us again at the new party!
Wow…I finally found someone who has more seeds then I do! That’s a lot of seeds!
Lisa
:), I just got two seeds shipments yesterday, so now I have even more. I love to grow, and seeds are the main ingredient to be able to grow yummy plants, right.
I really need to organize my seeds! Right now they are just in a ziplock bag. I love the photo album idea! I’ll have to give that a try. Thanks!
The photo album is great for seeds. It gives you a nice overview, plus they are somehow more protected too.