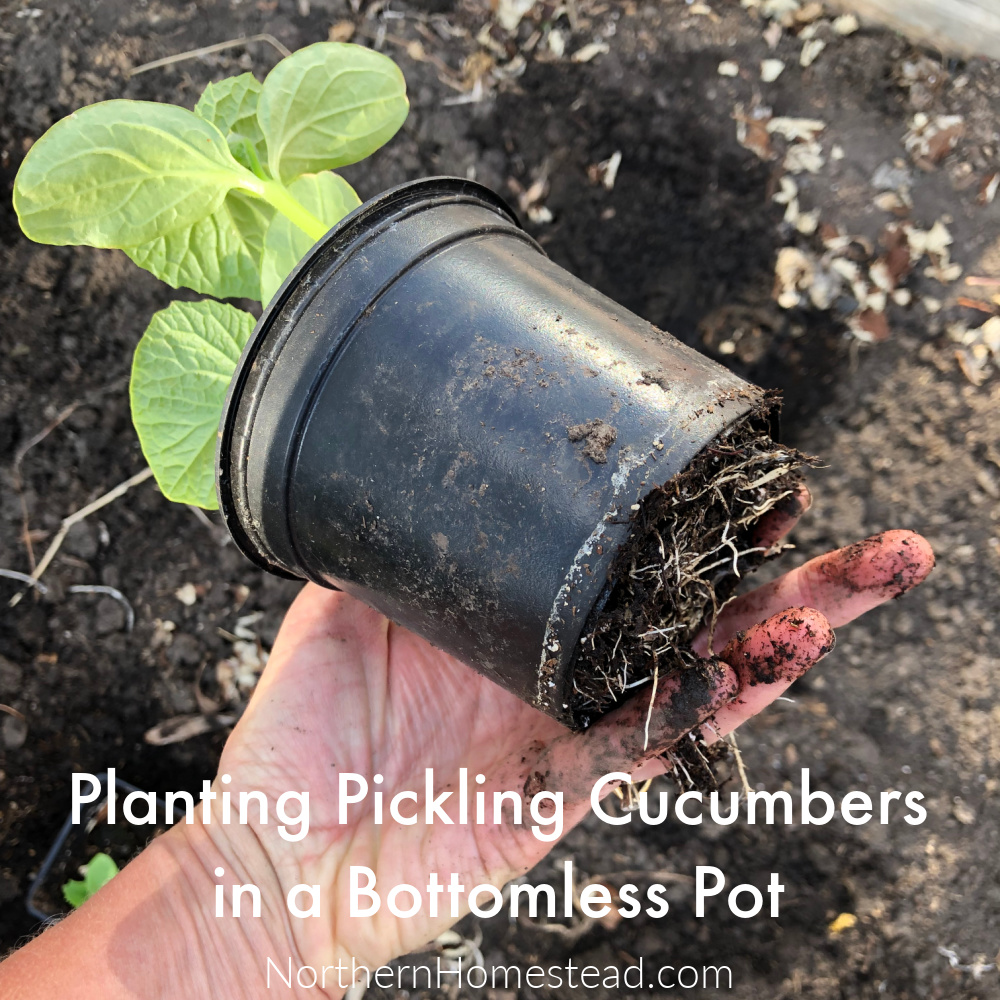
Today we are sharing with you the simplest way to grow cucumber which has 3 significant advantages to the traditional way—planting pickling cucumber seedlings in a bottomless pot.
First, let’s look into the advantages of this simple method to plant. Then we will share a step-by-step how to do it. Even though it is so simple, one wonders why we haven’t come up with that idea sooner.
We already have blog posts about growing and using cucumbers and also growing cucumbers indoors. You can read them by following the links.
Why use bottomless pots for planting pickling cucumbers?
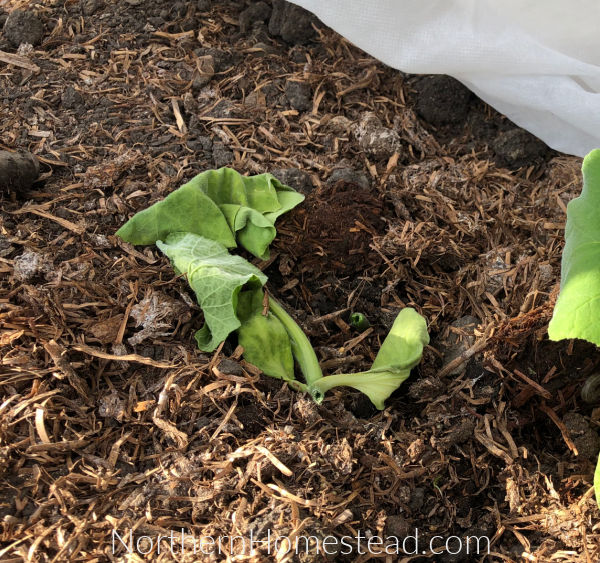
As with most of the awesome gardening hacks, this method grew out of a problem, ours was cutworms. Looking for a solution, we found that having a bottomless pot around the plant works really well to protect plants from cutworms.
So I started planting seedlings into a bottomless pot, that’s a bit tricky but doable. But it made me wonder if we could start seeds in a bottomless pot.
You probably have heard of or maybe even used soil blocks for planting. The method tells us that soil does hold together without a pot. However, you will need a soil blocker to form the blocks. Keeping in mind that soil does hold together, and considering what we needed, this bottomless pot idea was born.
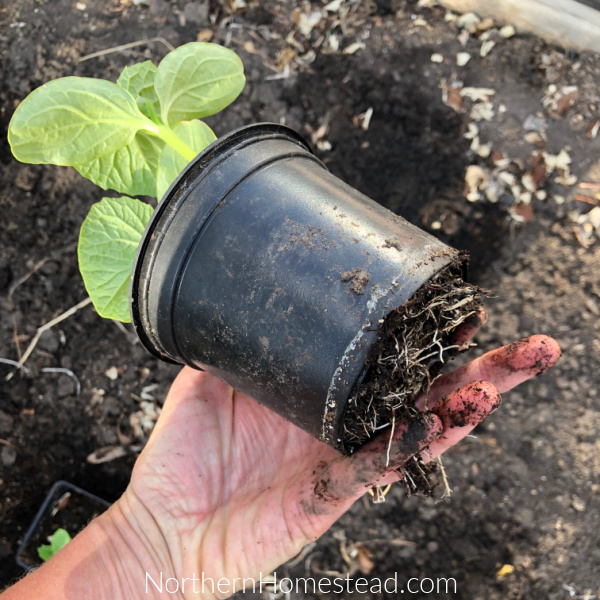
That leads us to the second advantage of a bottomless pot. The transplanting is so simple that it can hardly be called that. We really just plant pots. And since cucumbers do not like transplanting so much, we have a win-win here.
But that’s not all this method can do. We also noticed that it makes watering way easier. Cucumbers are sensitive to water, if the leaves are watered too much, they get powdery mildew. And since we let the pickling cucumbers spread out on the ground it gets hard to see where the base of each plant is.
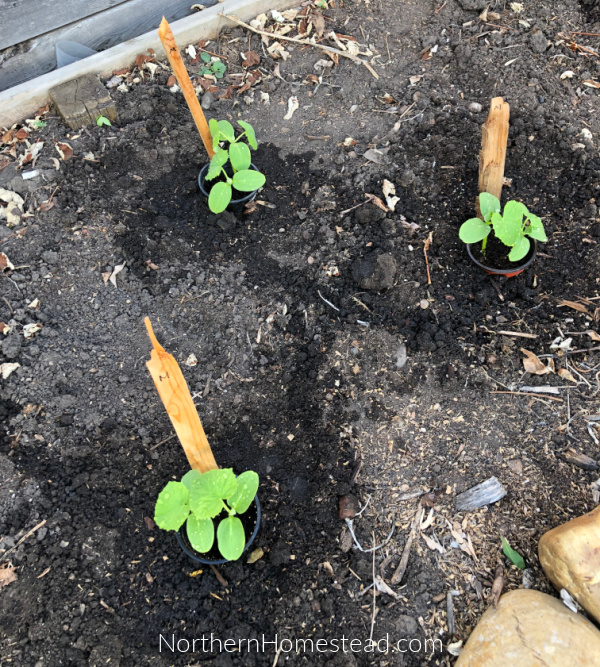
So we put a stick into the ground right next to the pot to mark the base of each plant. Now we can water the pot at the root and do not have to guess where the roots are. By the way, we will prune the seedlings back to one plant per pot as soon as they are established.
The bottomless pot makes planting easy, protects the seedling from cutworms, and leads to simpler watering all summer long.
Preparing the bottomless pots
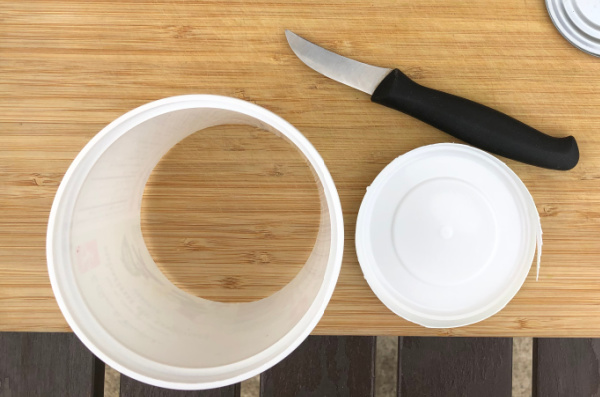
The bottomless pot can be any container that is easy to cut. Preferably I use recycled pots from the garden center. They are usually made of thin plastic and are very easy to cut open with scissors.
Recycled yogurt or cream containers work well, too. You will need a sharp knife to do the job. And even though they are sturdy to start with, they are not as durable as the thinner potting containers. In the end, just use what you have on hand because it does not matter. All we are looking for is to cut off the bottom to have a bottomless pot.
Now fill all the bottomless pots into a garden tray and you are ready for the next step.
Planting the pickles into a bottomless pot
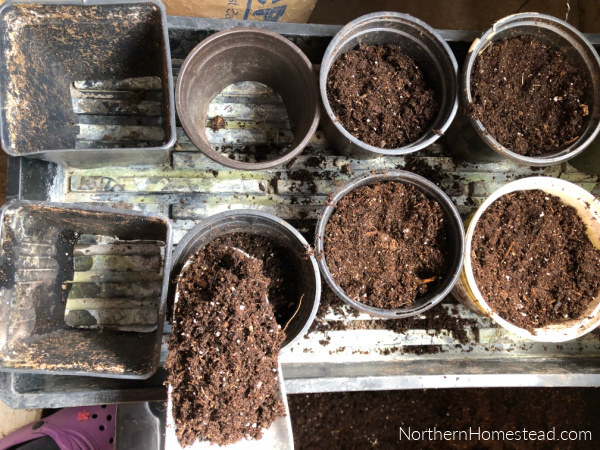
Fill the bottomless pots as per usual for starting seeds with your favorite soil mix. I like to use the Promix organic vegetable and herb mix or mix our own soil.
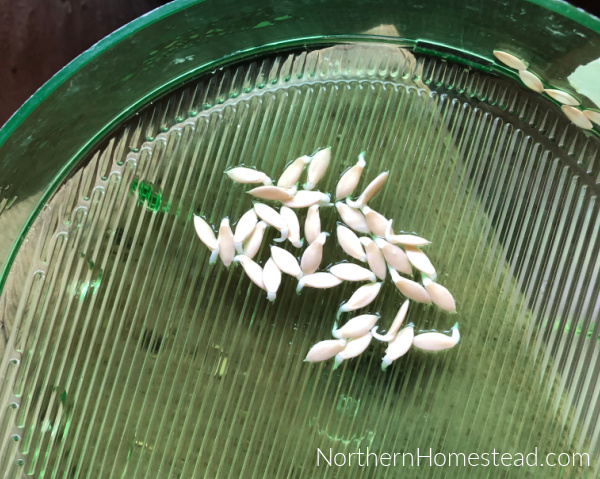
Cucumber seeds germinate very fast. To speed it up even more, and to see what seeds germinate or not, we like to sprout the seeds before planting.
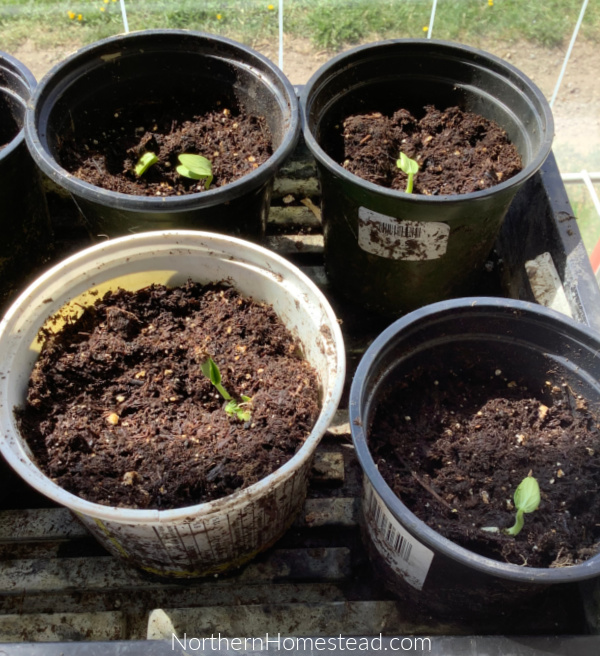
Just a few days later the little sprouts show their first leaves. Watering can be done from above or just give a cup or two into the tray.
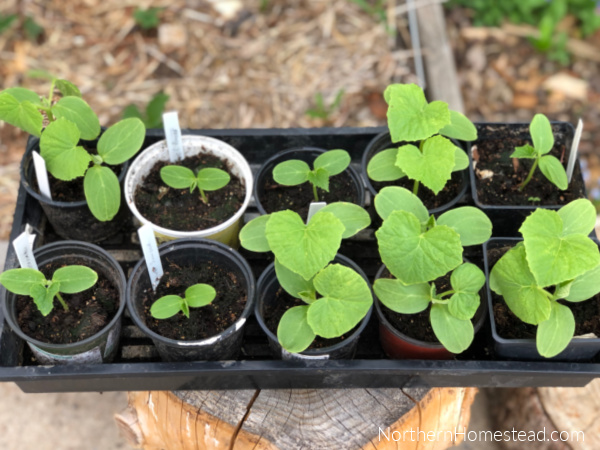
Once the seedlings show their true leaves, they are ready to be planted in the garden. I have two different varieties in the picture that were planted at different times, that way some are smaller than others.
Planting bottomless pots in the garden
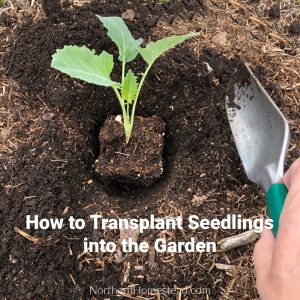
For planting out bottomless pots you will not need to dig big holes, just enough to fit the container, making sure there are no air pockets under the roots.
Now remove gently the bottomless pot from the tray, and place it into the hole. Push back the soil and the pot is planted.
To show how easy it is, I made a short video for you. Watch it below or head over to Youtube to watch the simple process.
Once all the pots are planted, water them well to encourage the connection to the soil. If you want you can also put a stick into the soil that will show you in the future where the plant starts.
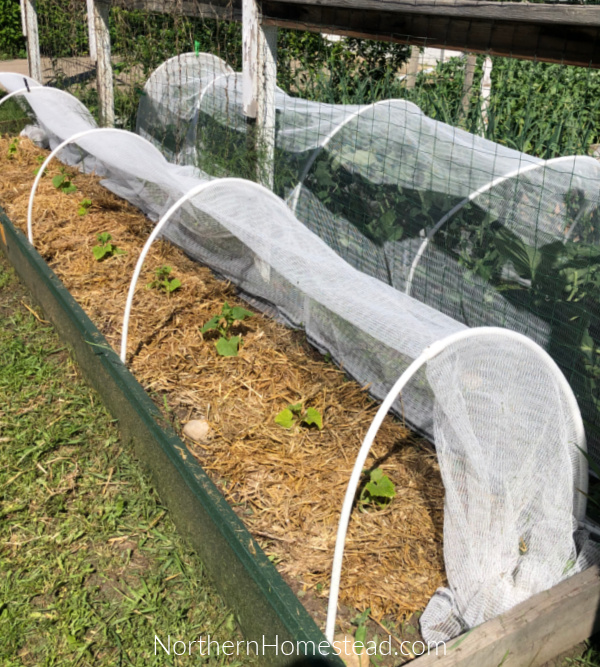
Mulching the soil and covering the bed with protecting netting are other options.
Now that planting pickling cucumbers in a bottomless pot worked so well I am starting to ponder if this method could be expanded to many other plants. With the exception of nightshade plants that grow shallow roots along the stem, I think anything can be started and planted in bottomless pots.
What do you think?
We invite you to subscribe to Northern Homestead and follow us on Instagram, Facebook, or Pinterest for the latest updates.



Do you stake your cuke plants?
Not the pickles, no. I just let them stay close to the ground where it is warmer. If I grow cucumbers in the greenhouse I do.
Thank you for sharing this method! I use this approach with direct seeding into the garden, but germination success isn’t always guaranteed. Definitely going to add the sprouting and indoor starting to the mix. I started doing this btw also out of necessity, but my problem was slugs devouring seedlings. Thanks again for another superb idea!! Just love how practical and do-able your projects are!
Good to know that it protects seedlings from slugs as well. We don’t usually have slugs during our dry spring.
Thank you for your kind words, appreciated it.
Does this method make any difference to the squash vine borer?
We do not have any experience with this insects. But what I read is that the eggs are laid at the base of the plant. So if the eggs are inside the pot, it would not protect, if outside, it could. Adding a netting or barrier to protect the base even more could help as well.