
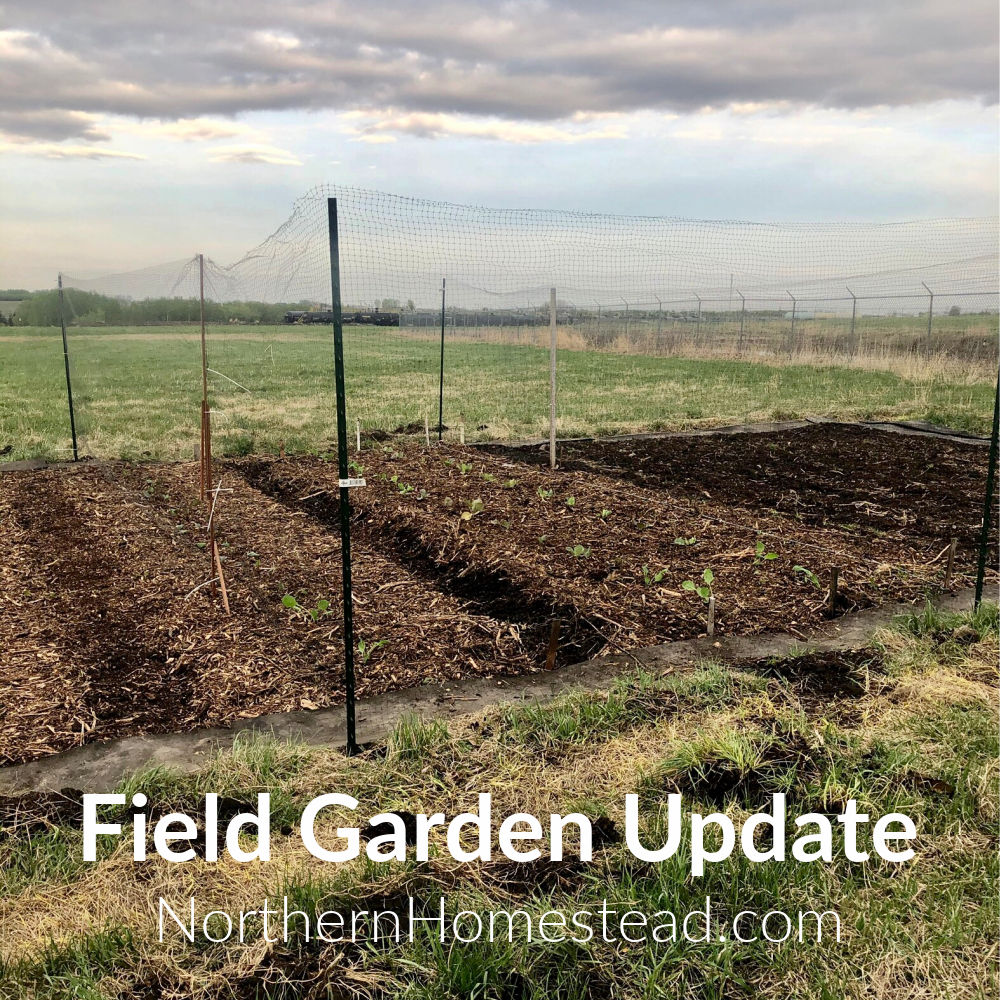
Three years ago we converted a hayfield into a garden. It was a no-till garden trial, part of the local community garden. Neither the field nor the garden belongs to us. So we got to work with what was there. It was a very interesting experience, and we learned a lot. It’s time for an update on the field garden.
If you are here because you want to convert a field into a garden, we recommend starting at the first part of the experience: Convert a hayfield into a garden. Then come back here and read the update.
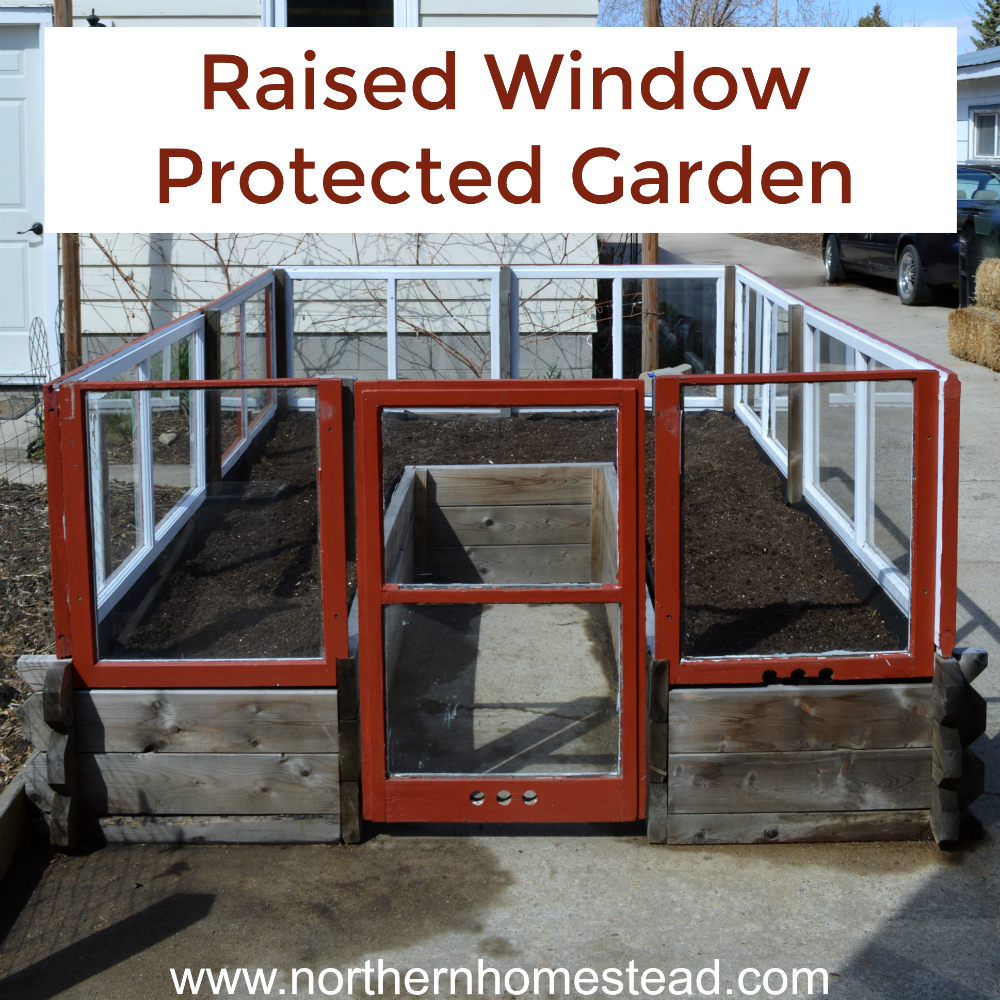
No-dig mulched garden
We started the field garden as a no-dig, sheet mulched garden. Again, if you haven’t read the first part, go here.
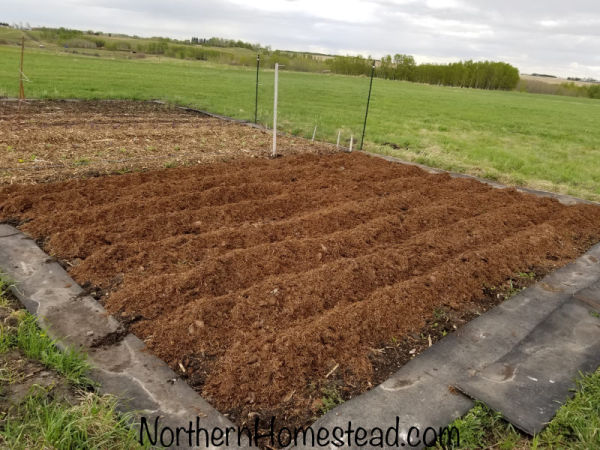
The mulching worked well, and we could see how essential it is. We used different materials to start with and also to re-apply annually.
Mushroom compost worked well for potatoes, wood chips for bigger seedlings like cabbage. For smaller seeds like carrots, we would prefer good compost as mulch. Since we did not have that, we only mulched the pathways between the carrot rows, and that was okay too since the area was mulched the year before. However, we do think that we would have gotten better results with compost mulch.
To have a successful no-dig garden, in the field or elsewhere an annual layer of about 2 cm (1 inch) mulch is essential. Otherwise, the soil gets hard and weeds take over.
Weeds
The goal of a no-till garden is eventually to become weed-free with amazing soil. That of course does not happen overnight.
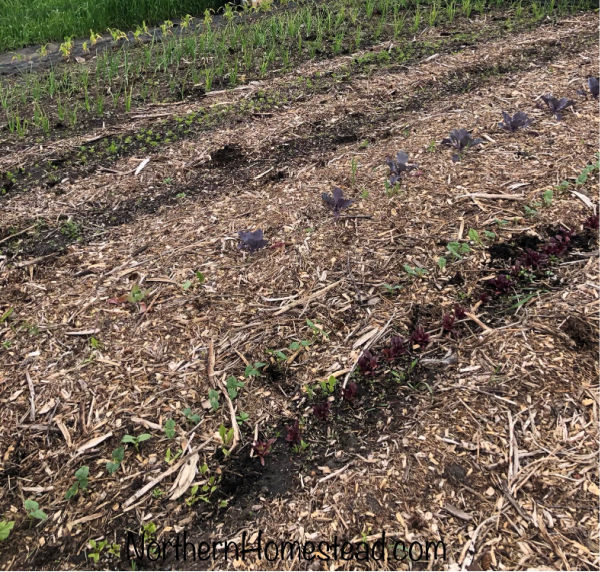
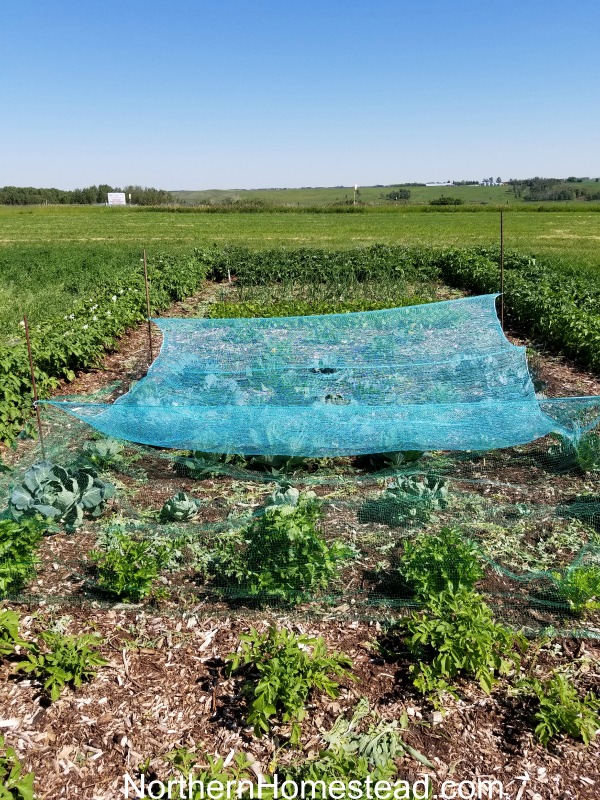
To prevent weeds from growing we used cardboard under part of the garden. However, weeds still grew. The above picture is of the area where there was cardboard. The cabbage plants were covered with netting to protect from predators, so we did not weed that area as much. It is possible that those weeds were brought in with the mulch. Or the wind had brought in some seeds. Anyhow, we did not find that the cardboard made any difference. Doing it again, we would not use cardboard. It’s just unnecessarily more work.
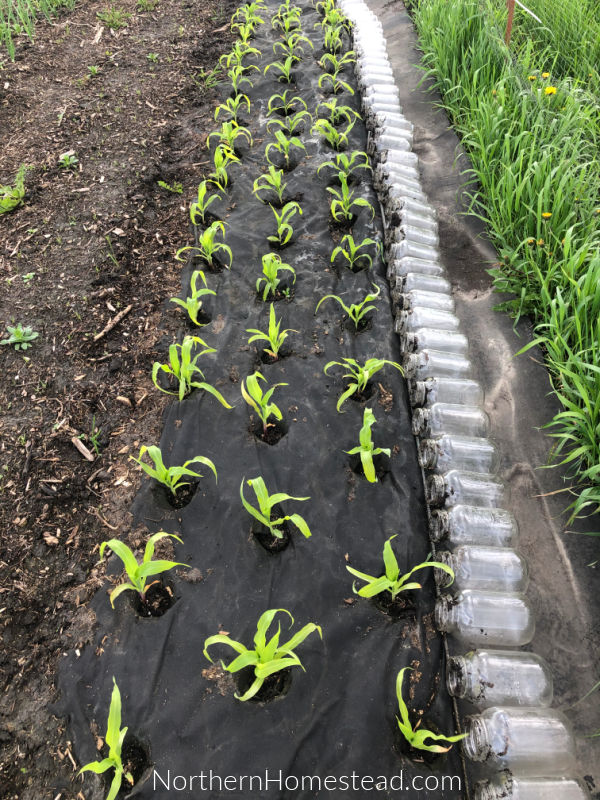
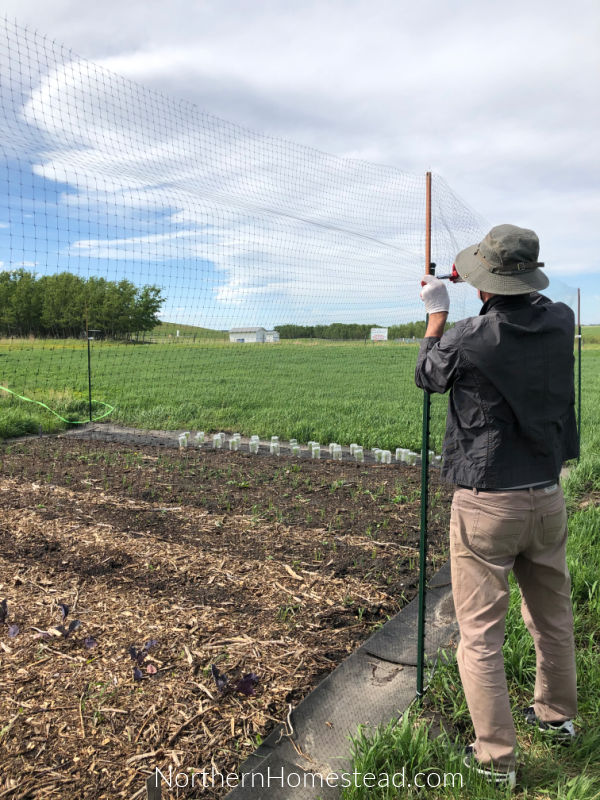
This year we planted some corn. Since we are in a cold climate we added weed control fabric mainly for the reason to warm up the soil. In case you wonder what those jars are for, those were used to protect the corn seedlings. Sadly we did not get to fill them all with yummy corn at the end of the season, it was still too cold for corn. But we did learn a valuable lesson about weed control fabric and weeds.
We wrote in “Do not use weed control fabric in the garden” that weeds do grow through the fabric. In the picture above you see that we covered the edge of the fabric with soil, to prevent it from blowing away. In just one season weeds grew through that fabric! Yes, I pulled different kinds of weeds out of it. The roots were underneath, and the plant above.
Mulch is still the best weed prevention. How much will you need to prevent weeds from growing? Source: No-dig organic Home & Garden.
Compost of any kind 4-6 inches
Hay or grass 6 inches
Straw 8 inches
Wood chips, shavings, sawdust 6-8 inches
The surrounding field
We can not talk about weeds, without talking about the surrounding area of the garden. Since we converted a hayfield into a garden, it has been surrounded by a hayfield.
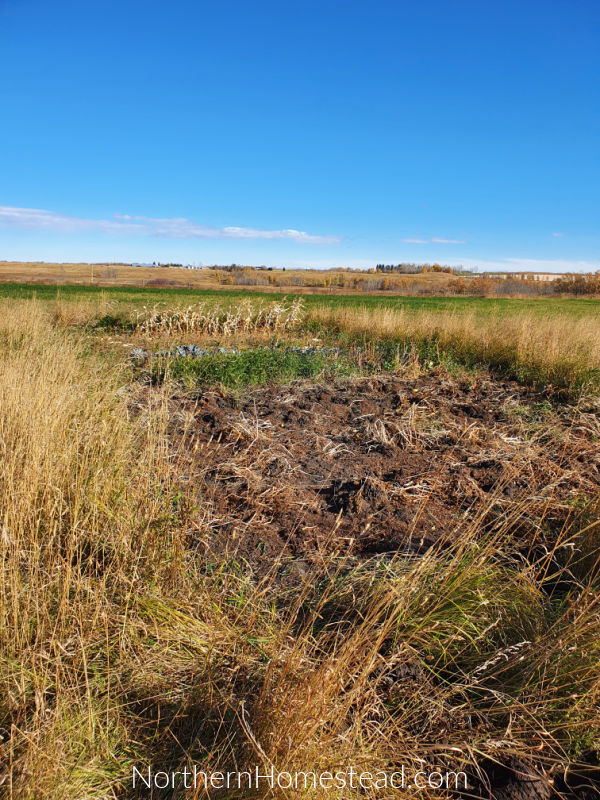
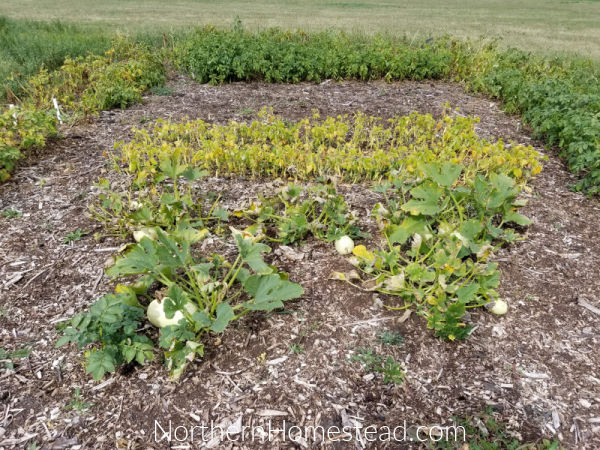
In our case, we had no control over what was happening in the surrounding area, so some years it was better and some worse. This year it was not mowed at all. So seeds and roots of quackgrass and hay could freely come into the garden. This is an end-of-season picture, the potatoes are already dug out.
To prevent seeds from blowing in, it really would just have needed to be mowed regularly.
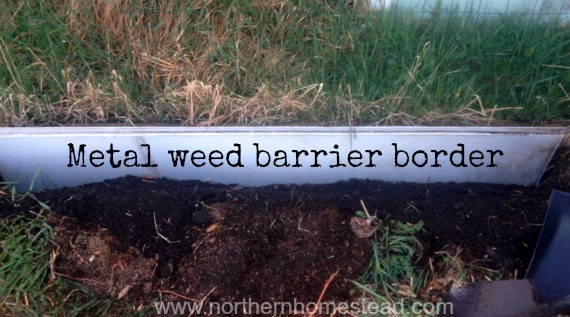
To prevent roots from creeping in, the garden needs to have a border. In our home garden, we installed a metal border about a foot deep. We used scrap sheet metal and it works very well.
A trench might be another method to prevent weeds from creeping in. Here is an interesting video about a field garden and quackgrass.
With no barrier, we lost the battle on quackgrass.
Protection from Predators
A field garden is also exposed to all kinds of predators. In our case, from big moose to small mice everything was present.
Netting seems to work best for deer and moose. The first year we put it over the plants, that worked well but was a pain when it comes to weeding.
This year we installed netting around the garden as a loose fence. The key is that the netting has to be somehow loose. For some reason, animals do not like jump netting, even though they could just as they do other fences. Since the garden is away from home we do not know for sure if no one ever jumped it. The bigger challenge was the wind. The netting did get torn a couple of times. In a more permanent home garden situation we would recommend a real fence or if using netting in a windy area use a stronger version.
Rodents were a bigger challenge for us. Boy, did they ever have a feast! Imagine being a field mouse on a lean diet of weed roots, and one of a sudden someone really nice plants root vegetables right on your territory. Again, a trench or border could have been a help. Also in a home garden situation, a dog or cat would also discourage overpopulation of them. Or just plant more, to have enough for everyone.
Would we do it again?
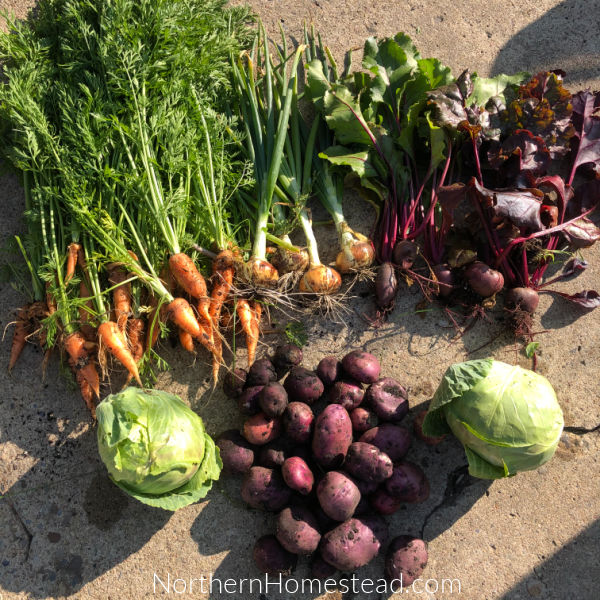
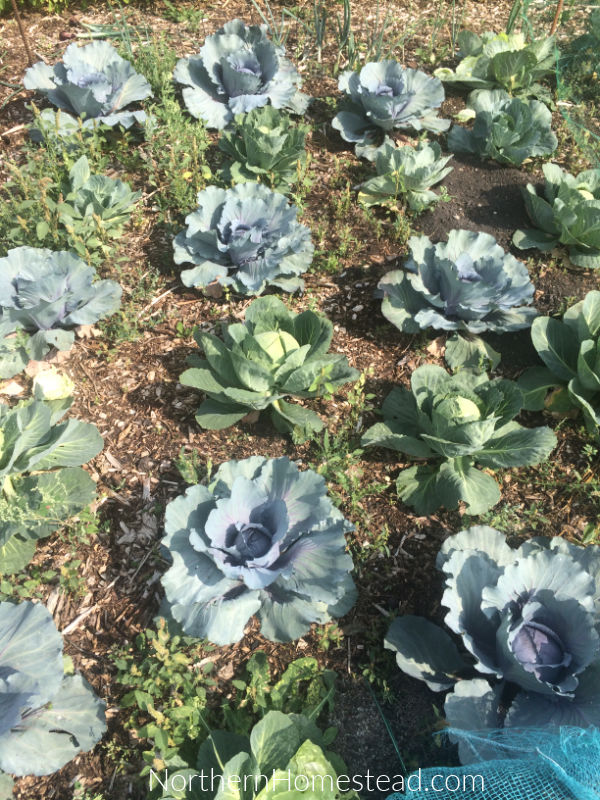
If we had a field, hay, grass, or whatever, we would not hesitate to convert it into a garden. Here a picture of one of many harvest hauls we got from the field garden.
But there are a few things we would want to do differently.
First, we would want to dig a trench to establish the border of the garden, so no weeds could creep in. Then it would be nice to fence the area in and if possible have some pigs, not for bacon, but to complete the initial till and dig out the roots. Not really realistic for us, though.
We would use sheet mulching again, without any cardboard, just natural materials. We would want to make sure though that the material we bring in is weed-free.
A weed-free environment surrounding the garden would be a high priority.
A big garden with good organic soil is worth more than gold, at least we think so. If you have a field, there is lots of room for it. Start building one for many years to come.
Hope this update on the field garden was helpful. Here is more on how to start a garden.
We invite you to subscribe to Northern Homestead and follow us on Instagram, Facebook, or Pinterest for the latest updates.

Ah, this is how my whole garden looks! Growing in the country, in the midst of wildlife and fields, definitely has its problems. The amazing thing is that it still produces more food than we can eat! Healthy, organic, delicious food! Yay!
Love your positive outlook on it. After all, it is all about the food, not the look.