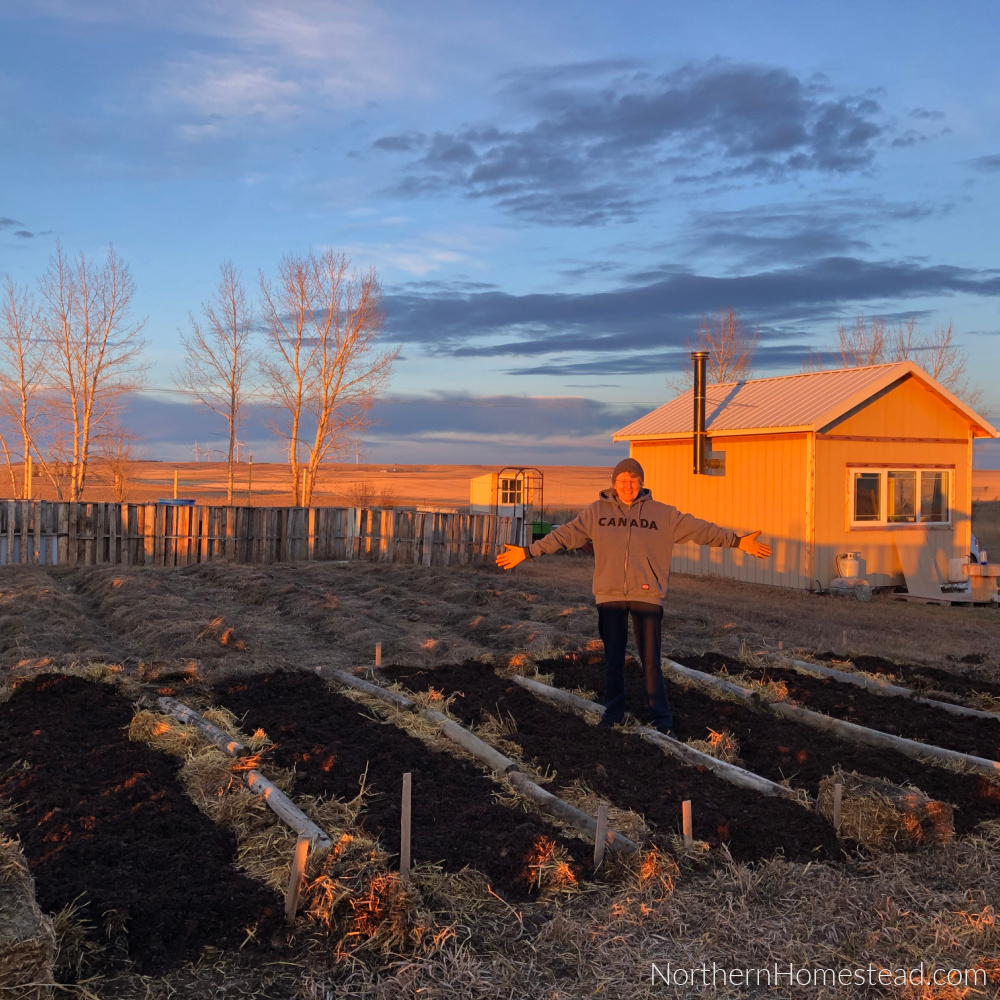
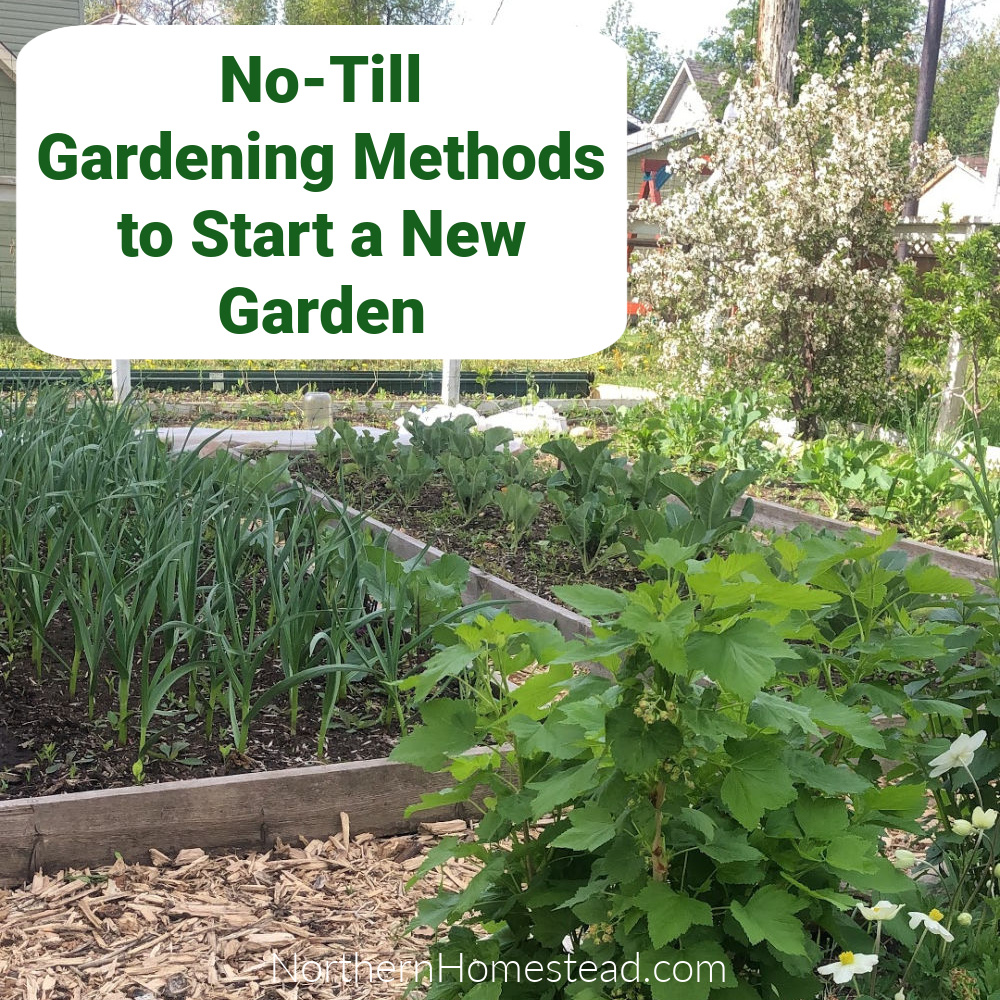
November has graced us with some delightful weather, allowing us to get busy in the garden once more. This time, our focus was on expanding the country garden beds, extending each row by an additional 12 feet. We now have 7 beds, each 42 feet long. In this article, we’ll share our experiences, providing yet another example of how to create a successful no-till garden.
The existing garden beds were constructed two seasons ago by tilling, and we share the process here. At the time of making the beds, we were unsure what kind of results we would get, as the country property was all new to us. We had already planned on expanding the beds. During the first summer, we just covered that area with straw and planted some potatoes and squash. Unfortunately, it was a big fail, so we knew that just covering the soil does not work.
Fast forward to the present, and we’re expanding the beds with a slightly different method, mainly due to the sloping terrain of our garden area. So we wanted to compensate for this by adding material to level it out. Otherwise, the method we started with has given us good results.
This brings us to the fact that there is no one ultimate way to create a new garden. Over the years, we have used many methods, and mostly with great results. If you are considering building a garden, we would invite you to read up on the different ways that are possible and then see what would work best for you.
All About Starting a Garden
Replace Your Lawn With Food Production
How to Create a New Garden Bed
No Dig or Double Dig
3 Great No-Till Gardening Methods
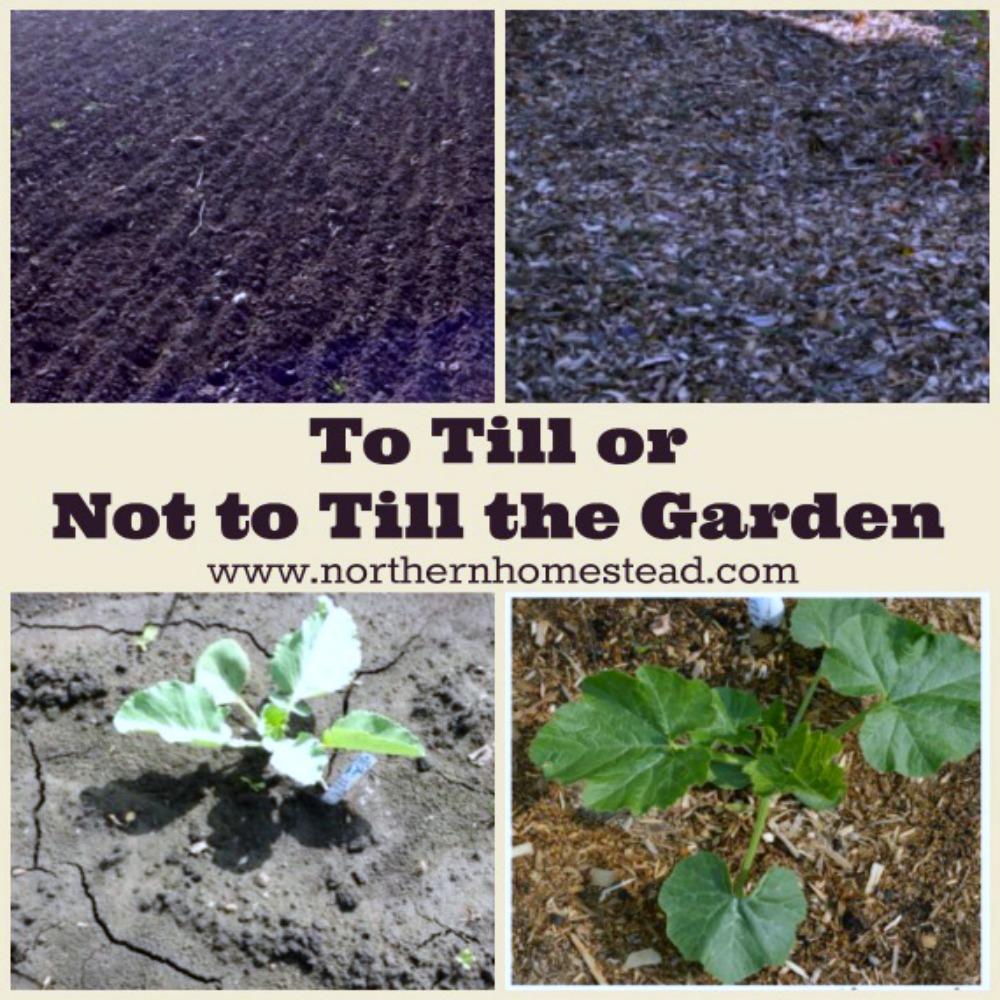
Starting a new No-till garden with tilling
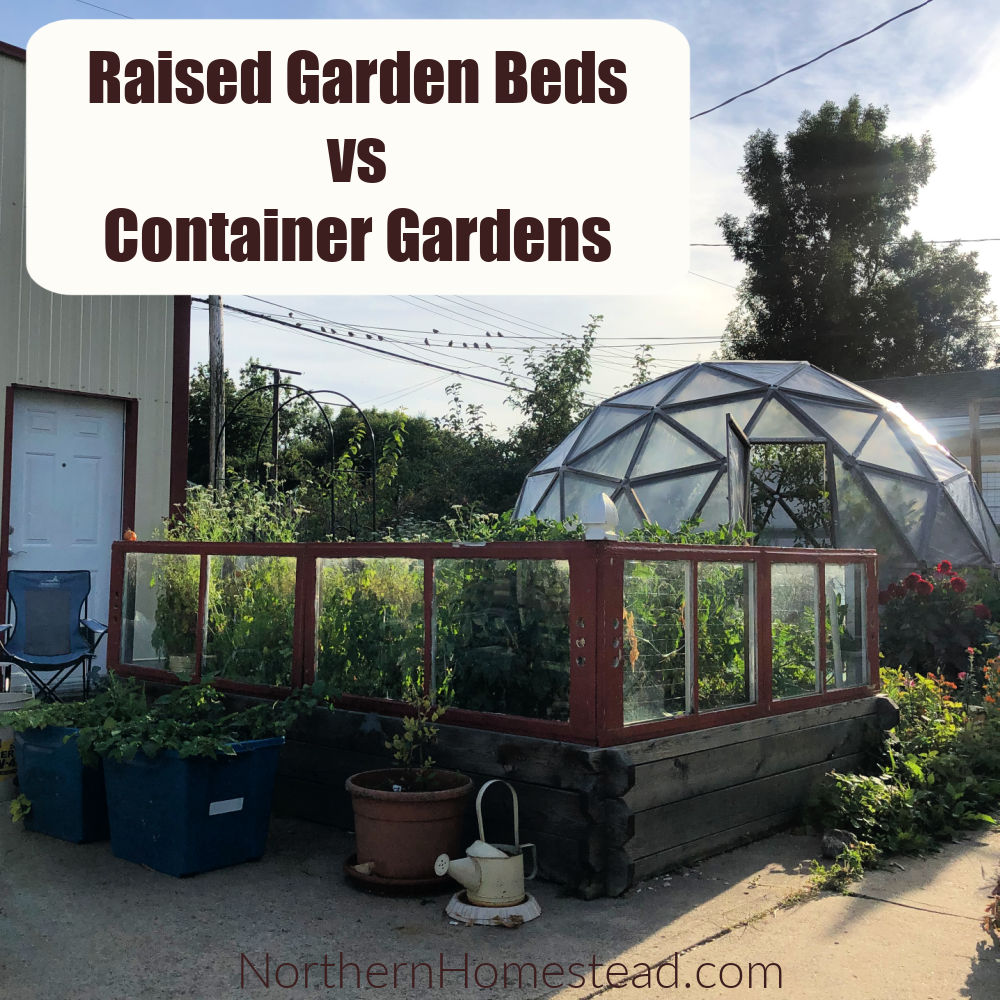
Raised Garden Bed VS Container Gardening
Let’s now explore our present experience in more detail.
Step one: Tilling
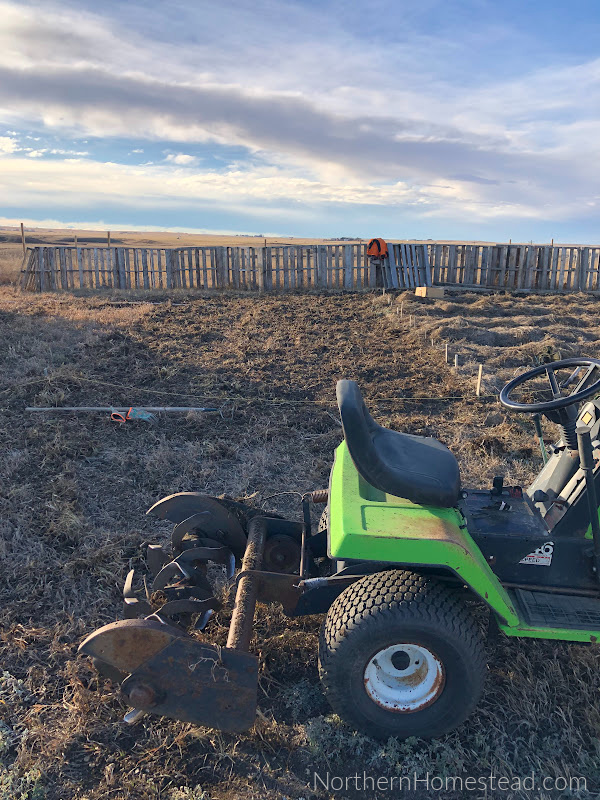
As mentioned before, the area was already covered once with some straw, but the compacted pasture soil was still compressed. In our experience, tilling is a great way to start. This time we did not rent a heavy-duty tiller to really work the soil. Instead, we used our till tractor which basically loosens the top layer of the soil, that is all we wanted.
Step two: Measuring the beds
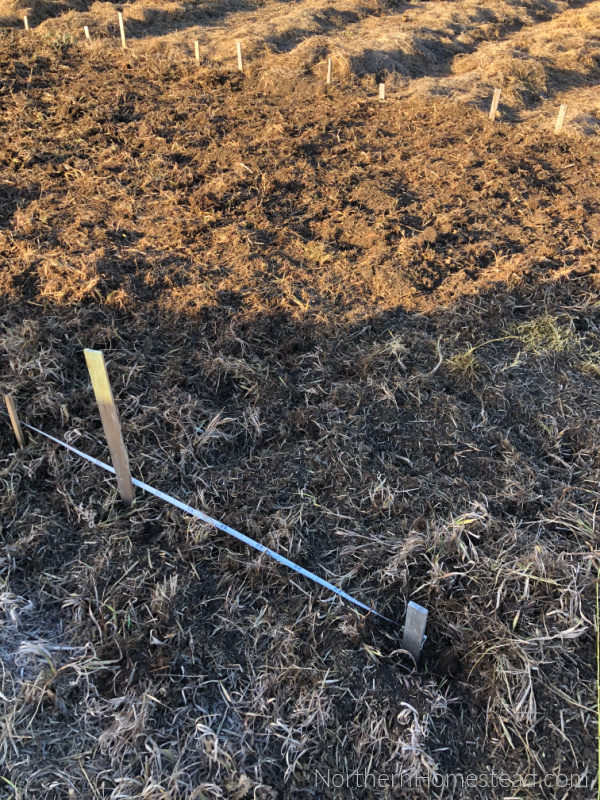
Creating a new garden bed, or in our case, expanding it takes some math. You need to know how much area is available, how big the beds should be, and how big the walking paths should be. We had already measured the beds to be 2.5 feet wide and the paths to be 1.5 feet wide. After using the garden for two seasons, we would have preferred 2-foot pathways, but it would be too much hassle to change it now.
You might be wondering why we make the pathways so narrow when we have so much space. We do not use machinery in our garden, so there is no need to have space for that. Also, pathways require maintenance, so making them smaller means less work.
Step three: Cardboard
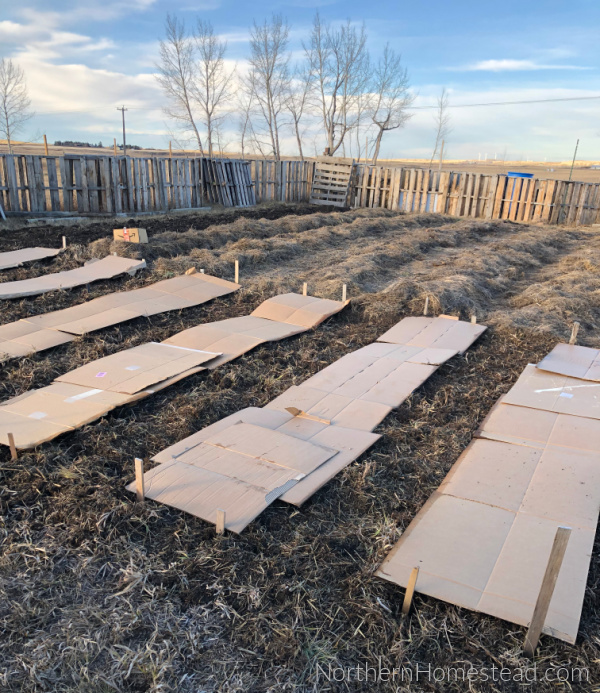
We have built beds with and without cardboard for weed prevention before. In our climate, we actually prefer not to use cardboard. It’s very dry here, so cardboard needs years to decompose. In this case, we only used cardboard for the pathways, overlapping a bit into the beds. But we want to be able to plant directly into the soil.
Step 4: Straw
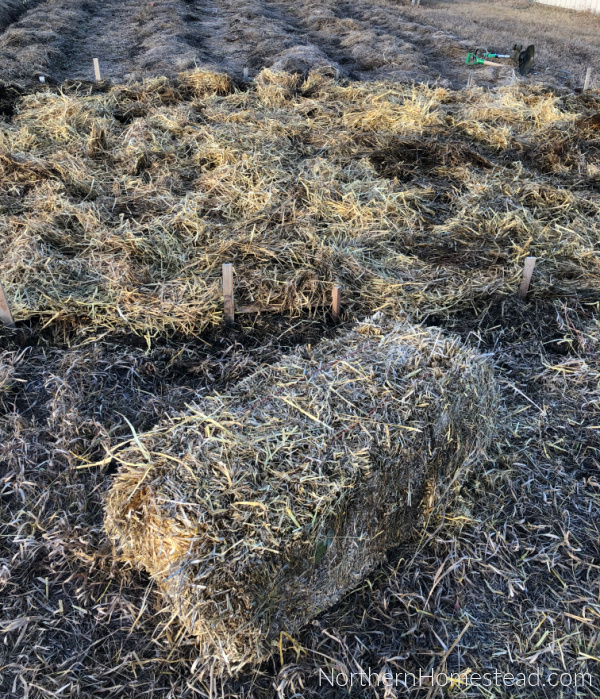
We covered the whole area with old straw. That is our first layer. If the existing soil had been of poor quality, we would have added many layers as in a lasagne gardening method. Here our goal was to prevent weeds from growing and to get some value, read height to the garden.
You might have noticed that the old garden is covered with old hay. Hay and straw work about the same. The best is what is available to you.
Step 5: Compost
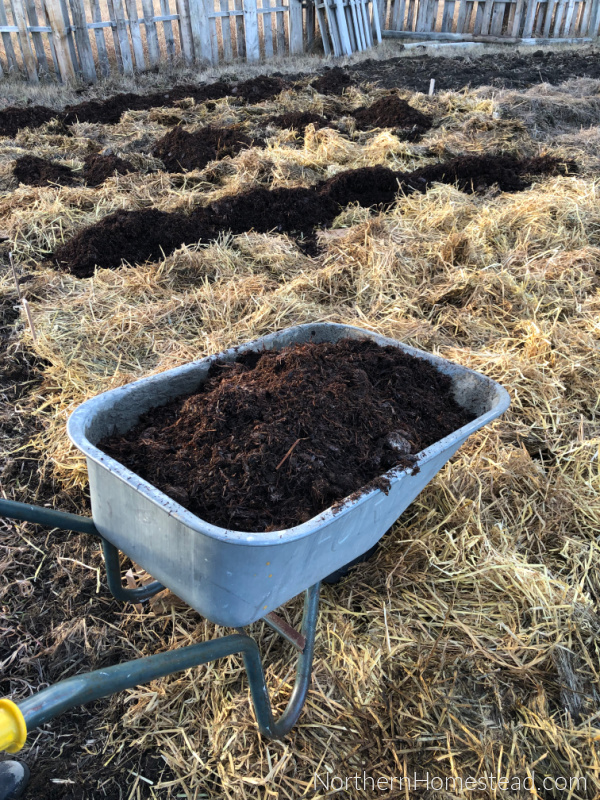
Next, we added a layer of compost to the garden beds. We used mushroom compost, which is freely available to us. Since we are converting a pasture, the mushroom compost will be sufficient. If this was a hay or crop field, we would have wanted to add some manure, as we did while converting a hay field into a garden. Here the soil was well-grassed and fertilized for years, so adding more at this point is not necessary.
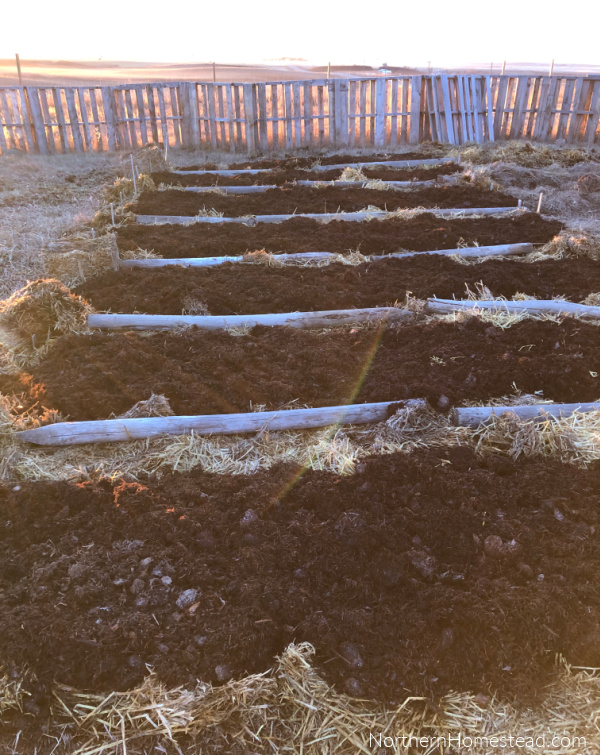
Straw and compost are interchangeable. We could have started with compost and then covered everything with straw. However, the country garden gets a lot of wind, so we are aiming to prevent anything from blowing away. To keep the straw in place, we used old fence posts in the pathways and added compost on top of the straw in the beds. The best way is always the one that works best for you.
Step 6: Mulching
The last step will be adding more straw, wood chips, old hay, or grass clippings. This step will wait until after planting, and most likely, we will plant potatoes in this new addition. Potatoes are a great first-year crop. They are vigorous growers and do need lots of mulch, both of which are good for a new garden.
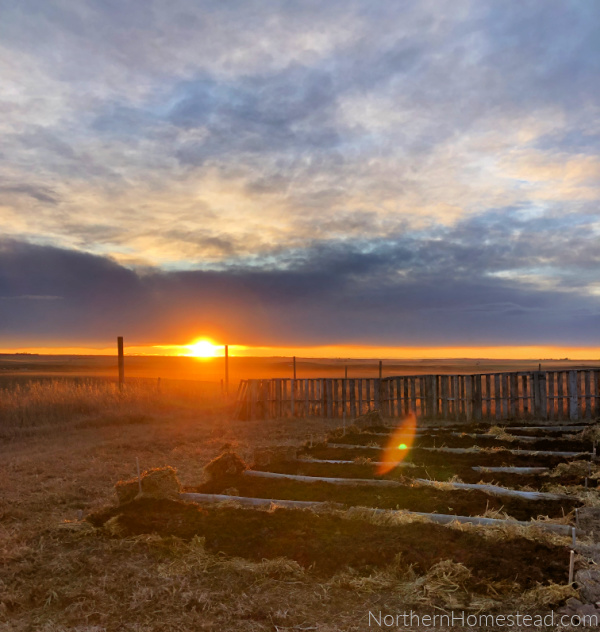
Just before sunset, our new addition to the country garden bed was finished. Now the earthworms and soil life can do their magic till it is time to plant in spring. That is the advantage of creating a new garden in the fall vs spring.
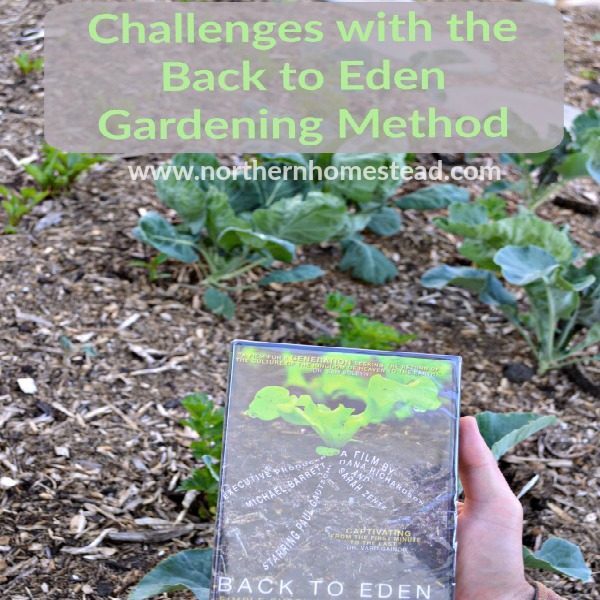
Some good information on no-till gardening methods: Lasagna Garden, Back to Eden, or No-Dig,
We invite you to subscribe to Northern Homestead and follow us on Instagram, Facebook, or Pinterest for the latest updates.



Looks wonderful!
Thank you Sheri, you are very kind. It was so much fun to be able to work in the garden that late in the season. The straw was partially frozen though, so I was not able to make it “look” perfect haha. But the soil is covered, thats the most important thing.
Your bed building is a real “flashback” in time for me. A friend tried to come in and till what soil I had but I think it did brain damage to the poor fellow. The hardpan was just to much so it was “Lasagna” all the way. I also put down cardboard in my walkways, very thickly but I dumped about 8 inches of wood chips on the top. In 3 years of walking the chips were gone. I still use cardboard & mulch in areas that tend to get weedy from neighbor’s seed blow-in and with last years drought conditions it did help to hold moisture in the soil which kept the worm population happy. It’s wonderful watching you grow! What I’ve found so amazing is after all these years there’s always something to learn. Cheers!
Thank you Sheri, the learning never stops because the growing never stops, it always expends.
Just a FYI. I tried to post on a couple previous posts you put up but I couldn’t get it to take my comment. I’m not sure what the problem was but I’m so glad it’s working again! Cheers!
Thank you for following along and leaving comments, it makes the blog so much more valuable. We did have some technical problems for a while, but I hope it is all solved now.