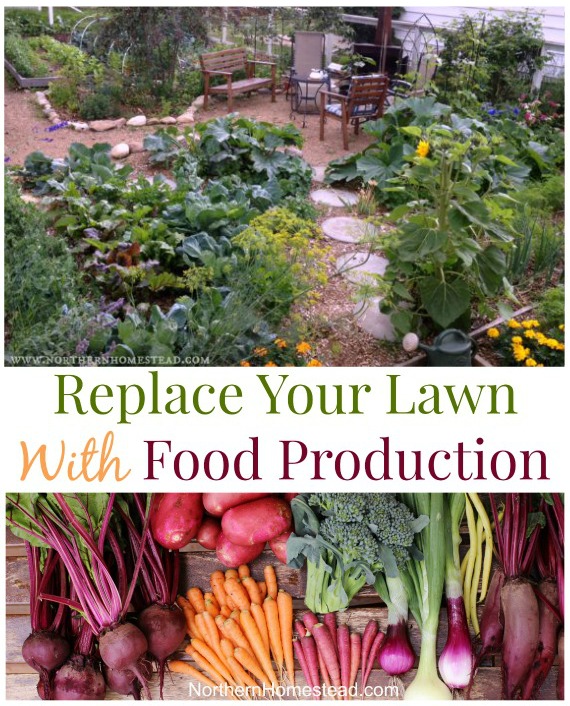
While mowing the little lawn still left in our urban yard, I was hot and sweaty, and mosquitoes were bugging me. I could not help but think how much work lawn mowing is. Thankfully, we turned our yard into a garden and eventually replaced all our lawn with food production. It was work, too, but seriously, not more than mowing is, and it is bringing us an abundance of homegrown food. At Northern Homestead, we grow food, not lawn.
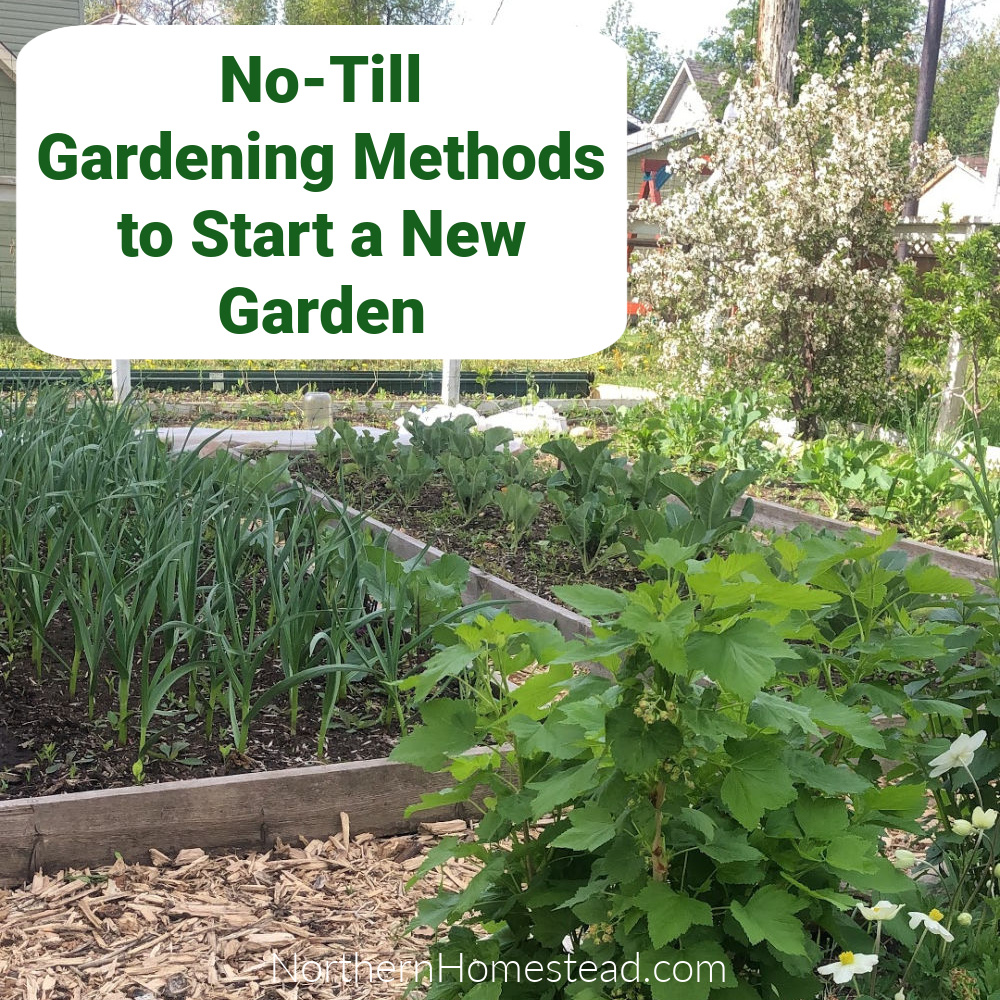
Here are seven simple steps for replacing a lawn with food production using sheet mulch and no-till gardening methods. Having great soil down the road is well worth the little extra work.
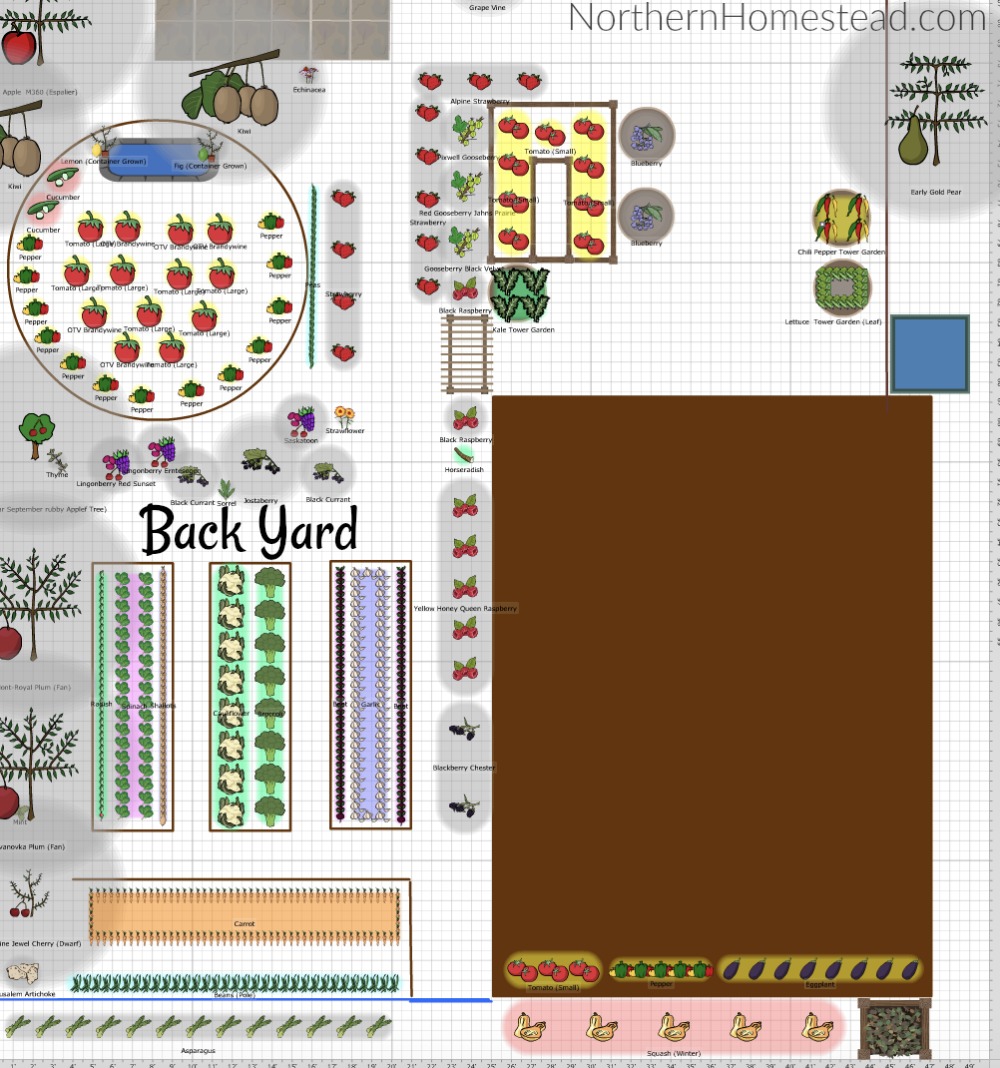
You want to make a plan before you start. Here is how to design a yard for food production.
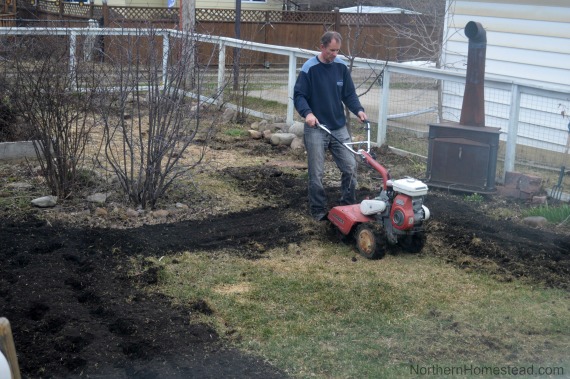
1. Till the new garden area
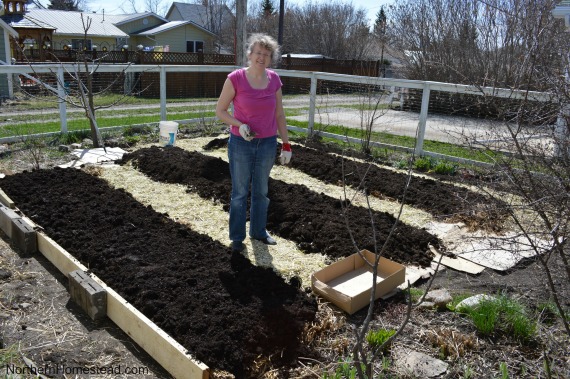
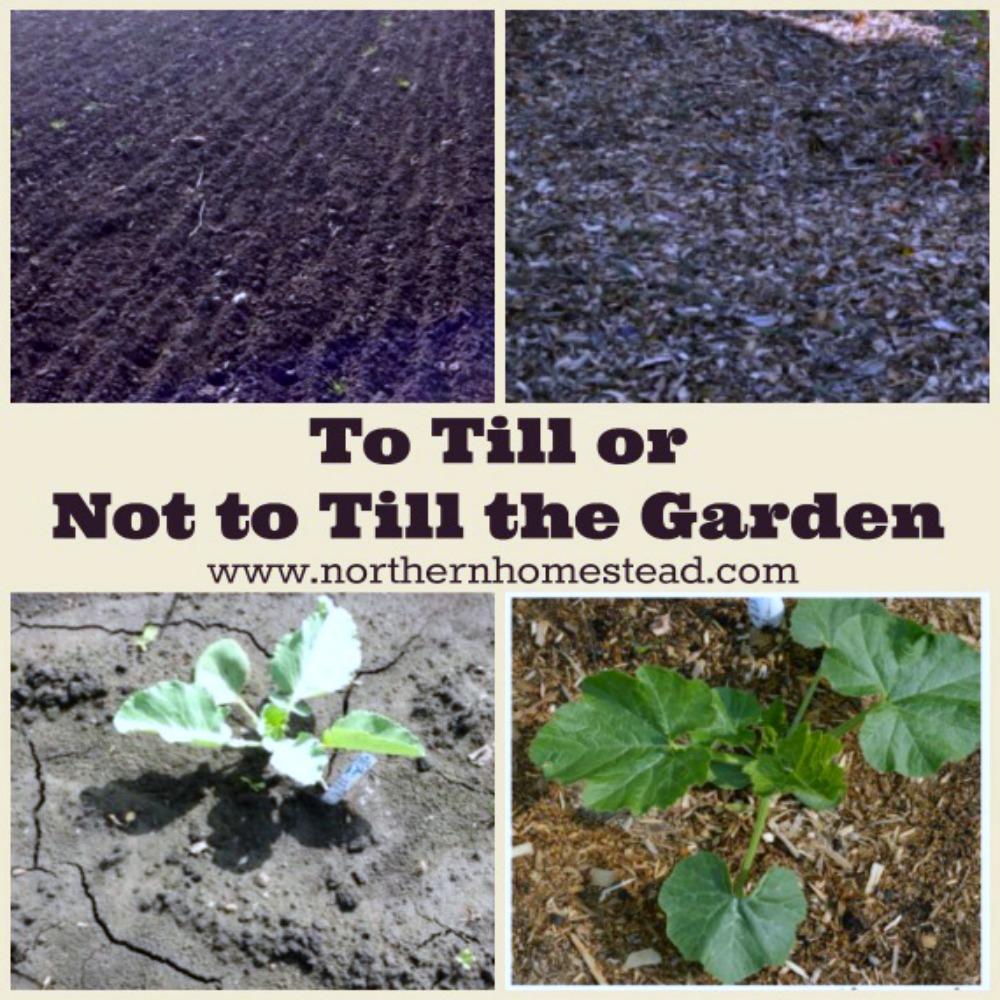
Even though we were planning on no-till garden methods, we decided to till the lawn area first. This is not recommended for most no-till methods.
You can and in some cases should skip this step.
Do a site survey and see if tilling or no-tilling is better. Please head over and read no-dig or double dig first.
We decided to till for two reasons.
Our whole yard was quite uneven, and we wanted to level it. Getting the layout the way you want it upfront saves work later.
We also were dealing with an old and weedy lawn. We were not sure that just covering, as many no-till books recommend, would work with quack grass and other aggressive weeds.
After converting a hayfield into a garden and also the front yard without tilling, we know that it does work. But you have to be willing to weed the first few years. Covering (and tilling) only weakens the aggressive weeds; you must get them out before they take over the garden.
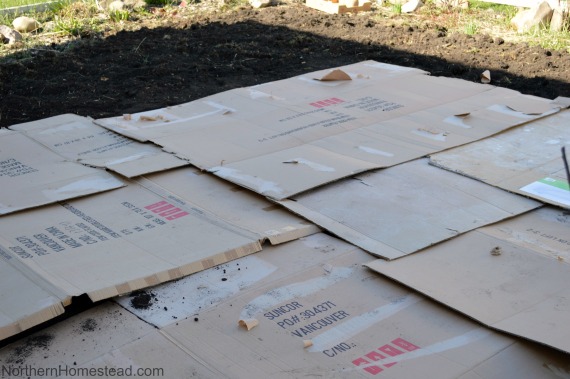
2. Cover the area with cardboard or newspapers
Some gardeners prefer cardboard, some newspaper, and some say you need both. We went with cardboard. We made sure the cardboard was mostly brown, with not too much ink on it. It was a nice, calm day, so the task took not long.
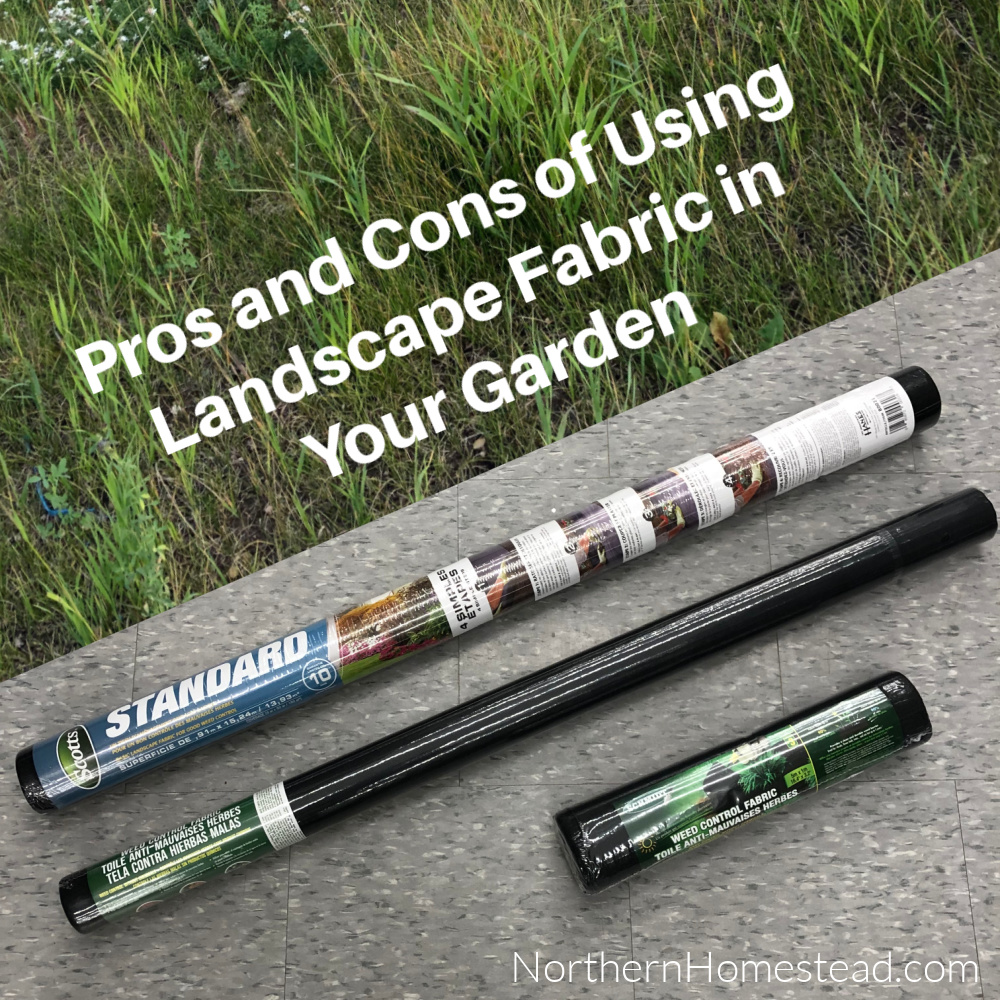
This layer of cardboard is there to prevent weeds (and lawn) from growing. We did not use Roundup weed and grass control to kill the lawn. Roundup is a very aggressive chemical, not good for any garden. Over time, the cardboard will decompose and turn into soil. In the process, it will kill the weeds and feed the worms, a win-win.
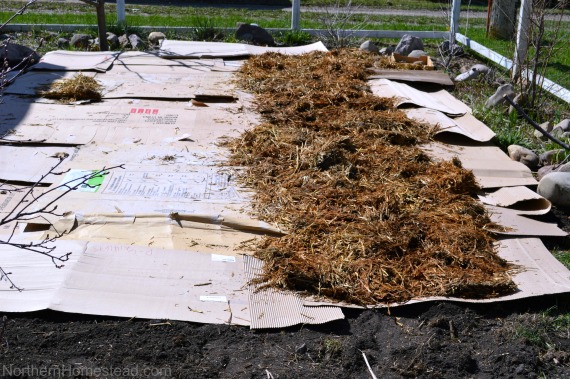
3. Add a layer of straw
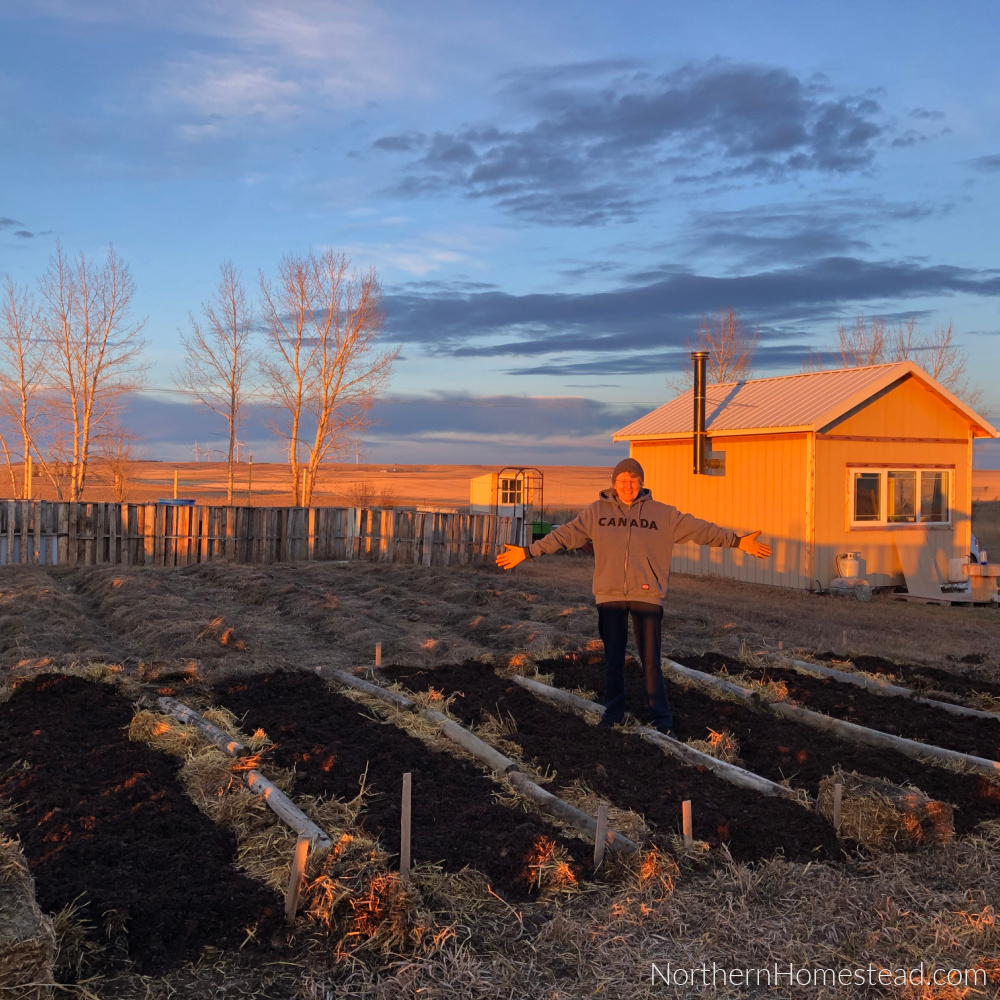
For our first beds, we used the lasagna garden method. Laying down natural materials in layers to build soil. Since we wanted to raise the beds, it was great for gaining some height.
When using straw, you want to find an organic source, or a trusty farmer to make sure it is not sprayed with chemicals that would stay in the garden soil.
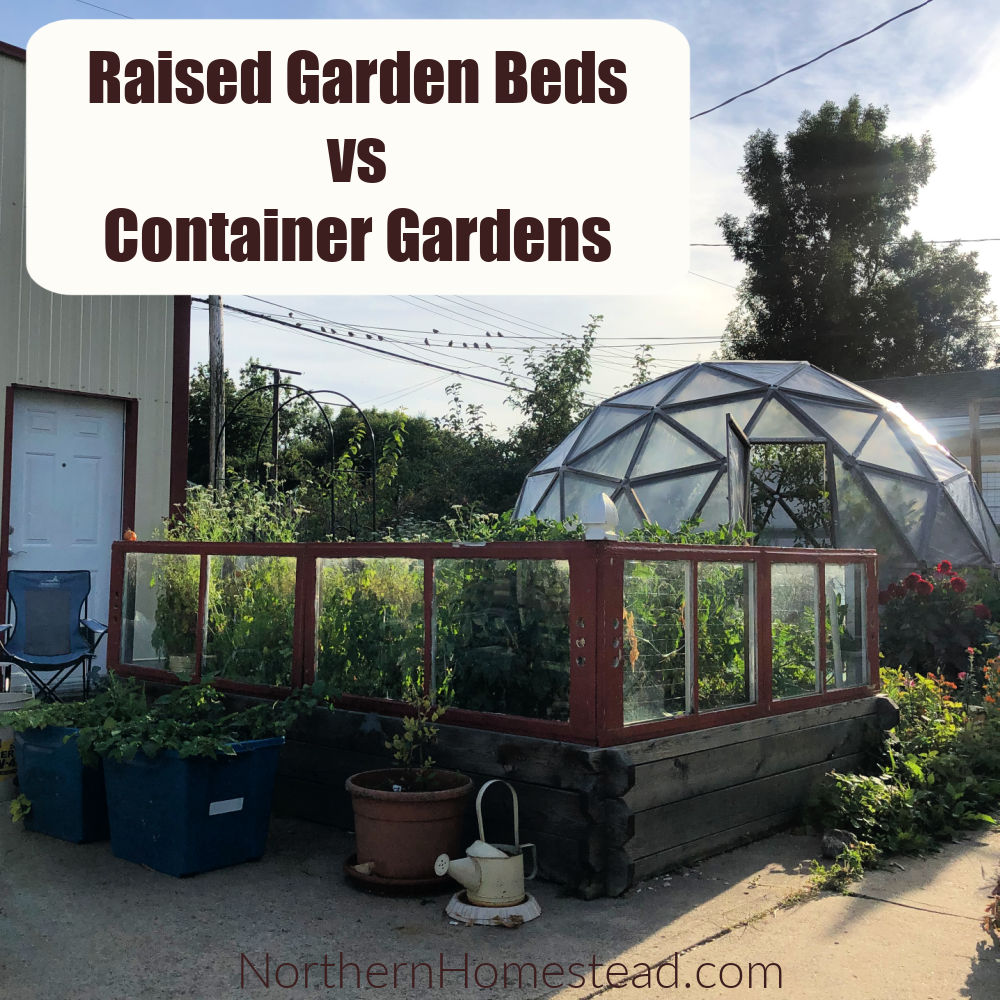
We would recommend though at this stage to build the actual raised beds or to cover the whole area with a lasagna garden. To form raised beds without support did not work as well for us. We added wooden boxes later on.
4. Add a layer of compost
Compost is good for any garden. If possible, use different kinds of compost. For example, we used mushroom compost (we have a facility close by that offers free compost to whoever wants it), and food waste compost.
When adding several layers, the bottom compost does not have to be of great quality. It will continue to break down along with the straw.
5. Cover with mulch
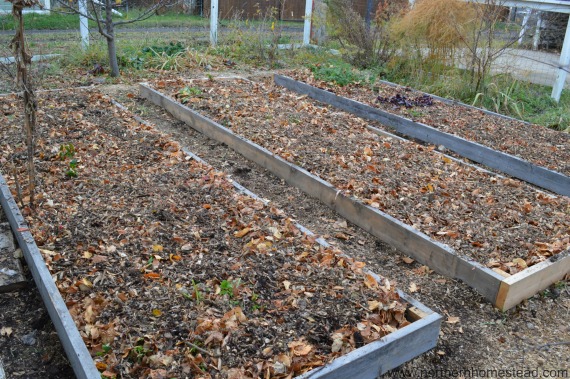
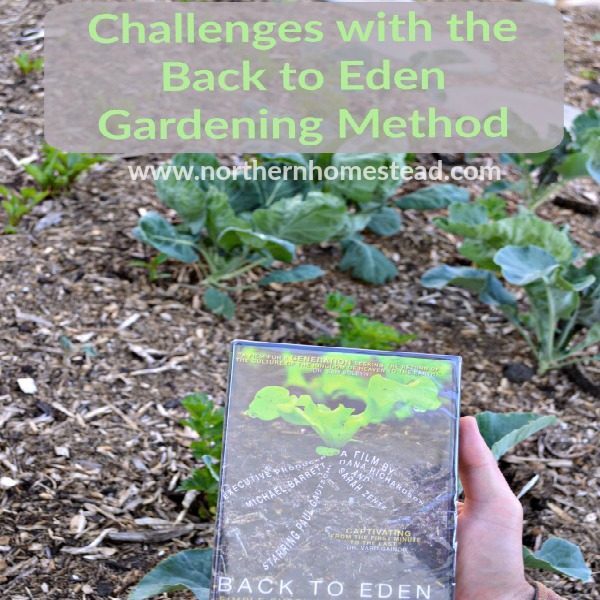
Mulch prevents the weeds from growing, keeps moisture in, and improves the garden soil. We used wood chips to start with. Back to Eden, the Film explains all the benefits of wood chip mulch.
Over the years we switched more to compost mulch, it just is easier to plant small seeds into compost than wood chips. see what works better for you.
6. Plant the seeds and seedlings
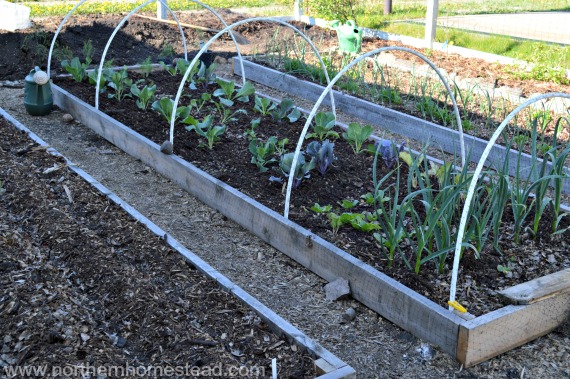
New beds are better prepared in the off-season so the soil has time to settle and micro-organisms and worms move in and make the garden even better. But it is okay to plant right away, too. To plant we put the wood chips aside and plant the seeds into the soil.
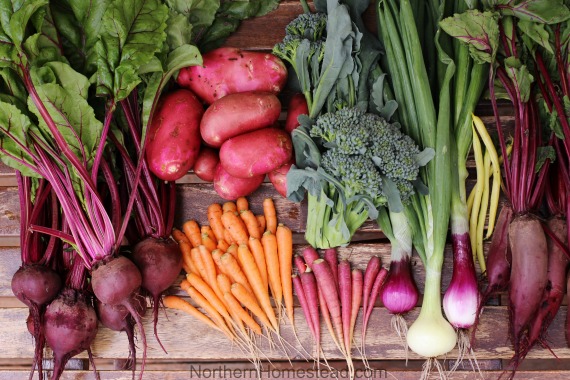
7. Harvest and enjoy an abundance of homegrown food
There is nothing like homegrown food; even expensive organic produce does not come close. It is well worth the effort.
If you wonder if it is even worth it if you only have a backyard garden, see our homegrown food storage update.
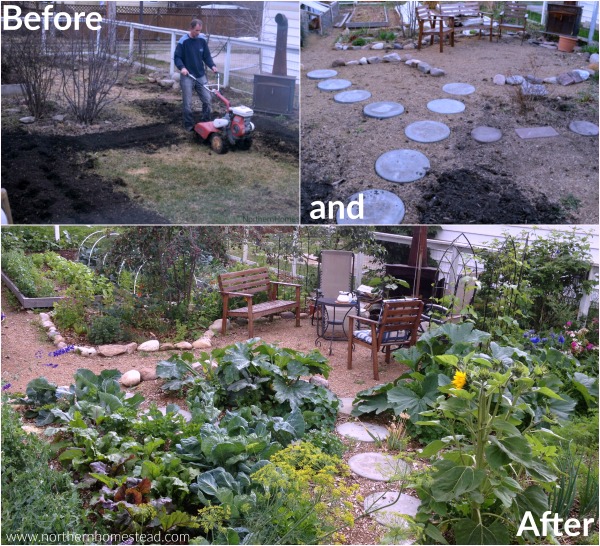
What about you, do you still mow your lawn or do you grow an abundance of homegrown food? You will find lots of information and how-tos under Growing food. See you there.
Sheet mulching is also called Lasagne Gardening or Back to Eden gardening. Here is more info on these methods.
See an update on our yard transition here.
We would love to hear from you. Where and how do you grow food?
We invite you to subscribe to Northern Homestead and follow us on Instagram, Facebook, or Pinterest for the latest updates.




I’d be all for it! Grass is over rated. Only we have an acre, so that would be one big Garden! But if we had a smaller plot of land, I’d be all for it! We do have 1/8 of our land tilled up into a garden spot. Does that count? PS. You should include yourself in pictures more often 🙂
1/8 of in acre is all we have, with house and garage on it too. So yes, your garden is huge!
Thank you, will think about it 😉
Well, my hubby still mows a bit, but little by little I’m filling our backyard with food-producing plants 🙂 You’re much further along than I am, though!
That is ok, as long as you are moving in the right direction ;).
We have 5 acres. Roughly 4 of it is pasture that we hay, which is kind of like gardening! 😉 The remaining acre is grass. This is our first growing season at our farm (we moved last August). We started with a dozen raised beds across the yard that is directly surrounding the house. I imagine in a few years we’ll have spread out to include the whole back yard and side. Slow and steady – Rome wasn’t built in a day! 🙂
I love the cardboard box idea. We can’t till the hard clay soil we have, (we tried which is what led us to doing raised beds!) so the cardboard would be heavy enough to choke out the grass under the beds. Our next beds will definitely be lined this way.
You are right, sometimes slow and steady is a good way to go. The cardboard works great so far. Even though I have noticed on walking paths, where there is only a single layer on them, the dandelions come through.
Do you mean that the cardboard should be layered two or more sheets deep?
Sorry, I should have been more clear, a single layer. You need a lot of mulch (or in case of the lasagne garden, compost, straw and mulch) for the weeds to be gone.
I have that book, Mini Farming! I love it, great information and pictures 🙂 Good luck with your garden this year!
Thank you! Yes Mini Farming is a good book.
Go you!! We did the same thing in our last house. Sheet mulch works miracles. Right now, we are working on our garden in the sunny backyard- which was basically a blank slate.
Thank you! That is encouraging to hear! Growing food is so fun and rewording, isn’t it!
I joined the “Food, Not Lawns” revolution last year when i moved into a new house. 75% of the front yard is covered by a 150 yr. old northern red oak; so, no veggies are possible there. i covered the whole area in wood chips and will do some creative ornamental landscaping this year to include a mushroom farm! the little sunny area is a combination of veggies and native pollinators–i built a spiral bed there for herbs and small veggies that is very decorative. the larger area around it will be reserved for things like cardoon, rainbow chard, etc. that are very attractive plants. trying to send the message that turf grass in the front is not the only way to look good! “messier” plants, like peas, cucumbers, tomatoes, etc. will be relegated to the back, for now. i’ll let the neighborhood get used to the idea, first!
Love it, there are so many ways to make a beautiful yard without lawn. Plus you can eat those plants too.
When we lived in town we were slowly converting our lawn into garden. My husband didn’t like the idea of using the front yard (our backyard had a small traditional garden) so we had to compromise. Instead he built me some beautiful raised beds along every wall of our house and shed that were usable for garden space. Over the Winter I dumped all our household food waste into those beds, along with leaves and grass that I salvaged from our neighbors who were just throwing them away. In Spring I added a little bit of soil on top and planted away. It worked amazing! I was only able to use them for one growing season as we moved the year after. I am sure they would have done even better the next year, but even in the first year they produced lots of food. It is so inspiring to see your before and after pictures. I love seeing how people can grow so much food in so little space.
Thank you, and thank you for sharing. Hope the next owners use your garden beds.
Hi, Anna, I am delighted by the Idea of producing the food instead of gras! Last year we bought a house and I started converting our lawn into a edible garden. So I have a question: we have a few bushes and small trees that I would like to preserve. It is not possible to remove the gras around them with machines, (because of possible root damage), and it is also very difficult to do it per hand, so I thought of lasagna metod. But, again, would that damage the roots, since they cannot “breathe”? many greetings from Germany,
Kiki
Congrats Kiki on your new house and the edible garden that you are working on. I’m not sure what you mean by ‘cannot “breathe”’. Here is what we did in our front yard where we grow trees and shrubs. We covered the lawn with cardboard and than put about 5cm layer of wood chips on top. It worked very well and the trees and shrubs have grown a lot since we did that almost 3 years ago, so obviously they liked it too. Hope this helps, keep up the good work!