
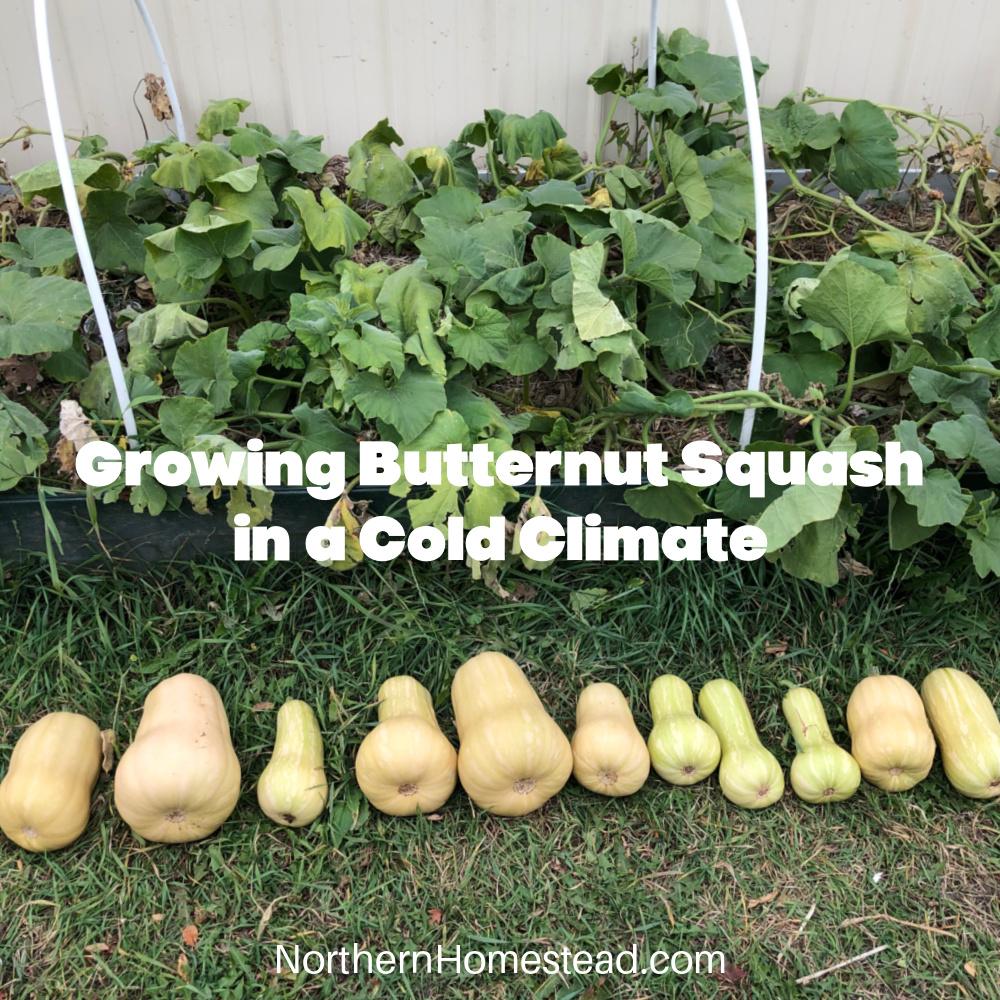
Butternut squash is a favorite for many, even those who aren’t typically squash lovers. Its buttery texture and sweet, nutty flavor stand out among other varieties. However, growing it successfully in a cold climate takes some skill. It is a heat-loving plant that thrives in long, hot summers—something we don’t have in our short growing season with cool nights. Nevertheless, over the last couple of years, we have been able to harvest and enjoy our homegrown butternut squash. In this blog article, we cover growing butternut squash in a cold climate: tips for a bountiful harvest.
What variety to grow
In short-season gardening, the variety you choose makes a big difference. Select seeds suited to a shorter growing season, ideally with days to maturity fewer than the number of frost-free days in your area.
I’ve noticed that the seed source can also affect your success. For example, I tried the Victory variety from West Coast Seeds, which has 88 days to maturity, but I don’t recall being successful with it. On the other hand, I’ve had success with the Waltham variety from Wild Rose Seeds, an Alberta company, which has a maturity range of 85 to 110 days.
The Honeynut mini butternut squash is often praised as an excellent choice for cold-climate gardeners, though I haven’t tried it myself.
So don’t get discouraged if one variety doesn’t work for you—another may thrive better in your specific location.
Location for Butternut Squash
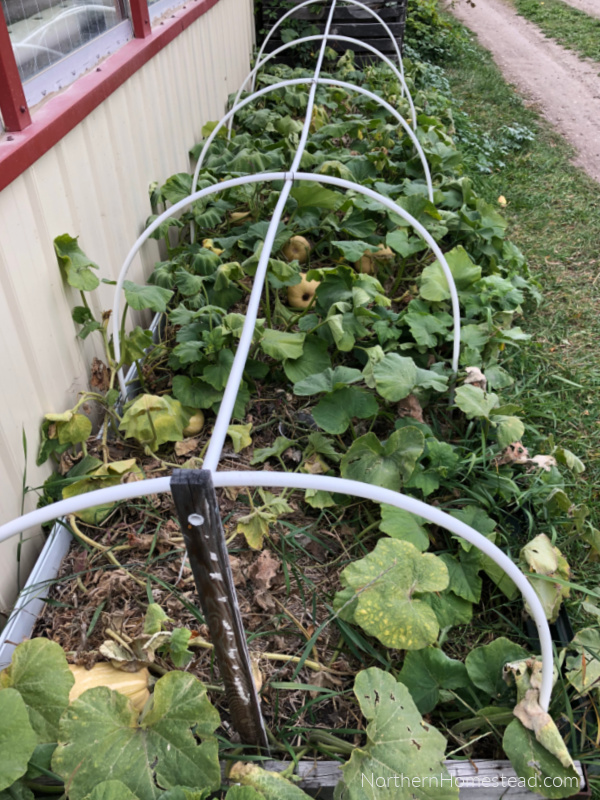
Since butternut squash is a heat-loving plant, it’s important to provide it with a special microclimate in your garden. In our garden, we have a bed located on the south side of our garage sunroom. The south-facing wall, along with the large windows that reflect light, makes this the warmest garden bed in our yard.
You may not have the exact bed that we do, but take a look around your yard. You may have a building you can place a raised bed near to capture the heat. Raised beds are typically warmer than ground soil, which helps squash grow. You can also protect the raised bed with recycled windows to create a microclimate in an open, windy area. While it may be too hot and dry for other plants, squash thrives in those conditions.
Different plant varieties require different amounts of space. I’ve noticed that when I plant three plants in my 3-by-14-foot bed, they fill the space nicely. However, this year, I didn’t have as much space and crammed the 3 plants into half the bed. As a result, the production was lower, but it still yielded some great fruit. Why 3, you may ask? It is always good to have a few plants to increase the chance of pollination. Of course, you can scale this approach to accommodate more plants, but it may be challenging to find larger, suitable spots in the garden. For comparison, I usually get at least 3 squashes per plant, and when I plant them more densely, I got 4 fruits from 3 plants.
Giving the plants extra protection in early spring or fall is also helpful. My bed has hoops and, during cold nights, a plastic cover. You can also use an additional frost blanket under the hoop.
Planting Butternut Squash
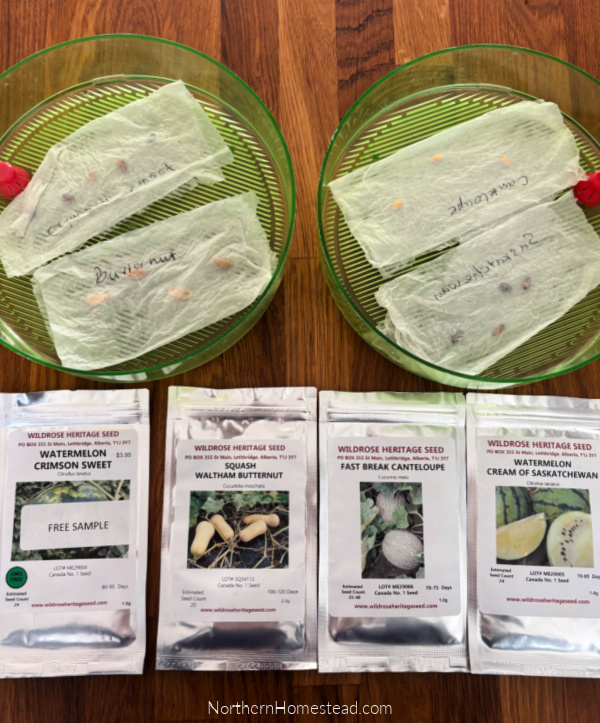
I have successfully grown butternut squash from seeds as well as from store-bought seedlings. You’re not a bad gardener if you leave seed starting to the professionals, but starting your own can be quite rewarding. When shopping for seedlings, choose healthy ones with no signs of powdery mildew. Avoid overgrown seedlings, as bigger is not always better.
Starting seeds at home is also straightforward. You can pre-sprout the seeds or plant them directly in the soil. Since squash plants are larger and prefer warm conditions, it’s advisable to use a bigger pot, at least 5 inches in diameter, or even better, a bottomless pot.
Start the seeds indoors about a month prior to planting them outside. This way, if the weather does not cooperate, the seedlings won’t become root-bound. Choose potting soil, not seed starter soil, preferably with some compost or fertilizer added. Plant two to three seeds about three times their size deep into the soil, and keep them moist and warm. Once the seeds sprout and show true leaves, thin them by cutting back the extra seedlings so you have one strong plant per pot.
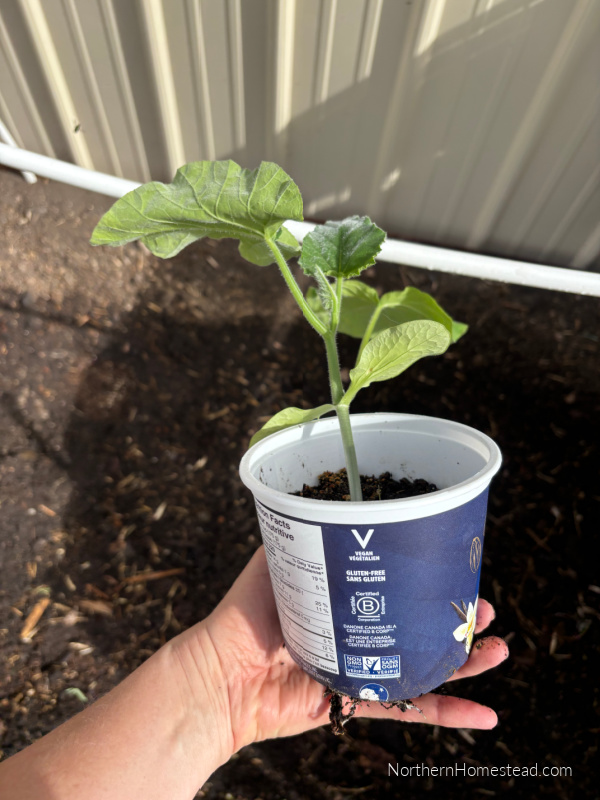
After the danger of frost has passed, you can transplant the seedlings into the garden. Squash plants do not like having their roots disturbed, which is where the bottomless pot comes in handy. Instead of transplanting, simply dig a hole in the soil and place the pot directly in it. The plant will keep growing without disturbance.
Squash is a heavy feeder and requires rich soil, so adding compost before planting is the best option.
Caring for Butternut Squash Plants
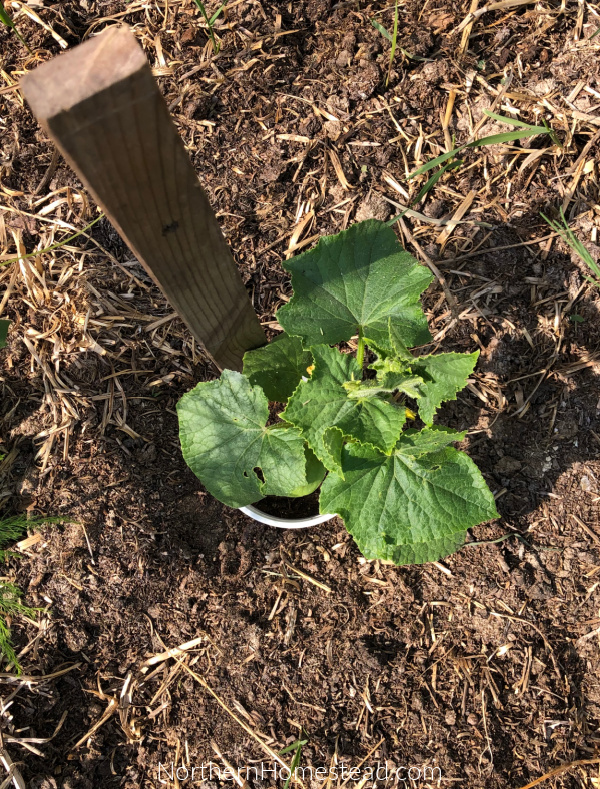
Once the seedlings are planted and the weather is still cool, the main task is to keep them warm. If nighttime temperatures drop below 10 degrees Celsius, the plants benefit from cover. If a sudden late frost is forecast, cover them, as squash does not tolerate frost. Despite this care, I find that squash grows incredibly slowly during the first weeks of summer. However, don’t give up on them! Once July heat arrives, they take off.
For watering, I like to place a stick next to the base of each plant as a marker (I do that for cucumbers too, as you can see in the picture). This helps me water precisely at the base and avoid getting water all over the leaves. Morning watering is also better than night, as squash leaves can be prone to powdery mildew if they stay wet. In our short growing season, if mildew does occur, I usually don’t panic, as the season will end shortly anyway. Just don’t compost affected leaves.
Keep the soil moist, but not overly wet. Especially toward the end of the season, less watering helps concentrate the sugars.
Troubleshooting for Butternut Squash
Squash bugs (Anasa tristis) are common and destructive garden pests that target members of the cucurbit family, including pumpkins, winter squash, zucchini, and melons. However, they are less common in cooler climates, so we have some advantage there. If you do encounter them, the best approach is to pick them off and remove them.
Powdery mildew also tends to be less prevalent during a cool summer. Given our short growing season, I usually don’t take any action while the plants are growing.
However, fall cleanup is crucial. I prefer to dispose of my cucurbit plants in a garbage can before the first frost, as they can become mushy and difficult to clean up afterward. Do not compost them if you see any signs of disease or bugs.
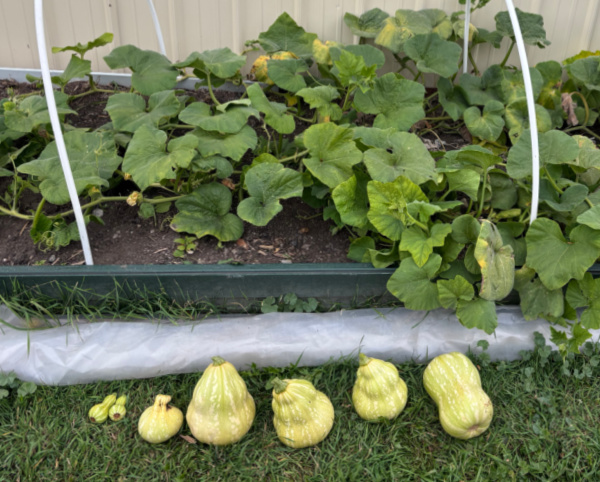
One issue we can face in our climate is oddly shaped fruit. This is common when the patch is small, lacks enough flowers and pollinators, or experiences weather fluctuations. These unusual squashes are still edible and enjoyable, but you cannot save the seeds from them.
Harvesting Butternut Squash
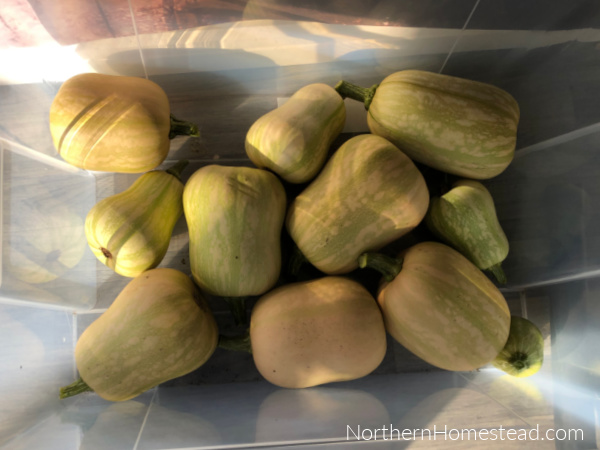
Butternut squash is ready for harvest when its color changes from greenish-yellow to orange, and both the skin and stem harden. However, due to our short growing season, the weather often determines the end of the harvest. Harvest all the fruit, even if some are still immature. You can use these smaller fruits like summer squash, so use them up first.
Larger butternut squashes will continue to mature if you place them in a warm location to cure. Curing is important because it helps harden the skin and extend the squash’s shelf life. To cure your butternut squash, place it on window sills or on the kitchen counter. Display your squash in a warm, dry place for optimal results.
Storing Butternut Squash
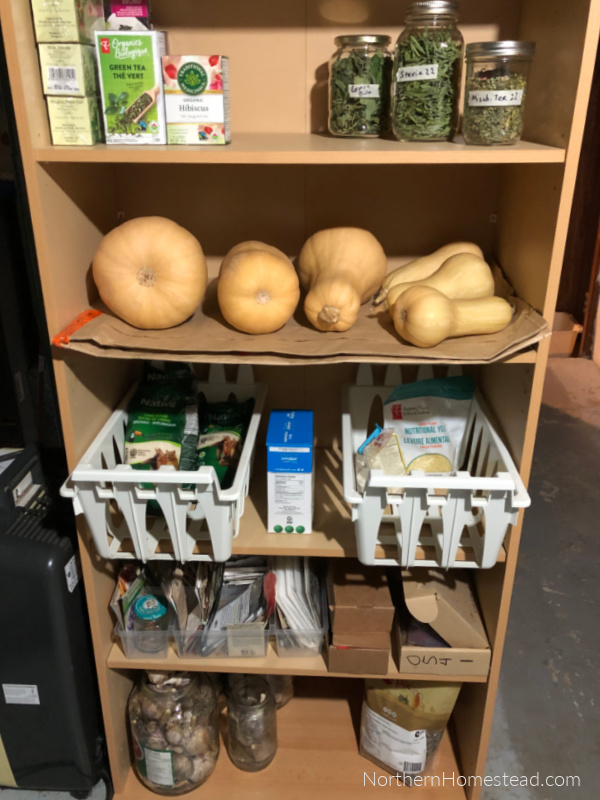
Once properly cured, you can store butternut squash in a cool, dry place away from direct sunlight. Use a wooden shelf or bench to store it. Depending on the variety, butternut squash can last several months.
Other preservation options include canning or freezing. For canning squash, you will need a pressure canner, as squash is a low-acid fruit.
If you choose to freeze squash, blanch it first: cut it into 1/2-inch slices or quarter-inch pieces and blanch for 2 minutes. Alternatively, you can prepare the squash as a meal and then freeze that.
Using Butternut Squash
Butternut squash makes a delicious creamy soup, especially when paired with garlic bread—yum! It can also be roasted or baked. You can choose from dozens of tasty recipes.

Our favorite, however, is butternut squash dumplings. You can find the recipe here.
Please share your best tips for growing butternut squash in the comments!
Subscribe to Northern Homestead and follow us on Instagram, Facebook, or Pinterest for the latest updates.
More Growing Food Posts You Might Enjoy:





NEWSLETTER SIGNUP

Leave a Reply