
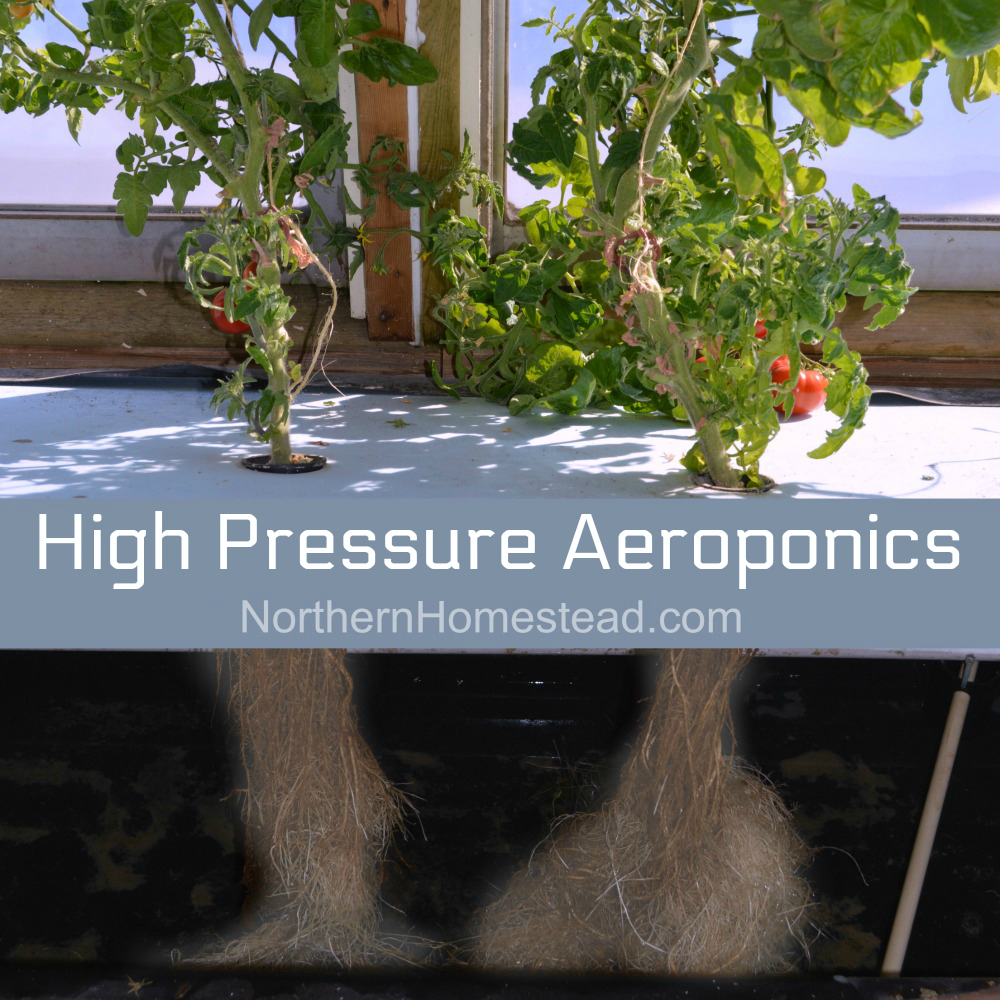
Recently we described our NFT downspout hydroponics system which you can read about here. Now imagine having a large box for the plant’s roots that are now suspended in the air, and the nutrient-rich water solution is being sprayed onto the roots in a form of a fine mist. What you will get is called high pressure aeroponics.
The advantage of high pressure aeroponics
The advantage of high pressure aeroponics is that the roots get the 100% oxygen at the root zone which is necessary for healthy plant growth. An even higher benefit of the system is that they have full access to all of the available CO2 in the air for photosynthesis.
And here from academic authority:
Aeroponics systems can reduce water usage by 98 percent, fertilizer usage by 60 percent, and pesticide usage by 100 percent, all while maximizing crop yields. Plants grown in the aeroponics systems have also been shown to uptake more minerals and vitamins …
American Scientific Research Journal for Engineering, Technology, and Sciences (ASRJETS) (2017) Volume 27, No 1, pp 247–255
The key to root growth in aeroponics is the size of the water droplet. NASA has determined that the optimum size of the micro-droplets is 5-50 micrometers. We have been experimenting with different misting techniques, and none is perfect but we have arrived at one that we are going to present in this article. We use a high-pressure pump combined with 0.012″ brass misting nozzles.
What are the components of this setup?
- High-pressure pump and electric motor
- Pressure switch
- Water Storage Tank
- In-line Check Valve
- Misting nozzles
- 10 Micron Filter
- Timer
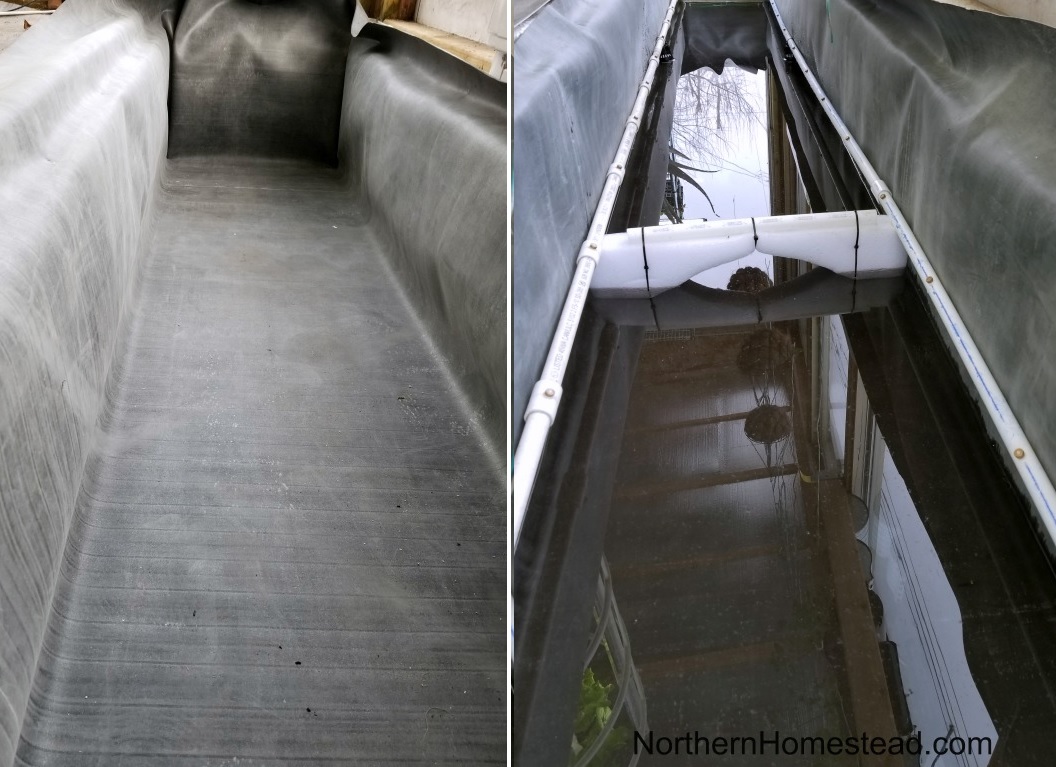
A box 16″ deep, 20″ wide and about 20′ long constructed from plywood serves for both, as root zone and the nutrient solution reservoir at the same time. While the roots have enough exposure to oxygen(O2) and CO2, the long tap roots reach into the 1″ nutrient solution layer at the bottom of the box. That way, even if in the worst case the spaying system falls out, the more mature plants can still get the life-sustaining water solution. We also insulated the inside of the box with styrofoam to protect from the cold and lined with EPDM pond liner to make it waterproof.
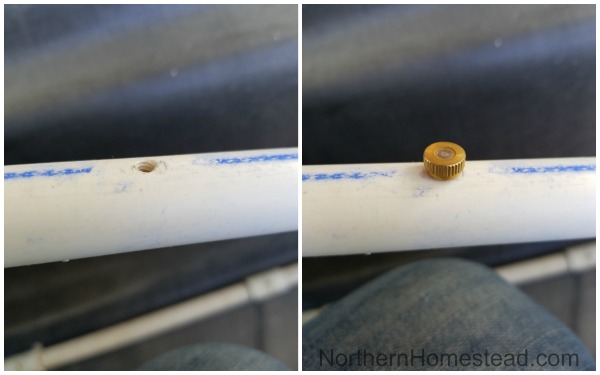
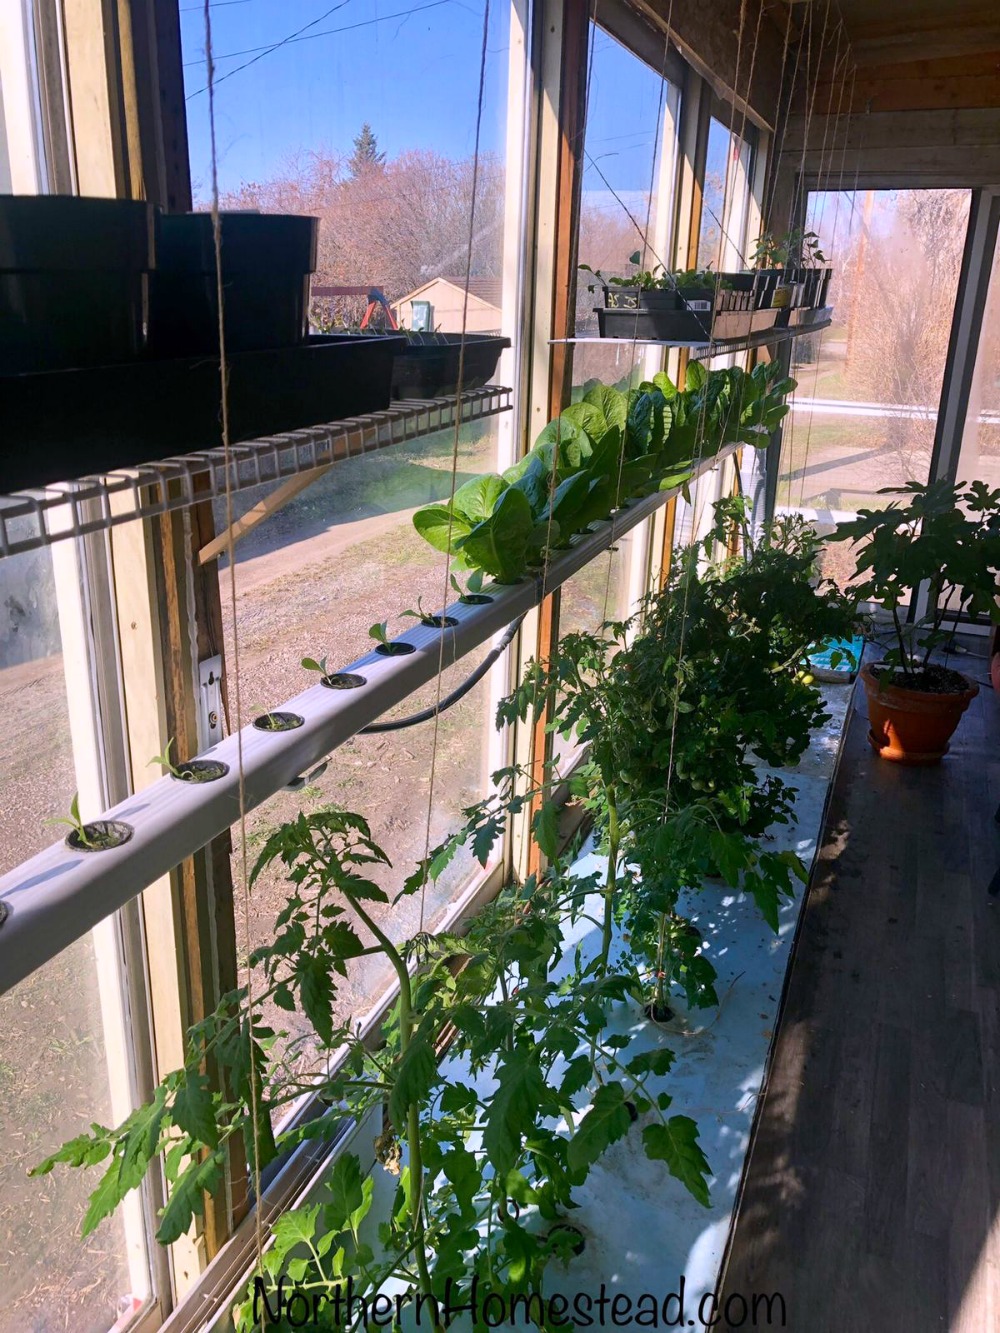
The spray nozzles are installed on a 1/2″ PVC pipe 12″ apart, and the pipes are positioned longitudinally in both lower corners with the nozzles aimed to the center of the box. When using spray nozzles on both sides of the root chamber we would recommend to offset them on one side by half of the distance between the nozzles, meaning that the nozzles are not directly across each other so the spray cones are distributed more evenly. As you might have noticed that some of the nozzles are installed in the 1/2 PVC couplings and others are screwed directly into the PVC pipe. We would recommend using the couplings unless you want to save a few dollars and do the work of drilling the right size of the hole and cutting the thread.
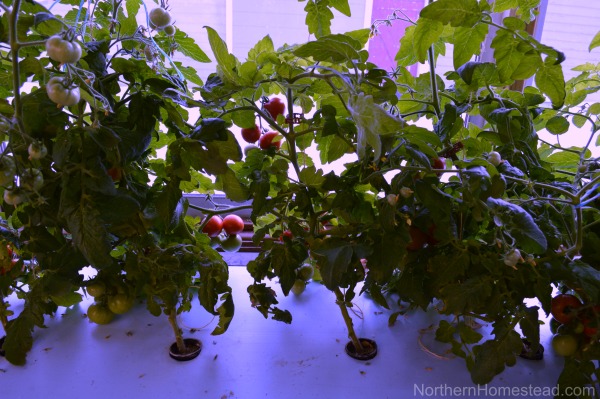
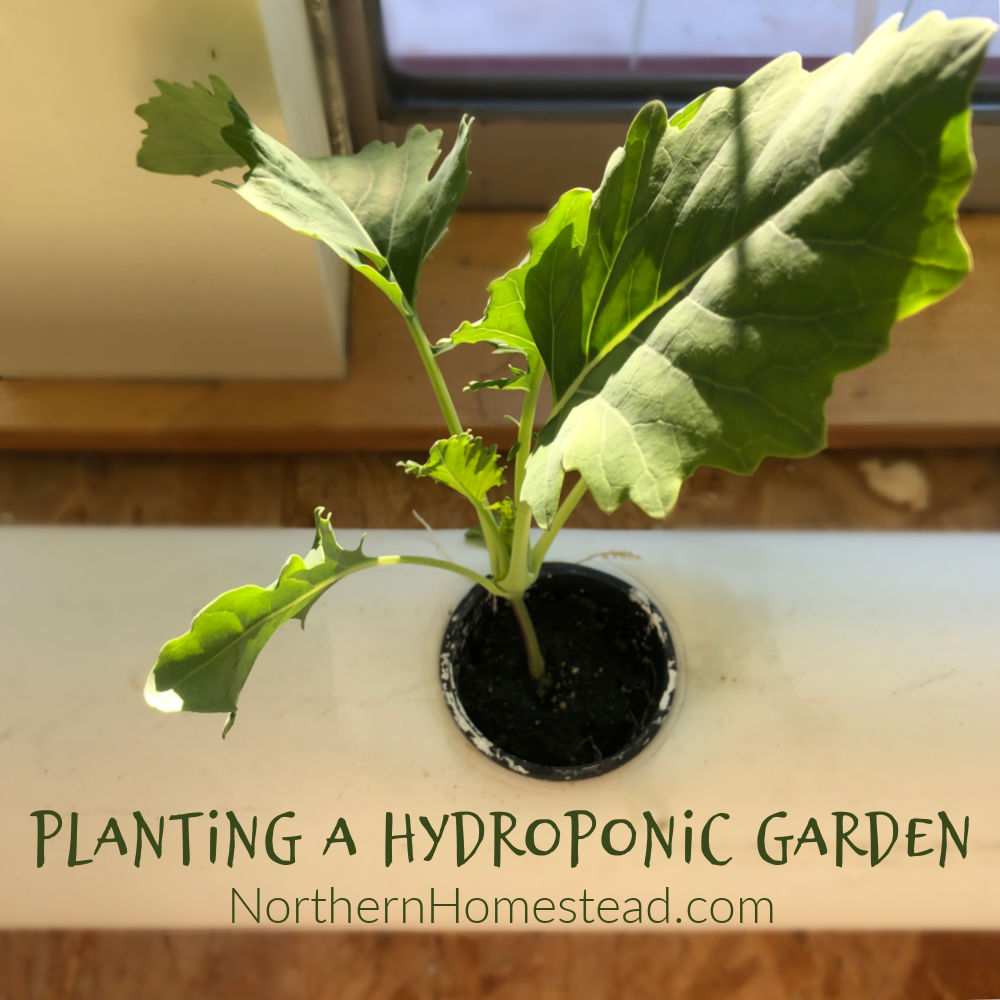
A 1.5″ thick rigid styrofoam is being used to cover the box and also as a support for the plants as you see in the picture below. We found that a 12″ distance between the tomato plants works very well.

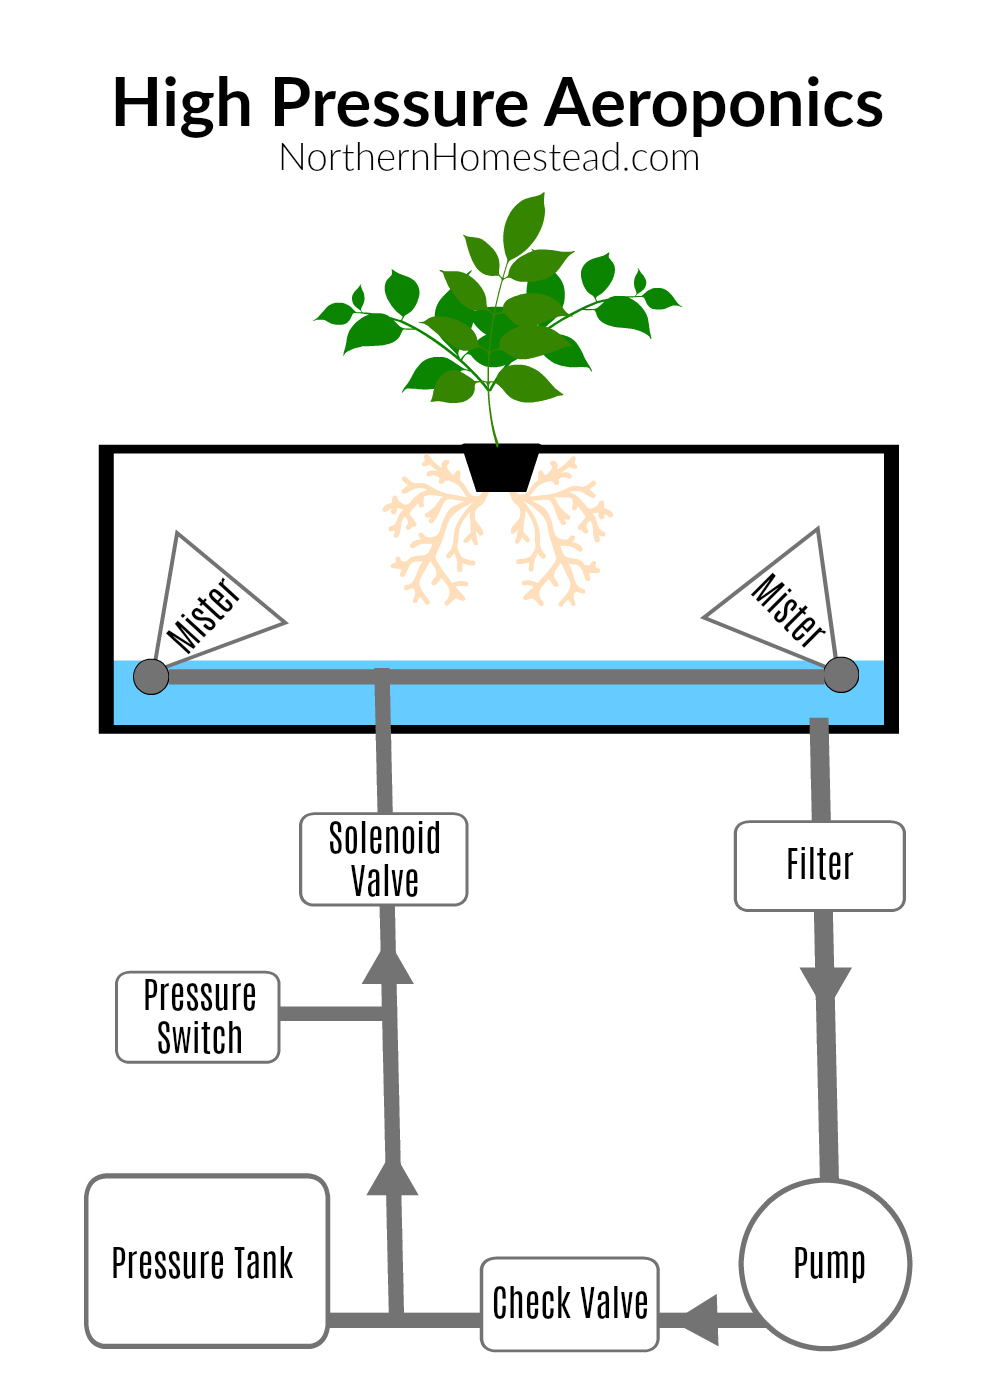
Now let’s talk about how the whole system works and how to connect the necessary parts together. So, in the diagram below, the nutrient is sucked into a booster pump and pressurized. A check valve prevents the backflow of the liquid to the pump, the pressure switch controls the pressure at about 60-90 psi in the tank and delivery pipes. Optionally you can install a pressure gauge for adjusting the pressure switch. The timer controls the solenoid which in turn controls the nutrient delivery to the plant’s roots via the spray nozzles. We found 3-5 seconds ON and 60 seconds OFF to be a sweet spot in regards to the spay time. The release valve is used to drain the system, normally in maintenance phases.
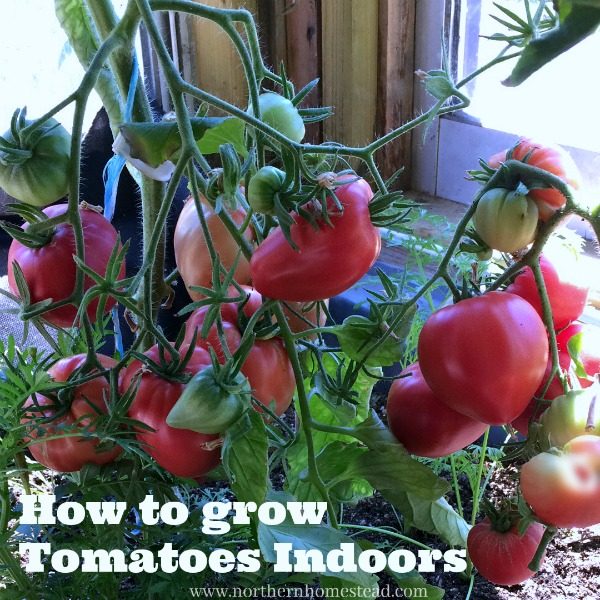
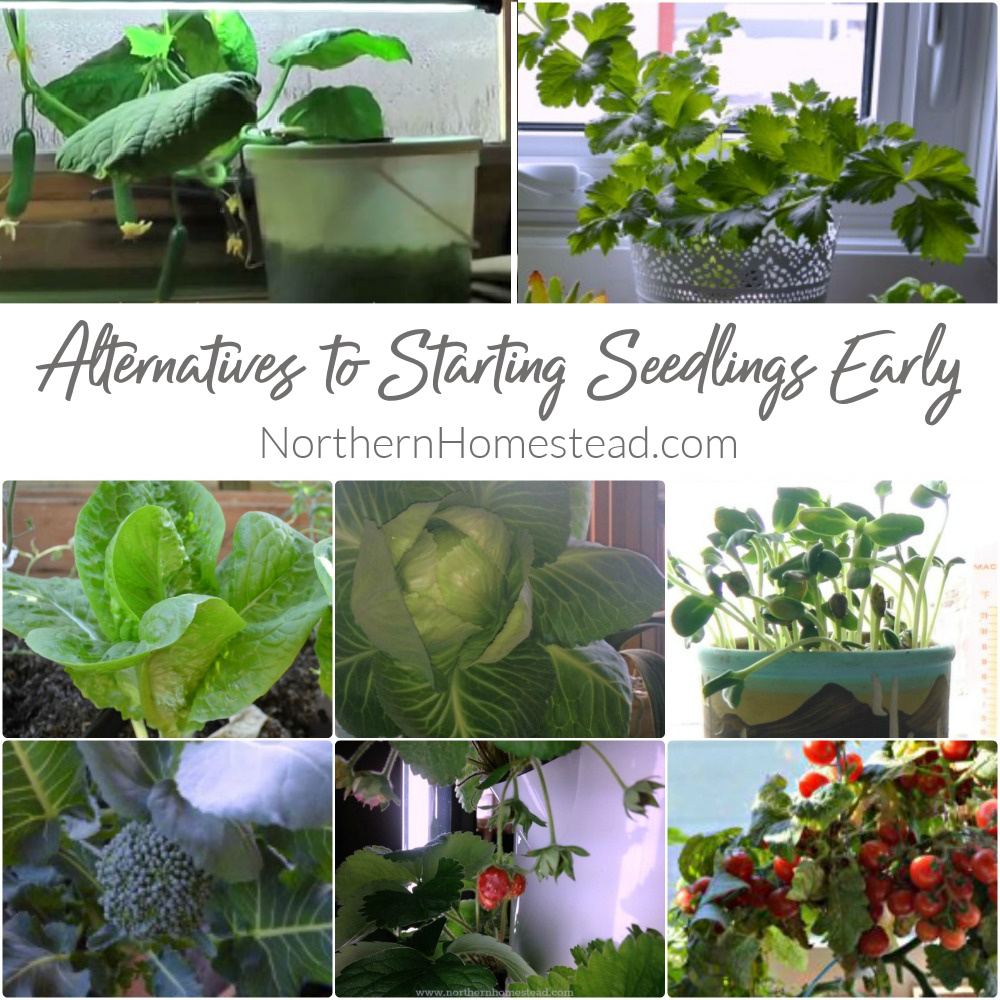
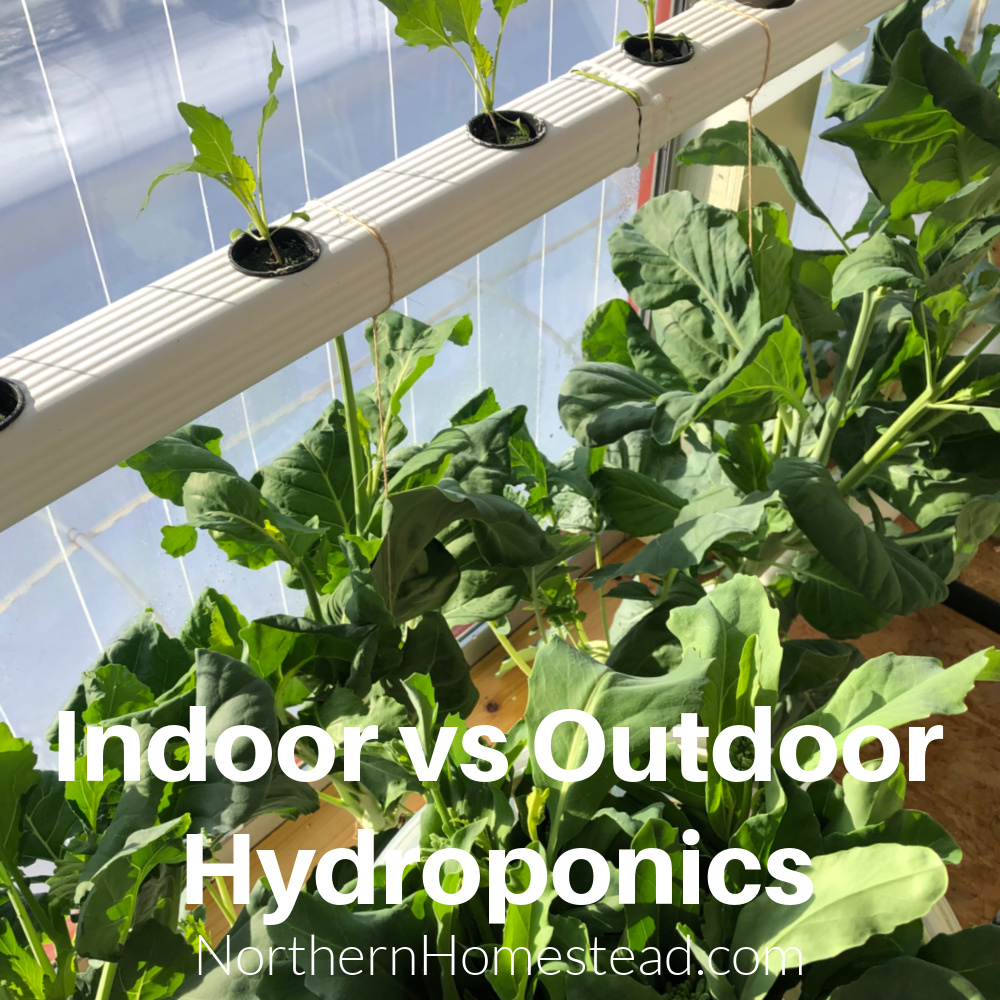
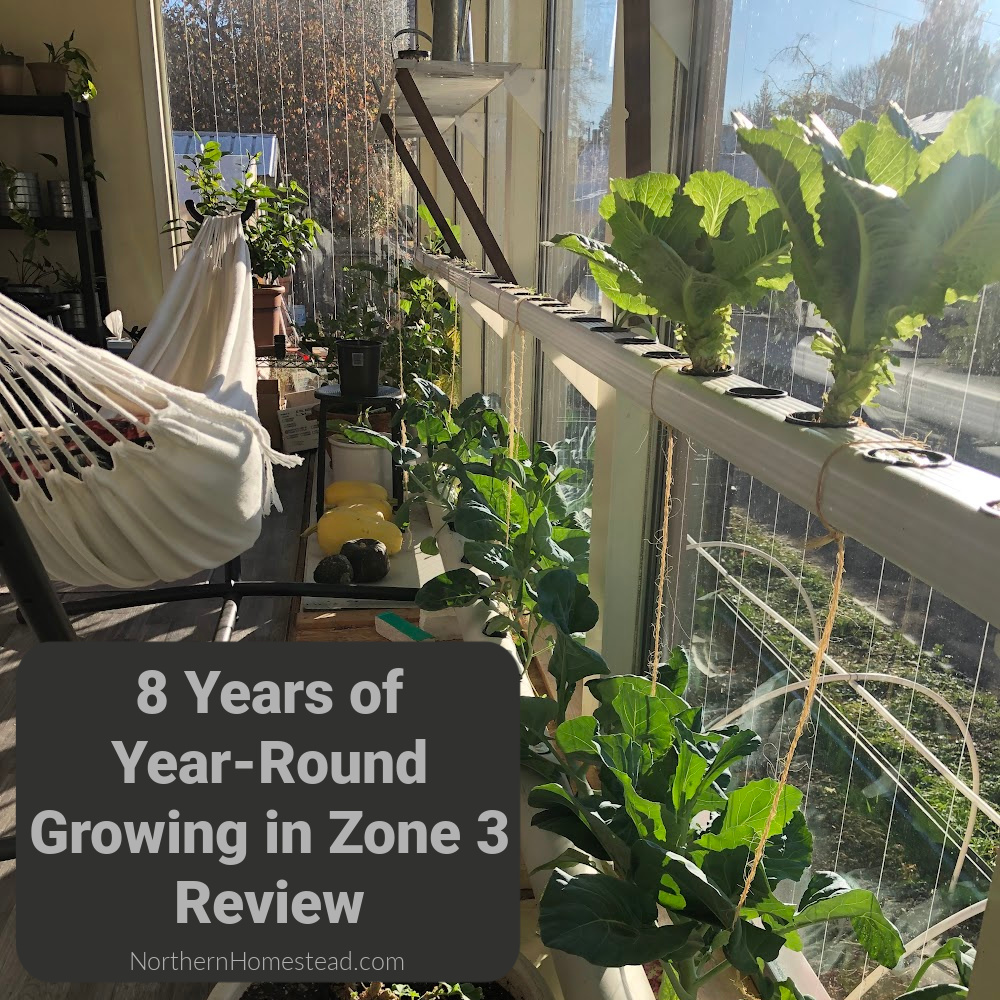
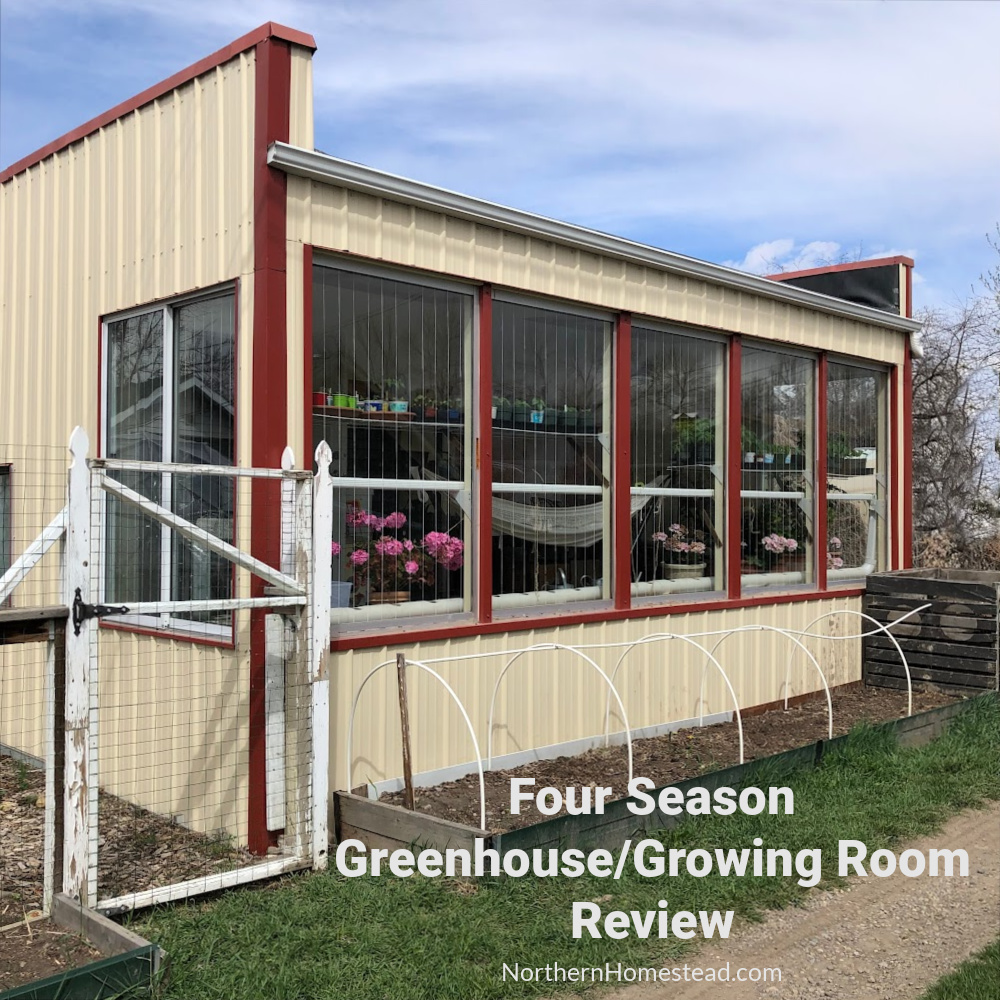
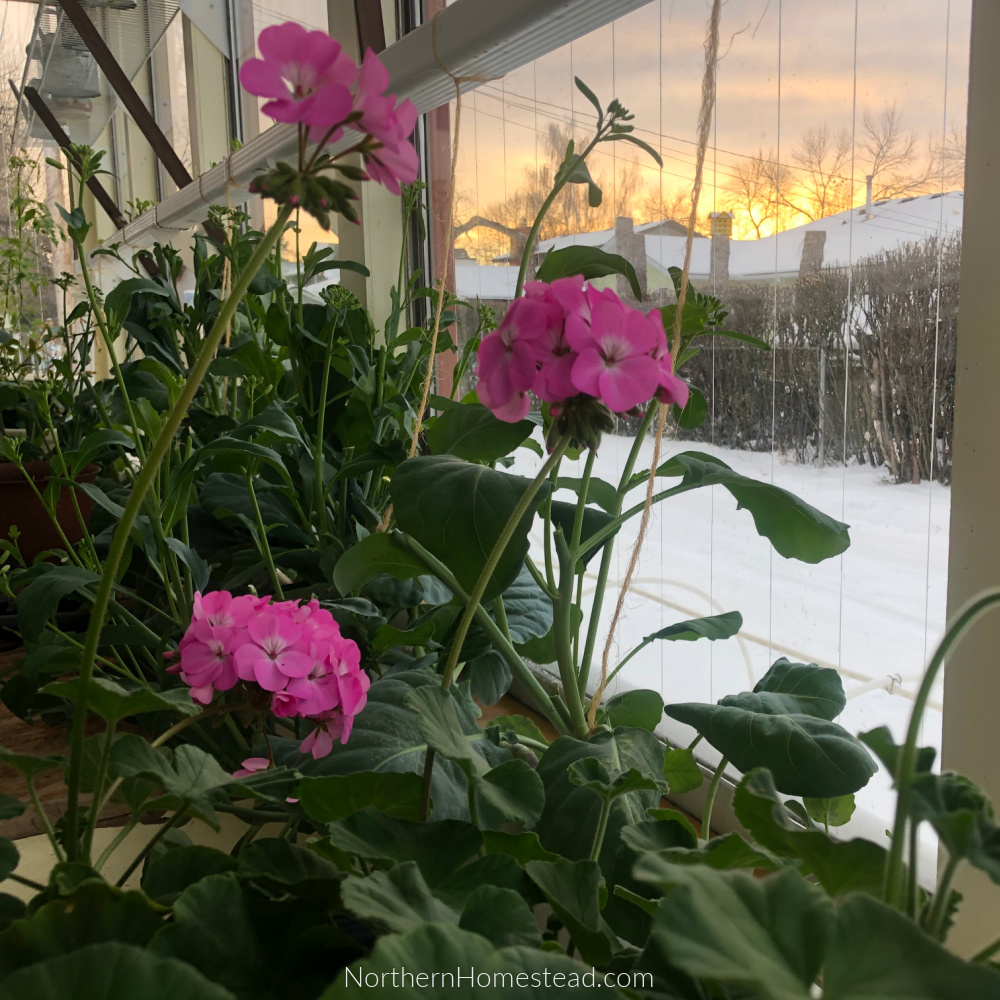
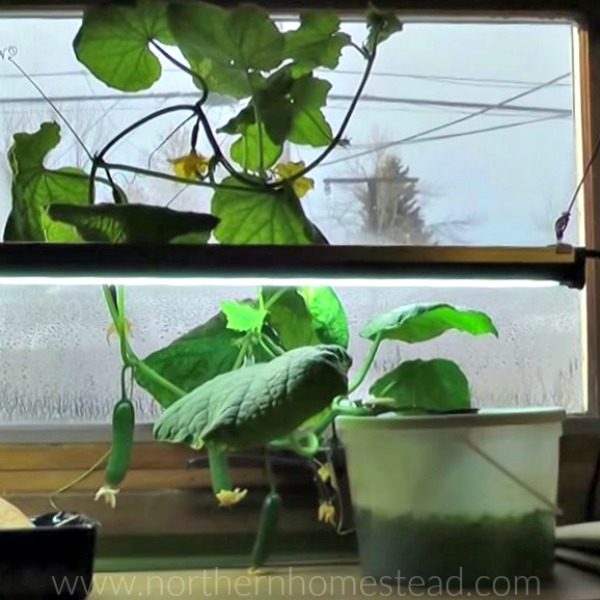
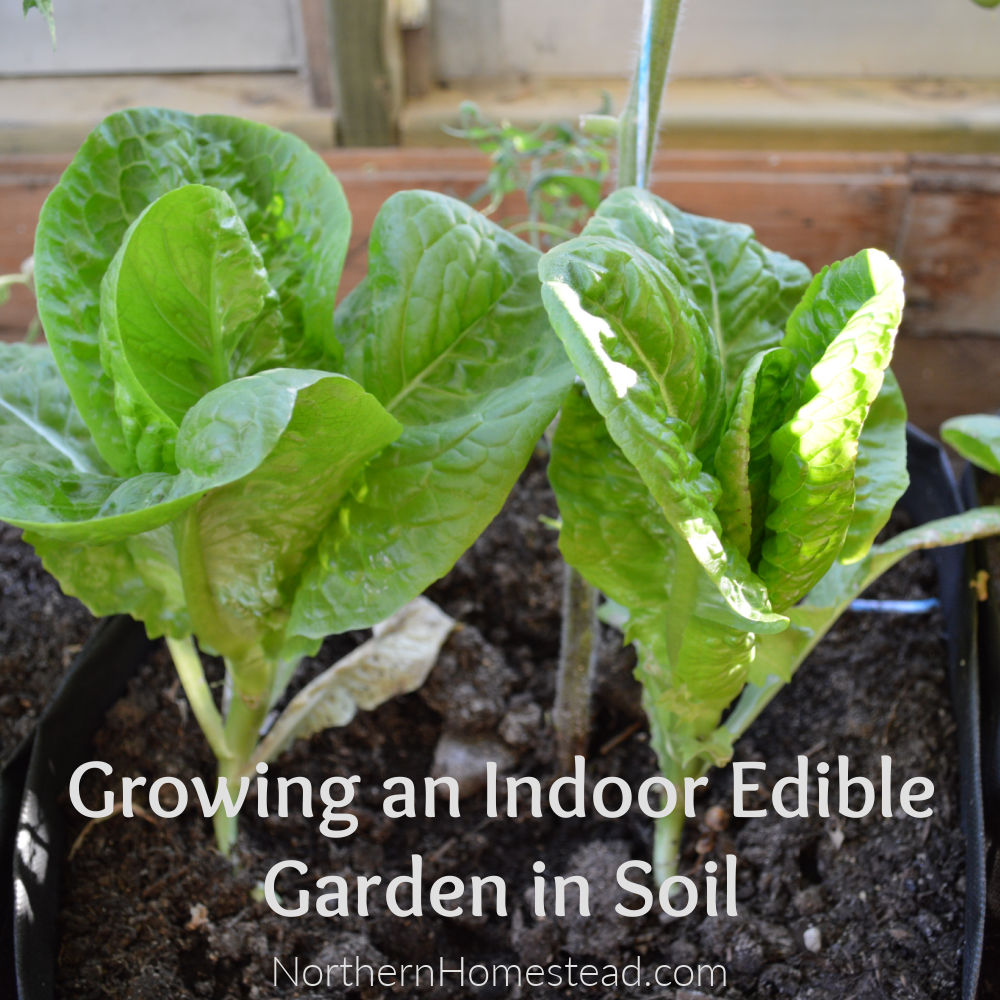
The high-pressure hydroponic growing system is part of our indoor garden. Here we grow year-round tomatoes and lettuce, seedlings in spring and overwinter tropical trees.
We invite you to subscribe to Northern Homestead and follow us on Instagram, Facebook or Pinterest for the latest updates.


Hope there will be more website like yours that give information about hp Aeroponics there fue and far between finding them. You truly deal with hp Aeroponics.
Thank you, we love growing in aeroponics. It is not widely known amongst home gardeners yet.
Hi,
Nice to see such an aeroponic system working so well. I was wondering if you are having any problems with the brass misters clogging or corroding because of the nutrient solution? Would you still propose to use such small brass ones or would you go for plastic nozzles maybe with a larger ID?
Thank you for your response!
In my opinion any nozzle will clog up eventually, hence I’m using the ones that can be disassembled and cleaned.
Hi,
This is really one of the most helpful websites about Aeroponics. I was wondering what is the nutrient-rich water solution made of? Do you buy it or make it?
Thank you!
Thank you! We use General Hydroponic water-soluble, dry concentrate nutrients.