
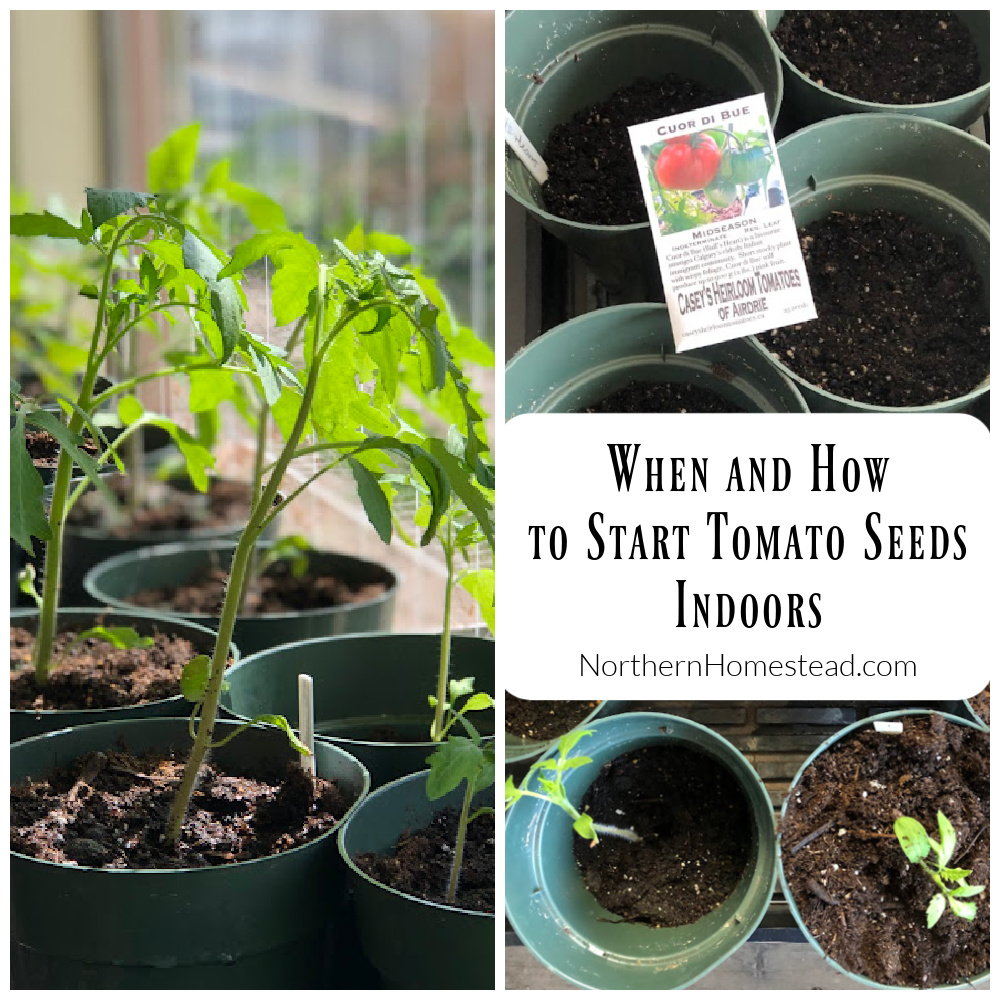
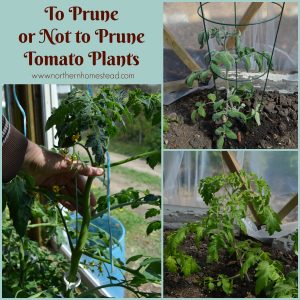
 Growing your tomatoes is fun. You can start by browsing seed catalogs during the winter, planting seeds in early spring, and harvesting the ripe fruit in summer. This article will discuss when and how to start tomatoes indoors using a ‘no-fail’ method that involves less work. This method has worked for me to give a good start to the growing process for many years, and you can go from seed to harvest in less than four months. The first part will cover the when question, and the second the how-to.
When to start tomato seeds indoors?
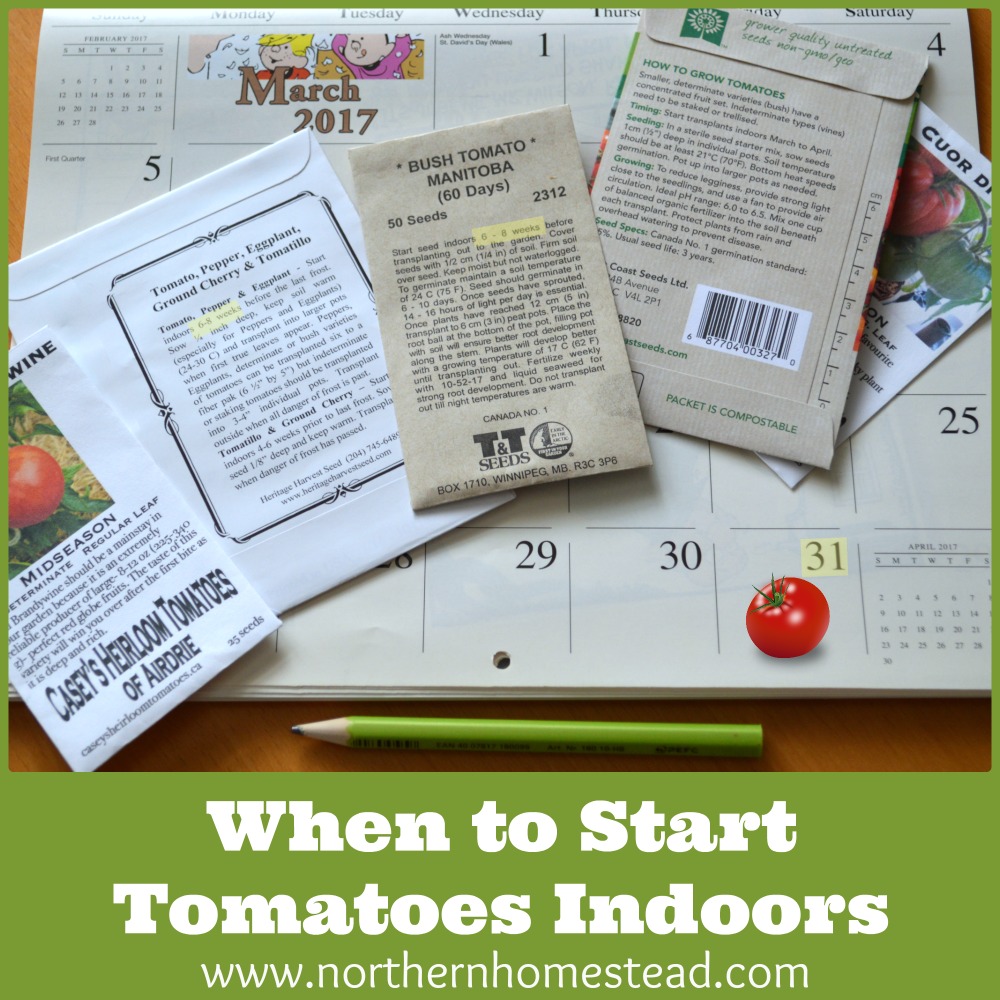
A very simple answer to the question ‘When to Start Tomatoes Indoors’ is written on the seed packets. For most tomatoes, it is 6 to 8 weeks before the last frost day. To find your average last frost date, go to these links if you live in Canada or the USA.
Our last frost day is May 26. Counting back eight weeks, we come to March 31 as the best time to sow seeds to have seedlings ready to be planted after the last spring frost date. If you have a greenhouse, you can plant the tomatoes about two weeks before the last frost day, so start them two weeks earlier (early March). This is all you need to know.
However, there is more to that question.
When we first started growing tomatoes, it was very confusing to me. Already in February, or at the latest at the beginning of March, everyone seemed eager to start tomato seeds indoors. It even made me wonder if the seed packages had the wrong information on them.
I started making my own experiences and learning from them. Every year, I would start a little later than last year to find that it was much better. In the end, we had healthier seedlings and better, earlier harvests.
Even though many gardeners still like to start very early, starting seeds indoors 3 to 4 months before the last frost day does not usually result in earlier and healthier tomatoes.
Why is that? Let’s take a closer look.
1. Plants need light to grow
In our area, daylight from October 28 to February 14 is less than 10 hours. Often, the much-needed winter sun is obstructed by neighboring buildings and trees. Growing year-round, we can see the impact of the “below 10-hour days.”
If you start your seeds right at the edge of the 10-hour day, they will grow very slowly and become spindly. Seedlings become spindly when there is not sufficient bright light; tomatoes love full sun to become compact plants. Spindly and weak seedlings, for the most part, are no good. They recover after being planted, but that takes precious time that a short-growing season gardener does not have.
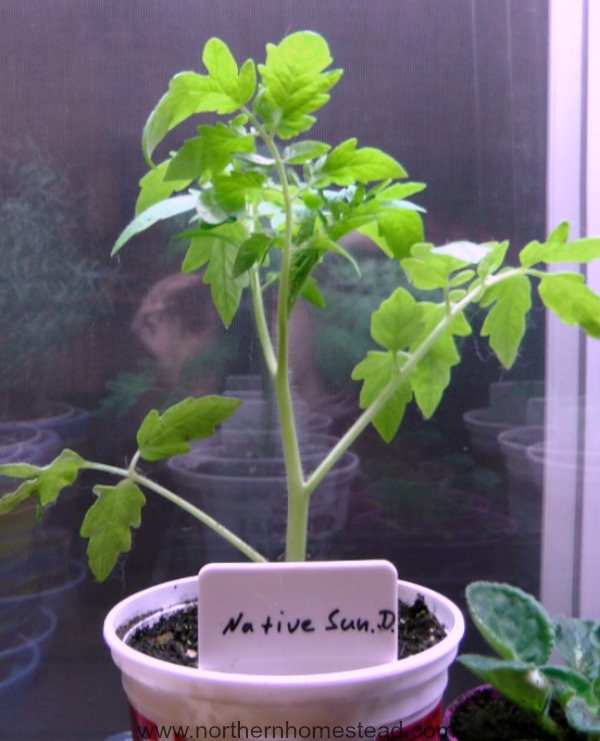
You can use fluorescent lights to avoid spindly seedlings, but your seedlings will grow fast, resulting in overgrown plants, leading to a different problem.
2. Seedlings are ready to be planted before putting forth buds
The focus of every plant is to bring forth seeds. If the plant is healthy and the growing conditions are right, the plant will concentrate on getting a good root system, leaves, flowers, and then fruit – and lots of it. However, if a seedling sits for too long in a small container, it signals the plant that it can’t get any better roots or leaves. All it wants to do now is to produce some fruit before it perishes. Larger containers are an option, and we cover all that below.
As a beginner gardener, you might be excited to see the first flowers and fruit on your seedling, thinking you have a head start. But that is not true. What you got is a desperate plant that has put all its energy into producing that first fruit. Taking off the first flowers does help, but then you have lost the first fruit.
3. Not all tomato varieties are alike
We are blessed with a great number of different tomato varieties to grow in our gardens. We have early, late, small, tall, determinate, and indeterminate varieties. See the heirloom varieties we like to grow here.
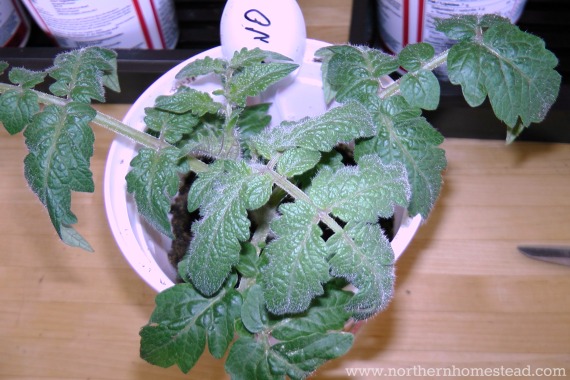
Here is a picture comparison of a Tiny Tim and a Sweet Million plant. Even though they are both early varieties of cherry tomatoes and have similar day-to-maturity times, they will grow very differently. The Tiny Tim plant is tiny and will only be a foot tall; the Sweet Million, on the other hand, can grow to 6 feet.
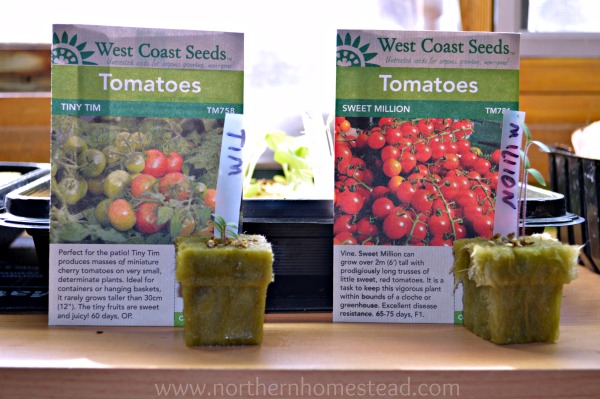
These tiny seedlings are just a few days old and do not have the first true leaves yet, but you can already see a significant size difference. These are two very different plants. Let’s look at each one separately.
Bush type tomatoes
Dwarf varieties (determinate and indeterminate), tumbler type, and determinate tomatoes are all bush tomatoes (usually, a seed package has all that information). A real determinate tomato will produce all the fruit at one time. Many of these tomatoes are very early and good for a short growing season, canning, and preserving. You sure do not want to start them too early. Start them six weeks before planting them out, at the earliest. If you have to wait longer because of cold weather, the seedling will not overgrow.
TIP: Tumbler and dwarf plants can be started earlier and transplanted into a bigger and final container long before the weather outside is nice, granted you have the optimal conditions indoors, a warm location, a good light source, and good air circulation. They can be grown indoors for part of their life or the whole time because they are great for container gardening and do not need much space. This way, you can really have some early fruit. Read more on how to grow tomatoes indoors here.
Vine type tomatoes
If you search for information about growing tomatoes on the internet, you will find most information about vine type and indeterminate mid to late-season varieties. Those are simply the most common tomato varieties to grow all across the world. Those are tomato plants that will grow into tall plants and keep producing an abundance of fruit for many months. Indeterminate tomatoes are perennials; they can grow into a tomato tree if given the right conditions.
The indeterminate tomato plants are the only tomato plants that may be worth starting very early. Some tomato growers like to get the seedling up to 2 feet (ca. 61 cm) tall, then clip off all the branches except for the top 4-6 inches (ca. 15 cm) and bury all of it in a trench, bending the top-up carefully. This way, the entire stem will become roots, resulting in longer and more roots.
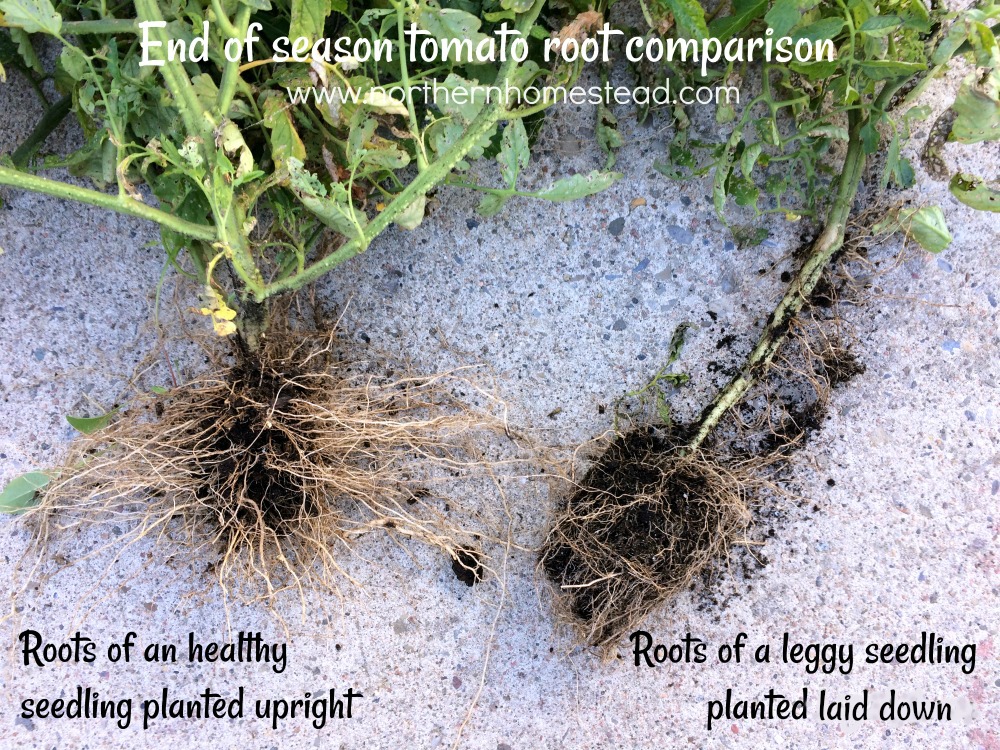
I tried both, and here is an end-of-season comparison. You see how healthy the roots planted as young seedlings are; on the other hand, the laid-down planted plant has grown some roots, but all of them are smaller. So, at least for a short growing season, it is not worth it. Start your seedlings later and have healthier plants and ripe tomatoes early!
We like to have seedlings at a stage where they are almost putting forth buds. We also like to plant them vertically, not horizontally, to encourage the roots to reach down to find moisture. This way, we do not have to start them earlier, and we do not have to water the plants as much during the whole growing season. It’s a win/win. And we harvest lots of tomatoes, even in our short growing season.
The days are already brighter and warmer, while we start the seeds later. If that is not the case in your area, make sure to add a grow light. We want to create the best conditions possible for a healthy seedling. This way, we can grow seedlings in 6-8 weeks.
I hope this helps you understand the tomato starting time better. At the end of the day, it is your decision when you want to start tomatoes from seeds.
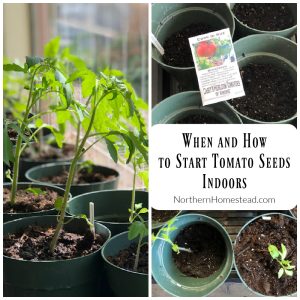
How to start tomato seeds indoors
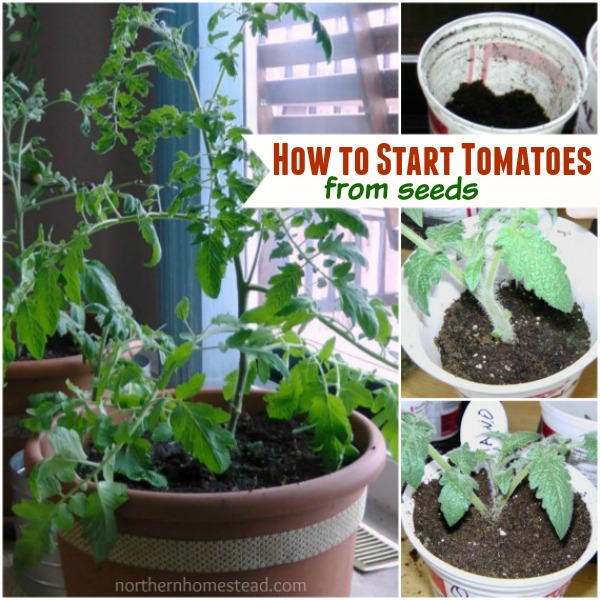
Now, let’s look into how to start tomato seeds indoors. Indoor starts are important for heat-loving plants to have ripe tomatoes during the summer.
There are many methods for starting tomato seeds. The simplest way is to get tomato seedlings from the local garden center. The next best method is the one we use, which requires minimal work. Try it out if it is a good choice for you, and tell us how you like it.
Pots and potting soil
For tomatoes (and peppers), we like to use larger pots, about quart-size. Peat pots are not needed for tomatoes; they are just needlessly expensive. Good store-bought plastic containers might be a good investment for many years of use. Otherwise, the (free) yogurt containers are the optimal size for those plants.
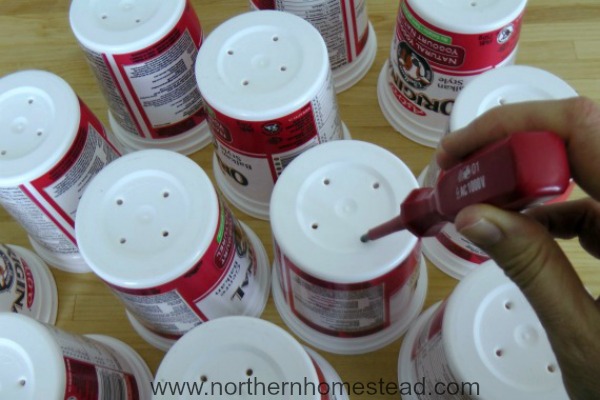
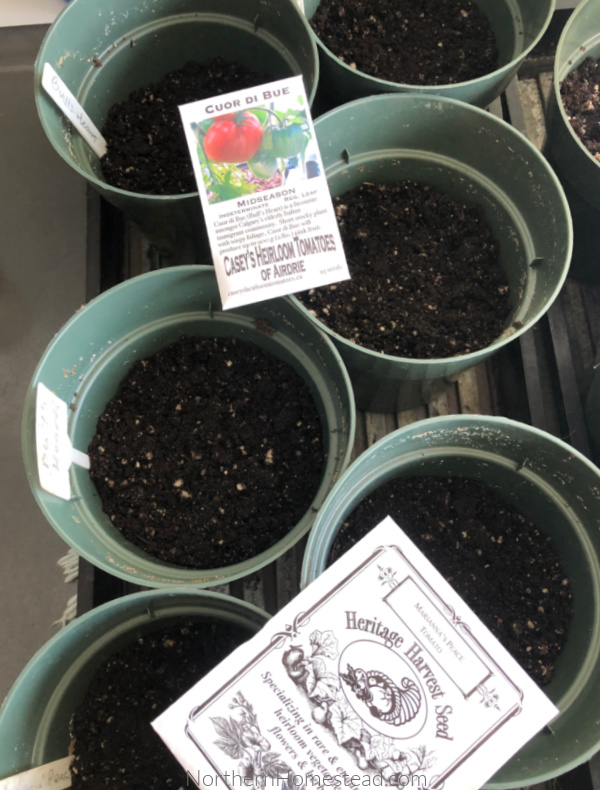
First, make some holes in the bottom for drainage, place them into seed trays, then fill the container about half with potting soil (You will see later why it is just half full).
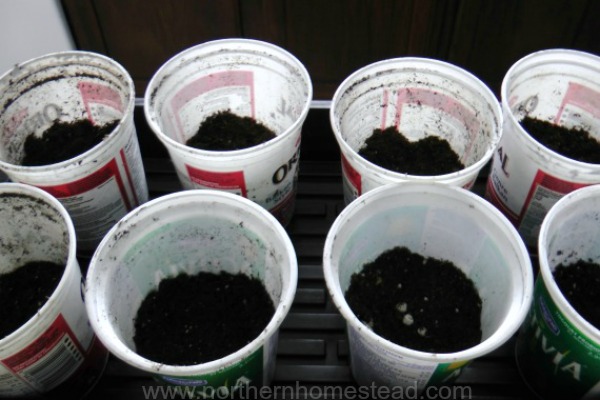
Seed starting mix or soil that is very fine and sterilized might be important for some seeds that are very small and hard to start. For tomatoes, we often use regular potting soil. Soilless mix, like Pro Mix, can also be used, but you have to be aware that it is just a growing medium with no fertilizer. When choosing a potting soil or a growing medium, read the label. Some are just growing mediums with no compost or fertilizer.
You can also make your potting soil, Mel’s Mix, from the Square Foot Garden book. Mix 1/3 compost, 1/3 vermiculite, and 1/3 peat moss. All of the ingredients are usually available in local garden centers or Home Depot. Read more about the DIY container soil here. It is a good mix that we have used in grow bags and raised beds as well.
Plant the seeds
Here is a wordless video on how we start tomatoes from seeds. To watch the video on YouTube, click here.
Before planting the seeds, moisten the soil with warm water, which helps the soil temperature be right for tomatoes. You do not want it to be neither dry nor wet. Plant 1-3 seeds into each container to ensure that at least one germinates. You want to plant the seeds about three times the size of the seed deep. Cover and press slightly down, moisten again; a spray bottle works great for that. Covering the container with plastic wrap also helps to keep the soil moist for better germination.
If more than one seed germinates, you can cut the little plants off and use them as cuttings; read more here: how to grow tomatoes from cuttings. It is a great method for those who have trouble starting tomatoes from seeds.
Sunny window and grow lights
A seed needs moisture and warmth for germination, not much light. Find a nice warm spot in your house. Heating mats can be helpful with bottom heat. We often use a warm place like the top of the washer and dryer in our bright laundry room. Young plants need a lot of light as soon as they show sets of leaves.
A south-facing window might be enough to grow your seedlings. However, if your weather patterns are cloudy, you might need to substitute with grow lights. You can also add light in the afternoon for an east window, and a west window benefits from additional light in the morning. The idea is to give the plants 12 hours of direct light.
There are many grow lights to choose from. We use 54W high-output T5 fluorescent lights with a bulb life of 20,000 hours. This is a small investment for many years of healthy seedlings.
Instead of potting up tomato seedlings
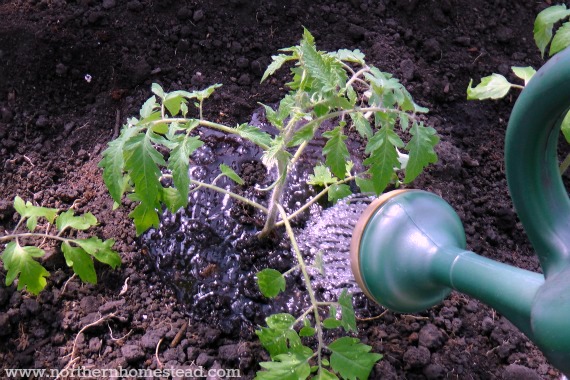
Tomatoes, eggplants, peppers, and potatoes belong to the nightshade plant family. Nightshade plants are unique in that they grow roots along the stem. This is important! To have a healthy, not leggy, tomato plant, it is good to plant the seedling deep into the soil.
If I had started tomatoes in smaller containers or bought seedlings from a greenhouse, I would transplant them into a bigger pot and bury as much of the stem as I could as soon as they were a little taller. Sometimes, the plant is so leggy that the first set of true leaves only starts at the top of the plant. This shows that the plant did not have enough light. Transplant it into a bigger pot anyway by burying the stem, providing more light, and it will start to get stronger and healthier.

You see since my seedlings are already in a bigger container, I save myself some work ;).
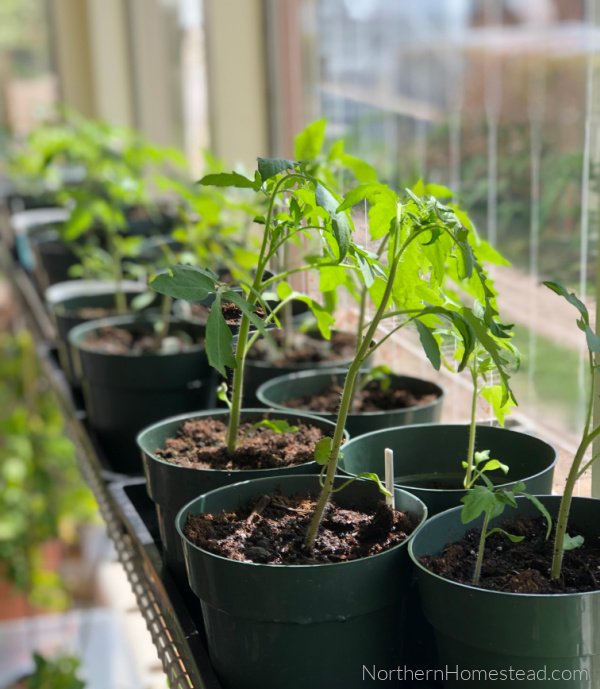
Once the little plants germinate and grow taller than the container, gently cut off the lower leaves and fill the pot with potting soil to the top. This way, the seedling does not go into a transplant shock; we do not disturb the roots at all; we only add soil to fill the pot. You can also add some compost or warm casting into the soil mix to the container; the plants will grow even better.
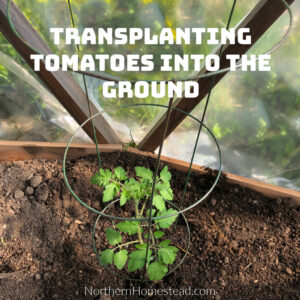
When the danger of frost is over, they will be ready to be transplanted into the ground or their final container in a few more weeks. Read all about transplanting tomatoes into the ground here.

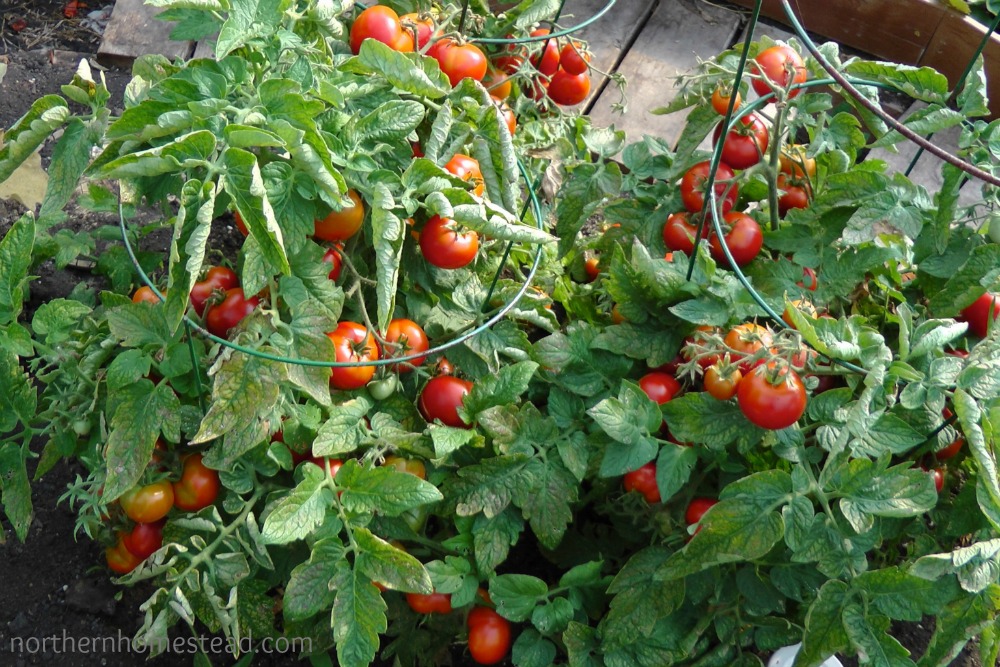
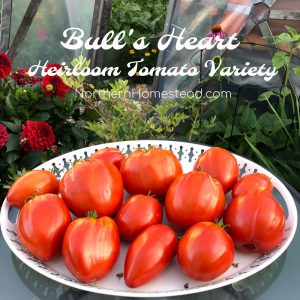
Here is a picture diary for the simple seed-starting method: Seeds started on March 17, and the pot was refilled on April 16. The plants were ready to be planted into the ground in the greenhouse on May 14. They are just putting out buts; they are not flowering yet. And in early July, we are already enjoying the yummy, ripe, big tomatoes. This is the Bulls Heart tomato variety, similar to beefsteak tomatoes.
There are many ways to start tomatoes from seeds. This method is not just a good idea; it is a ‘no-fail’ method, requiring less work to go from seed to harvest fast, ideal for a short growing season.
We invite you to subscribe to Northern Homestead and follow us on Instagram, Facebook, or Pinterest for the latest updates.


I actually start mine in (well washed) milk jugs. I cut them open leaving a little hinge, add the soil and seed, then using clear tape to close it back up. It makes basically little greenhouses so I can put them out on the deck on warmer days starting in late March/early April. In Maine, the rule of thumb is no planting the garden until the end of May to be sure to avoid frost. The milk jugs help a ton with having plants ready to go by then.
Thats what we call winter sowing. Thank you for sharing your experience with it.
I was curious if these recycled containers can be reused.
I live in Arco Idaho and our season is super short… this is our first year with a high tunnel and we are so behind on learning the ‘ins and outs’
I LOVE YOUR POSTS!!!!
Thank you! The recycled containers are not as durable as good quality garden containers. But they still last a few years. At some point, they become brittle and need replacement.
Do you ever start tomatoes using the winter sowing method? If so when do you sow the seeds?
No, I have not. Seeing the results for cold weather crops, I decided that it probably would be too cold in our climate. Our spring is very short, and it is often freezing cold into May. But, read another comment from Julie, it does work for her in Maine.
Are you able to use the same technique for bell peppers? 🙂 🫑
By “technique”, I assume you mean the half pot soil start? Technically, yes, you can use the same technique, but I haven’t found it as useful or necessary for peppers. However, leaving a little space in case they get a bit laggy is always a good idea.