Growing sprouts at home is the easiest way to grow nutritious food right in your kitchen. No green thumb is needed, as well as no soil, no grow lights and no extra space. You can start today and become a gourmet sprout grower in less than a week.
Why grow sprouts at home
Sprouts’ nutrition value is often higher than the plant they would become. For example, 1 cup of radish sprouts contains 11 mg of vitamin C while 1 cup of radishes contains only 8.6 mg of vitamin C. To grow a cup of fresh radishes in the winter you would need soil, sunshine, and space. Sprouts thrive wherever on just some water. Radish sprouts are supper yummy, one of my favorites!
Sprouts are very easy to grow and are ready in 3 to 6 days. If you grow your own at home, they will be always fresh, with no additives or preservatives. Grow as much as you can eat in a few days, and start afresh to have a constant supply.
Where to get seeds to grow sprouts at home
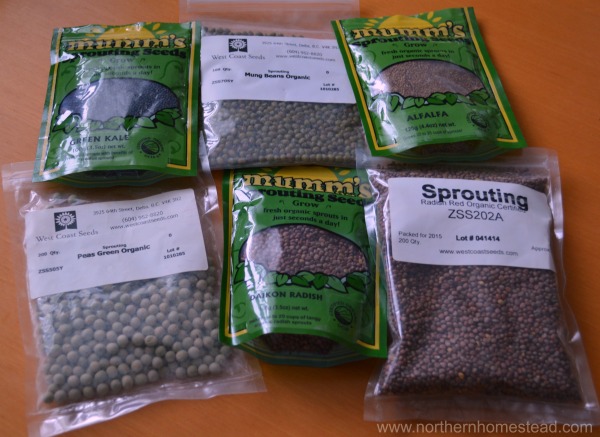
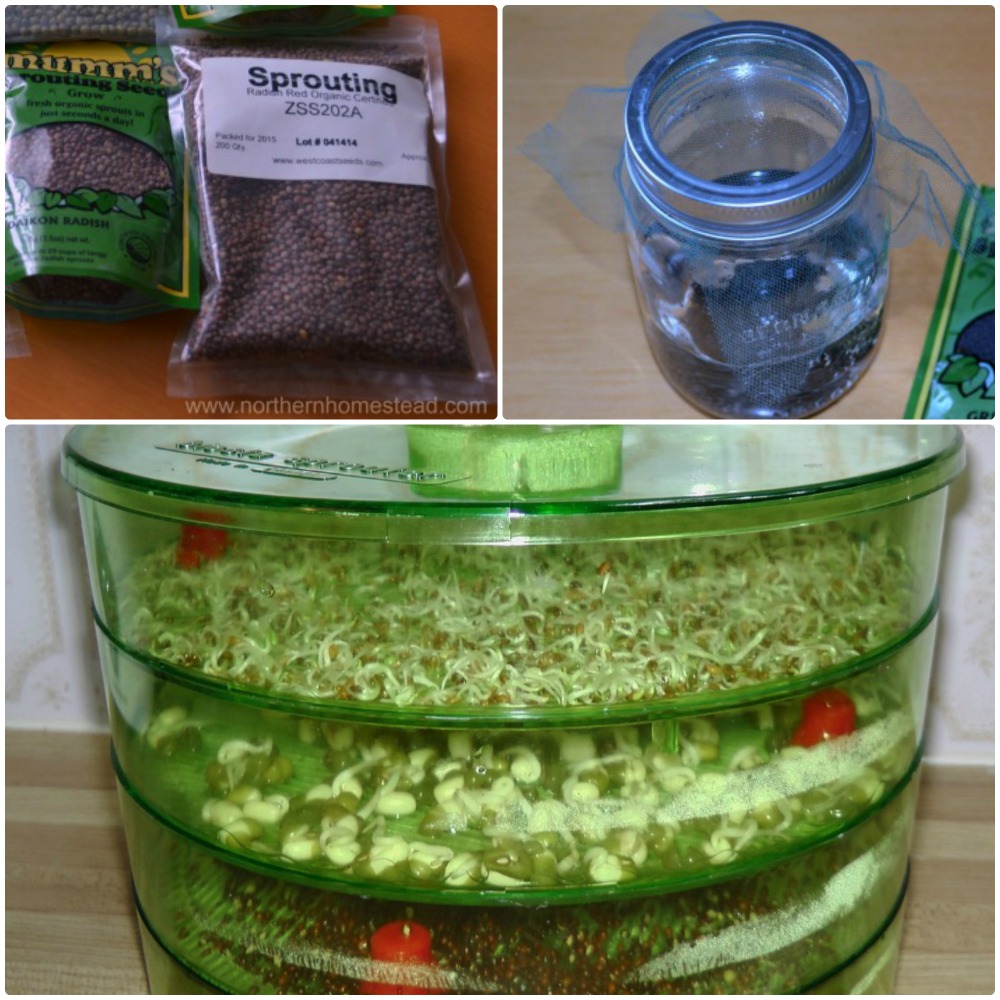
For growing sprouts, you will need edible seeds that are not treated with any chemicals. Health food stores often carry a good selection. A great source for sprouting seeds is Mumm’s. They have a big variety of all kinds of yummy mixes. Seed catalogs and garden centers often have a good selection as well. A small bag will go a long way.
You can also grow your own seeds, those are great for sprouting. Radish, arugula, and other tasty varieties easily go to seeds.
If you want to sprout grains or legumes, you can just use the ones you can get in a food section at a supermarket. Wheat or rye berries, which are good for grinding into flour, are also good for sprouting.
How to grow sprouts at home
There are different methods to grow sprouts. There is no right or wrong as long as you get clean sprouts out of them.
Jar method
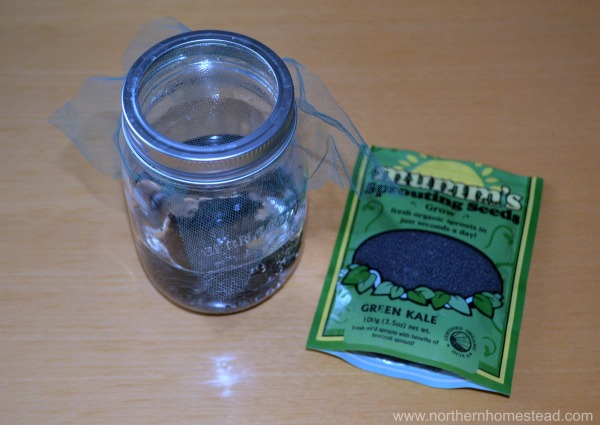
The Jar method is great for beginners. If you just want to see if sprouting is something for you, start with the jar method. Place 1 to 3 tbsp seeds in a wide-mouthed jar. The bigger the seeds the more seeds you will need to fill the jar. Cover the jar with a screen or mesh and secure it with a rubber band or lid ring. Add water, swirl, and drain. Refill with about 1 cup of water and soak the seeds in water for 2-6 hours depending on the size of the seed. Drain the water.
Rinse seeds twice a day by refilling the jar with water and gently swirling and draining the water. Invert and prop jar at an angle in sink or bowl. The sprouts will be ready in 3 to 6 days.
I find small seeds like alfalfa work better in a jar method, bigger seeds do great in a sprouter.
Sprouter method
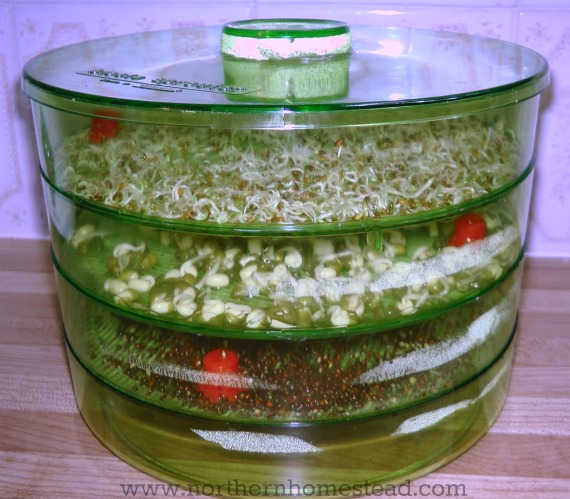
For more advanced sprouting you might want to invest in a sprouter. We use the Biosta 3 Tier Sprouter. If you have a conventional sprouter the instruction will tell you what to do. For all sprouters though it is good to rinse enough seeds to cover the bottom of the sprouting tray. Do not overfill, leave enough room for growth.
Soak the seeds in water for 2-6 hours. Depending on your sprouter this can be done in the tray, or use an extra container. The Biosta Sprouter drains slowly, making pre-soaking not necessary.
Sprouting in a sprouter will go fast and easy. Again, follow the instruction of your sprouter since there is no way to tell you how each and every one of them works. Just remember that sprouting is easy, and even more so in a sprouter.
Bag method
The bag method is great for grains. You will need a sprout bag that you can just dip and hang. Again it is good to rinse the seeds well, to prevent mold from growing. Sprouts will be ready in 3-5 days.
Store and use homegrown sprouts
Sprouts are great to add to a sandwich, a blunt winter salad or to sprinkle on soups. Sprouted grains also make delicious cookies.
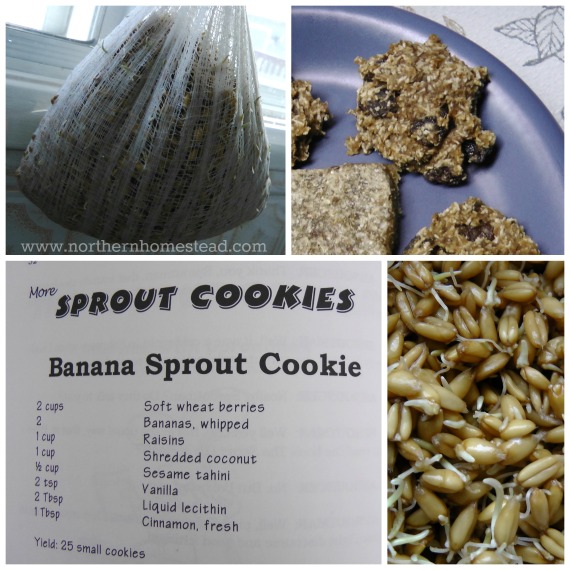
The book Sprouts: The Miracle Food: The Complete Guide to Sprouting has great recipes and ideas. A must-have if you are into sprouting.
To keep sprouts fresh, refrigerate well-drained sprouts in a sealed container. Personally, I never do that. we just use them as they grow.
Enjoy your very own homegrown sprouts. Grown in just a few days, delicious and nutritious, organic fresh food!
We invite you to subscribe to Northern Homestead and follow us on Facebook or Pinterest so you don’t miss a thing.
Grow an indoor edible garden
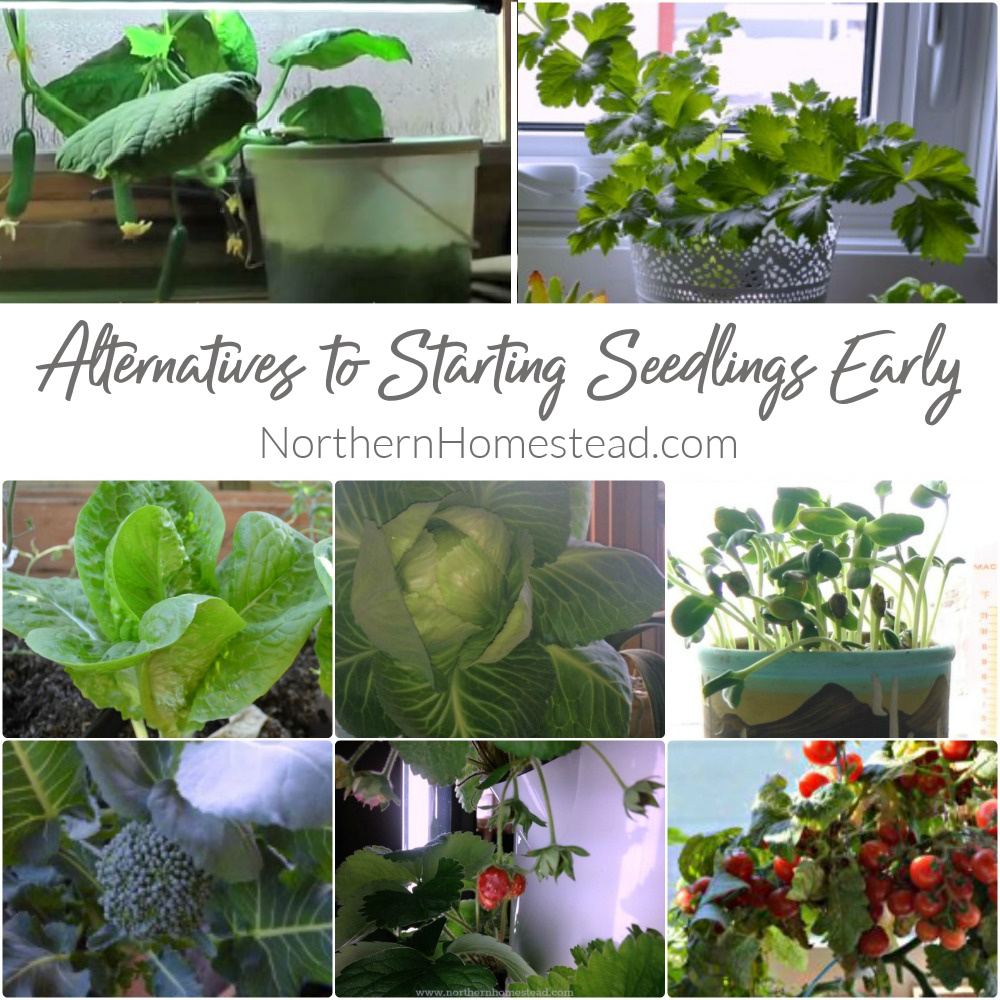
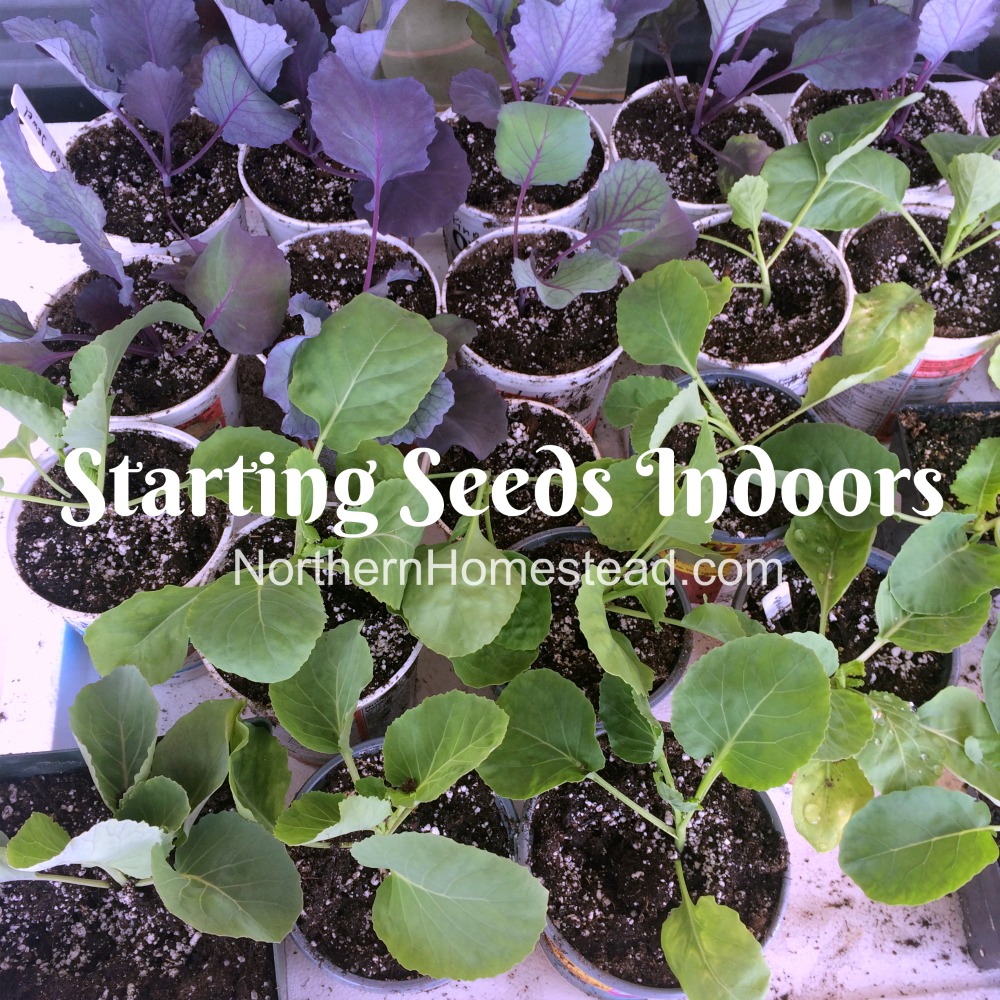
Start growing food for your table in the depth of winter. Take a look at all the posts we already shared about growing food indoors.








Leave a Reply