

You have successfully planted your seeds, and they are growing—congratulations! Now, the question arises: what is next? Do they need to be up-potted, or can they continue to grow in the pots they were started in? This largely depends on how you started the seeds and the types of plants you are growing. While germination does not depend on the method—since you can germinate seeds in a glass jar as you would with sprouts—what happens after germination is crucial. Essential care for seedlings: Growth tips and transplanting methods.
Light, temperature, and water
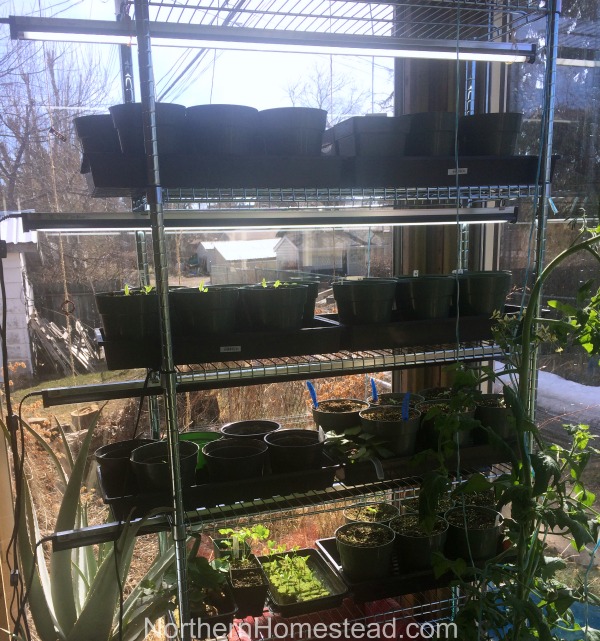
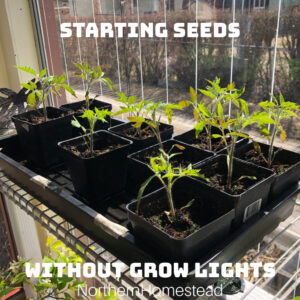
No matter what method you used for seed starting, once they are up and growing, remove the humidity dome or covering if used. Also, unless the room is very cold and you are growing heat-loving plants, turning off the heat mat is a good idea. Or if you germinated seeds on a heating sheet, or on top of the refrigerator, bring them out into light. Now light is the more important part, not heat.
Water the young seedlings and keep them moist. They do not need fertilizer before the “true” leaves have grown. In most cases, they will need more soil before applying fertilizer. And that will depend greatly on the method used to start the seeds in the first place.
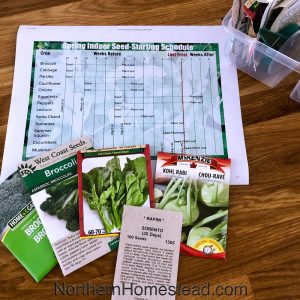
Understanding Seed-Starting Methods
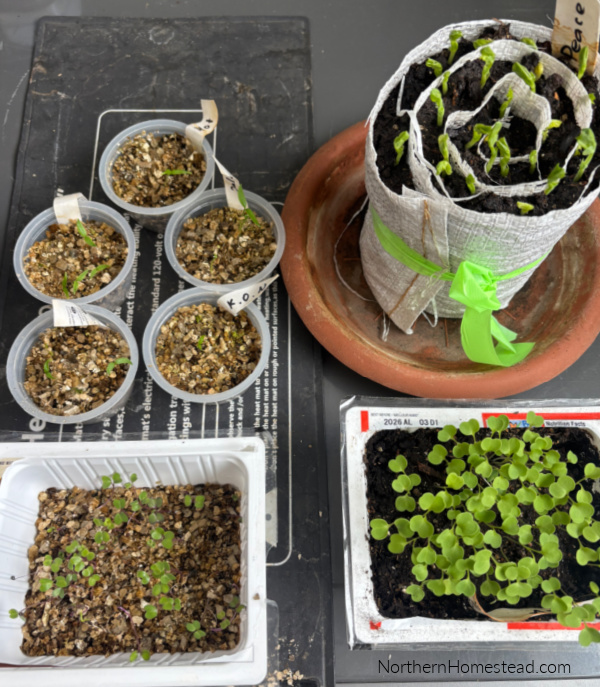
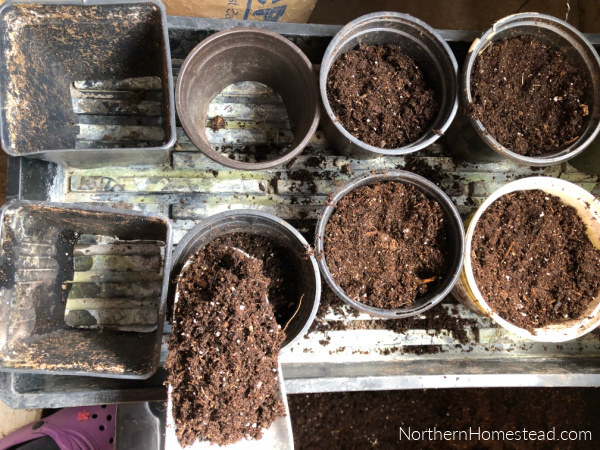
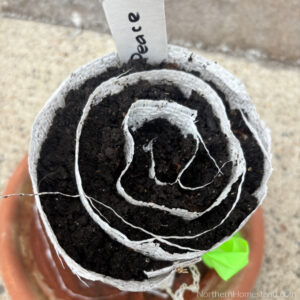
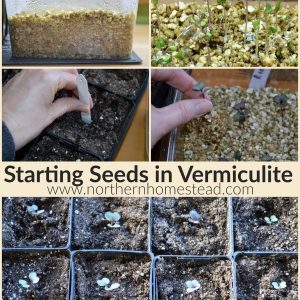
The various methods for starting seeds indoors may differ in practice, but they share the same basic principles. If they cannot be planted outdoors soon, all seedlings need more soil to develop healthily. The germination process relies on seed quality, not on the specific method used. For example, starting seeds in a seed tray, regardless of size, will eventually require the seedlings to be pricked out. Using vermiculite can make this process easier because it is lightweight, but regular potting soil or growing medium is just as effective. Seed snails offer the advantage of being unrolled to add more soil; however, their main purpose is to facilitate planting the seedlings outdoors quickly.
With so many options for starting seeds, it can be confusing as new methods are introduced continually. It’s important not to get overwhelmed by trends; seeds still need moisture and warmth to germinate, as well as nutrients and space to grow. Initially, seedlings may not require much space, but as their roots develop, they can compete for space and become root-bound. To avoid this, various seed-starting containers—such as pots, trays, and snails—are utilized. Ultimately, the type of container isn’t as critical as ensuring that roots have room to expand.
Pricking Out Seedlings: A Two-Step Process

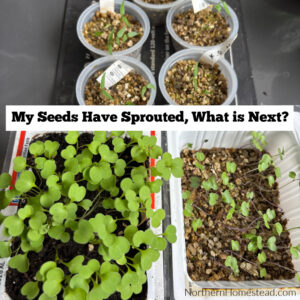
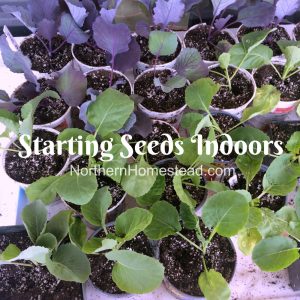
One of the simplest and most popular methods for starting seeds is using a seed tray. A seed tray can be filled with seed-starting soil for tiny seeds, potting mix, or vermiculite to make seedling removal easy. However, a seed tray is only a temporary setup; it is not a permanent home for seedlings. For those new to seed starting, this is an essential step. If seedlings remain in a seed tray too long, they will not develop into healthy plants.
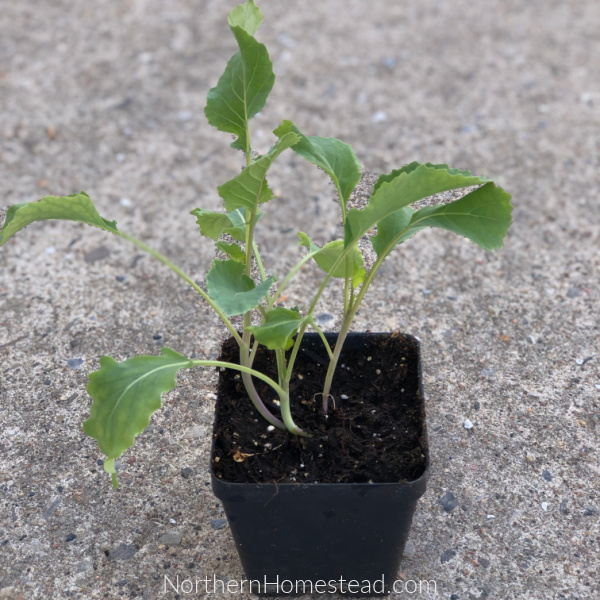
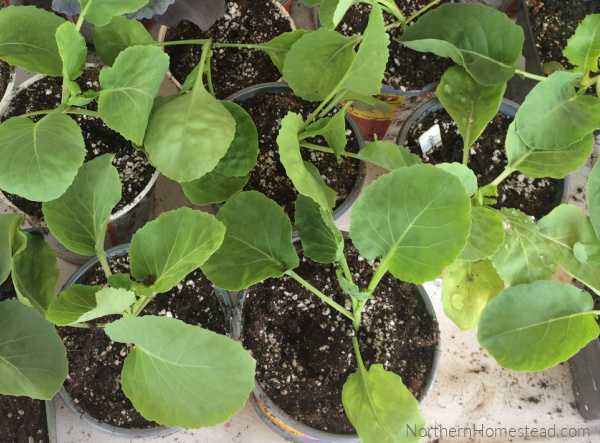
If using a seedling pot to start plants, that’s fine too. You should still manage the plant density in the pot. For larger plants like tomatoes and peppers, ideally, leave only one plant per pot. For quick-growing plants such as lettuce, kale, or kohlrabi, you can keep up to 4 and separate them when planting.
Simplified Two-Step Methods
If you prefer a straightforward approach and want to avoid pricking out, up-potting, and transplanting seedlings, here are a few options. Click on the colored link to go to a blog post where we explain each method:
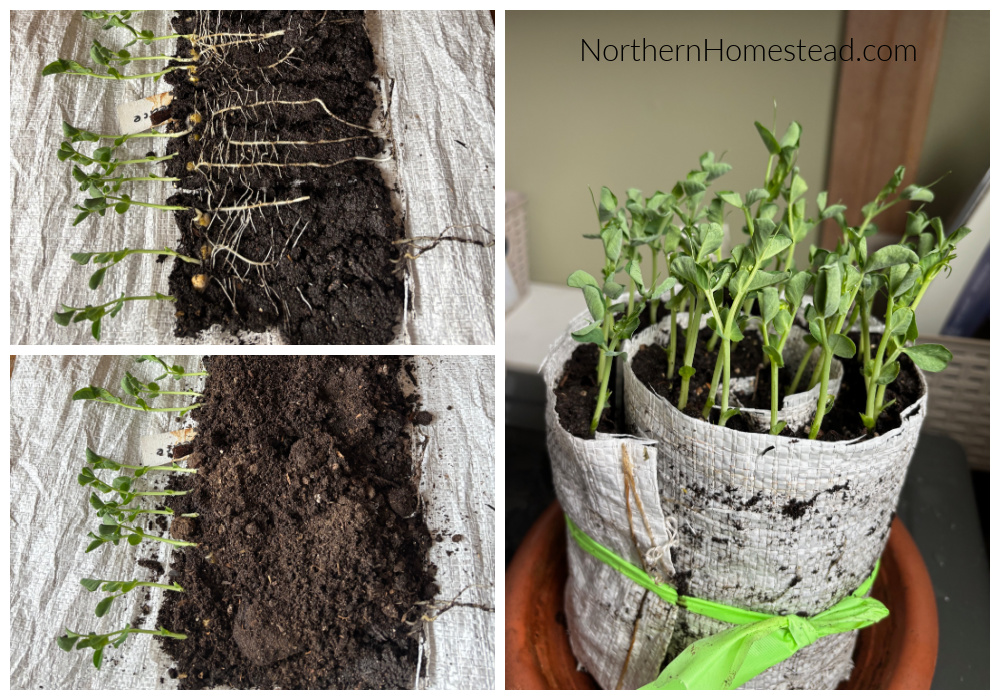
1. Winter Sowing: Mix compost into your seed-starting soil to provide nutrients for seedlings as they grow. Usually you do not have to up-pot seedlings in winter sowing. They will stay there till it is time to plant them out.

2. The half-pot tomato Method: Start tomatoes in a container that is half-filled with soil, then fill it up as the seedlings grow.
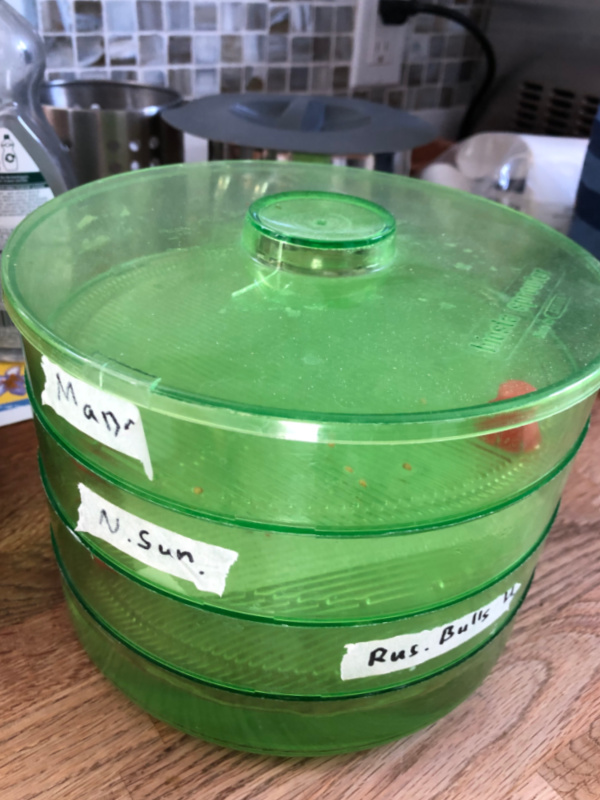
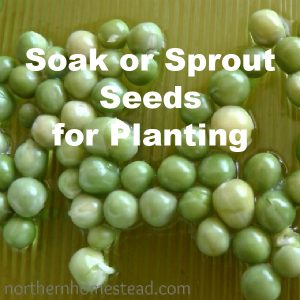
3. Sprouting: Instead of traditional seed starting, you might choose to sprout seeds. Works great for fast-growing seeds like peas and cucumbers.
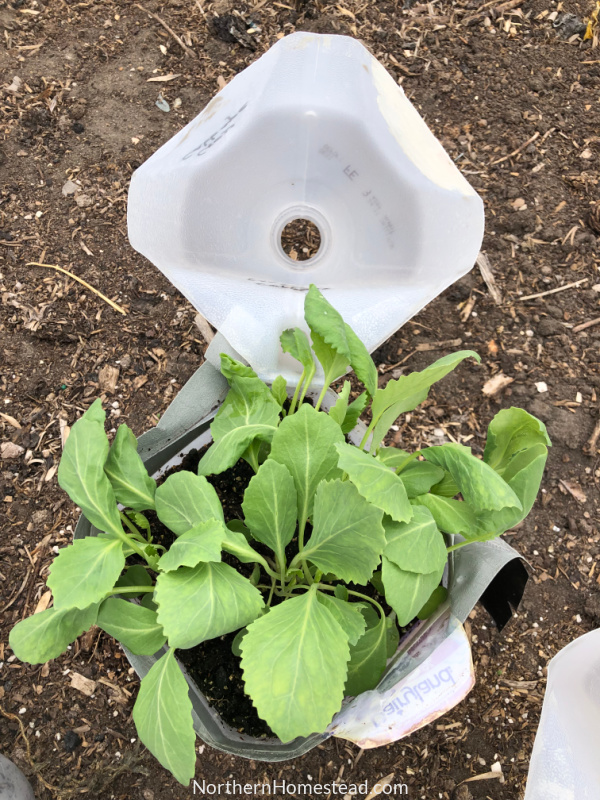
4. Bottomless Pots: Use bottomless pots to plant seedlings directly into the ground when ready. Bottomless pots work well for cucumbers, and I have successfully used them for summer squash as well, which eliminates the need for transplanting altogether.
Using soil blocks made with a soil blocker can be practical if you are growing many plants. And seed snails can also be unrolled to add more soil as necessary. Regardless of your chosen method, it is crucial that as your seeds grow, they receive the additional soil they need to thrive.
Squash Family Plants: An Exception
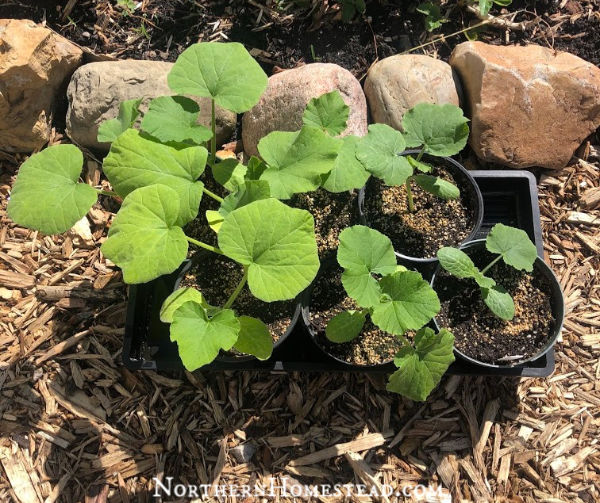
While all plants require space for healthy root development and tomatoes benefit from potting up or adding soil, the squash family tends to dislike being disturbed. If you anticipate that a squash plant will remain in its pot for an extended period, it is best to start with a larger pot. Those seedlings grow fast, a seedling pot is usualy to small, choose a flower pot at least 4″.
Fertilizing: feeding the plants
As the seedling grows, it needs nutrients to thrive. If you are using a growing medium, the most common seed-starting mix sold on the market often lacks any real nutrients. We have a whole blog article about soil for seed starting and containers. If you are unsure, follow the link to read more.
Adding compost or worm casting to the soil when up-potting or refilling the pots is the most natural way to get nutrients to the plants. Also, rabbit droppings are a great natural and quite clean way to fertilize seedlings. And of course, fertilizers in a box also work, but do not use full strength. Start with half what is recommended on the label.
Feel free to ask more questions if you need further clarification!
We invite you to subscribe to Northern Homestead and follow us on Instagram, Facebook, or Pinterest for the latest updates.


Leave a Reply