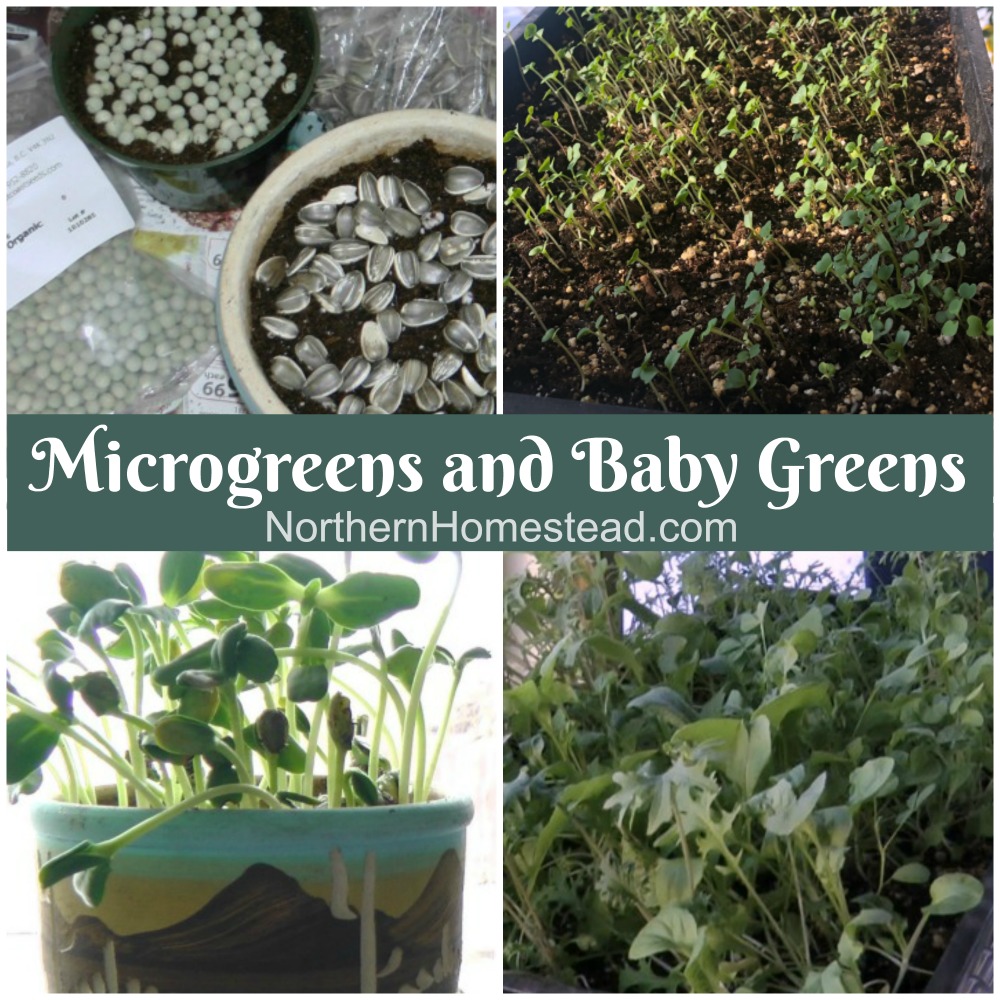
Growing microgreens and baby salad greens at home is easy and adds instant homegrown freshness to your meals. Microgreens and baby salad greens are great for growing indoors during the long winter months.
What is the difference between sprouts, microgreens, and baby greens
An emerging shoot from a recently germinated seed is a sprout. Sprouts are usually grown in a jar or special sprouting tray. Read more about growing sprouts at home here. Microgreens are young plants about 2 weeks old. Baby greens can be the same plants as microgreens, but a bit older. Technically, all microgreens are baby greens, but commercially, very young baby greens are called microgreens.
Where to grow microgreens and baby greens
After germinating, the microgreens and baby greens need light to grow. A sunny window is sufficient for them. They are also a great plant to grow with grow lights. You will not need anything fancy, since they only grow for a short time without producing fruit. Read more about additional light in an indoor garden here.
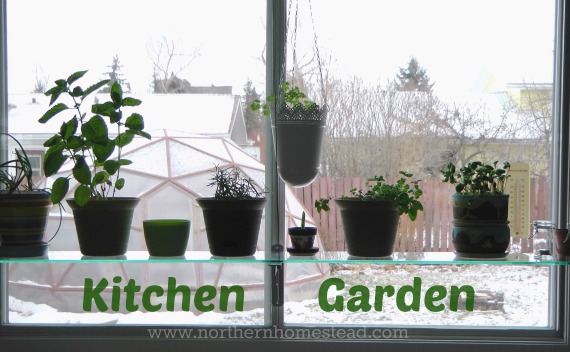
Grow a kitchen window garden with herbs and microgreens. For example, a pretty pot full of microgreens is just enough to use up in a few days, and looks good in your kitchen window.
Microgreens and baby greens can also be grown in a cool place. If you have an unheated sunroom or greenhouse that does not freeze at night, you can grow microgreens there. Cooler temperatures will slow growth but give you vibrant greens. In warmer climates, a greenhouse is a great place during the off-season. And a shady place during the summer months.
Usually, baby greens are grown in pots or trays. The tray doesn’t need drainage; just make sure not to overwater them.
 How to plant microgreens
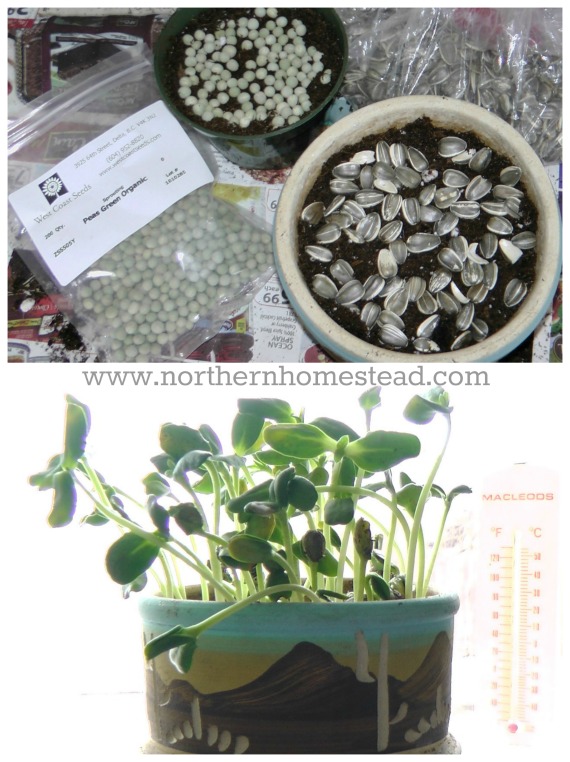
Microgreens do not need rich soil; rather, they need light, fine soil. If you have some potting soil left over, no good for anything else, screen it so it is light to work with, and grow some microgreens. You will harvest the plants before they need soil nutrients. Plus, you really just need about one inch of soil to grow microgreens.
Sunflowers and peas are the most common microgreens. But there are also microgreens mixtures with all kinds of greens that are good and easy to grow.
Plant seeds densely in moist, loose soil. It is good to weigh the seeds down for a few days. If you grow in pots or trays, stack one on top of the other. This way, the seeds are weighed down. After 3-4 days, they will sprout and will need some light to grow. In 10 – 14 days, they are ready to be harvested and enjoyed.
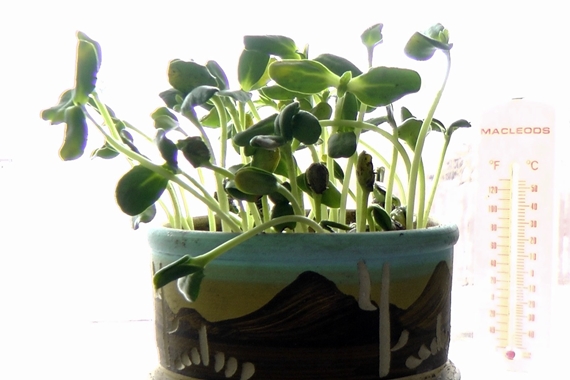
For beginners, I would recommend starting with sunflower seeds. You can get the seeds in the bird feeder section in a local grocery store. Any regular raw sunflower seeds will do. Use a flower pot, maybe one where your last indoor plant died in. Loosen the soil, place the seeds on top, and water well. Then weigh down the seeds with another pot for a few days. You can leave the pot for this period in a dark place, away from sight. Uncover the seeds when they are well sprouted and starting to grow. For that, place the pot in a sunny window and enjoy the microgreens. They will grow quickly, look beautiful, and taste great.
How to grow baby greens
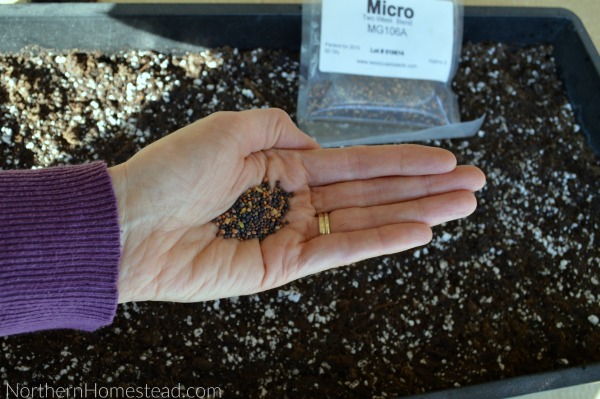
Kale, arugula, bok choy, and other brassicas all make great baby greens. We love the two-week blend from West Coast Seeds. However, you can also mix your own blend with leftover seeds from the same plants, or with any brassicas, lettuce, or spinach.
Because we let the baby greens grow a bit longer than just two weeks, I don’t plant the seeds as densely to give them more room to grow, and I actually cover the seeds with a bit of soil. You will need about a teaspoon of seed for a tray. Spray the soil with water, then cover it with a lid upside down so the seeds are slightly weighted down and stay moist.
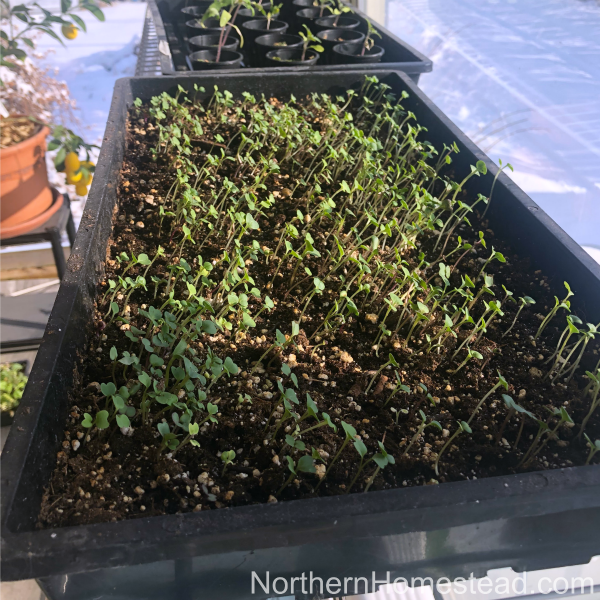
After one week, the microgreens will look like this, see the picture above.
The tray is ready to be harvested as microgreens in 2 weeks, but if left, it can be used for a few weeks as baby greens. Eventually, all the greens are gone and can be planted again. You can have two trays running in succession, giving you fresh greens.
Challenges with baby greens
Since baby greens often grow in just about one inch of soil, they can quickly dry out. Frequent watering is a must.
Aphids love microgreens, and it is often the aphids that end a tray for us if we haven’t been quick enough to harvest them before they move in.
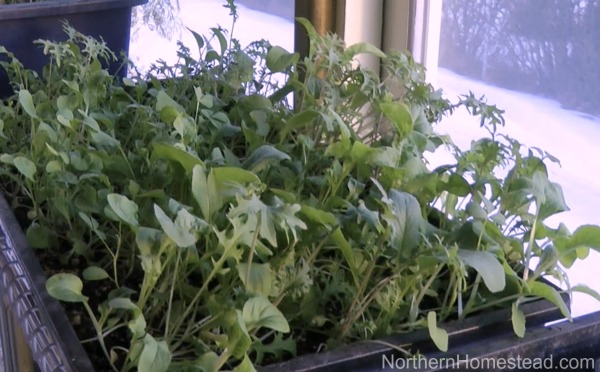
All in all, growing and using microgreens is rewarding and enjoyable. You get a lot of return for very little work.
We invite you to subscribe to Northern Homestead and follow us on Instagram, Facebook, or Pinterest so you do not miss a thing.









Wow this is so helpful! And makes it look way easier than any other resource online. Only an inch of soil, and two trays kept you folks held over for the winter? And I appreciate your suggestion of which seeds to use, a fre other resources online suggested seeds that seemed harder for me to get. Thanks again, your blah has been really helpful in getting me a little more self-sufficient and food secure. Jess from Ontario
So happy to hear it is helpful. Growing food is easy, you just have to do it.
I remember my first bite of flourless “sprouted” bread (toasted) back in the 70’s in a sweet cafe with my mother. I’ve been hooked on sprouting ever since.
Yum, that sounds delicious! The easiest is to make cookies out of sprouted grains and enjoy them after a salad with baby greens ;).
Thank you for this helpful post!
A few questions, if you’re able to answer: In your experience, how low can temperatures get and the micro-greens will still grow? And is there any benefit in slightly higher temperatures (e.g., covering with a seed dome/typical seed tray cover)?
Re: “soil” – would growing micro-greens also work with a pure coir, peat, or other fibrous material? I’m considering using hemp mats so the cat isn’t tempted to see this as a litter box!
And finally – how do you prefer to use your micro-greens?
The temperature does effect the growth, how much depends on the variety you are growing. If you can give them some more warmth in a cold place, do it. Yes, you can grow them on a hemp math, I just haven’t done it myself yet. Microgreens can be used in salads as well as stir fry, or garnish a dish, add to a sandwich, just some ideas.