
Maintaining a no-till garden is simple, but it is not without work. You replace the tilling and digging with mulching and covering the garden soil. A covered soil does not have to be tilled. It stays soft and becomes better the longer it is maintained. We are looking into easy methods for healthy soil for many years to come.
We cover the question of to-till or not to till here, also starting a new no-till garden with no tilling and starting a new garden with tillingfollow the links to read more.
This blog article, Maintaining a no-till garden – Easy Methods for Healthy Soil, is for home gardeners who already started no-dig gardening and are looking into maintaining it year after year to prevent soil compaction and improve soil fertility in the long run. Mechanical tillage is no longer needed. We are improving soil quality using the no-till method.
What to cover the soil with
Mulching is a must for a no-till garden. The soil must always be covered to maintain its softness and workability. The cover in a no-till garden can be any organic matter, such as woodchips, hay, straw, and compost, that is annually layered on top of the soil.
That’s why, for maintaining a no-till garden, we will discuss covering the soil, which means placing a layer of natural material on top of the soil surface. The mulch layer improves the soil structure by mimicking mother nature.
The best material is the one that is available to you. As a rule of thumb, you need about 1 inch 3cm of compacted material annually. So, if you use loose material like hay or straw, you must add a thick layer of mulch.
![]()
A layer of compost seems to be the best and easiest cover to work with, and what Charles Dowding recommends. It can be an all-plant compost or a mixture of well-rotted manure and compost.
Mushroom compost is also compost but from the texture and benefits for the soil a bit in between compost and straw. We have used it many times, and it smells funny, but when applied in the fall, the smell is usually gone by spring.
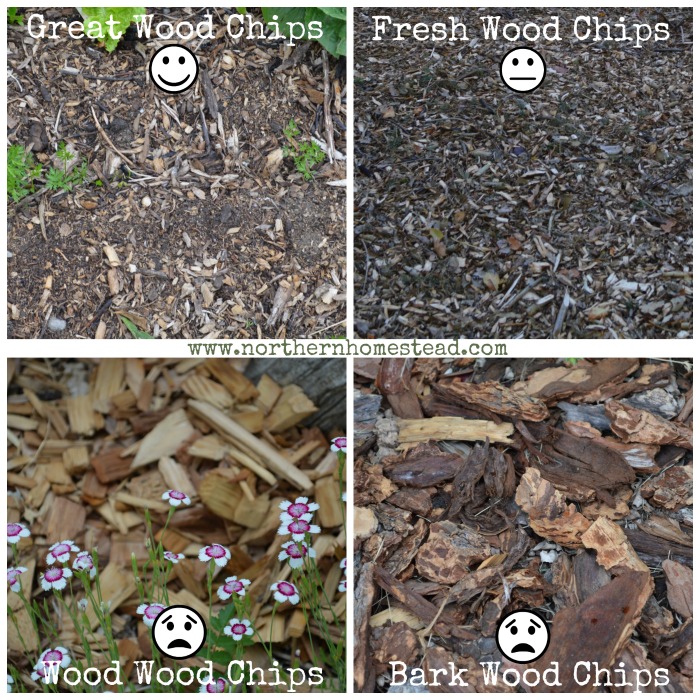
Wood chips work well for mulch in a dry climate, make sure you use the right wood chips for the garden because you will be planting into them in spring.
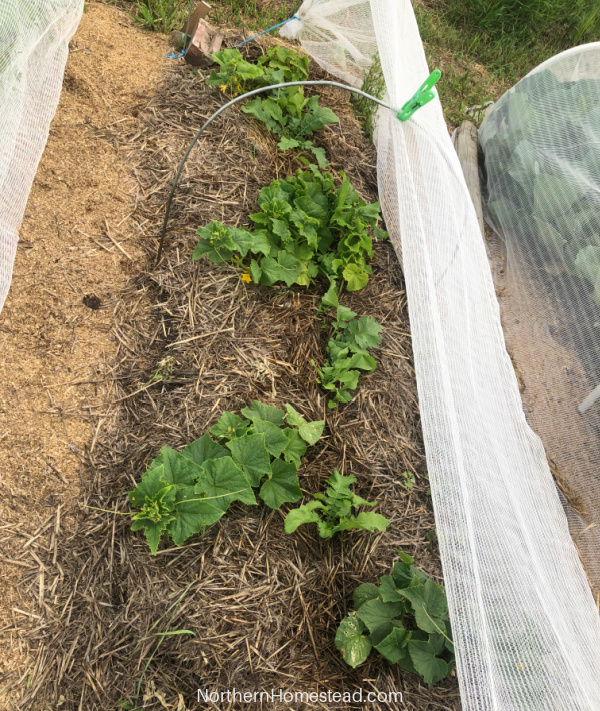
Seed-free hay or straw also makes a good natural cover. It will decompose and enrich the soil in the process. Make sure to break up the straw so it is light and airy.
When it comes to moisture, the straw lets more water through than the hay does, but the hay doesn’t let water out as readily as the straw does. Overall, we hear that straw, preferably from animal bedding like rabbits, is better. Hay tends to rot when it’s too wet.
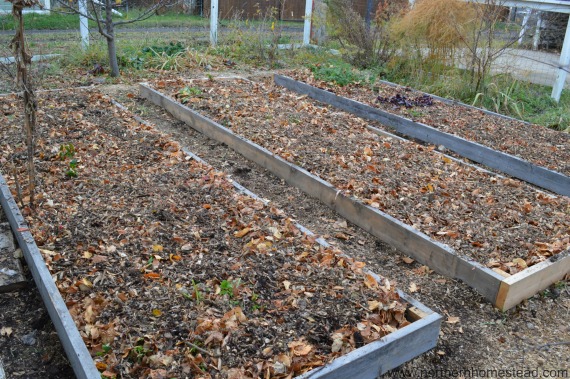
Leaf mulch is another option if you can mix them with wood chips or even wood shavings. The shavings will prevent the leaves from compacting too much which might lead to leaf mold and hold moisture better.
Grass clippings and fresh hay can also be used, as long as you are sure no herbicides are used that would damage the plants.
Pine needles are less desirable covers for a vegetable garden; they are better for a forest floor and can be used if you have many for walking paths or flower beds where there is less chance of mixing them with the soil.
The cover will keep the soil moist and soft and the weeds down. There is no need to till or dig up the garden in spring. As soon as the snow melts, you can start planting. The soil will not dry out, and weeds will be suppressed. You are all set for a productive vegetable garden without the use of heavy equipment.
Experienced gardeners share with us: “Our experience over time in our garden has shown us that any mulch other than compost needs to be applied after the plants reach a certain size in early summer. When we leave other mulches covering our beds over winter, we provide nesting habitat for mice, especially voles that explode in population and cause a great deal of damage to our garden. Also, mulch applied in autumn or spring has created major cutworm issues. There is no doubt that no-till with mulching has many benefits for soil health and structure, but like any gardening method, there are some limitations.”
This experience shows us that there is no one-fits-all approach. Find what works best for you.
When to apply the cover
Tilling was needed every spring, mulch is also needed every year. When the garden matures you might be able to skip a year. No-tilled garden soil should always be soft and easy to work with.
Fall is the best time to apply mulch for most gardens. Nature covers the soil, then. Winter often comes very suddenly in our short growing season, and snow covers the soil. Snow is a good natural cover. Read more here on how to create a microclimate to catch more snow. We often mulch in early spring.
Preparing the no-till garden for planting

In spring, before planting, if you feel like the soil is compacted, you can work it with a Broadfork, or simple garden fork. Do not turn over the soil just loosen it. The covered soil may not be as soft as freshly tilled soil at the top, but it is much softer all throughout than tilled soil will ever be. There is no hardcore that is inevitable with tilling.
Before planting, you want to get all the weeds out. A no-till garden has fewer weeds, but in our experience, it is not a no-weed garden. Especially if the spring weather was warm, weeds do start growing. However, since we do not turn the soil, we do not bring up new weed seeds, so less weeding is needed. Read more about weeding the garden here.
As I said, we often mulch in spring after weeding the garden but still before planting.
If using hay or grass the mulching can be done after planting. Find what works for you. The no-till garden must get regular cover.
Planting a no-till garden
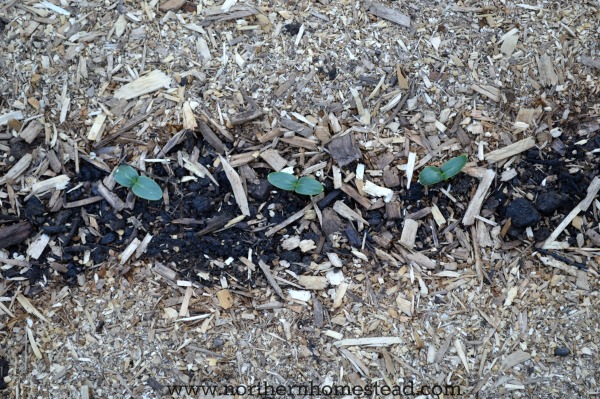
Overall a no-tilled garden is planted just the same way as a tilled garden. Except for a fine compost cover that is treated the same as the soil you push the cover aside to sow the seeds into the soil. In our experience, as the plants grow, wind and rain will push the cover back closer to the plants.
When transplanting seedlings again just push the mulch aside and plant into the soil. Now gently push the cover back making a hollow for the seedling. It will give the seedling some protection from wind and cold. Another benefit of a mulched garden.
Summer maintenance for a no-till garden
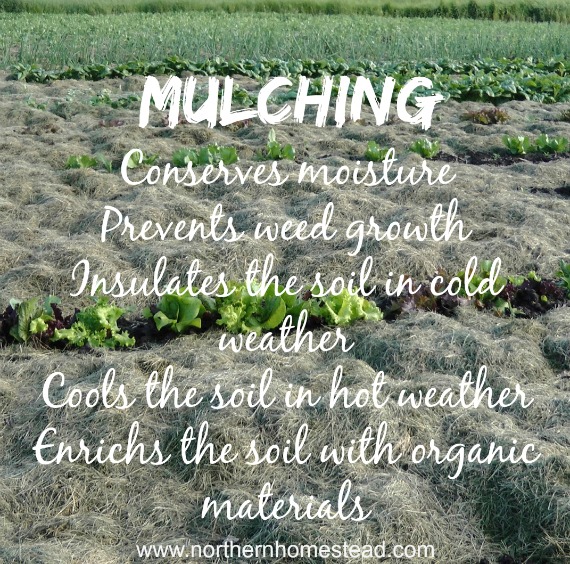
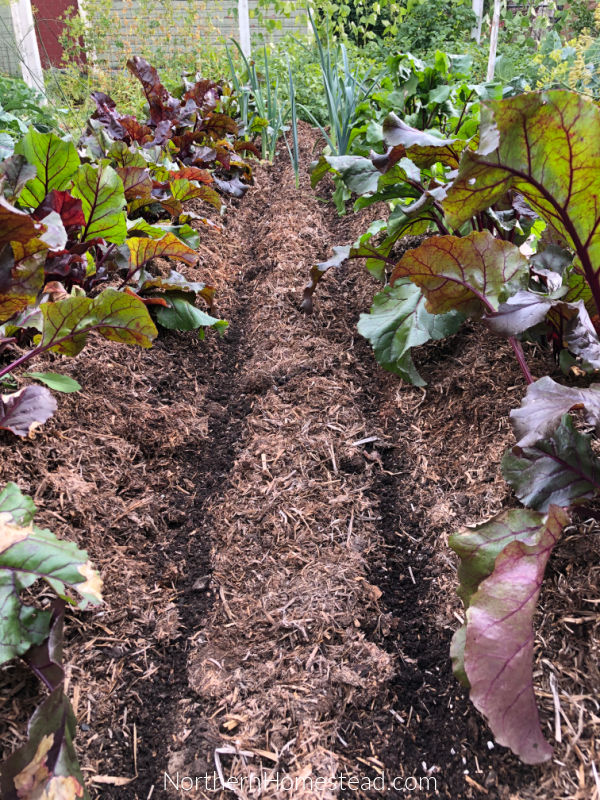
Summer is the time when a no-till mulched garden shines. The mulch conserves moisture, suppresses the weeds, insulates the soil in cold as well as in hot weather, and enriches the soil with organic material.
If using grass or hay keep adding mulch to suppress the weeds. If using any other mulch, chop or pull the weeds and drop them as mulch.
Depending on the climate watering might still be needed, read more about watering the garden here. However, check before watering if the soil is dry. It is more likely that you will not need to water.
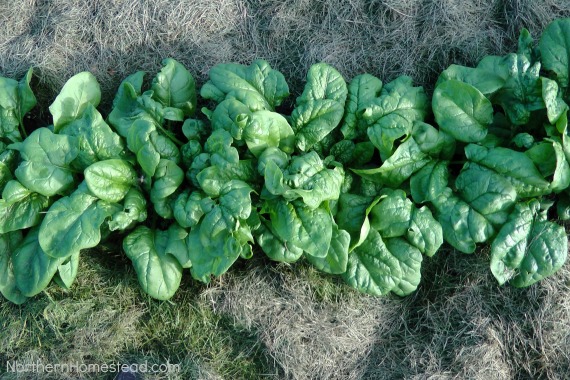
If you are growing a second crop or overwintering spinach, just move the mulch aside and plant again.
Harvesting and cleaning the no-till garden
With a no-till garden, harvesting and cleaning can be as messy as you like. Anything left will act as mulch, and plant roots will decompose.
In our experience, it is a good idea to clean up any cabbage plant debris simply because it starts to ferment quickly, and if there is a lot of it, it smells. Adding the leaves to the compost pile and covering them with brown material avoids the smell.
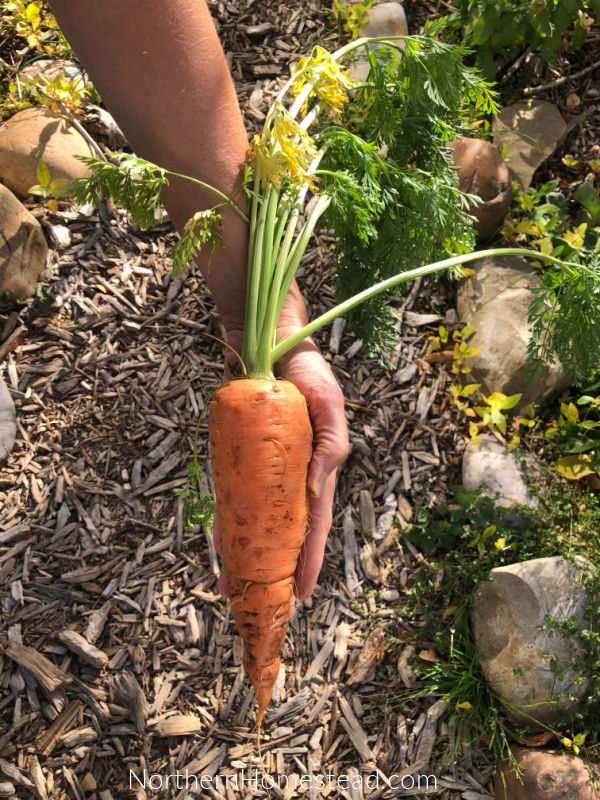
Legume roots should always be left in the ground, that’s where the nitrogen-fixing happens. Other roots can also be left; they will decompose and feed the soil life. For clay soil, it is even desirable to plant root vegetables like daikon radish to leave the roots in to improve the soil.
Carrot tops and most anything else can be left and covered. If you prefer a clean garden, you can bring everything to the compost pile and make great compost. Again, there is no right or wrong.
No-till garden beds do not need cover crops or green manures. There would not be any negative effects if you did plant a cover crop in early fall, but since we do not till, the cover crop would have to be something that would dye back before it is time for planting in spring. The mulch takes the place of the cover crop in the no-dig method.
In conclusion, implementing no-till gardening practices can go a long way in promoting healthy soil and a thriving garden. By avoiding the disturbance of soil, you can protect the delicate ecosystem of microorganisms and maintain a healthy balance of nutrients in your garden.
We invite you to subscribe to Northern Homestead and follow us on Instagram, Facebook, or Pinterest for the latest updates.

Great article! I just came in from the garden and using leaves for a mulch. I’m so glad I read this now. Thanks 🙂
Glad to hear it is helpful. Happy gardening!