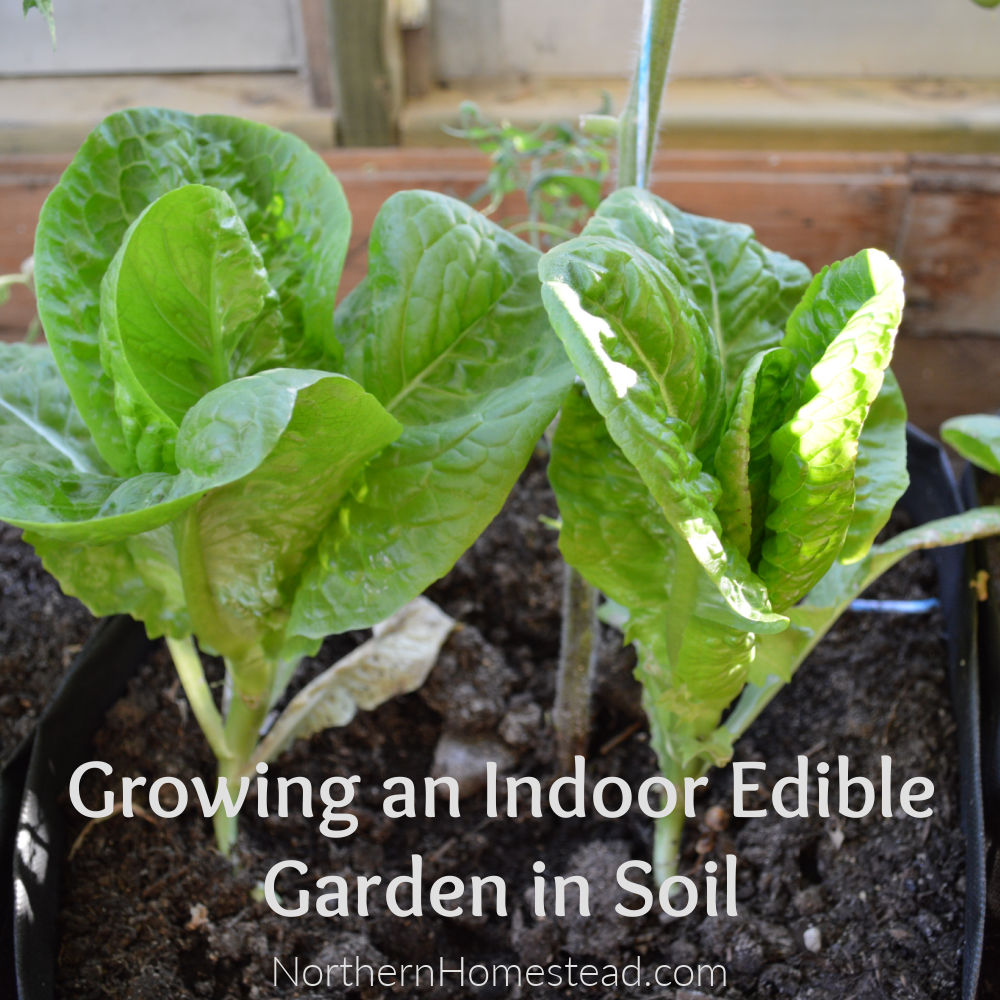
In this post, we talk about growing an indoor edible garden in soil. In our outdoor garden, growing in good organic soil is our very first choice. In an indoor garden, however, it is not our first choice.
Why is that?
Success and failure in growing great plants depend mostly on the soil. Good soil for a garden is very important.
Great soil = great gardens!
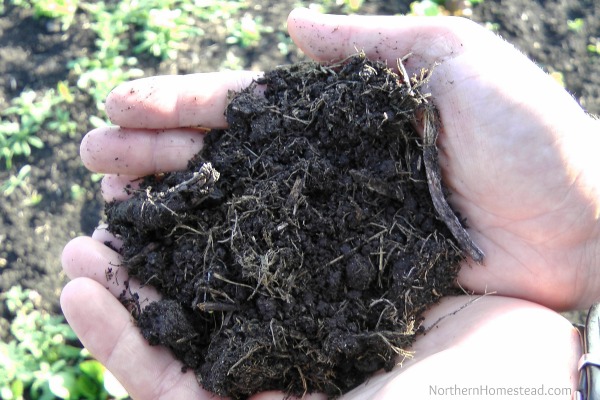
It is not the soil itself – it is the soil life that is the most important element. – Geoff Lawton
Soil is a living organism. Bacteria, fungus, and earthworms are essential for good organic soil. What happens if you put something living into a tight container and take it indoors? It will die. First, however, most likely some of those living organisms will try to find a way out of your container and into your plants and house.
Still, it is possible to grow an indoor edible garden in soil, it just will not be living organic soil. For that reason, and because it is so convenient we grow indoors mostly in hydroponics, you can read about following the link -> growing an indoor garden in water.
Soil for an indoor edible garden
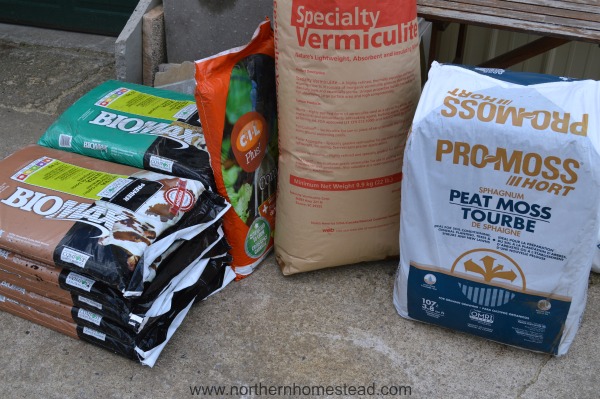
A great way to get good soil for indoor growing is to make your own Mel’s Mix from the Square Foot Gardening book:
1/3 compost
1/3 vermiculite
1/3 peat moss.
You can find all of these ingredients in a garden center or Home Depot. Just mix it all together and you will have great potting soil to use in your indoor edible garden.
For heavy-feeding plants that bear fruit, you want to add a good amount of compost or worm castings to the soil, so the plants have nutrients to feed on. Salad greens and herbs are fine just with good potting soil.
If you take outdoor soil or compost inside, make sure to disinfect it first. The easiest method is to bake the soil or compost in an oven at 180 – 200F for 30 minutes. You don’t want to burn the soil, just heat it up, so watch it and stir once in a while.
If organic is your highest priority for growing an indoor edible garden in soil, you can make your own indoor vermicompost by using a worm farm. A great and inexpensive way to create your own organic soil. Again, for indoor growing make sure there are no bugs in the compost.
Containers for an indoor edible window garden
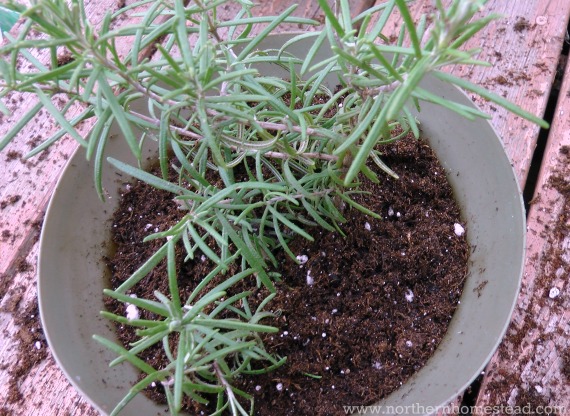
Plastic containers are the cheapest and most commonly used containers to grow plants in. Those can be fancy containers that look good just as well as a pail or a simple ice cream bucket. It is important that the container has some holes in the bottom for drainage. Also, it is helpful to use a container that is impermeable to light, so algae cannot grow.
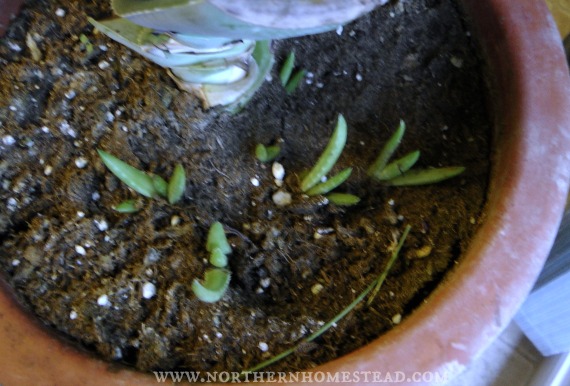
Clay pots are a good choice for plants that like to have dry feet. For example, our Aloe Vera plant grows in a clay pot. First, it is a perennial plant, and it also likes to dry out between watering. Here a clay pot is the best choice. Clay can also be a good choice for tomatoes.
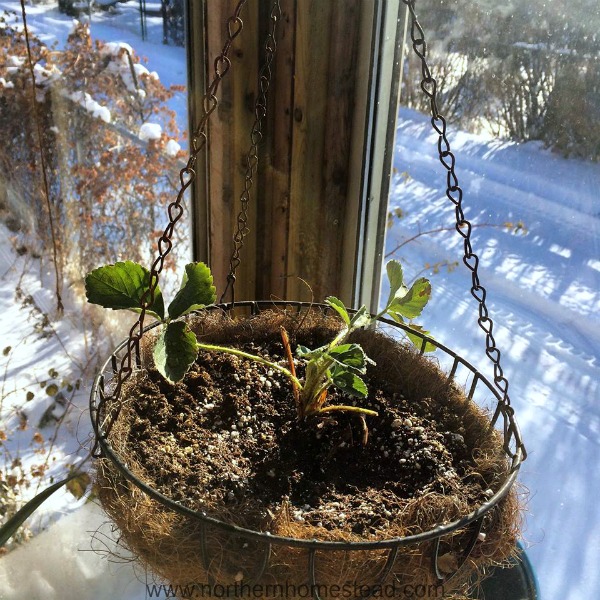
Hanging baskets of all kinds are great for an edible garden. Hang into a bright, sunny window they look good and can hold some good sol and an edible plant. Strawberries are great for growing in hanging baskets.
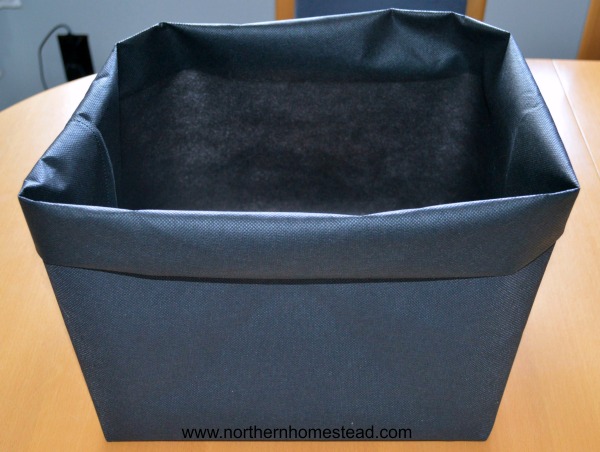
Grow bags are another choice, they are made of breathable fabric, which means superior drainage and aeration. It is the aeration that makes grow bags superior to other garden containers. If a container has no aeration and the roots reach the walls of the container, they give a signal to the plant to make more roots, resulting in a root-bound plant. Eventually, the plant just kills itself with a mass of roots going round and round in the container.
Root bounding will not happen in a grow bag. Here, if a root reaches the wall of the bag, it will be “burned” off, causing the plant to constantly produce new and healthy branching roots. This is also called air-pruning.
Personally, we found grow bags to be a bit challenging indoors. In our dry climate, they did dry out too quickly.
You can get grow bags ready-made for you or you can make your own. Here is a how-to sew a grow bag tutorial.
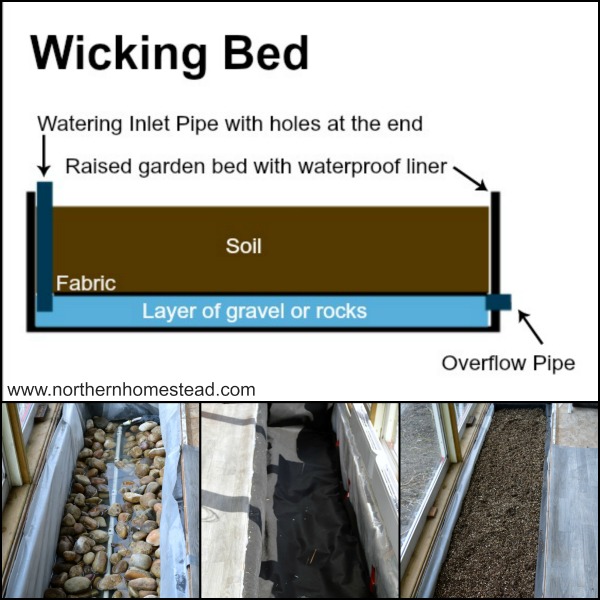
A wicking bed is a great solution for a self-watering raised bed. Filled with good soil mix it waters the plants from the bottom up. A wicking bed can be indoors or outdoors. You can build it as small as a square foot (i.e. pail-in-pail system) or as big as you want it to be. It has a waterproof lining that holds a reservoir of water at the bottom from which water is drawn upwards like a wick to the surface of the bed, through soil or roots of the plants in the bed. Wicking beds are great for container gardening. See how we build our indoor wicking bed here.
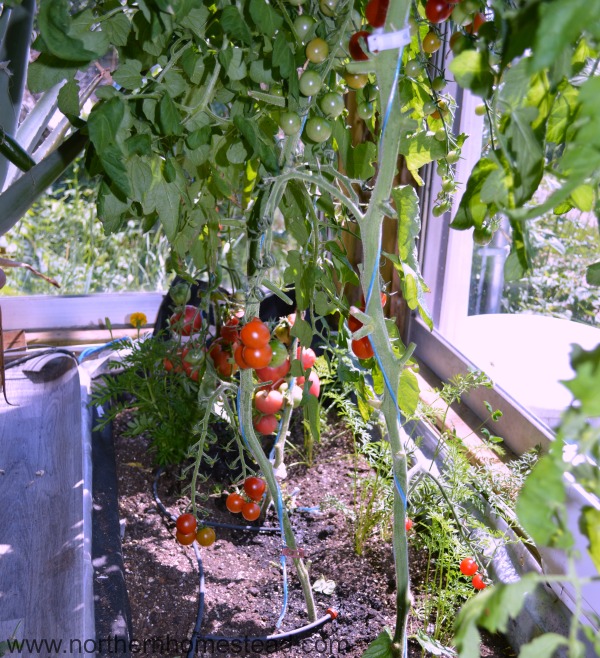
After using the wicking bed for a while, we noticed that it was harder to keep plants bug free.
Keeping the soil bug free
Prevention is the key, before bringing in any soil, make sure it is bug-free. Before watering the top inch of soil should be dry, gnats love humidity and moisture. Nevertheless, if aphids are on the plants, gnats will most likely be in the soil. Below some ways to try if you grow indoors in soil.
Cinnamon, it’s natural, smells good but bugs do not like it. At least some of them will leave.
Diatomaceous earth kills flies, ants but also bees and ladybugs. We are conscious of it outdoors and have not found it overly effective indoors, but it’s an option.
Peroxide water destroys the organic matter of the soil, gnats feed on organic matter. However, plants also feed on organic matter.
Watering an indoor edible garden
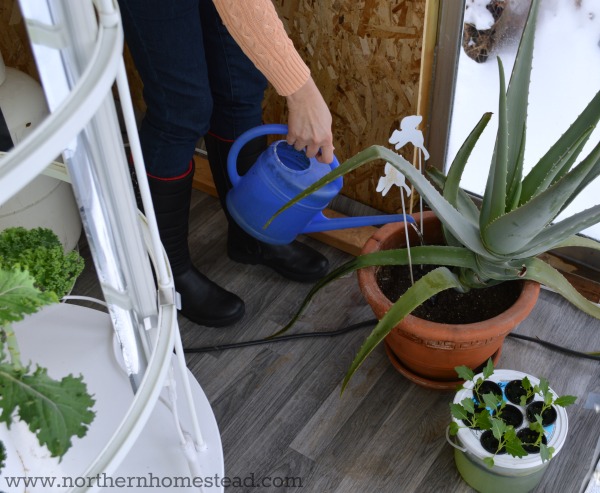
Plants only need moisture, not water. We water plants to give them moisture. You want to water plants thoroughly without drowning them. Allow the soil to dry between the waterings. Too much watering is way more dangerous than too little.
Watering is always a challenge in container gardening. Too much makes the plants sit in water, too little makes them dry out. It also depends on what the container is made of.
A plant that grows well, drinks well. Observe the plant and the soil. If one plant is moist and all others are dry, you know there is a growing problem. Do not water all the plants alike, water each as needed.
In a very sunny warm window, a plant can dry out rather quickly, in cool weather overwatering is a danger.
Grow bags dry out much faster than pots. The drainage and aeration of the grow bag lead to more frequent watering needs. Also, it is difficult to really soak a grow bag, as the water will come right out of the bag.
Here are two things that can be helpful for container and grow bag watering:
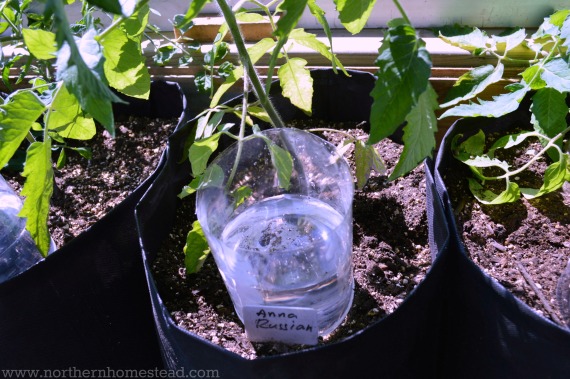
- Install a drip system, so the containers or grow bags get a constant moisture supply. We tried the bottle drip system. It did not work so well for us, even though many report great success with it. If you have many containers, a pipe drip system would work well, too.
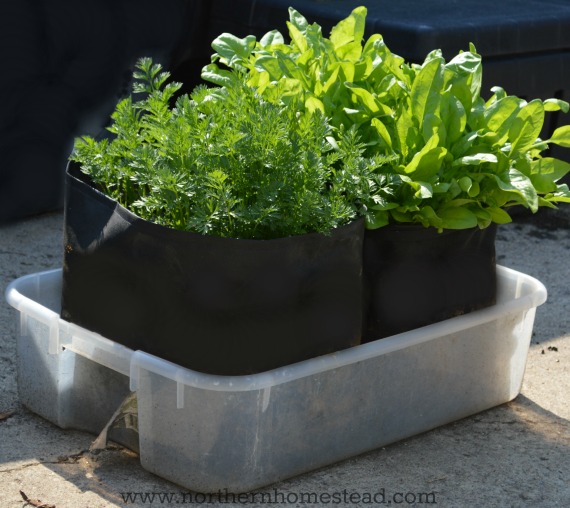
- Build a self-watering wicking container. Have a container underneath the grow bag or container that you can be filled with water. Any container would work, you just don’t want the container to be too deep, you want most of the roots to be in the air.
Fertilizing an indoor edible window garden
Since containers do not contain much soil, heavy feeder plants need to be fertilized. Natural fertilizers that can be used are Bone Meal, worm castings, and compost tea. Also, Epsom Salt and eggshells can help to add minerals. Since we also grow hydroponically, we often water our plants grown in soil with recycled hydroponic nutrient solution.
What to grow in soil indoors
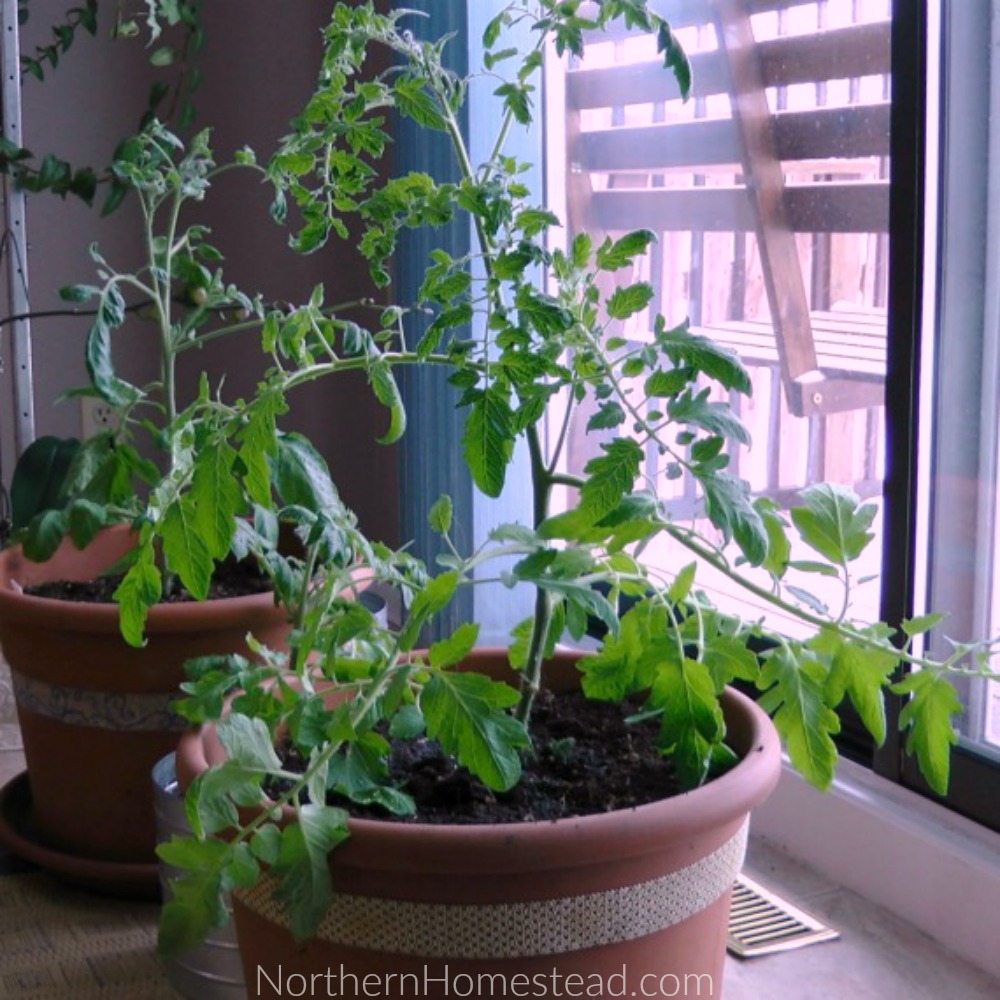
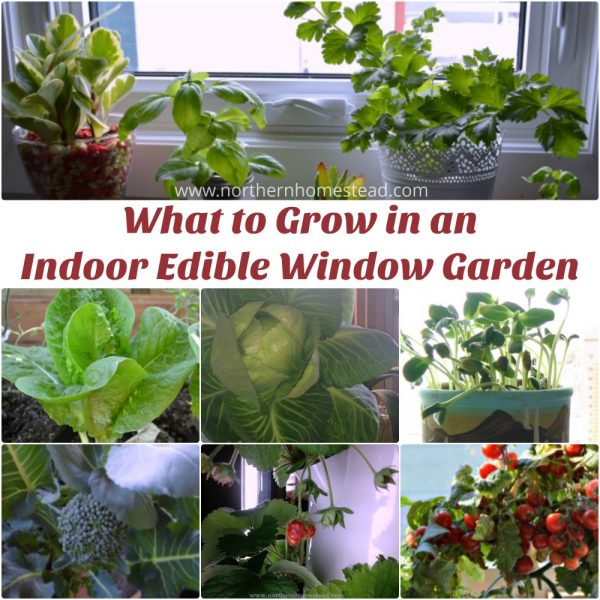
All plants that are grown in soil outdoors can also be grown in soil indoors. See what to grow in an indoor garden for ideas.
Root vegetables do better in soil than in any other growing medium indoors or outdoors.
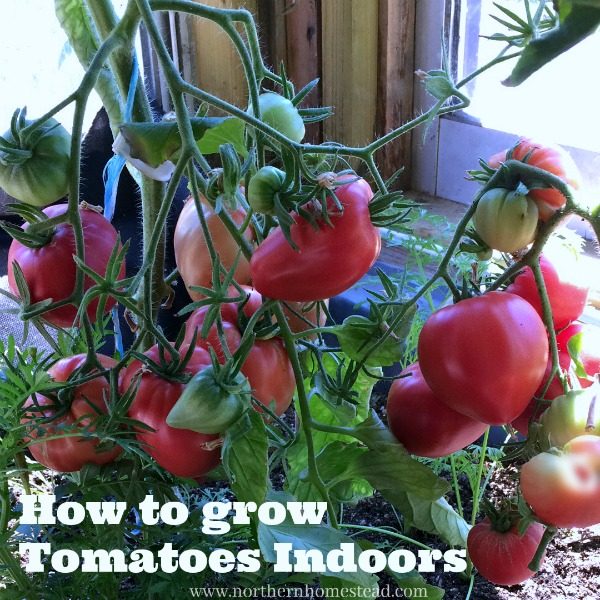
Plants can be grown indoors for part of their lifespan, again we prefer soil for that. Just start them in late winter, when the daylight is starting to increase, and move the container out as soon as the weather permits. This way you can have very early carrots or tomatoes.
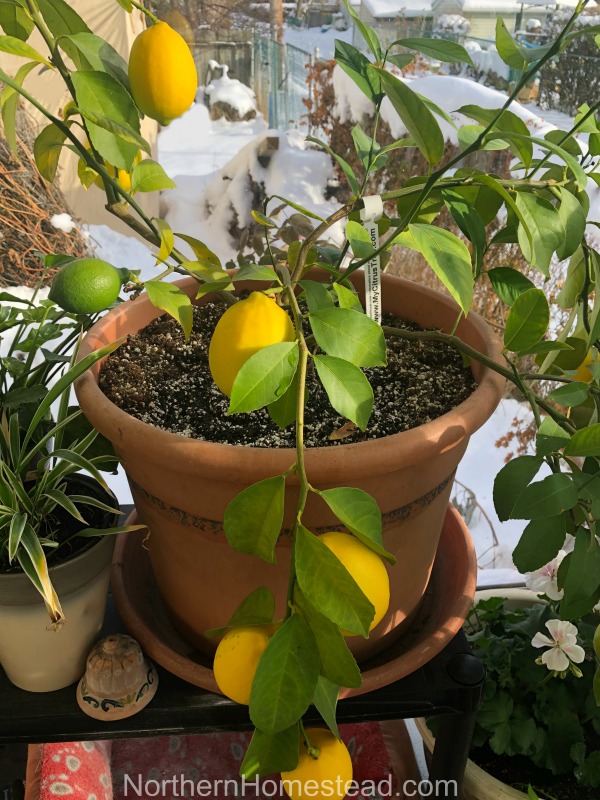
Last but not least, we prefer using soil for perennial plants. We grow a lemon tree, some herbs, and flowers that spend the winter indoors and are moved outside of the greenhouse for the summer.
We invite you to subscribe to Northern Homestead and follow us on Facebook, Instagram, or Pinterest so you don’t miss a thing.




I would like to know what are the signs a vegetable/herb is getting too much water, Outside during a rain spell? What do you do if it has one/some of these symptoms?
Thanks for your time and attention.
Brenda
The first and easiest way to see if the plant has too much water is to check the soil. If it is dripping wet, it’s too wet. In a container, you can also check if there is water at the bottom. Let the container drain. In extreme cases, you can replace the soil.
On the plant, you will see that it looks wilt, and the leaves yellow. You might think the plant is too dry, but it might also be too wet. The plant looks about the same in both cases. So checking the soil is crucial. Let it dry out as much as you can. If the plant is outside, and it rains constantly, you want to protect containers from the rain, or at least make sure there is really good drainage. Hope this helps, and happy growing!