
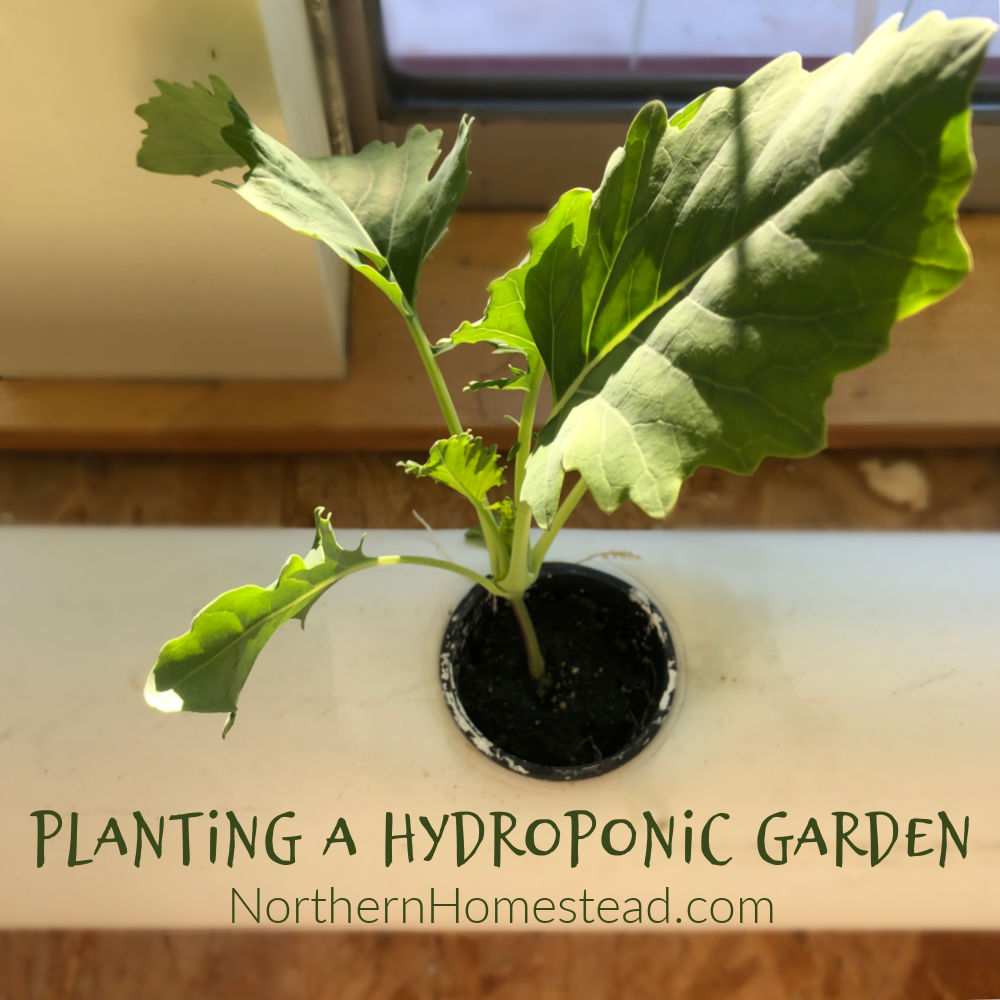
All growth begins with planting, including hydroponic gardens which are not much different from conventional soil planting. Starting plants from seeds is a beloved aspect of gardening.
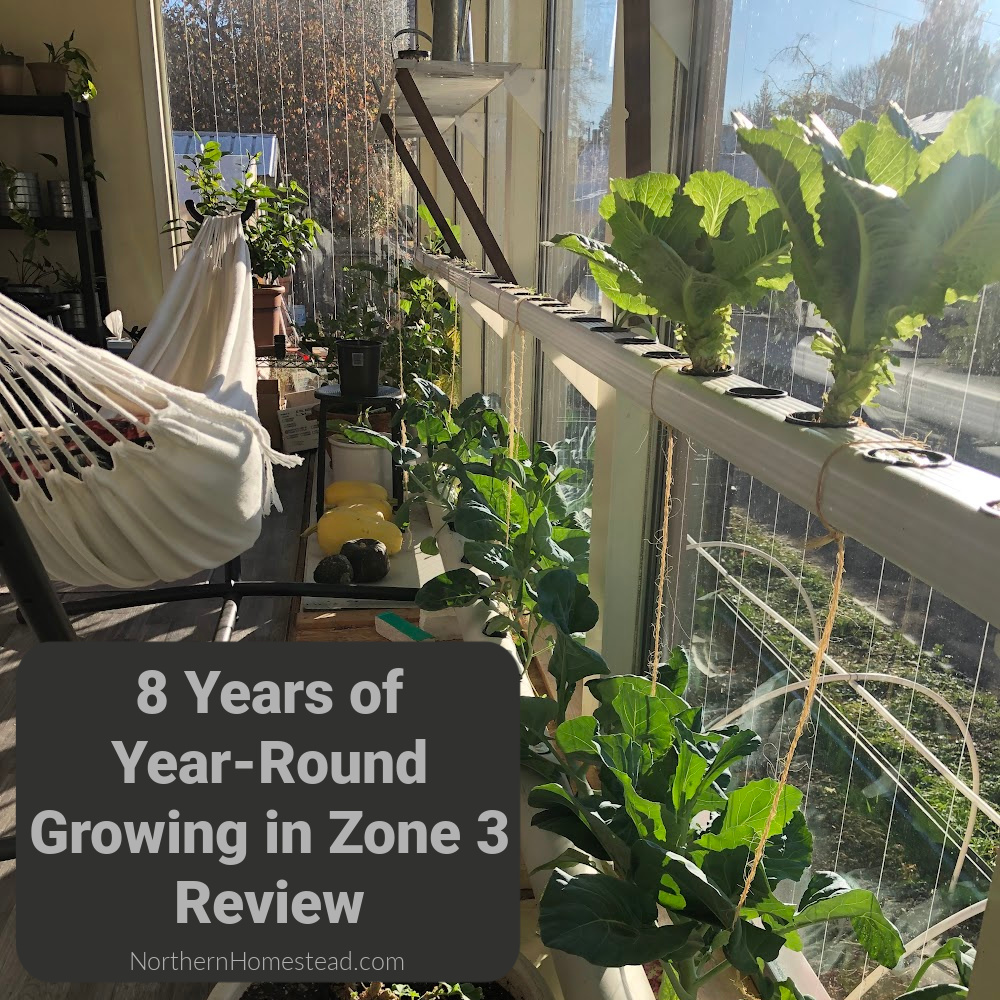
With discovering hydroponics and indoor gardening a whole new gardening world opened up to us. Now planting a garden is not limited to springtime anymore, we can grow a garden 365 days a year! And plant new seeds over and over again. For the winter garden, we start seeds in late summer (August). It gives us a good start as long as there is enough daylight. Substituting with grow light is an option too.
There are many ways to plant a hydroponic garden, what we share here is what has worked well for us. This method is great for all kinds of hydroponic growing, the aeroponic Tower Garden, high-pressure aeroponics, NFT hydroponics setup, as well as the simple Kratky Hydroponics. Click on the links to learn more about the different methods.
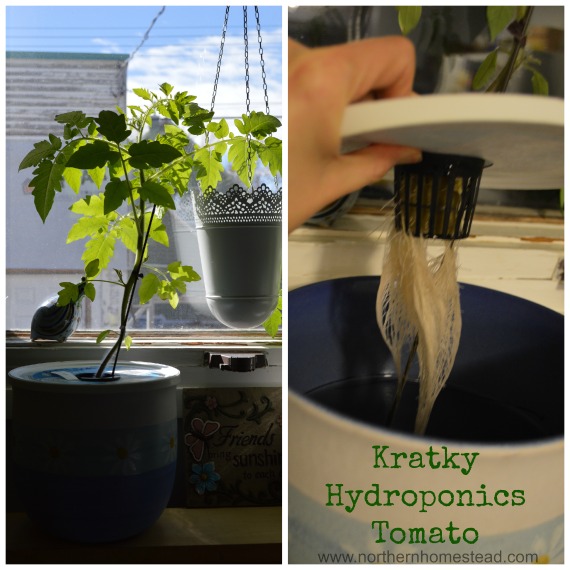
If you are new to hydroponics and just want to experiment with it a bit, we would suggest starting with Kratky hydroponics, a non-circular method that does not require any electricity, learn more about it here.
Planting medium
Hydroponic gardening doesn’t use soil, so we start seeds using other methods. We chose the Tower Garden to begin our hydroponic growing, which included everything we needed. Since it worked well, we’ve continued using this method for many years.
It is possible to start seeds in the soil, and we will provide further explanation on the process below.
Things that you need for planting a hydroponic garden:
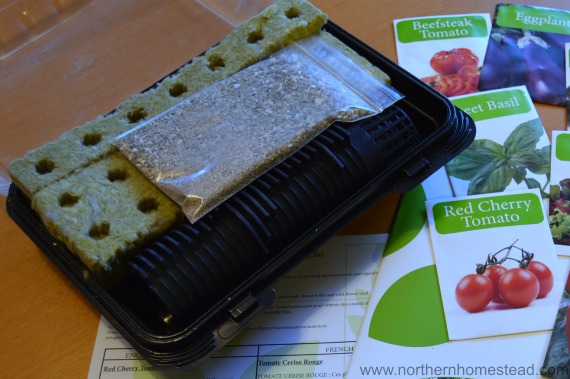
Rock wool starter cubes come in different sizes. We grow everything in 1.5×1.5 inch Rock wool. The Rockwool plugs are made from molten rock spun into cotton candy-like fibers. Rock wool is maybe the most popular hydroponic growing medium and for good reason, it simply works. But you can also use Oasis Rootcube, Rooter Plugs, or any other hydroponic growing medium of your choice.
Vermiculite works great to cover the seeds to keep them moist.
A planting tray without holes to hold the Rock wool cubes in. Quality trays are great, but we often also just use recycled containers for example from mushrooms.
Net pots are there to hold the Rock wool and the plant. The planting medium has to be a bit smaller than the net pots. We use net pots that are 2 inches in diameter. In a usual container garden, you would not be able to grow a big plant like a tomato in a 2-inch pot. That is different in hydroponics. As long as there is room in the system for the roots, the pot can be small.
The hydroponic nutrient solution will be needed once the seedling has true leaves. We explain here some of the options and what we use. You do not need it to start seeds but have it ready since some seeds grow fast.
Having a PH and PDS meter ready is helpful too. Again, these will be needed once the seedling has grown true leaves and will need a solution.
Rock wool needs to be soaked in water for a few minutes up to a few hours until wet throughout. Especially if your water is very acidic, you can soak the wool in lower PH water. Rock wool has a PH of its own that is a bit higher, you can use the PH down or simply add a dash of lemon juice to lower the PH in the water. You want the wool to be moist, not wet. So after soaking let the water drip off a bit.
Now you are ready to plant.
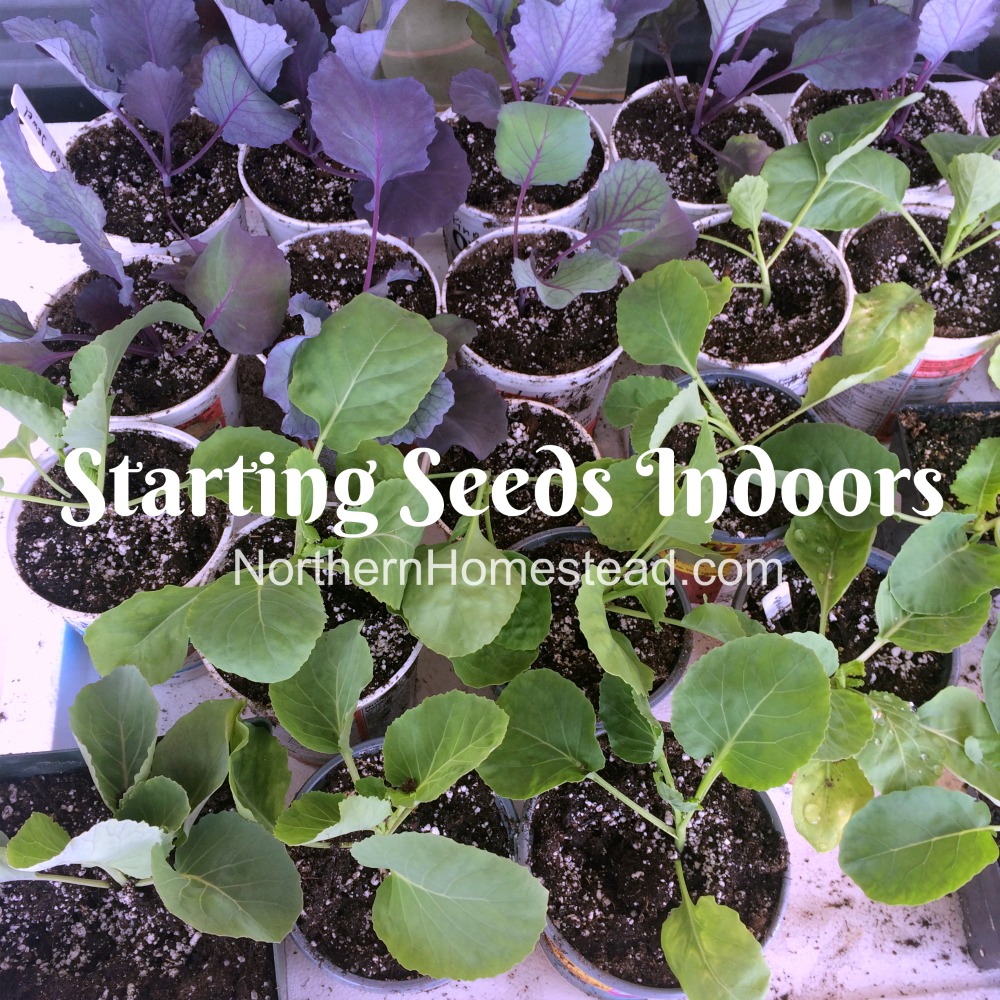
Planting from seeds
The seeds for hydroponics are just the same as for any gardening. You might want to try new varieties depending on where the garden will be.
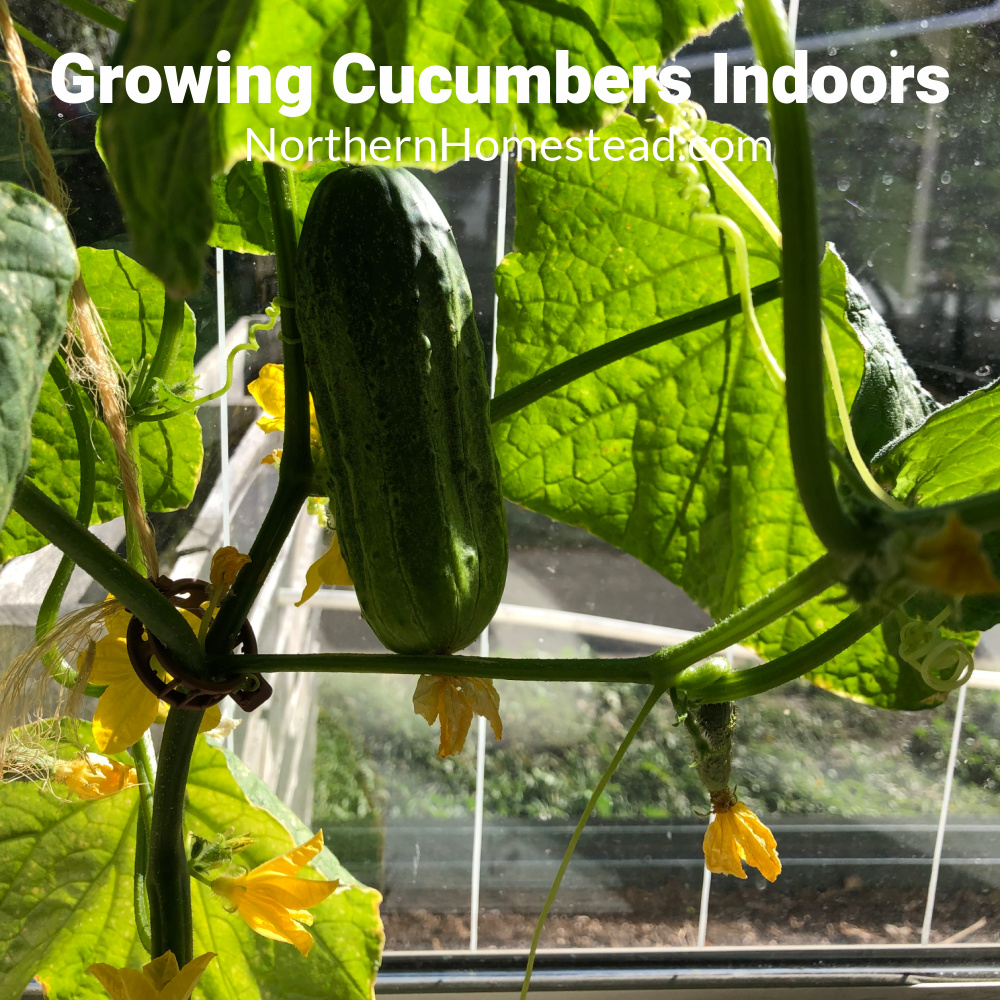
Our favorite varieties to grow in hydroponics are lettuce, kale, Chinese kale, kohlrabi, peppers, (especially hot peppers that grow well), and cucumbers.
Plant 2-3 seeds in one hole of the Rock wool cube to make sure one germinates. Sometimes the Rock wool cubes have nice cut-out holes, sometimes however it’s just a small opening. In this case, I use my finger to widen it.
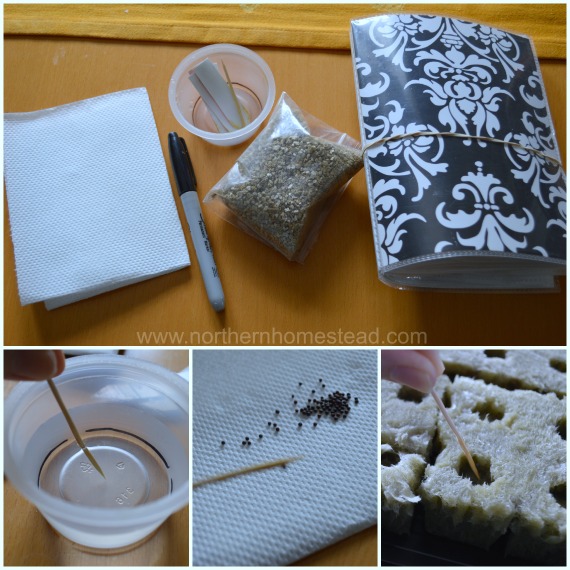
Since many seeds are very small, a toothpick can help to plant them. Wet the toothpick in some water and the seed will stick to it. Now you can plant the seeds precisely. There is no need to waste seeds.
After adding the seeds to the hole, cover them with some vermiculite. Do not overfill the holes, the idea is just to help keep the seed moist. Now spray each hole with a little water. You can also add a little water to the bottom of the tray to add moisture.
Seeds need warm temperatures to germinate, but not necessarily light. Find a warm spot in your house. The top of a fridge would be a better place than a cold but bright window. Some have great results by placing the tray on top of a heating vent in the winter. You want about 85° F for fast germination. A Germination Station with Heat Mat can be helpful too.
To speed up germination you can also sprout seeds before planting them. I use the Biosta sprouter. Especially in the winter, I find it helpful to sprout seeds.
Sprouted seeds are sensitive. Keep them moist, warm, and in good light.
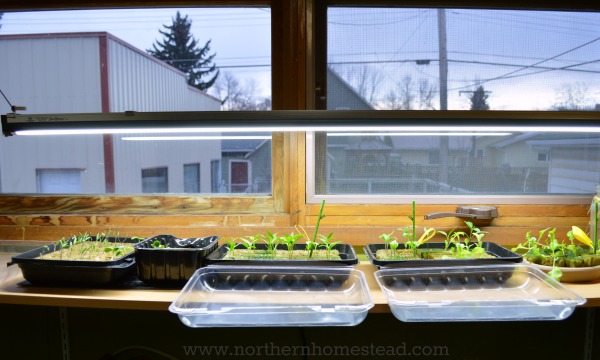
As soon as your seeds germinate, they will need sunshine or a grow light. Keep your seeds and seedlings moist by adding about 1/4 inch of water each day. Once your seedlings start growing true leaves, water them with a half strength hydroponic nutrient solution.
Thinning out seedlings
It is tempting to grow several plants in one rock wool cube. However, we have learned that this is not a good idea, even if the plants are small. In fact, we have lost a whole Tower Garden to overplanting. If you have multiple seedlings in one rock wool cube, thin them out to just one plant per cube. You will end up with healthier plants and a cleaner root system in your garden.
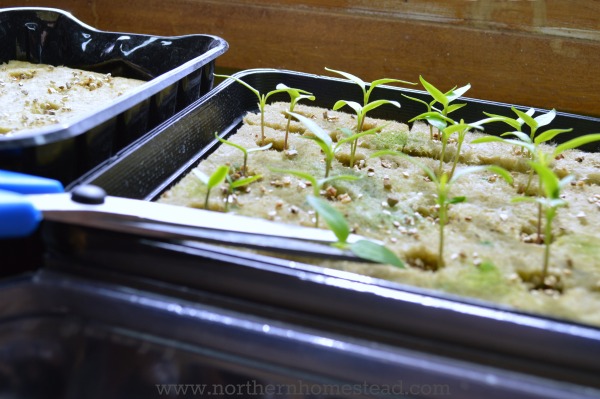
Use garden snips or scissors and cut out the crowded seedlings always leaving the healthiest plant.
In 2-4 weeks, when your seedlings are about 3 inches tall, they are ready to be planted into the hydroponic/aeroponic garden. It is not so much the size of the plant, as a healthier root system that is growing out of the rock wool cube that we are looking for.
Growing healthier roots
To ensure there are healthy roots growing out of the net cup you can plant the seedlings into the net cups prior to planting them into the system. This is especially helpful for plants who have tiny roots at the planting stage, or if the seedlings for some reason need to wait longer to be planted out.
This step is not needed for systems where the water covers the net cup, like the NFT or Kratky method.
In the video below I explain it in detail. (You will not be able to see the video with an active ad blocker)
Planting from seedlings
If you have a hydroponic greenhouse selling seedlings nearby, you can purchase the seedlings instead of growing your own. You can also buy normal seedlings to use in a hydroponic system.
Yes, plants can be started in soil, and grown in hydroponics, or started in hydroponics and grown in soil. It gives one many options.
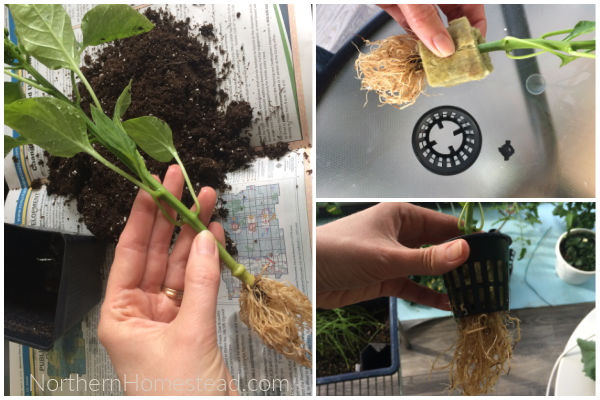
Choose healthy seedlings with a good root system. Gently wash off soil in room-temperature water. Trim long roots and place seedlings in a half-cut rock wool cube. Hold the cube together with a rubber band or place it into a net cup. If the roots are too big, cut out the bottom of the net pot (see picture above).
If planting strawberries, make sure to have the crown above the rock wool.
Note of caution: By bringing in seedlings you might bring in some diseases or insects, too.
Planting from cuttings
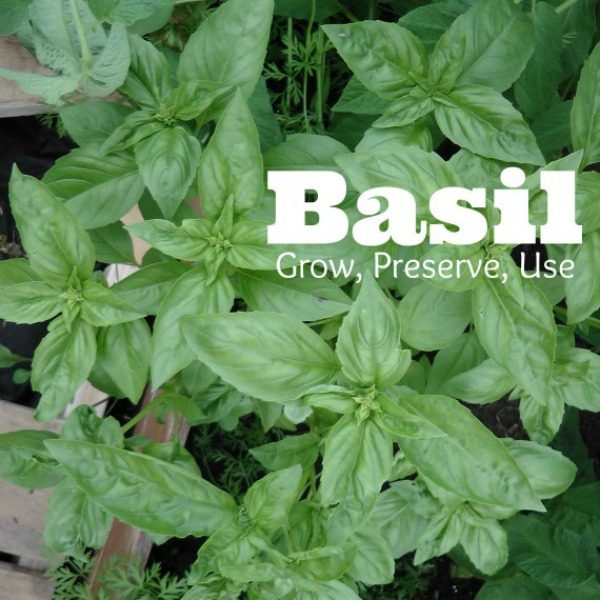
There are many plants that grow great from cuttings (Basil, Tomatoes, Peppers…) and the hydroponic garden is a great place to grow them.
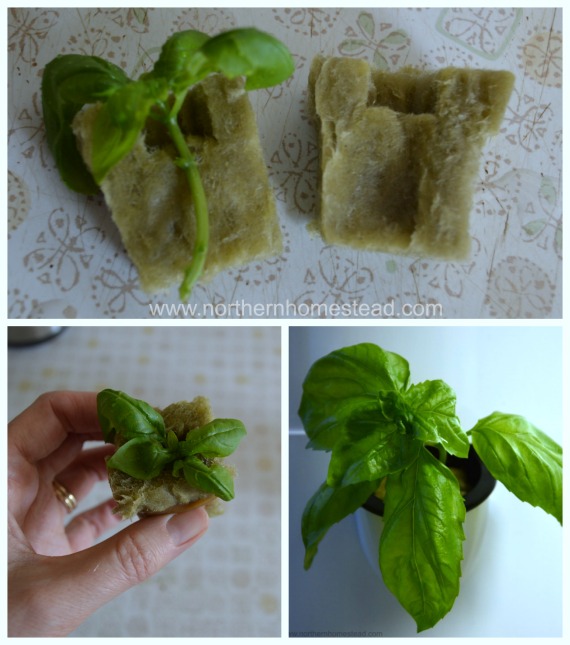
After taking a cutting you can simply put it into the rock wool cube so the end is showing on the other side. Keep the cube moist and the cutting will grow roots.
Or you can place your cuttings as per usual in a glass of water (I have had great results with this), and when roots are established plant it like a seedling. Cut a rock wool cube in half and place the cutting with an established root system into it. Lay the other half on top and hold them together with a rubber band or place them immediately into a net cup.
Planting seedlings into the system
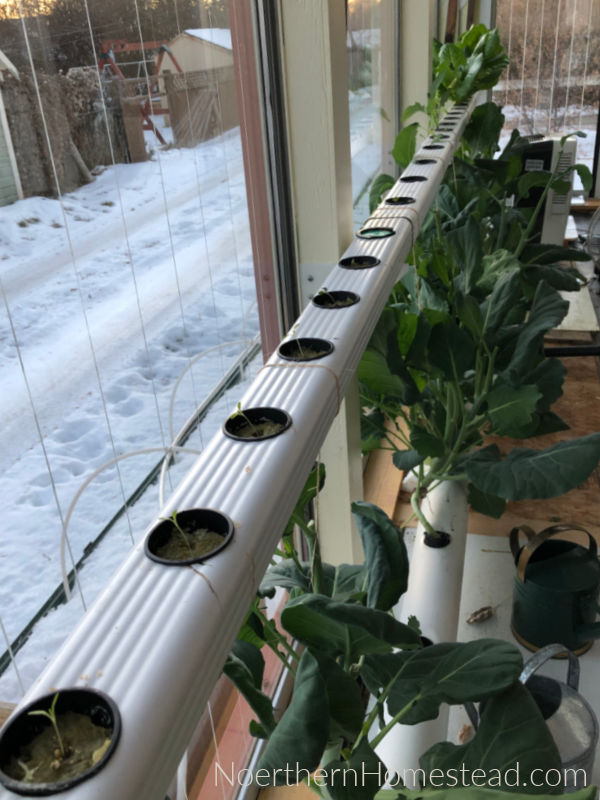
Your seedlings are ready to be planted into the system when you can see the roots growing out of the rock wool cube. It depends a bit on the setup you have, how soon seedlings can be planted. In the NFT setup, we plant the seedlings very early.
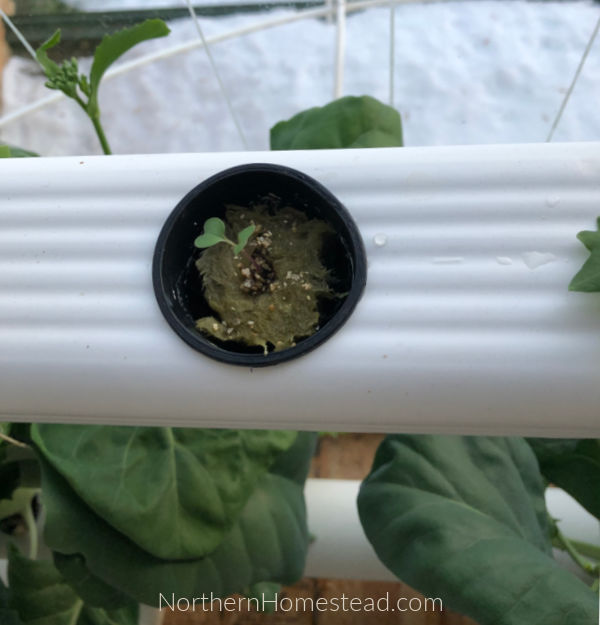
In our Tower Garden, we wait till healthy roots are growing out and push the cubes a bit down into the net pots. Roots that do not reach the watering will dry out and die. To prevent that see the video above on how to grow healthier roots.
In a vertical system like the Tower Garden, make sure to plant smaller plants on top and bigger, heavy plants with a massive root system at the bottom. This way you will ensure a good water flow and also have an easier time supporting the bigger plants as they grow.
If you have a problem with insects like aphids, plant plants that are known to be liked by them (like herbs and cabbage family plants) at the bottom, this way they will stay mostly on those plants and not go all over the garden. You can even grow a trap for insects with some beautiful nasturtiums. Nasturtiums attract many insects, meaning if there are any in your garden they will be on them and not on your lettuce.
Labeling
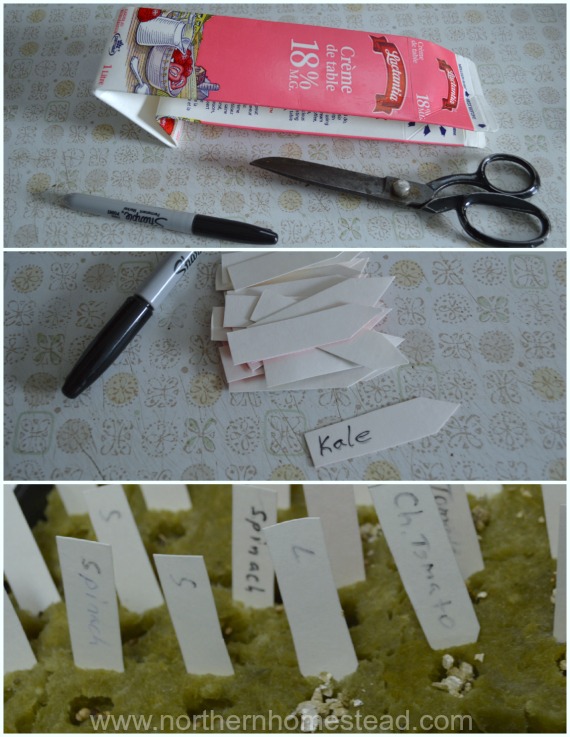
Generally speaking, labeling your plants is very important. How else will you remember what was planted, what did well, and what you should never grow again ;)? Labeling the rock wool cubes can be a bit challenging simply because of their size. Little homemade labels out of a milk carton work well.
Or make a list of things or a diagram on a piece of paper. This is not as accurate but still works well for the purpose.
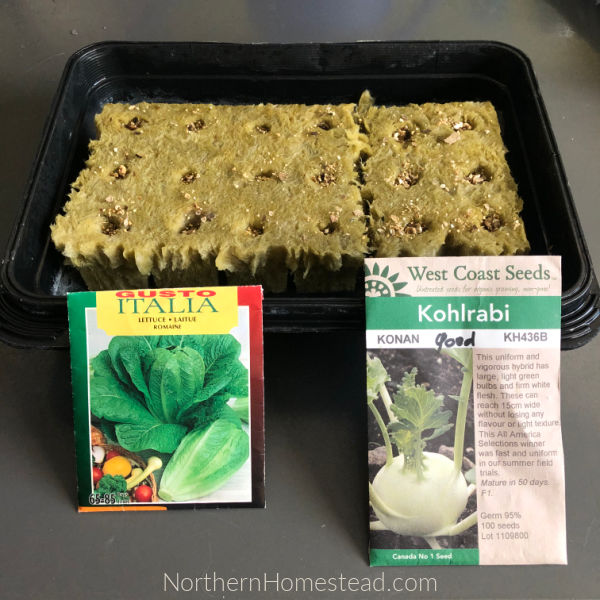
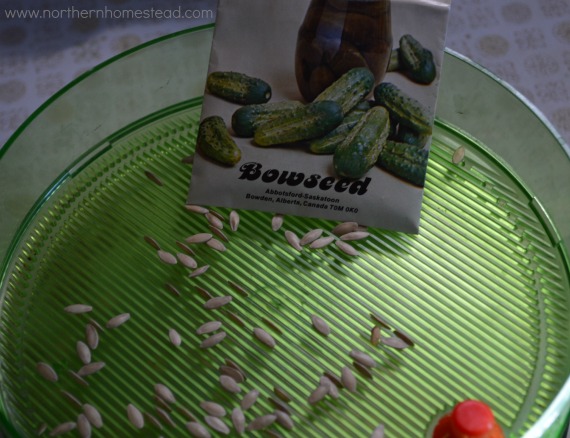
Or just take a picture of the seed package next to the seed tray, easy and works too.
Succession planting
Since plants grow in an aeroponics system much faster than they do in soil, you will need to start new seedlings approximately every 8 weeks for fast-growing plants like lettuce. The aeroponic garden is a real green food machine, so keep on growing.
We usually have plants in 3 different stages: seedlings, growing, and ready to harvest.
In the middle of winter, plants grow a bit slower, so I don’t have a real schedule, just see once a plant variety is ready to harvest, it’s time to start new seeds.
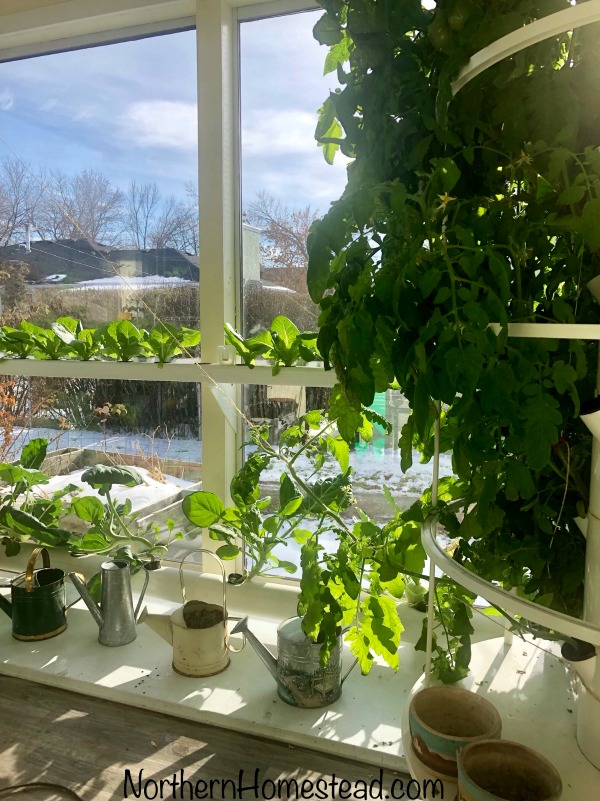
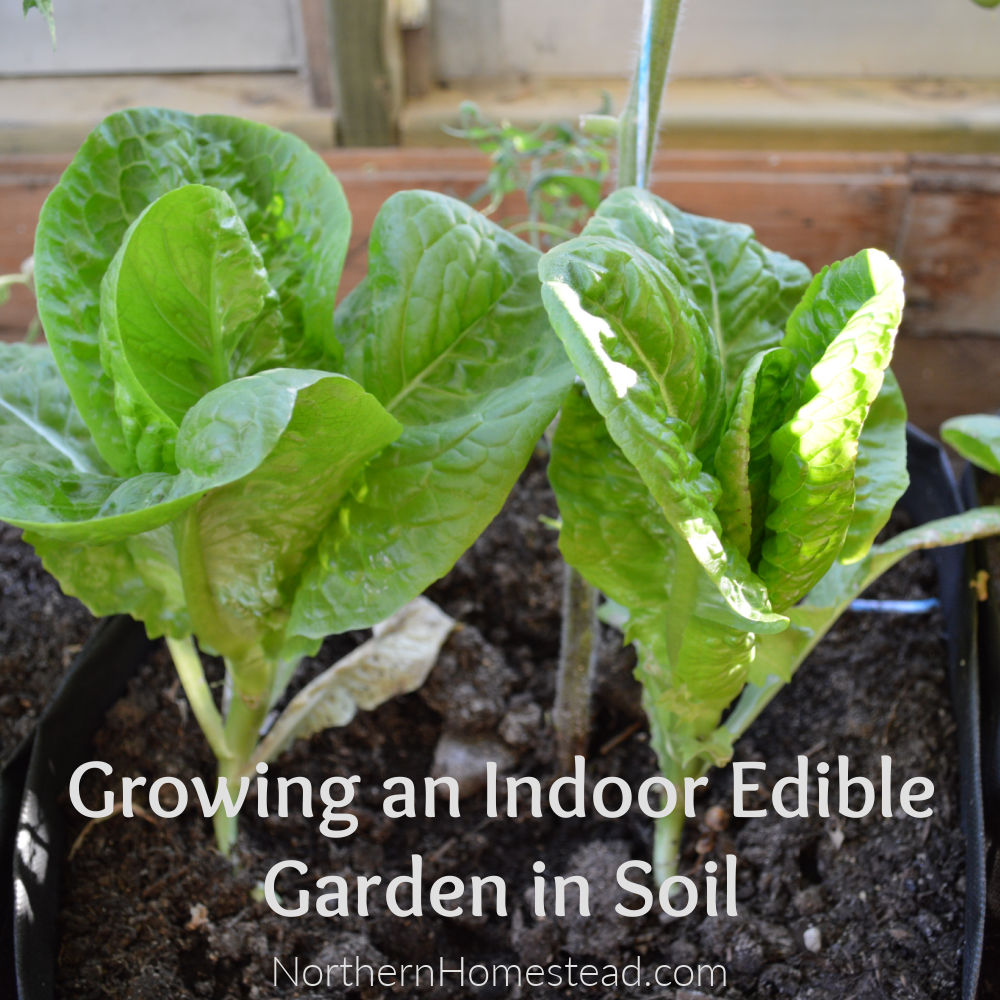
Grow an indoor edible garden
In our experience, hydroponics is one of the best ways to grow an indoor edible garden. Have a look at the articles we have already shared on the topic of growing food indoors.
We invite you to subscribe to Northern Homestead and follow us on Facebook, Instagram, or Pinterest so you don’t miss a thing.


This was super informative! I know nothisng about gardening like this. I can’t wait to see them grow. I had no idea they grow faster.
After the initial investment of the tower, how expensive is growing this way?
And what could one do in a situation with little natural light?
You will always need the mineral blend, cost $40 and you can grow with that about 200 salads, that’s 20 cents per salad. For indoor gardening or low light gardening there are grow light available that fit perfectly on the Tower Garden, making year round growing possible.
It looks like you were able to plant a good variety to have fresh food. I’m looking forward to the growing and harvest process of your new system. How clever to repurpose a milk carton for making your labels!
I love to repurpose things, it just makes sense. The plants are growing nicely while it is still snowing outside, so fun!
It’s amazing that you can have more than one plant per cube with some of the veggies. I’m looking forward to see how fast your plants grow. This is a new way of planting for me and I’m mesmerized.
It was all new to me too. I am a dirt gardener, but it is not complicated to learn, and fun to see how great things grow. I am fascinated by the amount that we can grow in such a small space.
I’m so glad you posted this information. My mother and I were just discussing this and now i can share this with her.
You are welcome Mary, glad to be of some help!
Very cool! I recently saw a strictly strawberry hydroponic garden, and it got my wheels turning 🙂
Hmm, yummy strawberries! A Tower Garden with strawberries would be so fun!
i love hydroponics! I really would love to setup a system in my house so this post was really useful 🙂 I really need to look into grow lights though because I don’t have a great sunny area.
We use aeroponic with grow lights, it works great. The Tower Garden offers grow lights too.
Great tutorial. You make it look so easy! I’d probably screw it up, but it looks like you did a great job!
Thanks for linking up with Green Thumb Thursday! I hope you’ll join us again this week!
~Lisa
There is not much that you can screw up, since there are many ways to do it and it is so easy. happy gardening!
I love plants but have a hard time keeping them alive. Maybe this would be a better idea for me than soil is. I have heard of hydroponic but had no idea what it was. So glad you linked up at #HomeMattersParty
Yep, you do not need a green thumb to do hydroponic. It makes gardening a lot easier, but you still have to care for your plants.
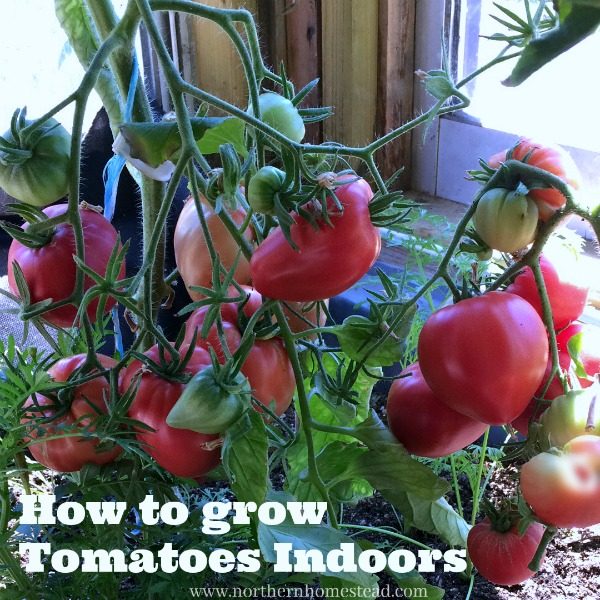
Love all of your information! It is very informative. We are out in B.C and are considering the TG as we do not have the space for dirt garden. If we grow greens, herbs etc indoors do you have to have lights? Any luck with tomatoes indoors during winter months using lights? Do you have to order items out of the US? Thank you for all of your time in showing others how to be able to source their own food.
Hi Carrie, thank you for your kind words. Yes you do need lights growing indoors. If you have a big window facing east or south, you might be able to grow tomatoes, people do. You can order everything from our Canadian Tower Garden website: esau.towergarden.ca. Let me know if you have more questions.
You are so creative! I love how you were able to make labels for your plants using old milk cartons. I think that’s a great way to find some stocky paper to use while recycling at the same time. That’s what I’m going to use to label my hydroponics garden from now on.
Looks easy enough. I need to get into hydroponics.
Try it, you will not be disappointed.
We start growing our own food in our 800*800 sqft apartment using modern growing techniques like hydroponics and aquaponics and it’s really fun to see grow plants in water:)
It sure is, a clean and easy way to grow indoors.
What a great idea. I have a question about smaller foods like lettuce, etc. While the lettuce is still growing, can I plant a seed directly into the same pot to have it germinate so it’s ready when the first lettuce is expired? Also, when a plant is “done”, do you remove the pot and clean out and re-use the rockwool? Or do you just snip off the root at the base and go from there? Thanks so much for all this great CANADIAN gardening information.
The plant does take up most of the Rockwool at maturity. To plant a new seed next to it would not work well. Plus once the plant is done, the roots need to be taken out so they do not rot inside the system. I simply just take out the whole plant and the roots and throw roots and Rockwool (or what is left of it) away. With time you will make your own experience of what works best for you.