
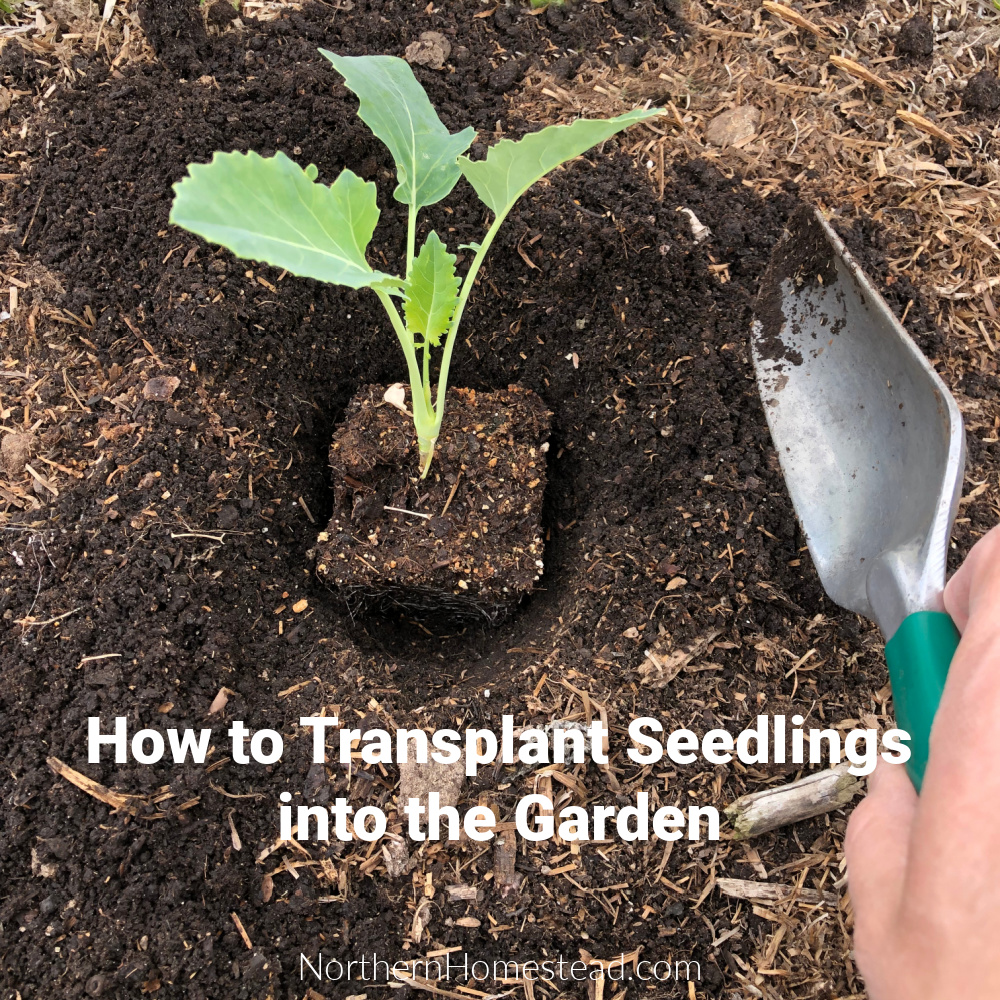
This blog article was inspired by a question from a reader who asked: Do you have some information about the best way to transplant seedlings to the garden? Especially cabbage, broccoli, cauliflower, kale, celery, and lettuce. We love reader questions and try to answer them as well as we can. And sometimes, all of you benefit from a good question. The timing was also perfect since I was transplanting lettuce and kohlrabi today. Here is the answer to how to transplant seedlings into the garden.
Transplanting seedlings into the ground is fun; you get an instant garden to enjoy. As a new gardener, we’d recommend starting with seedlings from a garden center; once you get some experience, you will feel more confident starting seeds yourself.
We cover transplanting tomatoes and cucumbers separately since those plants are a bit different, just follow the links. Also if you got multiple plants in one seedling, we have an extra blog post for that as well.
Prepare the soil

The soil for a seedling has to be loose and weed-free, ready to be planted just like for seeds.
In our home garden, we have no-till garden beds that are loose and ready to be planted at all times. So all it needs is some forkwork, to get the occasional weeds out, and racking, to even the mulch layer.
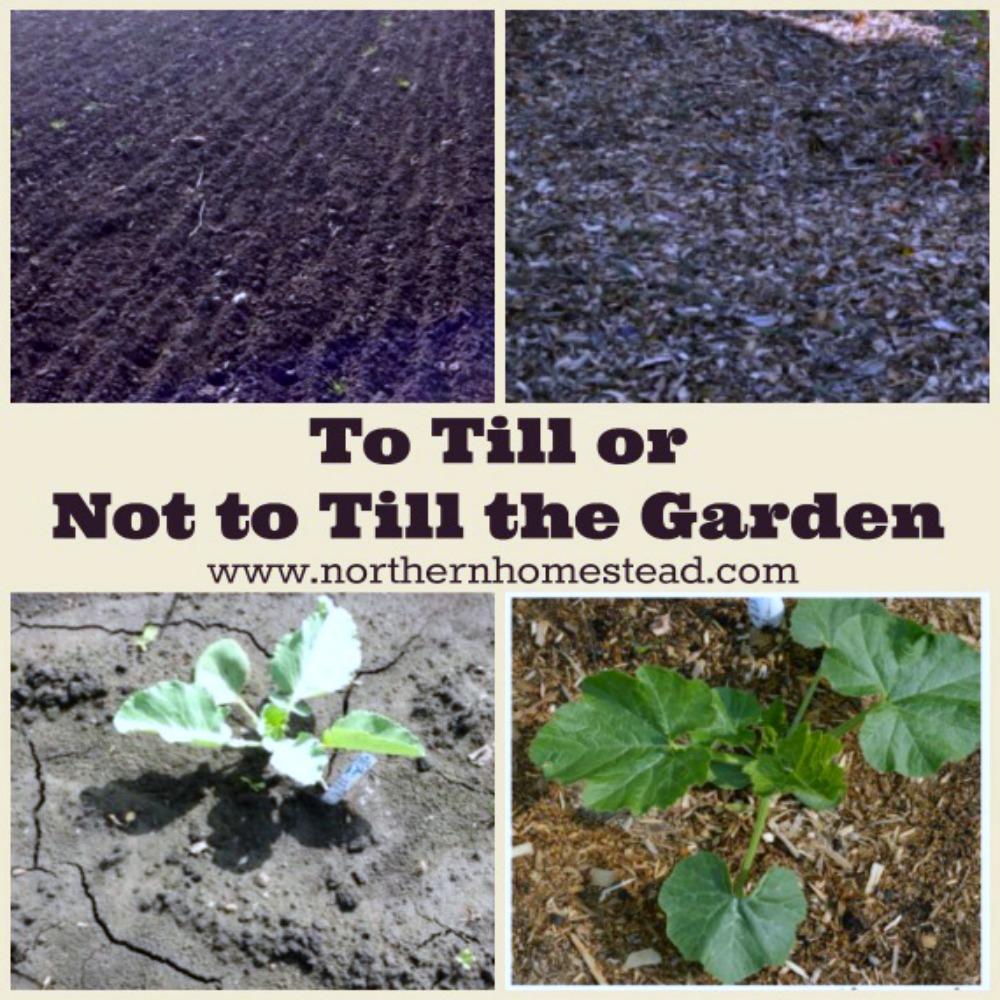
If your garden bed soil is hard, you must address that first. From double dig, to till, to no-till, all is possible. Choose what works best for you.
When to transplant seedlings into the ground
The indoor seed starting schedule we use includes seed-starting and planting-out times. Of course, all of those dates are according to the weather conditions. When starting your seedlings, always consider the transplant time.
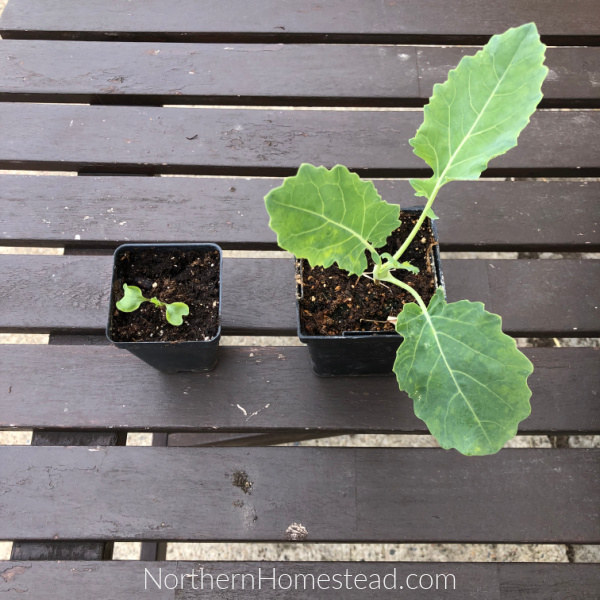
A seedling can hardly be too young; once the first set of true leaves is at least the size of the first leaves, it can be transplanted. In my picture above, the seedling on the left needs another week or two, while the seedling on the right is ready. There is about a month between those two stages, giving us a bit of a window to transplant the plant babies.
There is a danger for a seedling to be overgrown. An overgrown seedling might already be laggy or have a root ball. If you can not transplant an already ready-to-be-planted seedling, transplant it into a bigger pot. A more mature seedling also has a higher risk of transplant shock.
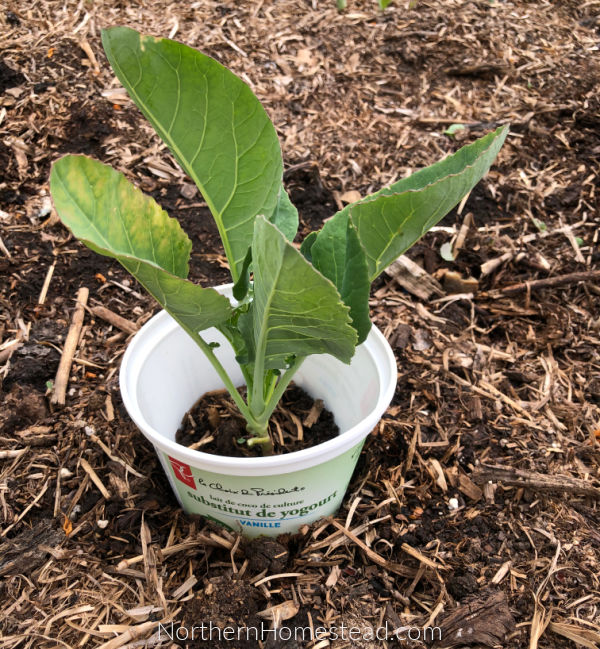
A perfect seedling has filled the pot, but the roots are still not going around; the seedling is not rootbound. My example picture below is right on the edge of being perfect a few days later, and it could start being too late.
I can not stress this enough: do not start seeds too early! Small plants give you the head start you want without the challenges of larger seedlings. That being said, if you are an experienced gardener, it is possible to transplant even mature plants without interrupting plant growth. However, we are talking about ideal conditions for young plants.
The time on the calendar for your seedling will depend on the plant variety. Cool-weather crops can be planted before the last frost date; warm-season crops need warm weather. You can read more about when to plant what.
Hardening off the seedlings
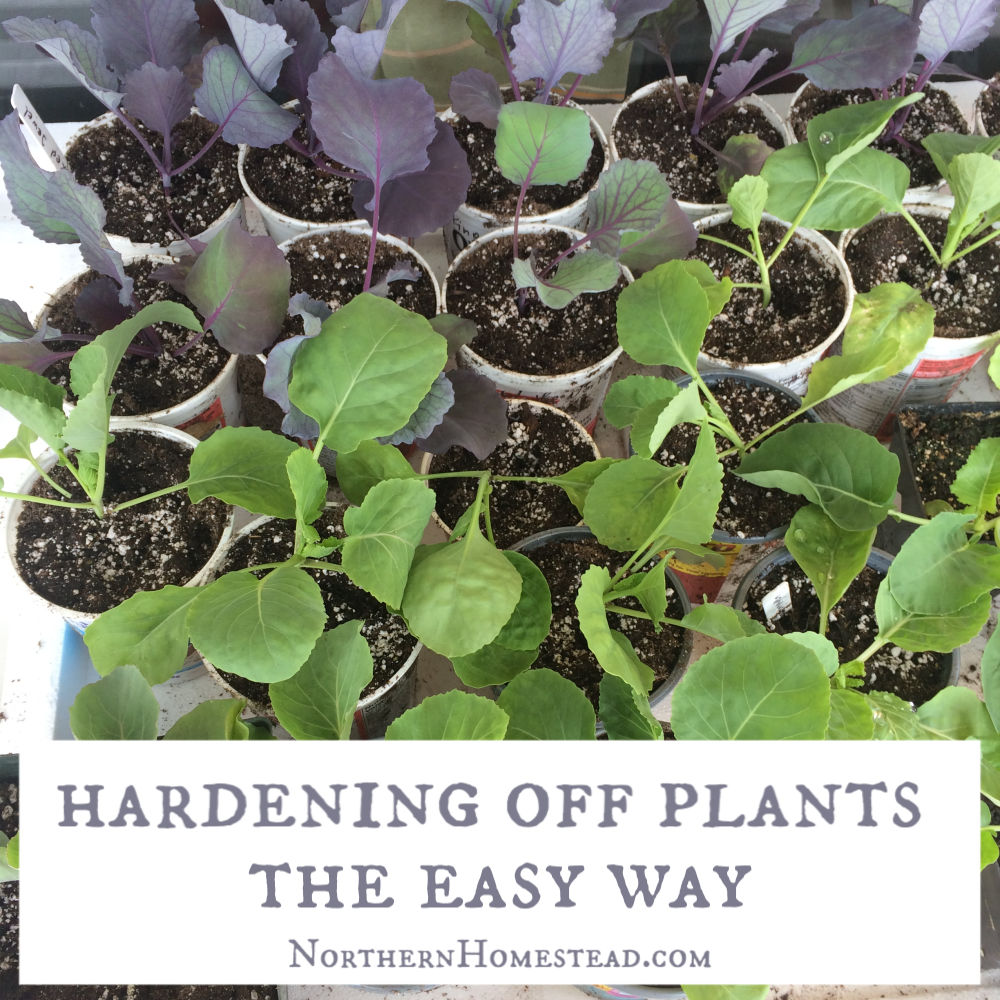
We have a whole blog article about this important step. Seedlings can not go from indoors under grow lights right into the ground; they need to get used to the environment where they will be planted.
Head over and read more if the hardening off plants is new to you, or if you are interested in our easy way to do so.
How much room does a plant need?
Since seedlings are already growing, thinning out is no longer needed. We plant them according to the mature plant size.
Usually, the seed packet tells you how much space that particular plant will need.
Also, the square foot garden book has great information on that. For example, plant one cabbage, one broccoli, one cauliflower, one kale, four celery, and four lettuce per square foot.
As a rule of thumb, you can plant a bit more densely in good soil and a warm climate. Plants grow better in poor soil and cold climates with more space to get direct sunlight.
I like to place all my seedling pots where I want to plant them, so once I start planting, no planning is needed anymore. If you need tips for the garden plan, read more here.
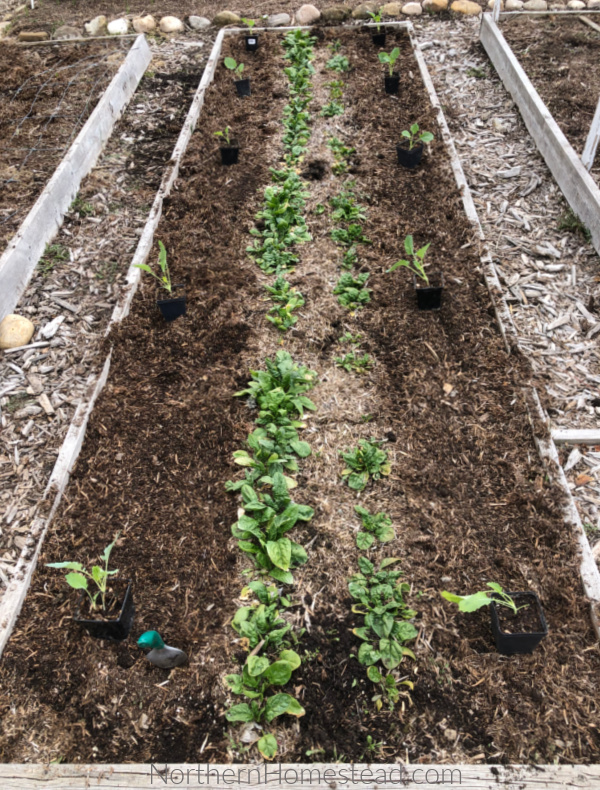
Seedlings are also great for succession planting. As you can see in my example picture above, I give my early kohlrabi a lot of space. This is not because they need it but because I want enough room to plant warm-weather plants in the same bed later.
In the picture above, we have overwintering spinach growing in the middle, which was planted here last fall. The kohlrabi is next, and there is space left for cucumber seedlings to be planted in a month. I have not even started them yet. When the cucumbers need the whole bed, kohlrabi and spinach will be harvested. Succession planting saves space and is a good idea for an urban vegetable garden.
Planting out the seedlings
![]()
When the seedlings and the soil are ready and the time is right, we start transplanting the seedlings into the ground. If you can, choose calm, overcast days. On sunny days, start in the late afternoon to reduce the amount of full sun the newly transplanted seedlings get.
First, dig a planting hole big enough for your seedling. I like to use a hand spade for that. If you have loose soil, the hole does not have to be bigger than the seedling’s pot. However, making a slightly bigger hole makes sense if you are dealing with heavy soil. You want to encourage the seedling to grow outwards.
I add compost or warm casting into each hole for heavy feeders like cabbage or tomatoes. Read more about transplanting tomatoes into the ground here.
Turn the pot upside down and tap on the bottom of the pot, and the plant will come right out. Now, place it gently into the hole and gently push back the soil, ensuring there are no air pockets around the roots.
![]()
If the soil is very dry, which often happens in a dry spring, water the hole first, before planting the seedlings into it. Then, water the seedling after planting so the dirt fills any room between the seedling and the ground. You don’t want to give the roots any chance to dry out.
![]()
Protect the newly planted seedling
Choose a calm, cloudy day to transplant your seedlings in our sunny climate, which is not always possible. We can have sunshine for weeks. In this case, a plant protection blanket can be used to provide some shade for the seedling.
![]()
Since we plant cool-weather plants like cabbage and kohlrabi reasonably early, they also benefit from some wind and cold protection. Here, I placed a glass jar over them for the first night. If we were to get spring snow, I would also use jars to protect the plants. Row covers are another great option.
Cutworms can be a problem later in spring, so giving the seedling some protection helps. Read more about that here.
Adding mulch is a great idea once the seedlings are planted and watered. It helps retain moisture and protects the young seedling from the wind.
The more love and care we give the new transplants, the better and healthier the plants will grow.
Happy planting!
We invite you to subscribe to Northern Homestead and follow us on Instagram, Facebook, or Pinterest for the latest updates.

Excellent, exactly what i was looking for thank you