Just when you think spring can’t get any drier, 2023 arrives. It’s dry, hot, and windy. As I write this, heavy smoke is covering the sun. For many of our readers, the primary concern is not the garden but wildfires.
Planting seeds into soil that feels more like dust than soil is common here in Alberta. With over 300 days of sunshine a year, rainfall is scarce. Spring, however, often feels exceptionally dry. It seems we alternate between cold spring challenges and dry springs. In this article, we will share how we deal with the challenges of dry spring weather in the garden.
Challenges exist to be solved, not dwelled upon. We love our many sunny days and finding ways to still maintain a productive garden is inviting. We utilize the sunshine in our indoor garden to grow food year-round. In this article, let’s explore how to overcome the challenges posed by a dry spring.
Catch the snow and snowmelt
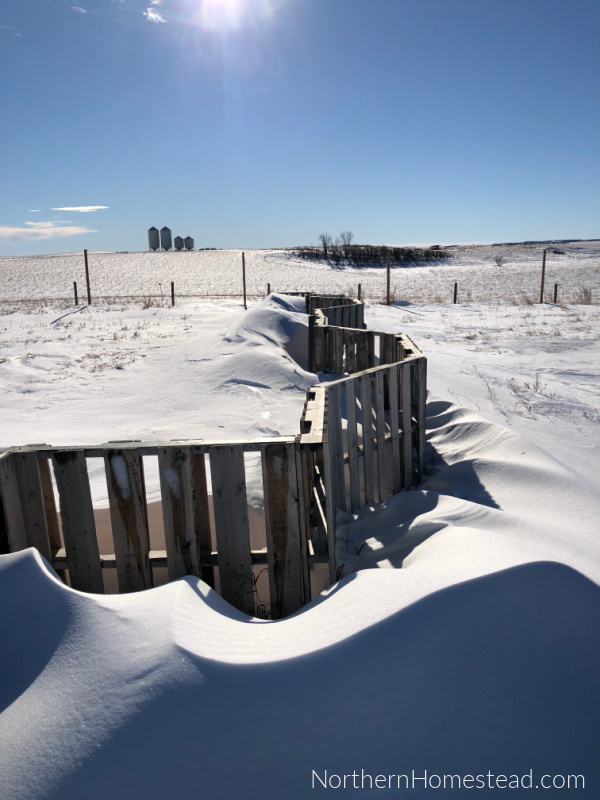
In a cold climate, the moisture we receive during frost comes in the form of snow, not rain. Our first rain might not arrive until as late as May. Between the last snow and the first rain, there can be a prolonged period without any moisture.
To avoid having bare, dry soil for as long as possible, we want to catch as much snow as we can in our garden. The longer the snow cover lasts, the better chance we have of avoiding very dry soil in spring.
The picture above shows how a simple palate fence holds back snow from blowing over the garden. A snow fence or shelter belt would have a similar effect.
Read more about creating microclimates in the garden here.
Swells should also be mentioned in the same category for catching snowmelt. If your garden is on a slope, building some simple swells can make a difference by preventing the moisture from flowing away and allowing it to stay in the garden.
Plant early
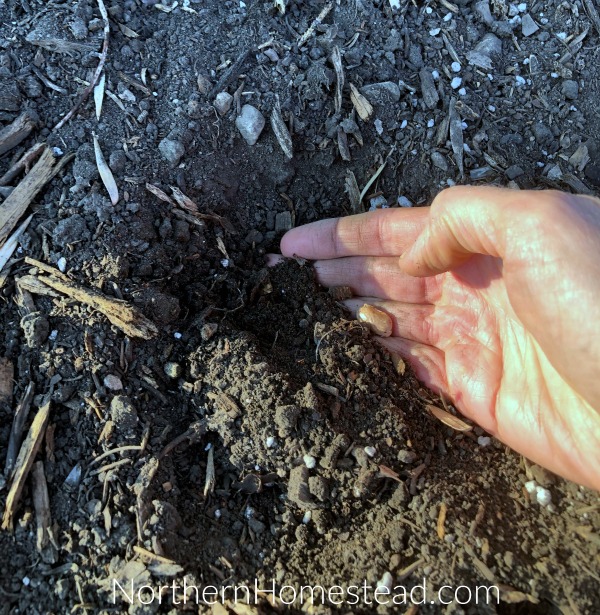
Between snowmelt and planting time, we often experience a few weeks of dry, cool weather. It is too cold to plant anything sensitive to frost, but greens, root vegetables, and onions can already be directly planted early. These plants can tolerate a bit of frost and will have a better start before it becomes too dry for germination.
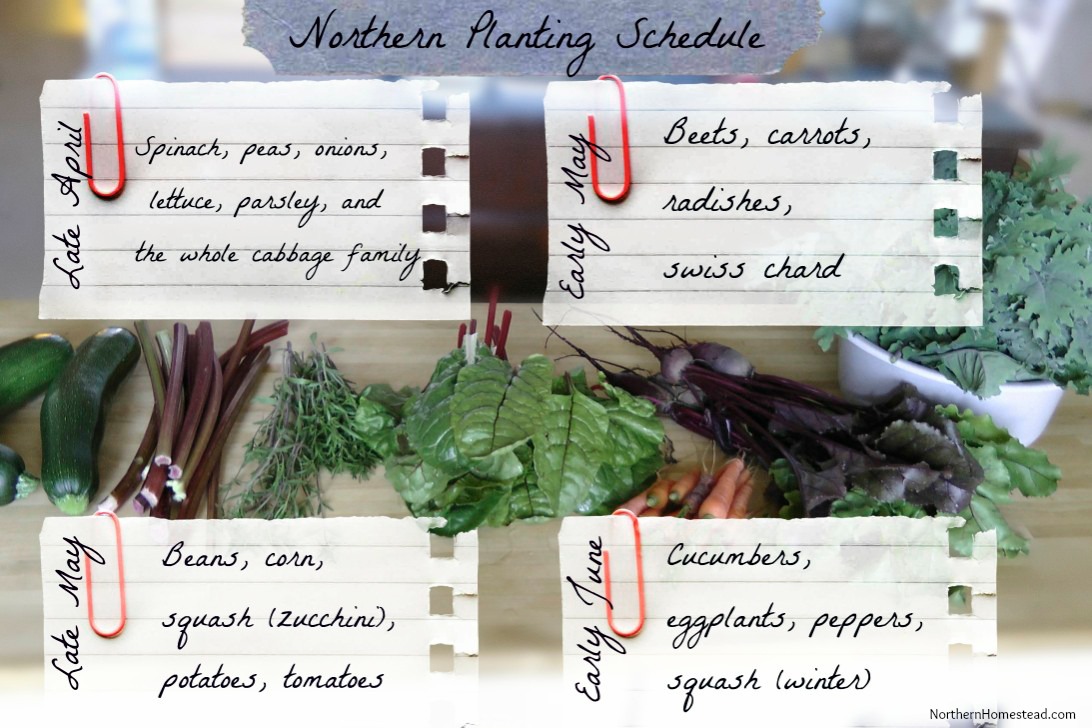
We cover planting times in more detail in our article When to plant what. There are many good reasons to start planting as early as you can, and the dry spring challenge is one of them.
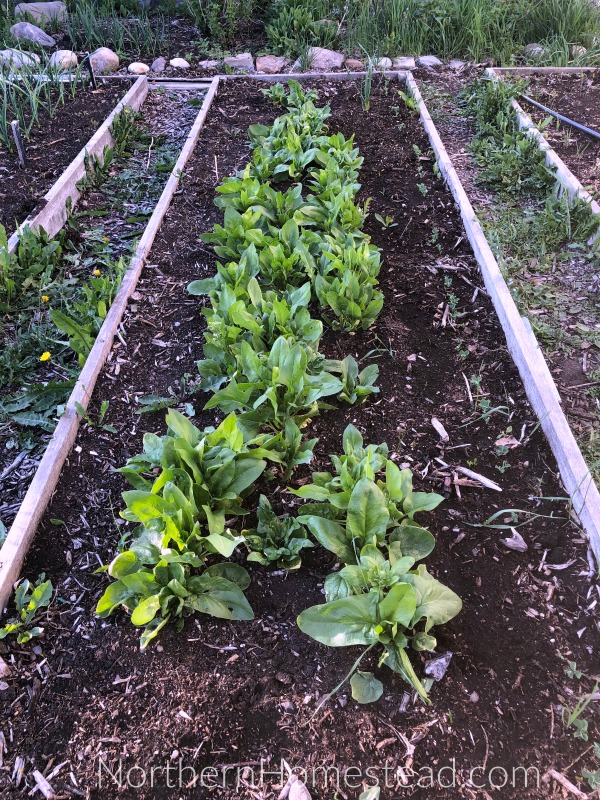
Spinach, for example, is best planted in the fall so that it can grow during the cooler spring days. Planting spinach during a dry spring does not yield good results. Read more about growing overwintering spinach here. Self-seeded plants also often thrive better than planted seeds. We allow dill, cilantro, and annual flowers to go to seed.
Sprout seed before planting
Due to our short growing season, we start many seeds indoors. See here for a schedule of when and what to start indoors. Especially if you have no way to water the garden regularly, transplants can be a real help. They need watering too, but usually, a good soak at planting is sufficient.
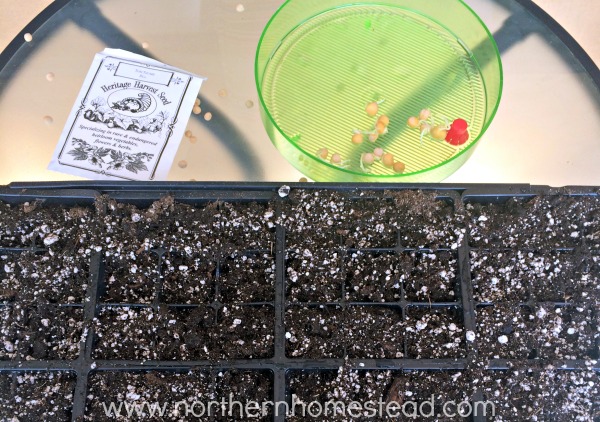
In addition to starting seeds indoors, you can soak or sprout seeds before planting them in the garden. This way, the initial moisture they need will occur in a jar or sprouting tray.
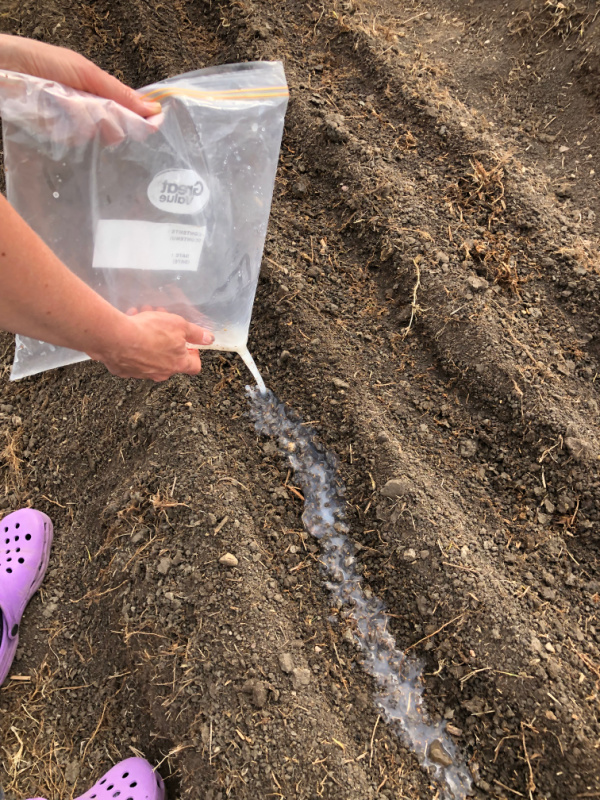
We have also had good results with sowing carrot seeds in corn starch. This method not only helps to distribute them evenly, reducing the need for thinning but also provides moisture around the seeds.
Water the garden
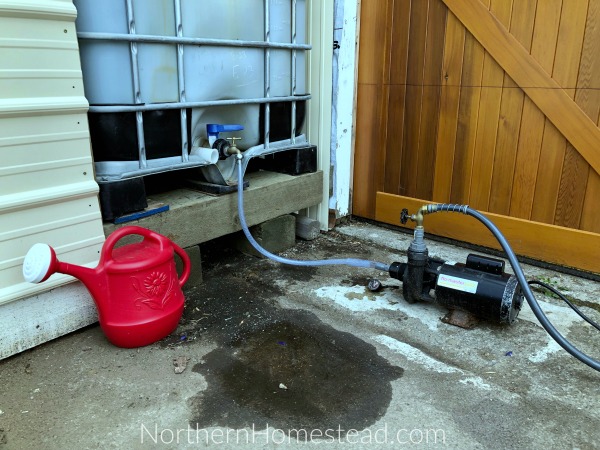
To be able to water the garden, you need to have water available. Water is precious in dry climates, so having systems in place to preserve it is important.
Our 20’x30′ garage roof provides a lot of water during even a small rain. We collect the rainwater for use in the garden. Read more about it here.
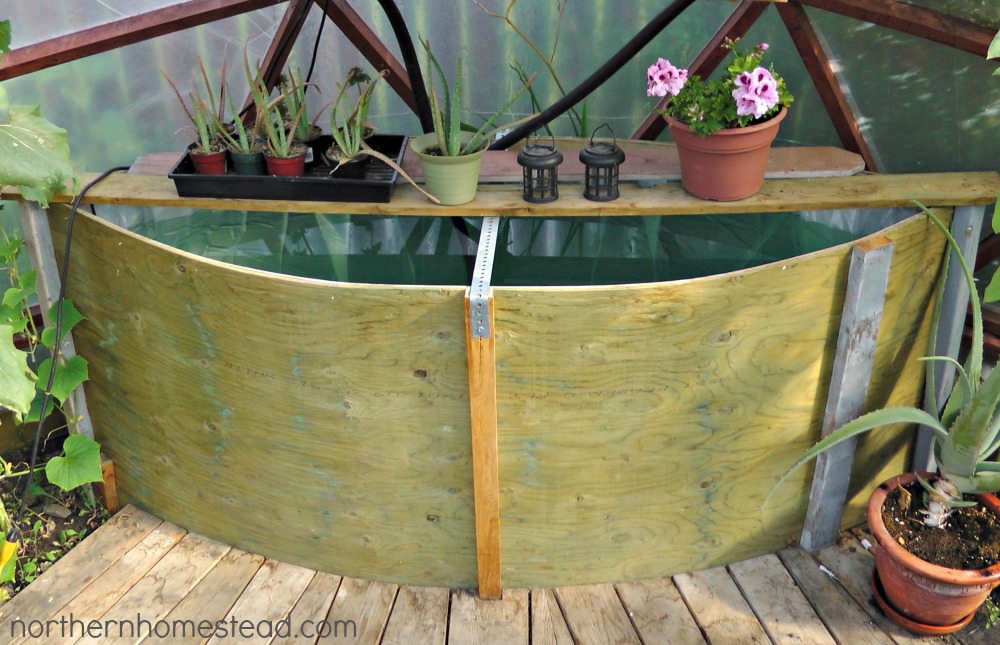
In the greenhouse, we always have a water tank filled with water. This water serves not only for watering but also as thermal mass and the basis for cooling and heating the greenhouse.
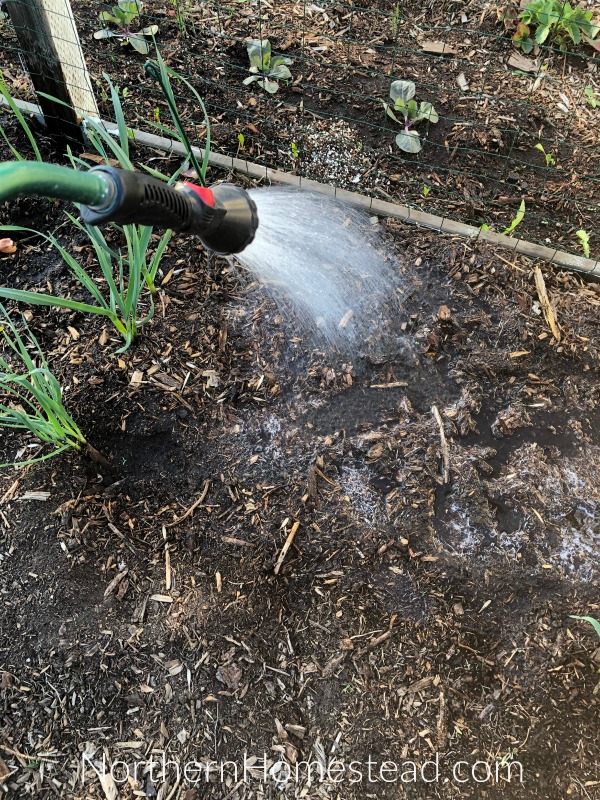
We try not to water the garden excessively during the entire growing season. Instead, we prefer to use mulch. However, in spring, to germinate seeds and establish plants, we water the garden. With a water pump and a hose that reaches every corner of our garden, watering is not a huge task. Read more about watering the vegetable garden here.
However, we have to be mindful of our water usage. Even though we can store over 4000 liters (1056 gal) of rainwater, in some springs, we do run out of it.
Mulch the soil
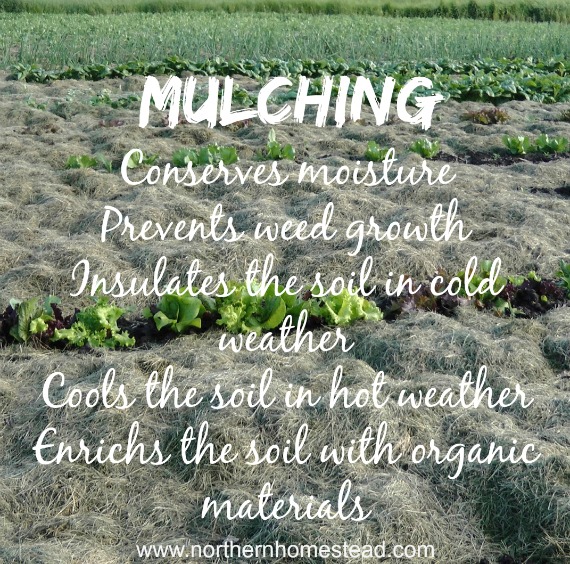
Mulching greatly helps to conserve moisture in the soil. Natural materials like compost, straw, wood chips, grass clippings, etc. can be used as mulch.
Mulch cannot create moisture that isn’t there, but it can keep the soil moist for longer periods.
A no-till garden should always be mulched. Read more about maintaining a no-till garden here. Mulch can also be added after planting in a tilled garden.
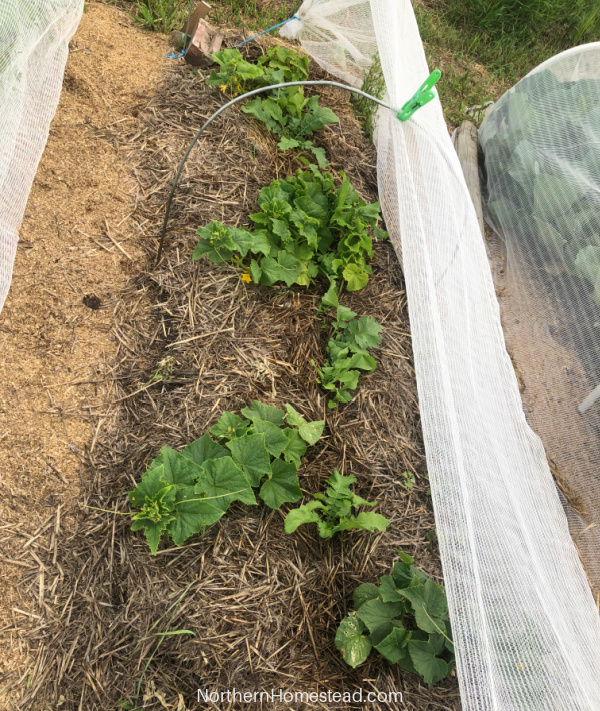
Adjust the thickness of the mulch according to your weather conditions. If you cover dry soil with a thick layer of mulch that rainwater can’t penetrate, you are actually preventing moisture from reaching the soil. Loose straw or wood chips are good choices in this case.
Protect the garden from the wind
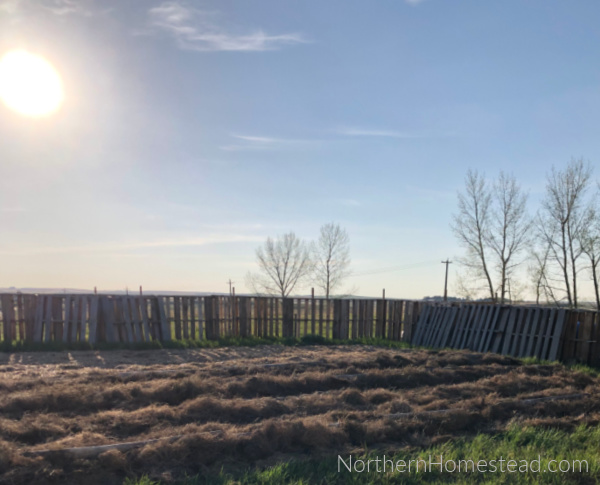
A dry spring is often accompanied by strong winds that further dry out the soil. A windbreak fence or hedge can help mitigate this. A windbreak provides up to 10 times the wind shelter (up to 20 times partial protection). A 4-foot-high wind barrier will protect 40 feet (approximately 12 meters) of gardening space.
During heavy spring winds, it can be challenging to keep the mulch in place. Use boards or fence posts to weigh down the mulch, as seen in the picture above. Once the potatoes planted there start growing, they will hold the mulch in place on their own.
Provide shade for the plants
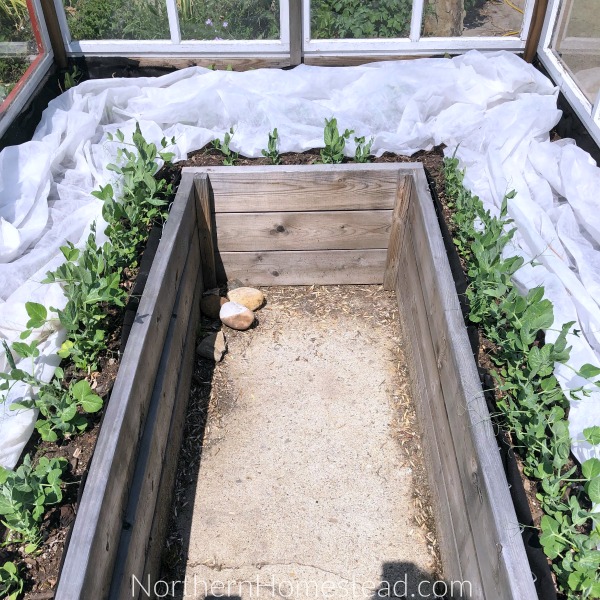
Bright sunshine throughout the spring day is often too intense for young seedlings. Use a shade cloth or frost blanket to provide the necessary protection from the sun.
These blankets can also be left on not only for shading during the day but also to provide warmth to the plants during cool spring nights. It’s a win-win situation.
These are our tips for overcoming the challenges of a dry spring in the garden. You may have some additional tips that we have missed. Please share them in the comments below.
We invite you to subscribe to Northern Homestead and follow us on Instagram, Facebook, or Pinterest for the latest updates.




A great trick for a dry area is to plant in a slight dip, or raise a little ridge around each plant so that any water you do give is focussed onto the plant roots, rather than dispersed all around the area. Also, check how deeply the water has penetrated. Especially when it’s dry and a bit dusty it can take a lot of water to get past the top layer. One trick to help with that is to put a tiny drop of eco washing up liquid or some other eco surfactant into the water. This cuts the surface tension to allow the water to get into the spaces in the soil more effectively. In practice at the community allotment, that just means distributing the washing up water around the site.
Thank you Tracey, great tips. I have never done the soap trick. Just water once briefly and give it a few minutes to steep and then water again more helps too.
Thanks, we are right below you in Montana. It is hard to keep the gardens watered. Some days I have droopy plants in the evening.
Hello!
I just stumbled on your page and am reading up a storm! I also live in the foothills of Alberta and am just starting to garden. I planted my first garden 2 years ago and it was a flop. But I’m trying again this year!! I’m curious…. what type of wood chip mulch are you using? And at what stage do you start mulching if you’ve direct sown seeds? I’m doing sure foot gardening style so am unsure how I’ll mulch but I think it would be a big help (my first season I didn’t mulch and found my soil to get so dry and crusty on top). Thanks so much for all of your information.. it’s so helpful to a new gardener like me!! The bucketloads of information out there makes it seem a bit daunting!
Thank you for your kind words. We usually mulch the garden before planting, so the soil is always covered. We use wood chips from a local tree care company that he can’t use otherwise. It’s a mixture of everything, twigs, leaves, wood, etc. For a super foot garden, I would suggest compost as mulch instead of wood chips, simply because you plant so densely, there is no room for chunky mulch. Simply add a layer of compost on top, in late fall or early spring. Plant into the compost. Since this season has already started, you can wait till the plants are a few inches tall and put come compost or grass clippings around the plants. I hope this helps, happy gardening!